-

Win a Free Custom Engraved Brass Coin!!!
As a way to introduce our brass coins to the community, we will raffle off a free coin during the month of August. Follow link ABOVE for instructions for entering.
-

PRE-ORDER SHIPS IN SCALE TODAY!
The beloved Ships in Scale Magazine is back and charting a new course for 2026!
Discover new skills, new techniques, and new inspirations in every issue.
NOTE THAT OUR FIRST ISSUE WILL BE JAN/FEB 2026
- Home
- Forums
- Ships of Scale Build Logs
- Super Detailing Static Models / Other Genres
- Historical Trailways, Guns, Aircraft, and Cars
You are using an out of date browser. It may not display this or other websites correctly.
You should upgrade or use an alternative browser.
You should upgrade or use an alternative browser.
Welcome Johan. My favorite is WW2 aircraft as well, but I still like the WW1 aircraft enough to build and display them!Photo recce spits were painted pink to blend in with the colors of sunrise and sunset when they flew their missions.
WWI aircraft were real flimsy thingies, but the technology used was extraordinary, think for instance about the guns firing through the propellor. Having said that, I prefer, for some odd reason, the WWII era aircraft, still flimsy, but technologically more advanced.
Still I'll follow this build with genuine interest; two Fokkers in one build!
I finished adding all the tiny PE parts for this step. Then I worked on the highlights on the fuselage panels some more. I see a few that still need work, but very close to being done.
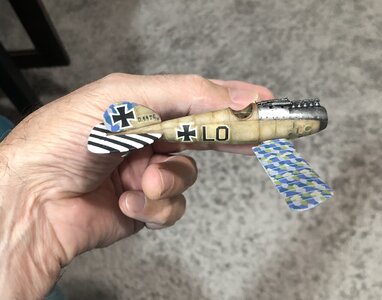
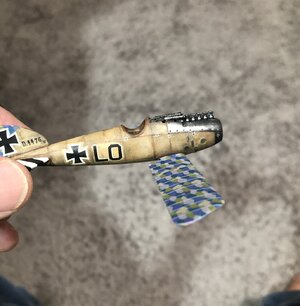
Some pics of the mostly finished fuselage…
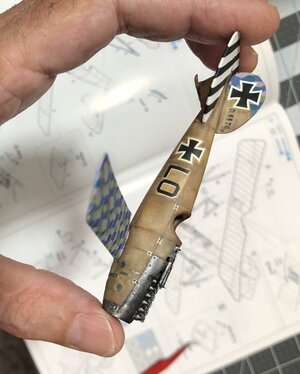
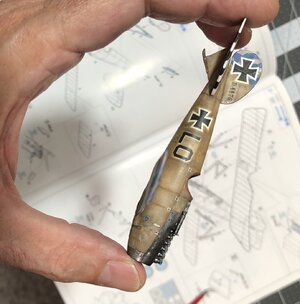
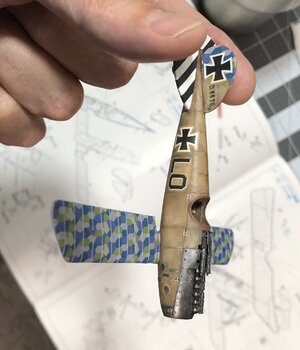
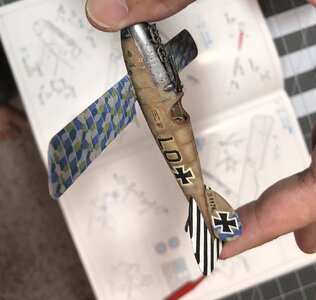
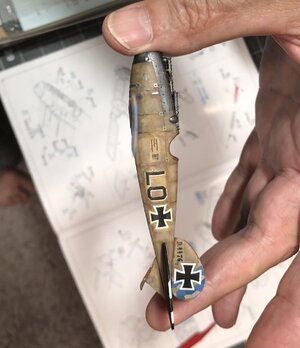
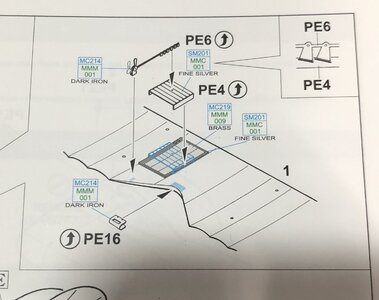
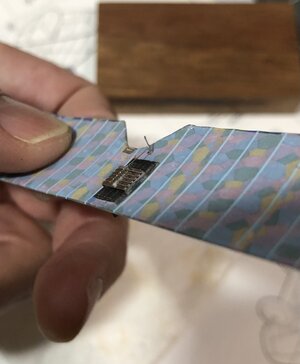
Next I will be working on the upper wing and struts. Many decals, and small PE parts for the radiator and louvers. I am making good progress for the 4 days I have been working on it.
Some pics of the mostly finished fuselage…


Next I will be working on the upper wing and struts. Many decals, and small PE parts for the radiator and louvers. I am making good progress for the 4 days I have been working on it.
Nice tiny parts, Dean. And good looking decals to.I finished adding all the tiny PE parts for this step. Then I worked on the highlights on the fuselage panels some more. I see a few that still need work, but very close to being done.
Some pics of the mostly finished fuselage…
View attachment 385465
View attachment 385466View attachment 385467View attachment 385468View attachment 385469
Next I will be working on the upper wing and struts. Many decals, and small PE parts for the radiator and louvers. I am making good progress for the 4 days I have been working on it.
Regard, Peter
Thanks Peter, the tiny parts were difficult to work with!Nice tiny parts, Dean. And good looking decals to.
Regard, Peter
Today I spent all my time working on the upper wing. 3 decals on top and 3 decals on the bottom to add the lozenge design. Then too many blue stripe decals to count. Then the two markings, and painted the radiator. Still more to do with hinges, etc.
What I have so far after clear coat…
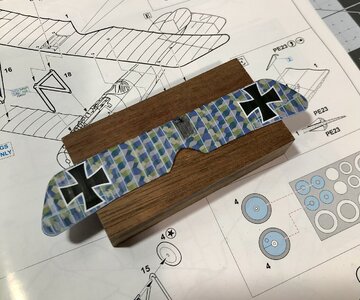
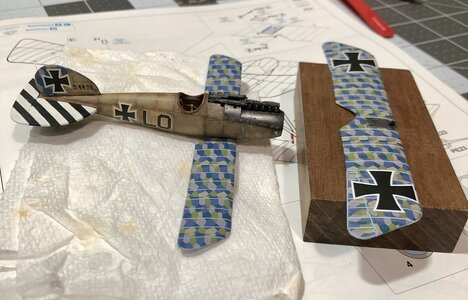
Holding the upper wing in place to see what it will look like…
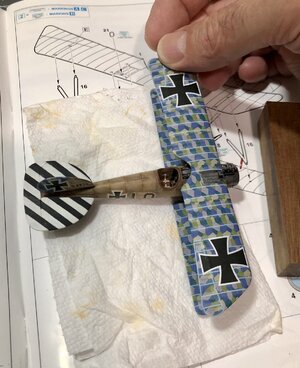
What I have so far after clear coat…


Holding the upper wing in place to see what it will look like…

Hallo Dean, I watch your work with great pleasure. Your coloring and aging of the plywood is very nicely done. Yes the lozenge camouflage is really very special and actually to blur the outlines. The light blue stripes stripes are used to cover the seem and attachment points of individual cloths and look particularly appealing. It's well worth the effort. All around a beautiful model.
Thank you Adi! I really love the WW1 airplanes you built and the bases you put them on with figures, excellent work!Hallo Dean, I watch your work with great pleasure. Your coloring and aging of the plywood is very nicely done. Yes the lozenge camouflage is really very special and actually to blur the outlines. The light blue stripes stripes are used to cover the seem and attachment points of individual cloths and look particularly appealing. It's well worth the effort. All around a beautiful model.
It takes some practice to get the blue stripes on straight and properly spaced on the ribs. I got better at it the more I did. I learned to slide the decal on to the edge of the wing, and then pull the backing off while laying it across the wing. You don't dare take it off the backing and try to hold it, that ends in disaster.

Thank you Johan! It's a labor of love! My favorite WW1 airplanes are the German airplanes. And there are 3 of the best in this kit!A true “labor of love” or is it turning out to be “monk’s work”.
Very precise modelin!
I can't wait to build my Model Airways 1/16 scale Albatros D.Va!
Anyone who wants to see excellence in plastic model building, see this build by Adi! The detail is incredible!
Wingnut Wing LVG C.VI
A second contribution from my 1:32 aircraft collection, a Wingnut Wing German LVG C.VI. LVG (Luft-Verkehrs-Gesellschaft) Air transport society spent much of the Great War license building aircraft from more successful companies, like Albatros and Gotha. The first successful LVG design was the...
shipsofscale.com
so cool (and so small)
Oh wow, little bitty pieces to loose in the rug. Don't know how you do it!!
Jan
Jan
Agreed, they add detail that would not be possible with plastic parts, however they are still difficult to handle and very fragile!so cool (and so small)
Luckily they give you an extra on some of the smallest pieces, because trying to hold them with tweezers, sometimes they just fly out from the clamping pressure of the tweezers! It’s a delicate balance between applying enough pressure to hold it without dropping and not applying too much pressure to make the part fly out! Fine tip tweezers are a must.Oh wow, little bitty pieces to loose in the rug. Don't know how you do it!!
Jan
A few were eaten by the carpet monster!

Sometimes I think this tiny airplane is going to get the best of me!  It’s very unforgiving, any brush strokes or excess glue are magnified due to the scale!
Anyway, I realized the sheet metal parts were wrong again…they are supposed to be grey. Which makes sense because the struts are grey.
Before…
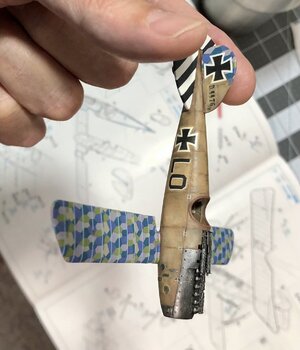
After…
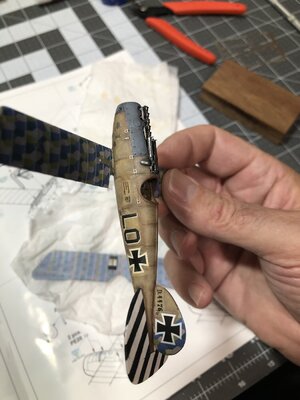
I see a few spots that need touch up. Those will be addressed. It’s two steps forward and one backwards!
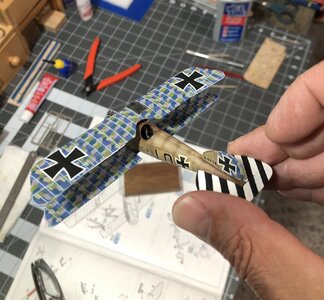
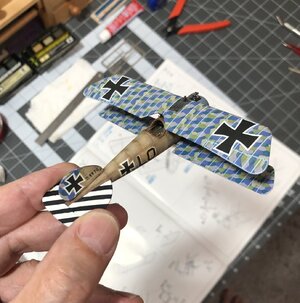
Next was adding the upper wing and struts, probably one of the most nerve wracking steps of building a bi-plane. I first glued the struts to the fuselage and lower wings. Once dried I turned the upper wing upside down and then put glue on all of the struts, 8 places, and then turned the fuselage upside down and starting aligning and stabbing the struts into the upper wing using tweezers to assist.
Finally that part is done. There was a little excess glue in a few spots, but it’s under the wing, so I guess I can live with that. I hope to do better on the Fokker. They say practice makes perfect!
Pics…
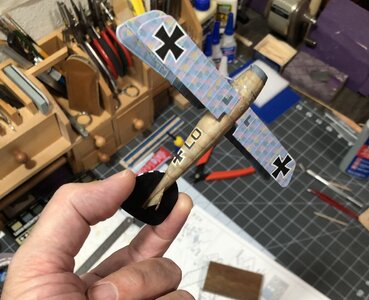
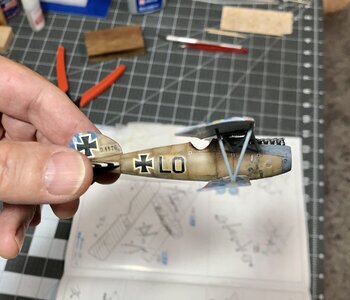
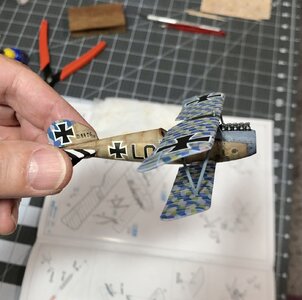
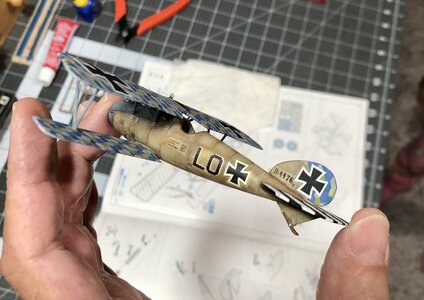
And finally a picture with my 1/72 scale Messerschmitt for reference.
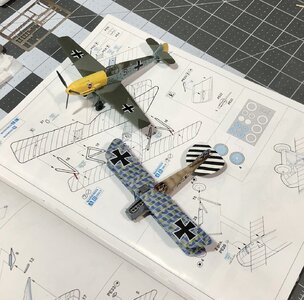
Well it’s time to start doing some touch up and then I can add the hinges to the ailerons and elevator. Then the wheels and landing struts are next. Not looking forward to the rigging. They don’t supply any in the kit. So I have a few ideas.
 It’s very unforgiving, any brush strokes or excess glue are magnified due to the scale!
 Anyway, I realized the sheet metal parts were wrong again…they are supposed to be grey. Which makes sense because the struts are grey.
Before…

After…

I see a few spots that need touch up. Those will be addressed. It’s two steps forward and one backwards!
Next was adding the upper wing and struts, probably one of the most nerve wracking steps of building a bi-plane. I first glued the struts to the fuselage and lower wings. Once dried I turned the upper wing upside down and then put glue on all of the struts, 8 places, and then turned the fuselage upside down and starting aligning and stabbing the struts into the upper wing using tweezers to assist.
Finally that part is done. There was a little excess glue in a few spots, but it’s under the wing, so I guess I can live with that. I hope to do better on the Fokker. They say practice makes perfect!
Pics…


And finally a picture with my 1/72 scale Messerschmitt for reference.

Well it’s time to start doing some touch up and then I can add the hinges to the ailerons and elevator. Then the wheels and landing struts are next. Not looking forward to the rigging. They don’t supply any in the kit. So I have a few ideas.
Moving forward, I painted and assembled the wheels and struts. Then I did the exhaust pipe next. That’s when I realized they didn’t provide the radiator pipe that goes from the front of the motor to the bottom of the radiator in the upper wing.
Ref pic…
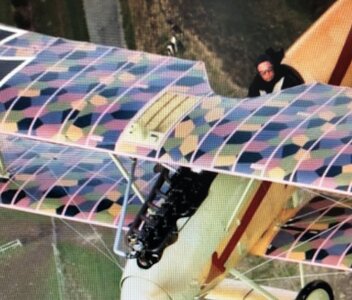
So I made one out of wire the correct diameter…
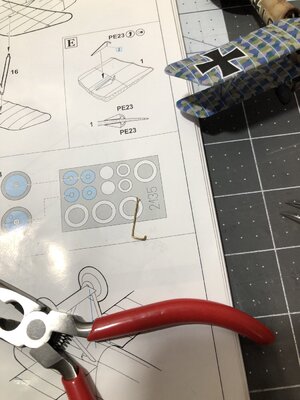
That was painted and glued on.
Next was the propeller…
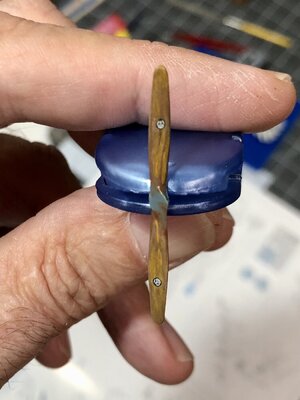
Most pictures I have seen show a wood propeller without laminations. So I went for that look on this one.
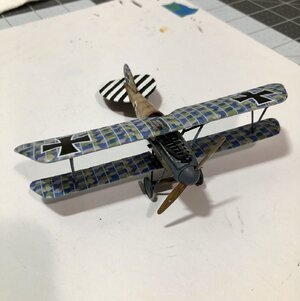
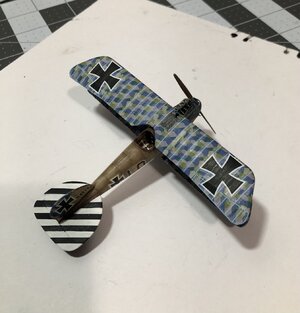
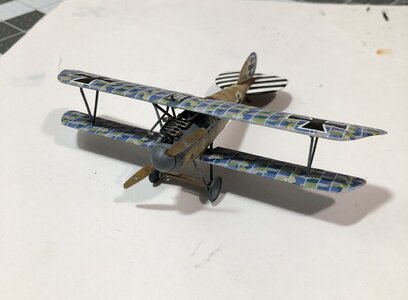
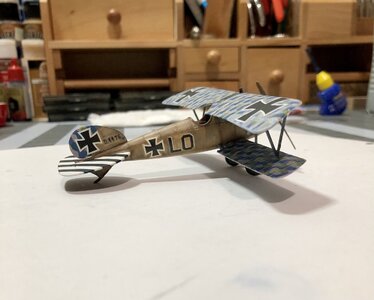
And finally I assembled all the main components…
And finally a pic in good company.
For size reference to WW2 aircraft…
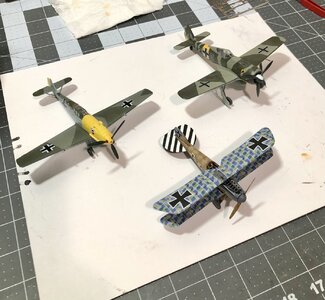
Next will be finishing all the fine details like hinges and tension cables. That should be interesting and tedious!
Once finished I will try to take some better pictures.
Ref pic…

So I made one out of wire the correct diameter…

That was painted and glued on.
Next was the propeller…

Most pictures I have seen show a wood propeller without laminations. So I went for that look on this one.
And finally I assembled all the main components…


And finally a pic in good company.
For size reference to WW2 aircraft…

Next will be finishing all the fine details like hinges and tension cables. That should be interesting and tedious!
Once finished I will try to take some better pictures.
Dean does this plane have a pitot tube by chance?
I actually have no idea, will have to research that. I will definitely find out when I build the 1/16 scale version!Dean does this plane have a pitot tube by chance?


