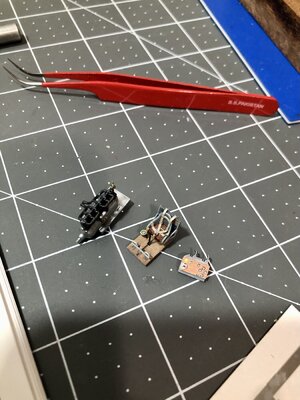
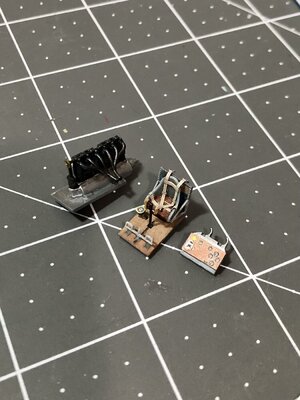
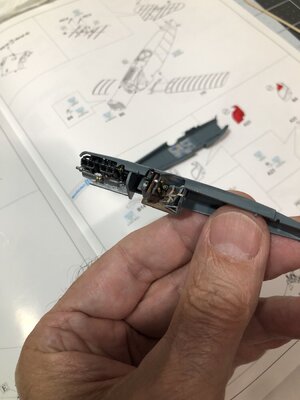
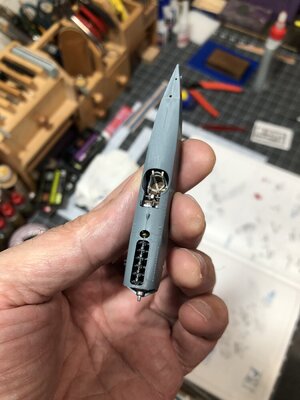
What I read is that it has a small wind driven anemometer that displays the airspeed in Kilometers per hour, that is located on the wing strut.Dean does this plane have a pitot tube by chance?
-

Win a Free Custom Engraved Brass Coin!!!
As a way to introduce our brass coins to the community, we will raffle off a free coin during the month of August. Follow link ABOVE for instructions for entering.
-

PRE-ORDER SHIPS IN SCALE TODAY!
The beloved Ships in Scale Magazine is back and charting a new course for 2026!
Discover new skills, new techniques, and new inspirations in every issue.
NOTE THAT OUR FIRST ISSUE WILL BE JAN/FEB 2026
- Home
- Forums
- Ships of Scale Build Logs
- Super Detailing Static Models / Other Genres
- Historical Trailways, Guns, Aircraft, and Cars
You are using an out of date browser. It may not display this or other websites correctly.
You should upgrade or use an alternative browser.
You should upgrade or use an alternative browser.
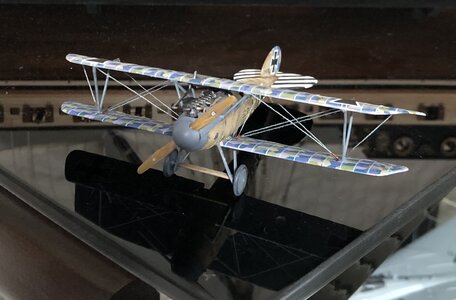
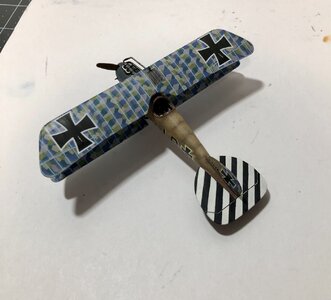
Complaints so far with the kit:
The decals show up when applied over paint, despite clear coating them several times...sigh! And I applied clear coat prior to application.
The struts have tiny pins that are located in tiny holes, and there is not enough surface area for a good bond, thus making installation a royal pain!
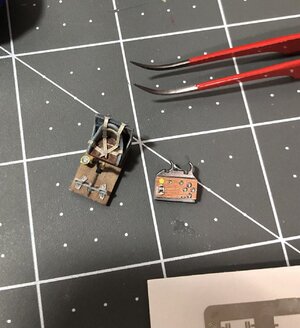
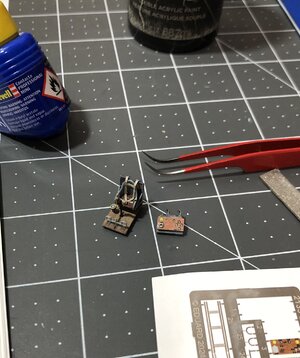
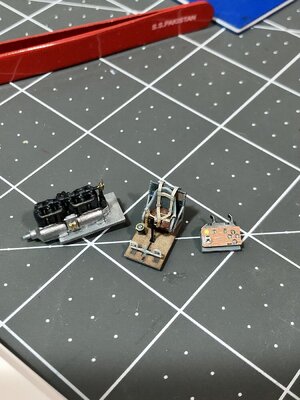
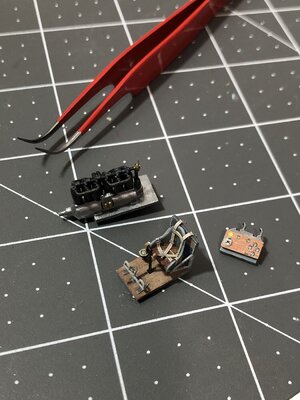
The tiny PE (photo etched) parts are very difficult to handle and glue in place. Due to the small size, it is difficult to get the correct amount of glue without excess, and if no excess they will break off easily due once again to a small surface area that is available for bonding.
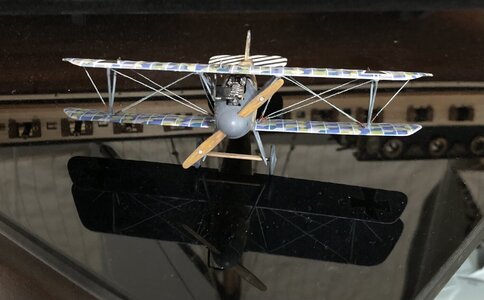
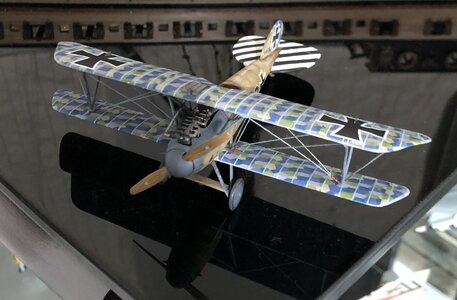
On the good side, detail is incredible for the scale!
If you get a chance, read this interesting article on flying the Albatros D.Va, gives you a new respect for the pilots back then!
 thevintageaviator.co.nz
Notes on Flying the D.Va | The Vintage Aviator
It has a big powerful engine and the airframe is lightly built and minimally braced, and its slippery.
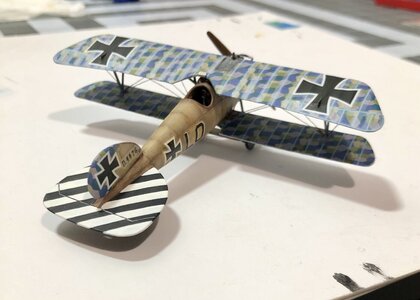
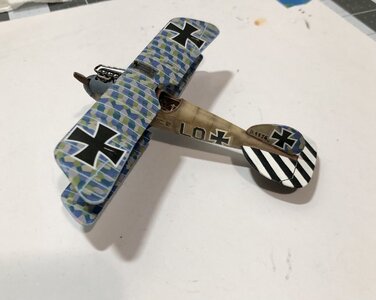
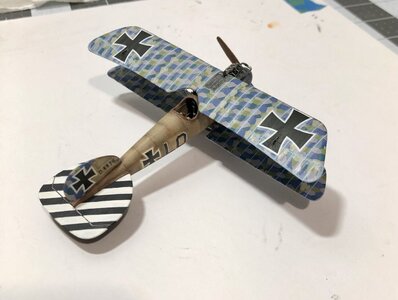
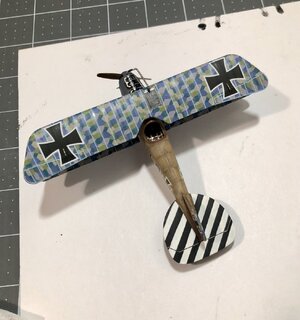
I made an adjustment at the elevator hinge. I painted black where the white stripes are and grey where the black stripes are, to define the separation.
Also, I added the silver PE hinges to the upper wing ailerons.
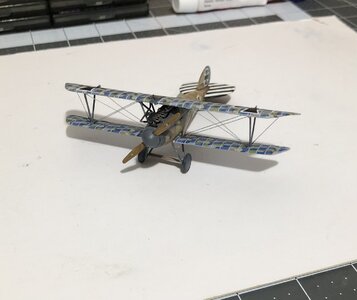
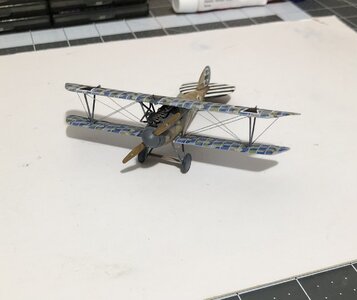
Then I started on the rigging cables on one side. Very tedious work. I have two more lines for this side, then repeat on the other side! Then there are two cables at the wheel struts.
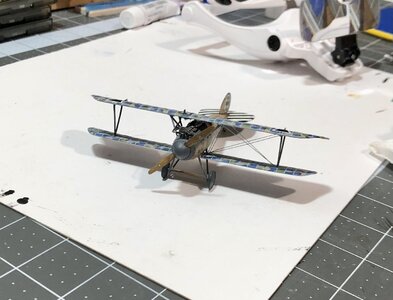
I will also simulate the turnbuckles. Probably with some PA glue and paint bronze. That should be sufficient at this scale.
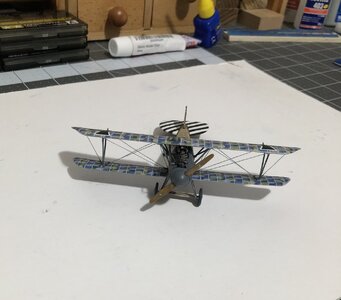
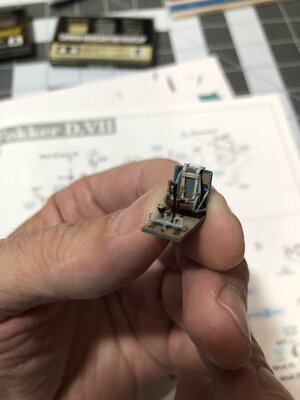
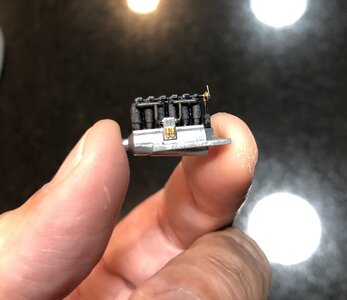
Just so you realize how small this airplane is…
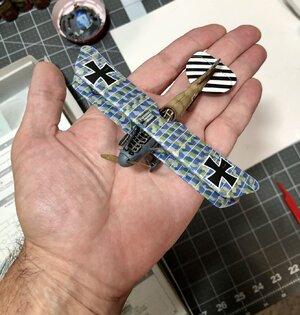
Accomplishing detail is a challenge, but doable with patience and determination. Back to rigging..
Also, I added the silver PE hinges to the upper wing ailerons.

Then I started on the rigging cables on one side. Very tedious work. I have two more lines for this side, then repeat on the other side! Then there are two cables at the wheel struts.

I will also simulate the turnbuckles. Probably with some PA glue and paint bronze. That should be sufficient at this scale.
Just so you realize how small this airplane is…

Accomplishing detail is a challenge, but doable with patience and determination. Back to rigging..
Looks absolutely great, Dean
Thank you Adi!Looks absolutely great, Dean
It’s no masterpiece, but it’s been a learning experience. There are a few things that could have been better, but at this scale I am afraid it limits you. It’s all because the size of everything is so small. If I didn’t collect aircraft in 1/72 scale, I would have purchased the same kit in 1/48 scale, that would have been very nice!
I am learning 1/72 scale is a compromise. So trying to put too much detail is an exercise in frustration!

Last edited:
Exactly Dean, I had similar experiences, that's why I prefer to build in 1:32. 
Agreed! I have to get some 1/48 scale Eduard kits and try to find some Wingnut Wings kits in 1/32 scale on the secondhand market!Exactly Dean, I had similar experiences, that's why I prefer to build in 1:32.
Last edited:
Very good result - Bravo - Bravisimo
Thank you Uwe!Very good result - Bravo - Bravisimo
Excellent Dean! Without a scale reference such as your hand the plane appears much bigger than it is. Thats surely a sign of expert detailing, I love it.
Thank you Daniel, I appreciate that analogy!Excellent Dean! Without a scale reference such as your hand the plane appears much bigger than it is. Thats surely a sign of expert detailing, I love it.
There were a few times I wanted to throw it in the garbage can!
 A real exercise in patience!
Very clean and very nicely done.
Thank you Adi! The fuselage will be black, but will have a lot of decals. So that should be interesting. Hoping it turns out nice!Very clean and very nicely done.
Great details - soooo smalllllll


