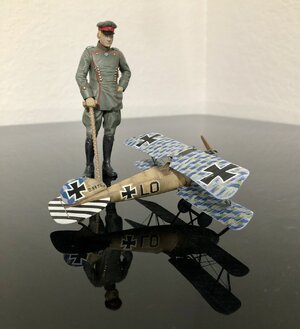
Du Doch Nicht!! Eduard 1/72 scale [COMPLETED BUILD]

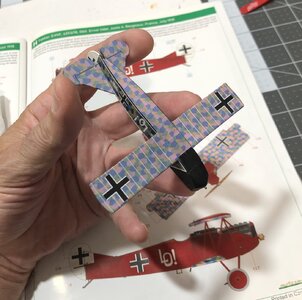
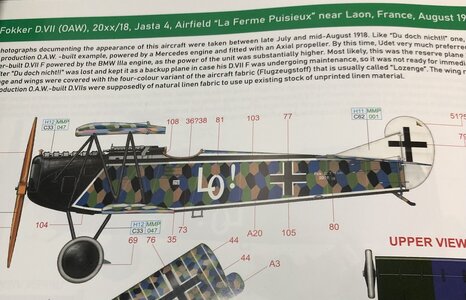
This is the version Fokker D.VII I picked to build, my fav out of 3 options…
IMG_2254.jpeg
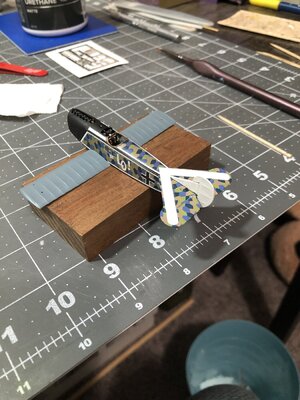
So I assumed I needed to paint the fuselage black and then apply the lozenge decal with the white border. So I painted it black.

But wait, there is no white border!
IMG_2252.jpeg
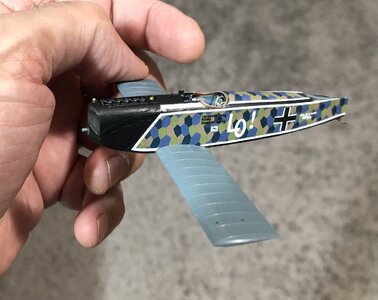
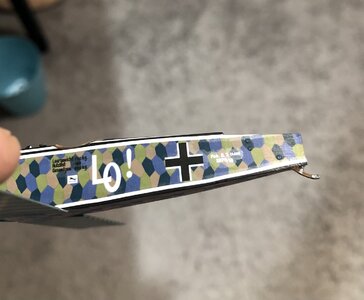
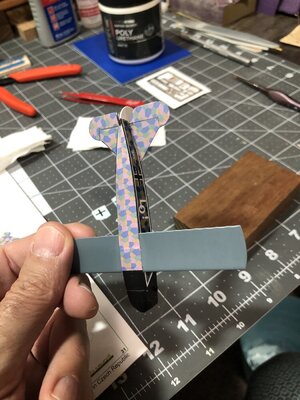
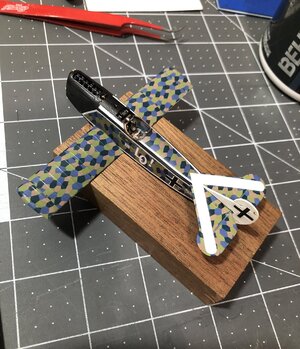
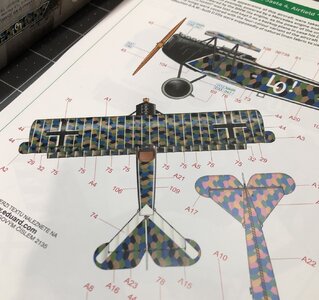
To my surprise the lozenge decal covers the entire side and top.
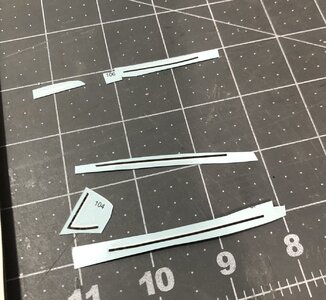
You get the white border and black background with two tone stripe decals!
IMG_2253.jpeg
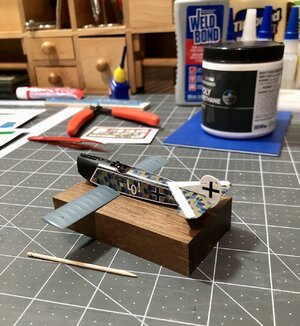
No less than five per side. Then you will add other decals on top of that. That seems like a lot of extra work. It would have been better to have the lozenge design with a white border as one decal. But it would also be better if the wings had the lozenge design with the strips already in the decal instead of a million extra tiny strips of decals to add on top. Oh well…onward we go.
I first clear coated the lozenge decal and let that dry, so those would not try to move or come loose when adding the stripes and other decals on top.

Then everything was clear coated afterwards…
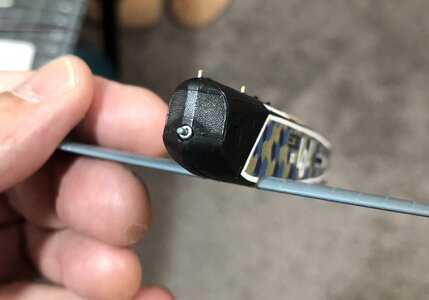
IMG_2260.jpegIMG_2262.jpegIMG_2263.jpeg
Now I’m happy! ;)

The grille…
IMG_2257.jpeg
The tail skid…
IMG_2265.jpeg

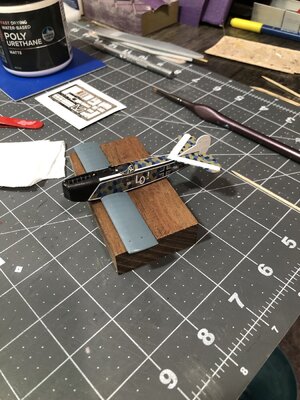
Next will be the parts for the empanage. And then I will finish the lower wings.
Getting excited as it goes together. I really like this airplane! ;)
 
Last edited:
Great work as always, decals look spot on.
Thank you Kurt! Good thing I have previous experience with decals, as there are a lot on this model! ;)
Your D IV comes across very convincingly. Your paint job and the application of the decals looks very good.
Thank you Adi! Too many decals…ROTF …and many more to go!
 
Last edited:
I worked on the empannage tonight. Doesn’t looks like much, but the tail has to be covered on both sides with the lozenge decals, then clear coated. That was then glued on.
Then the white stripe added and clear coated.
And finally the rudder painted and clear coated and glued on. Next I will add the insignia decals and some other tiny decals on it.
Then on to the lower wings.
IMG_2269.jpegIMG_2270.jpegIMG_2271.jpeg

This little Fokker is going to look cool! ROTF
 
I can’t take credit for that, those are photo etched parts that were pre painted! Very nice addition to the kit. Only obstacle is bending them and gluing them in place without destroying anything in the process! ROTF
Magnifying glasses and tweezers required. ;)
You should take credit, working with small PE parts is not at all easy. It takes a very proficient modeller to turn a sheet of photo etch into a model of beauty.
 
You should take credit, working with small PE parts is not at all easy. It takes a very proficient modeller to turn a sheet of photo etch into a model of beauty.
Thank you Roger for your kind words. I agree trying to hold and glue microscopic pieces of metal, that also have to be bent prior to placement, is a bit of madness and frustration. I often wonder who they think will be building this, when the entire airplane fits in the palm of my hand! ROTF
 
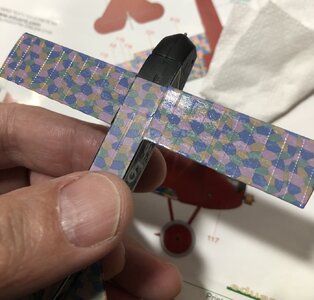
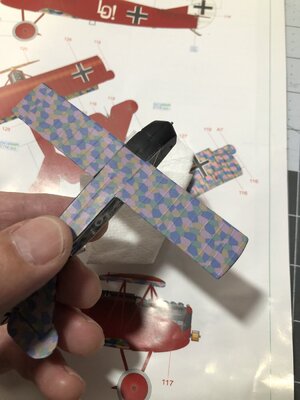
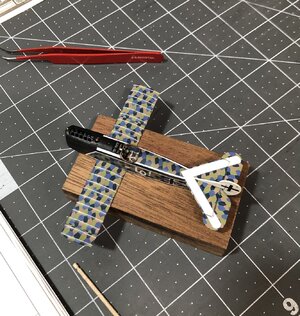
Tonight I added the lozenge decals to the lower wings…
IMG_2311.jpeg
As you can see, the decals are shiny. So I use a matte clear coat to make it look more realistic like canvas…
IMG_2312.jpeg
I did the top of the wings first, so they are done as well…
IMG_2313.jpeg
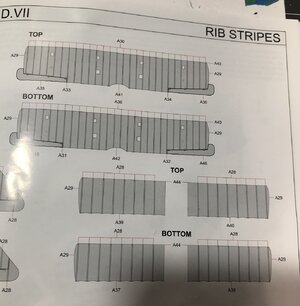
Next will be the stripes on the wings…
IMG_2314.jpeg
Here is the instructions for those…
IMG_2315.jpeg
Once those are on the lower wing, I will add the insignias to the bottom of the wing, and then a final clear coat.

Next up after that, will be machine guns and other small PE parts on the empanage assembly. Then on to the upper wing and struts.

Thanks for following along, this journey of miniature models! ;)
 
Today was adding the stripes to the lower wings, top and bottom. 20 total decals, then the two insignia decals on the bottom. Then I clear coated everything.
IMG_2316.jpeg
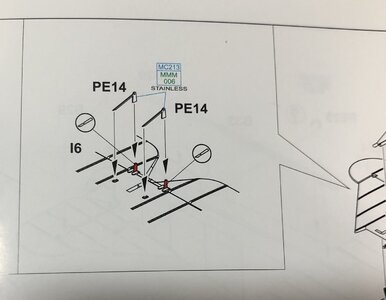
Then was the PE parts for the car control horns and rods on the upper elevator.
IMG_2317.jpeg
After than I painted the hinges and added a wash in the lines that separates the elevator and rudder.
IMG_2326.jpeg
Later the controls horns and rods for the rudder and lower elevator will be added.

But for now, it’s time to start building the machine guns. ;)
 
Last edited:
Back
Top