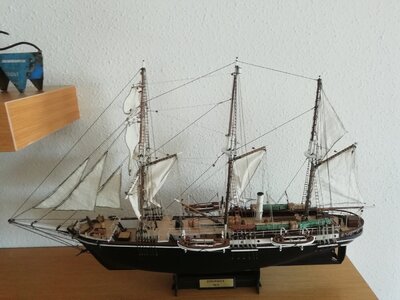
Endurance 2nd build

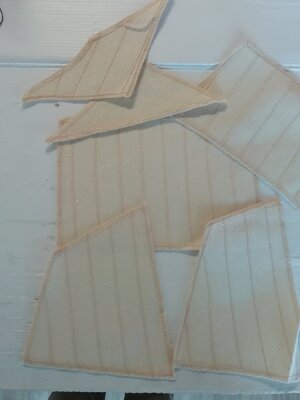
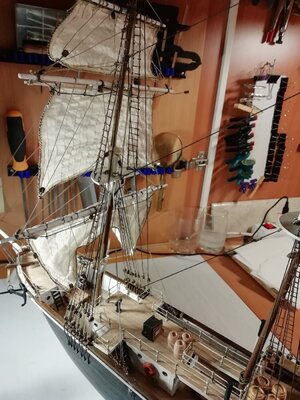
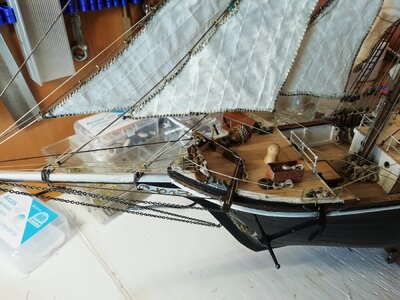
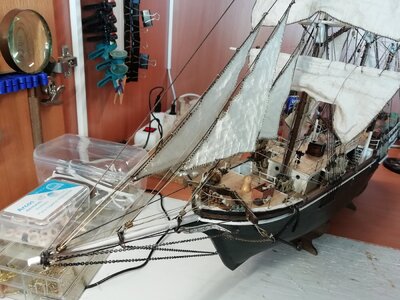
About to start on the sails but I really don't like the ones supplied with the kit.IMG_20221221_160756.jpgIMG_20221221_160638.jpg The overlocking on the borders looks really out of place and scale and the vertical seams are spaces far too wide. On my Candelaria I added intermediate seams which gave a scaled panel width of about 80 cm but that was possible as the sails were of older design and did not have the overlocked hems.
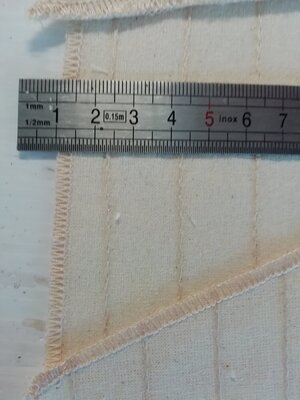
If I remove the over locking then I have a raw edge that will fray so I think I will have to start from scratch with some Amarti sail cloth that I have in store. Quite a bit of work to cut, hem and colour it, then add the seams and bolt ropes but I hope the result will be worth it.
 
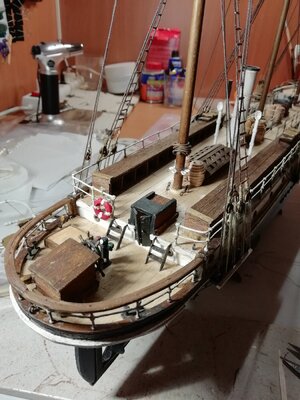
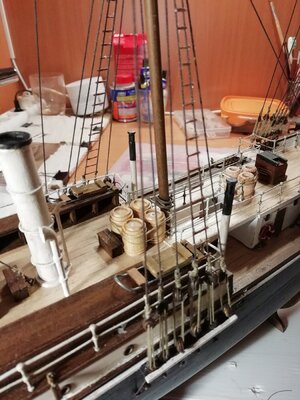
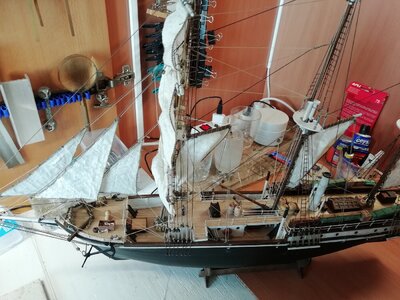
Standing rigging completeView attachment 346818
But...
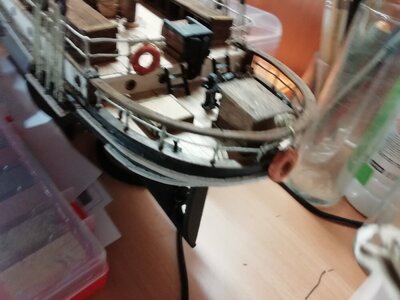
You may notice that some of the davits are missing, particularly on the port side. Disaster struck when I was reaching past to put my hand drill in its rack and caught the fore mast to bowsprit rigging and knock over the ship!
One of the davits broke, the others survived but became detached. I think I'll refix them after I have finished the rigging. One of the drawbacks of working in my restricted space and, of course being clumsy and stupid.
I waited to install my davits and boats until the last step. I know all too well about clumsy and stupid.
 
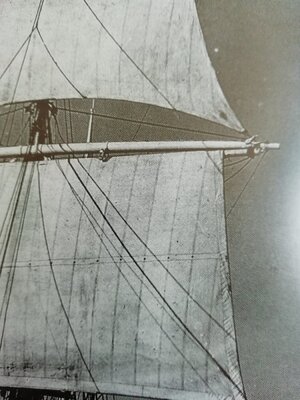
Before I started on the sails I had another look at the photos of the real ship.
I note that the panel width is about 18 inches (45 cm). So simulated seams at 8mm would be totally correct but I think I'll see what 9 or 10 looks like.

Big question....
Looking at the photo of the main sail on the fore mast it appears that there is some sort of roller furling system, the others have the usual roband attachment. IMG_20221224_145127.jpg
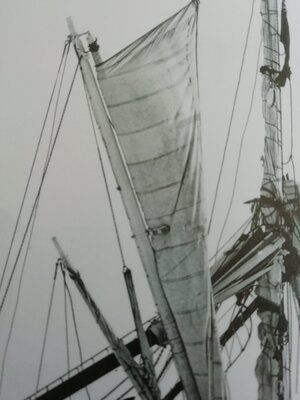
The roller system (if that is what it is) is better seen on the picture of the wreck just before sinking. IMG_20221224_145234.jpg
I as far as I can tell from a quick search roller furling started to be used around the time that the Endurance (Polaris) was built.
Am I mis-reading the pictures? Has anyone else modified the Occre kit to include this feature? How do those intermediate supports work?
Any help or observations welcome...
And...
A merry Christmas to all my readers!
 
Not much work on the Endurance over the holiday period although I have started making the sails by seaming a large panel from which I can cut all the sails using a hot knife to seat the edges I cut.

Also still trying to research the roller furling system used for the central square sail on the foremast and getting nowhere at present. One of the few things I found was a reference to roller furling square sails "like on the Endurance"
I can try to replicate how it looks in the photos but I would like to understand how the roller was supported.
Can anyone point me in the right direction?
 
It's been a couple of weeks since I posted here but I have been working on the sails. I started on the fore mast square sails. Having "seamed", stained and washed a large piece of synthetic sail cloth, I cut out the required shape with a hot knife to seal the edges and hemmed it with glue. Two sails now have their bolt rope attached.
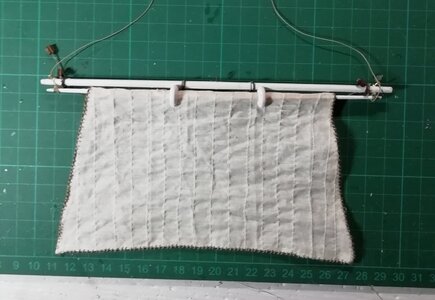
After much deliberation and Uwek's help I was able to establish that the centre fore sail was indeed roller furled so I have done my best to replicate the system:IMG_20230115_202715.jpg
As a relief from the drudgery of sewing on bolt rope I put some extra detail on the decks, lifebouys, some barrels and the sledges that I made some time back. It is easier to put them on now than when the ship is fully rigged.
IMG_20230107_203424.jpg
I decided that I had coloured the lifebouys to look too modern so later repainted them a dirty orange... IMG_20230115_195716.jpg
Looking at photos of the deck when at sea I can see that Shackleton was more concerned with being well supplied and equipped than being ship-shape and tidy so I will continue to add stores etc later
IMG_20230107_203553.jpg
Now back to the sails... A good few weeks work yet at the rate I'm going
 
And so it begins...
I finally completed the Candelaria. Very proud that I found the patience and determination to finish it. Not proud of the detail and mistakes made through lack of experience but looking forward to doing better this time.
I have started this log in the hope that you guys can point me in the right direction when I stay off course, hopefully before I make irreversible mistakes.
So I bought Occre's Endurance. Mainly because it's very different to the Candelaria.
I found the kit in a great little shop in València, MAQUETAS CASA GIMENEZ together with some tools and gear that I need.
I bought the Candelaria over 6 years ago and it seems that Occre have upped the game a bit with overall quality and, most importantly for a beginner like me, the instructions. If I had had the YouTube videos last time things would have been very different.
No unboxing pictures, sorry to those who like them, but it all seems to be there and if not I know now that Occre have good customer service.
Anyway off to a good start...

View attachment 316869

View attachment 316870

View attachment 316871
Hallo @Barcomad
we wish you all the BEST and a HAPPY BIRTHDAY
Birthday-Cake
 
Thanks for the birthday wishes. 76 and counting... Still in good health as far as I can tell.
Slow progress on the Endurance but steadily moving forward. Now completed the fore mast sails and rigging:
IMG_20230209_200808.jpg
Including my attempt at replicating the roller furling system :IMG_20230209_200822.jpg
As a break from sails and rigging I've been adding some enhancements of my own devising such as lifebuoy and extra stores in the kennel areaIMG_20230209_201026.jpg
I particularly like adding this type of enhancement to the kit, not necessarily authentic but I think it adds to the overall feel of an expedition ship.
 
Like the additions, they not only add to the overall feel it also makes it unique or your ship.
My Endurance build has slowed to almost a halt at the moment as I am looking after my wife after her total knee replacement surgery and am just not able to spend the time at my bench.
 
Like the additions, they not only add to the overall feel it also makes it unique or your ship.
My Endurance build has slowed to almost a halt at the moment as I am looking after my wife after her total knee replacement surgery and am just not able to spend the time at my bench.
Thanks for the comments.
You are right about making the model my own with the additions.
All the best to your wife. It can be a painful recovery I hear.
How is it in Kent? I was born and went to school in Dartford then lived near Maidstone for a short while before moving to Gloucestershire in 1971.
 
Thanks for the comments.
You are right about making the model my own with the additions.
All the best to your wife. It can be a painful recovery I hear.
How is it in Kent? I was born and went to school in Dartford then lived near Maidstone for a short while before moving to Gloucestershire in 1971.
I live in the Ashford area. Kent is OK but feeling the fallout from recent events affecting the UK but I will refrain from commenting further.
My wife is doing well but you are right about the pain. The surgeon told her she will hate him after the operation!
 
Can't believe how time goes! It's been 6 weeks or more since I updated this log.
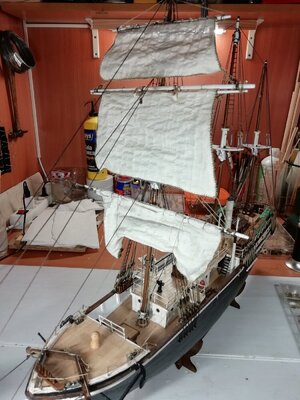
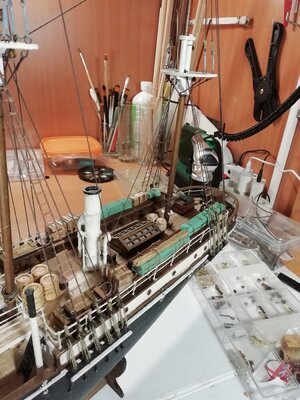
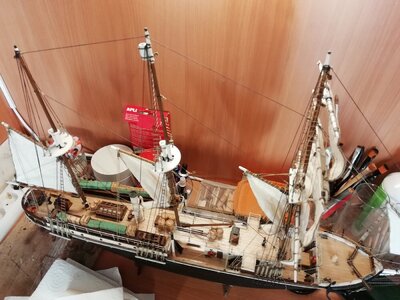
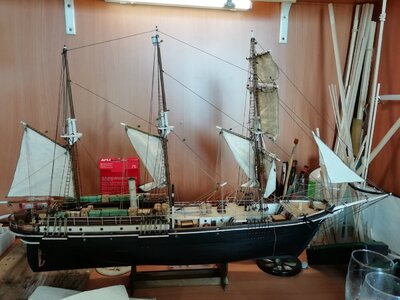
Finally finished the sails and rigging, also a few enhancements on the decks. IMG_20230505_173731.jpgIMG_20230505_173710.jpgIMG_20230505_173721.jpg
Now I have to re attach the Derrick's and small boats. That will take me nearly to the finish line.
 
Completed the work on the main boat yesterday so will post some pictures once I have made a nameplate for display.
I will also post a "debrief" listing the changes made to the kit and instructions in the hope that it may help others who take on the build of this extremely interesting ship.
One big recommendation, whether your are going to build the Endurance or not, is to read Alfred Lancing's book. There's nothing else like it.
 
The work on your Endurance has turned out great.

Bill
Thanks Bill.
I spent this afternoon correcting a mistake with the railings around the mid deck cabin. I hadn't left a gap at the top of the steps! Fortunately I had spare stanchions.
I'm glad that I found out before we take the final photos.
 
ENDURANCE
DEBRIEF
Started 2nd July 2022
Completed 3rd June 2023

Modifications to kit and instructions.
  • All blocks, deadeyes and belayling pins stained walnut twice to make them much darker.
  • All brass parts blackened.
  • Deck planking cut to 60 and 30mm lengths rather than drawn. (post #11)(Next time I would adjust the panel length to evenly fill the space rather than have small gaps to fill)
  • Deck planking drilled for tree nails. (Post #16)
  • Added length and 3 more holes to the foremost belayling pin racks so as to be able to attach the jib sheets there rather than to the shrouds. (Post #22)
  • Added planking to the midships deck cabin (Post #38). Next time I would make the planks narrower so as to be more to scale
  • Cleats instead of eyebolts for the catheads
  • Replaced all the double stanchions with more sturdy ones made by Billing Boats (Post #39)
  • Used wire and/or stiffened thread for the railings (Post #49)
  • Completely modified the stern rail to be wood like the original ship. (Post #44)
  • Added oars, masts and sail bags to the small boats. (Post #50)
  • Completely change the dog sleds (Post #59)
  • Completely changes the method of attaching the sail sheets to the base of the masts so as to conform better to the original (Post #74)
  • Wooden battens rather than rope ratlines.
  • Left out the upper rat lines on the rear mast as on the original.
  • Changed the configuration of the rat lines on the mizzen mast to conform to the actual ship. (Post #99)
  • Replaced the upper mast deadeyes with bottle screws (Posts #87 to #90)
  • Lowed the fixing point of the lifting boom so as not to interfere with the mizzen sail and to look more authentic.
  • Removed the davits to fix again at the end of the build. (Post #100)
  • Discarded the supplied sails and made new (Posts #101 and #103)
  • Added a roller furling system to the central square sail (Posts #103 to #105)
  • Added a number of stores and barrels etc to the decks. (Post #105 and later)
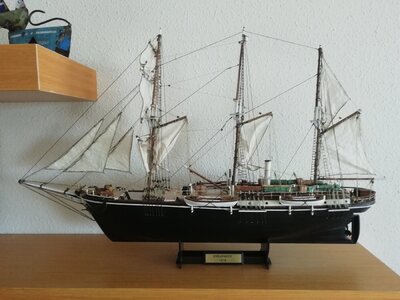
  • Knowing what I know now I would have opened up the bulkhead under the fore deck and made the steering gear more authentic but, hey, maybe next time...IMG_20230603_161823.jpgIMG_20230603_161833.jpgMore profesional photos to follow when I can get my neighbour with an expensive camera to take some.
 
Back
Top