Fun stuff! I can’t wait to get to that stage with my Black Pearl.The making of the first shroud
First I measured the distance to each block and tackle side, then I added another 6 inches of line just for good measures. I'm using 1 pieces of line that will tie off on both sides of the ship.
View attachment 182118
Started the frapping process,
View attachment 182119
and done!
View attachment 182120
Snugged up the frap line to close the loop a little more.
View attachment 182121
Test fitted it over the mast
View attachment 182122
Continued the process ..
View attachment 182123
Only 2 more to go for the foremast.
The shrouds are not glued down yet, as well the foremast is not either.
Did the same thing for the main mast..
Next up, tie on the deadeyes and attach to the hull.
You are using an out of date browser. It may not display this or other websites correctly.
You should upgrade or use an alternative browser.
You should upgrade or use an alternative browser.
In better trying to understand where all the standing rigging lines go I looked at a number of images, online and in my books.
Some lines were tied off to eyebolts, but I did not previously see any instructions on placing the eyebolts in the build instructions.
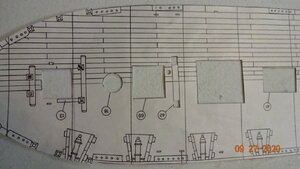
Upon closer reading I found that the schematic used "small rectangles" to designate where an eyebolt should go. Look closely and see if you can find those areas...
Anyway, I went back and drilled all the holes, made some eyebolts and glued them in.
Working through where all the standing rigging ties off and almost have it figured out.
For newbies (see myself) I recommend that you have a good understanding of where the lines run and what they are used for BEFORE cutting, running and tying off the lines. I've been at it a week or two and I now understand where/how the standing riggings (for this model) are used.
I want to test run all the lines to see if I have enough standing rigging line or if I need to order more.
That's it for now.
Some lines were tied off to eyebolts, but I did not previously see any instructions on placing the eyebolts in the build instructions.
Upon closer reading I found that the schematic used "small rectangles" to designate where an eyebolt should go. Look closely and see if you can find those areas...
Anyway, I went back and drilled all the holes, made some eyebolts and glued them in.

Working through where all the standing rigging ties off and almost have it figured out.
For newbies (see myself) I recommend that you have a good understanding of where the lines run and what they are used for BEFORE cutting, running and tying off the lines. I've been at it a week or two and I now understand where/how the standing riggings (for this model) are used.
I want to test run all the lines to see if I have enough standing rigging line or if I need to order more.
That's it for now.
I agree that we newbies need to study hard before rigging. I looked at the plans for my Connie and said, “That can’t be right!” I was wrong. Now I’m not inclined to undo my belaying and start over. Maybe no one will notice the backside of my jib being on the wrong side of the running line.
Do you have a build log for Dos Amigos?
@Vfordyce
No build log for the Dos Amigos.
That was my first model ship and it was a block hull ship.
I built it while I was still working so it took a few years..
It now harbors at my friends out door backyard bbq and bar.
He has a pirate theme, so it fit in well.
Are you planning on purchasing the 3rd module for the Black Pearl?
I'm leaning towards building that section as I have no interests in the figurines that come with the 3rd module.
And $75 plus shipping and tax for a few dowels and some string sounds extreme.
Question: Did you have to pay and import duty tax? Or was your cost just the model ship and shipping?
I think it cost maybe $75? Le Soleil Royal cost over twice as much because of all the heavy decorations. I think the boxes were about the same size.
Starting to connect the shrouds.
First I copied the drawing of the starboard shrouds to use for measurements.
Then I cut out the holes for the top deadeyes to help with alignment.
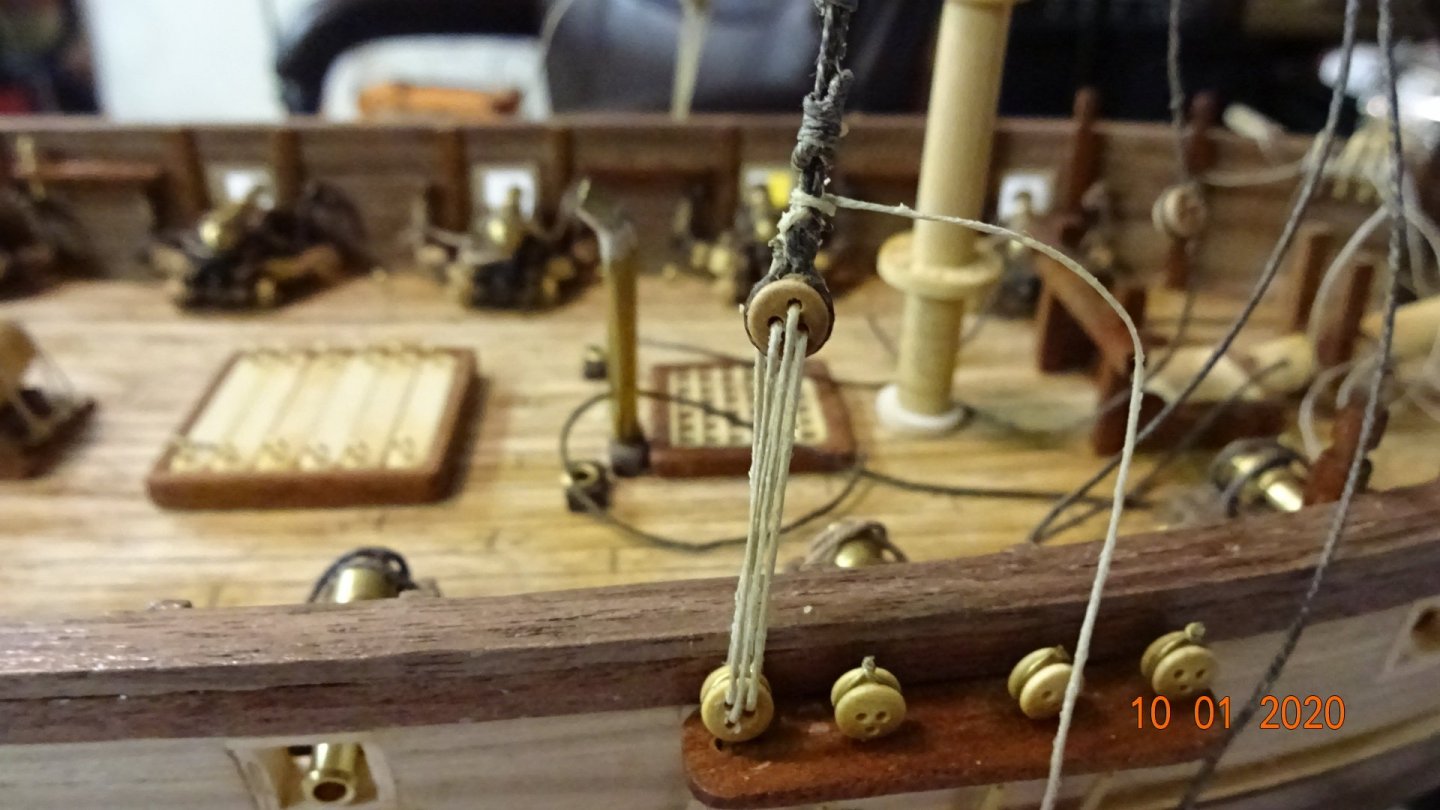
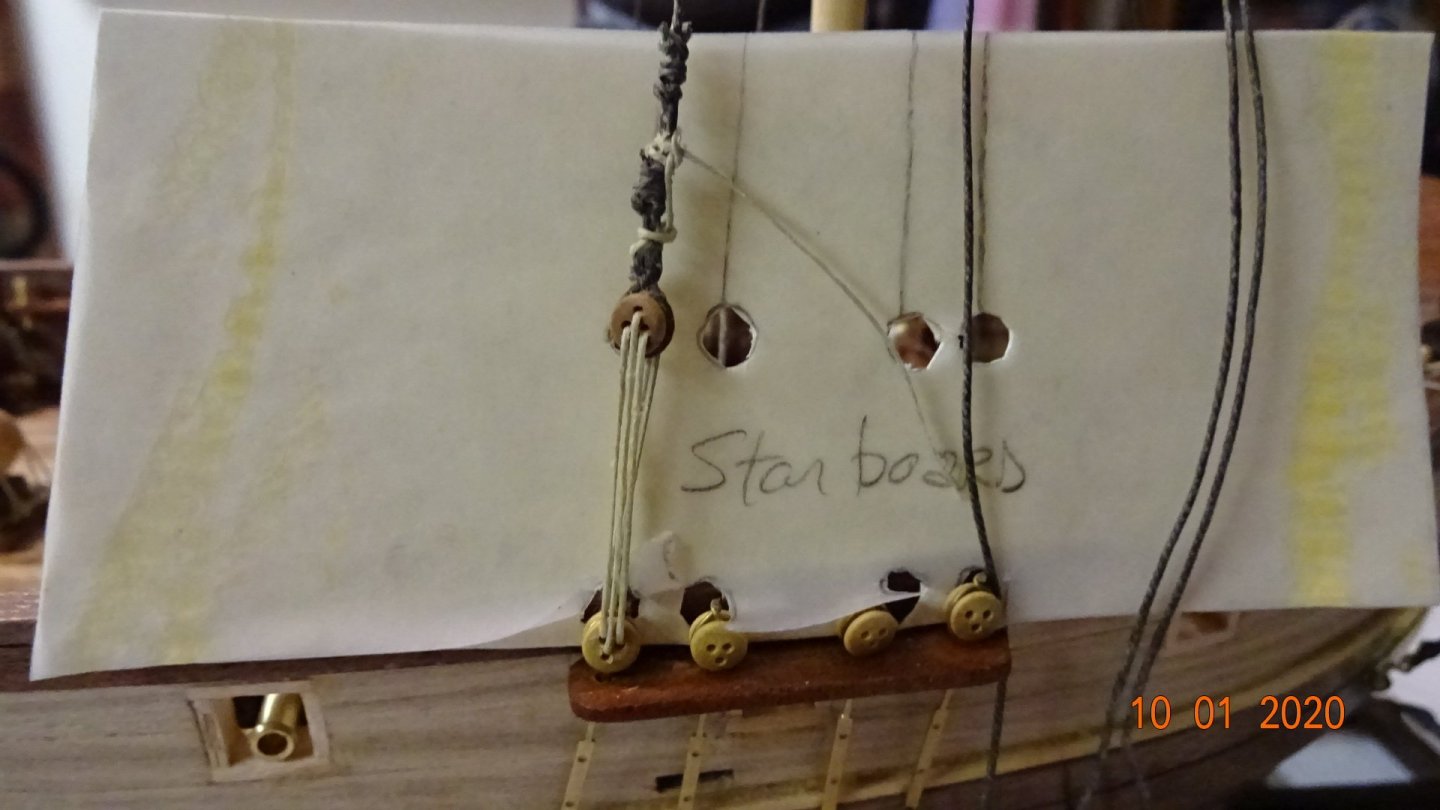
Used the back side of the drawing for the port side.
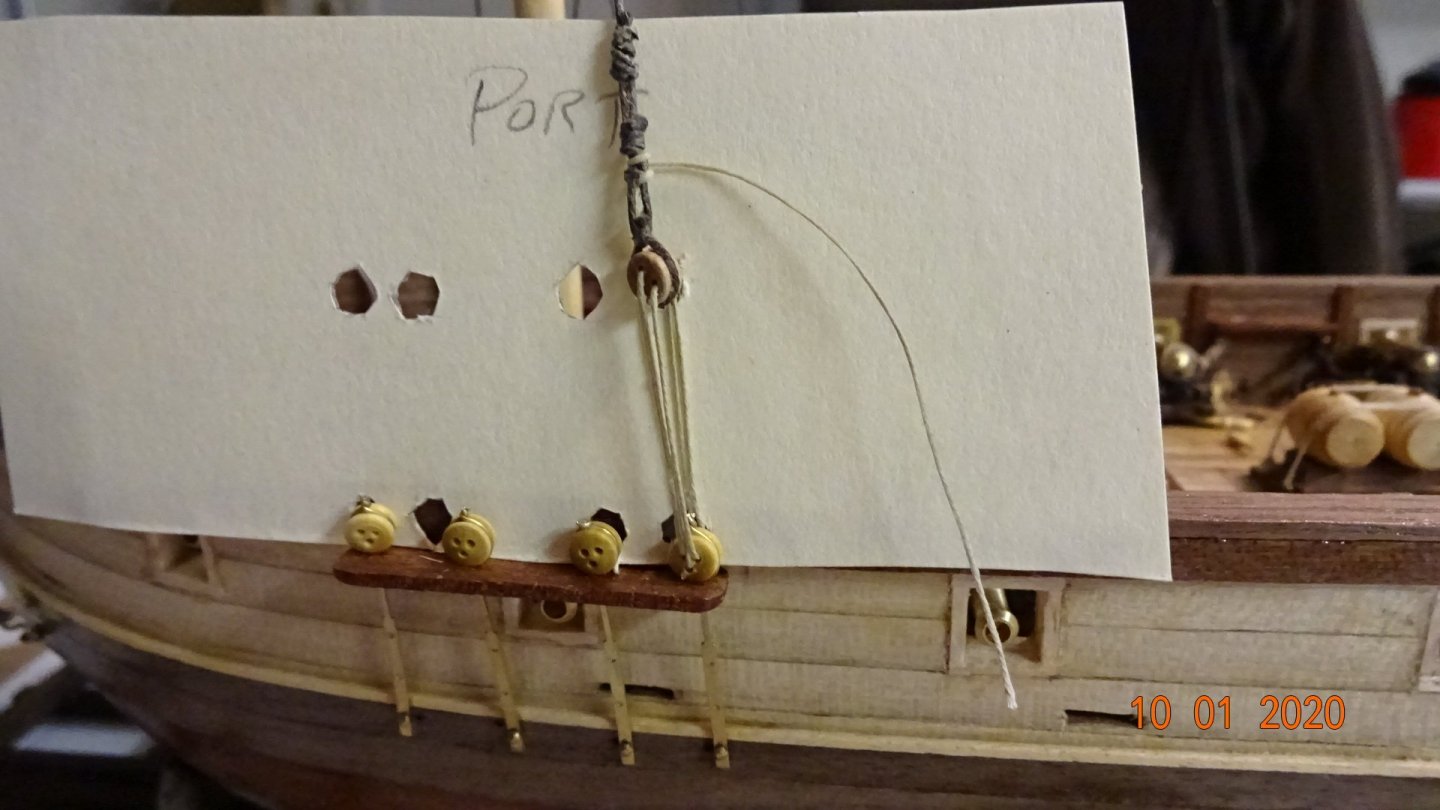
As I started adding the shrouds I realized I forgot to make the holes for the stanchions.
I drilled and tested, no gluing yet. Seems like someone mentioned to wait on the gluing.
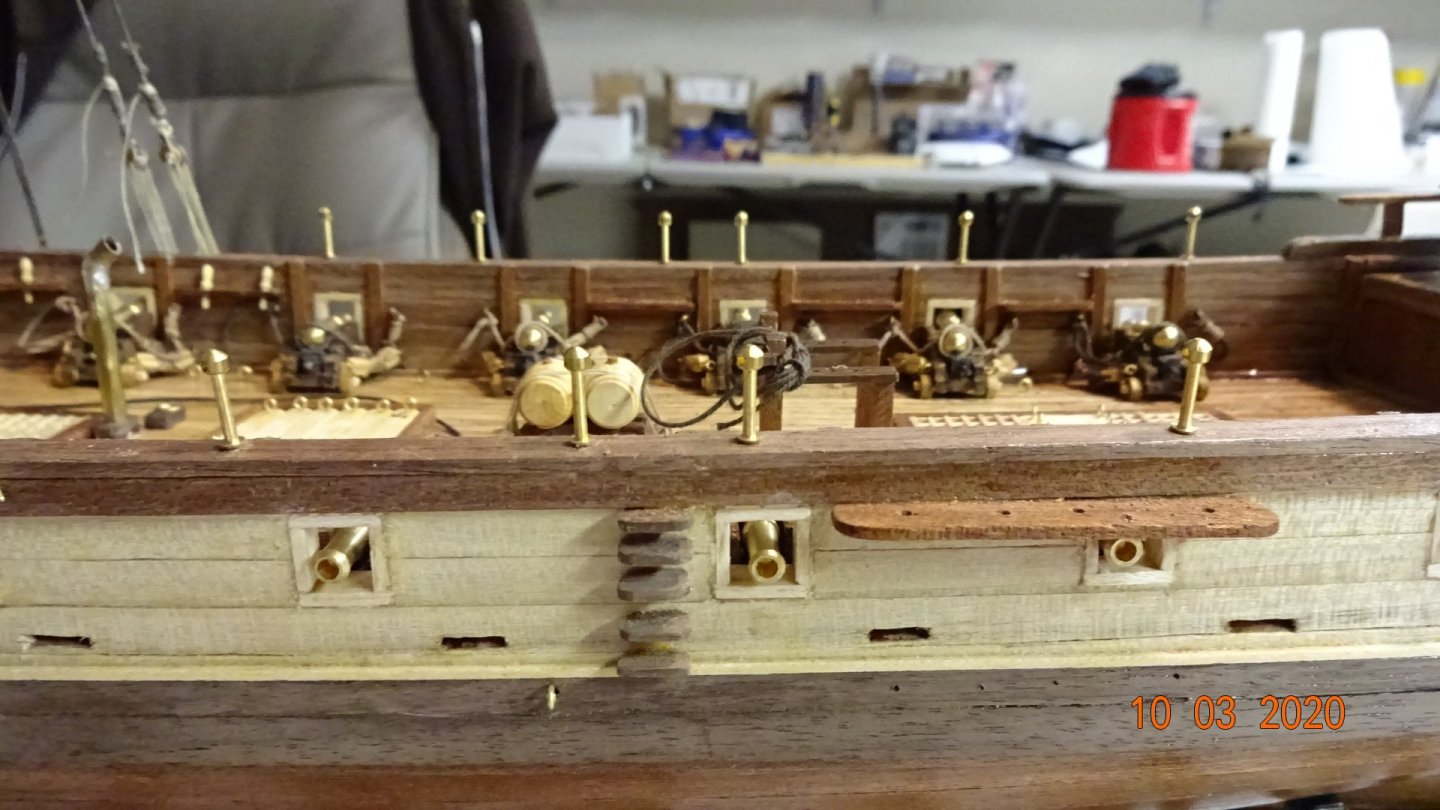
First shroud and deadeye tieoff was a bit unnerving to do, having the drawing for placement really helped out.
Only did 2 a day.
Still need more practice on "frapping" the shrouds.
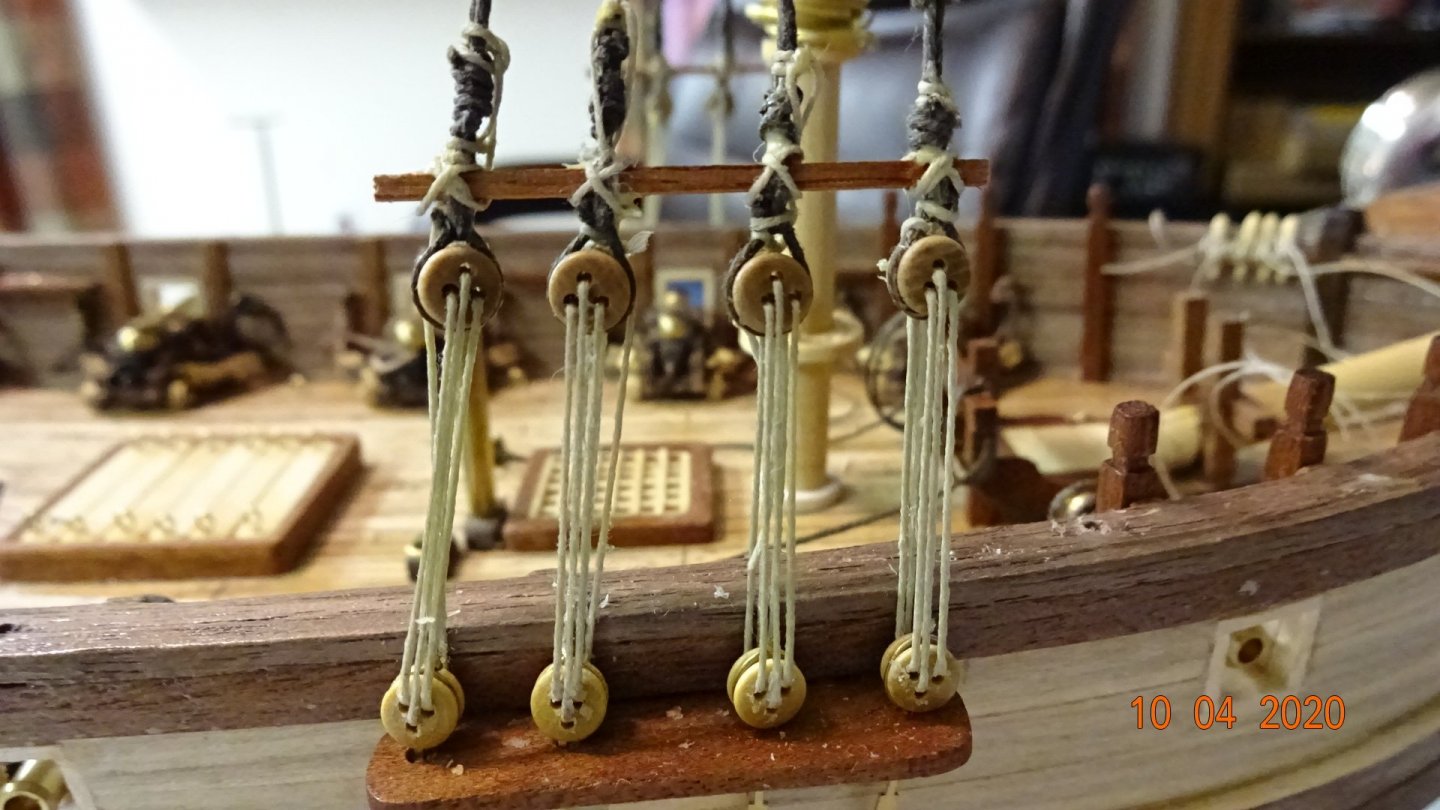
Next up is to finish the standing rigging on the fore mast.
First I copied the drawing of the starboard shrouds to use for measurements.
Then I cut out the holes for the top deadeyes to help with alignment.
Used the back side of the drawing for the port side.
As I started adding the shrouds I realized I forgot to make the holes for the stanchions.
I drilled and tested, no gluing yet. Seems like someone mentioned to wait on the gluing.
First shroud and deadeye tieoff was a bit unnerving to do, having the drawing for placement really helped out.
Only did 2 a day.
Still need more practice on "frapping" the shrouds.
Next up is to finish the standing rigging on the fore mast.
Spent a lot of time on where all the fore mast standing rigging lines tie off.
Once I had confidence in the placement I began.
Here is the 2 fore back stay lines rigged.
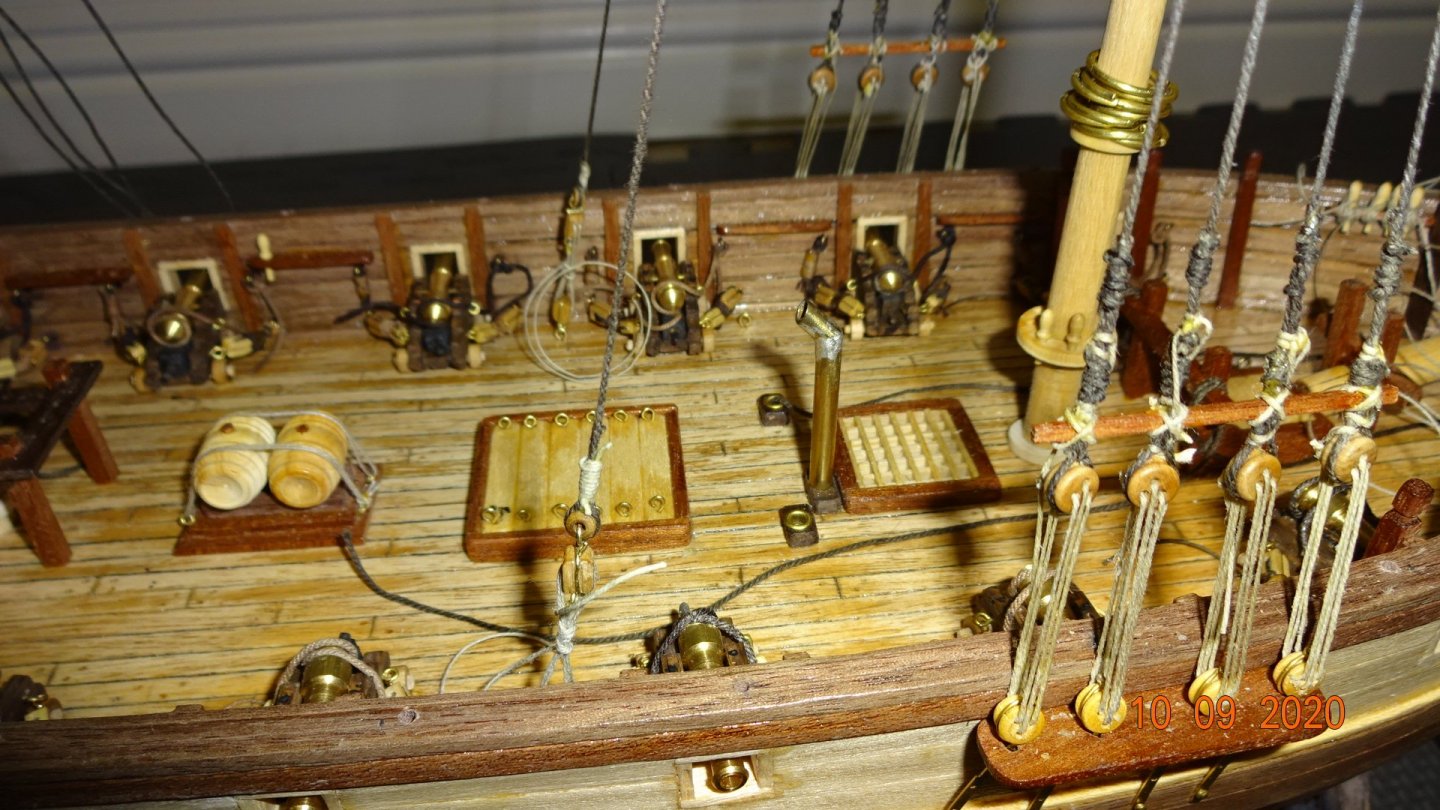
From another angle.
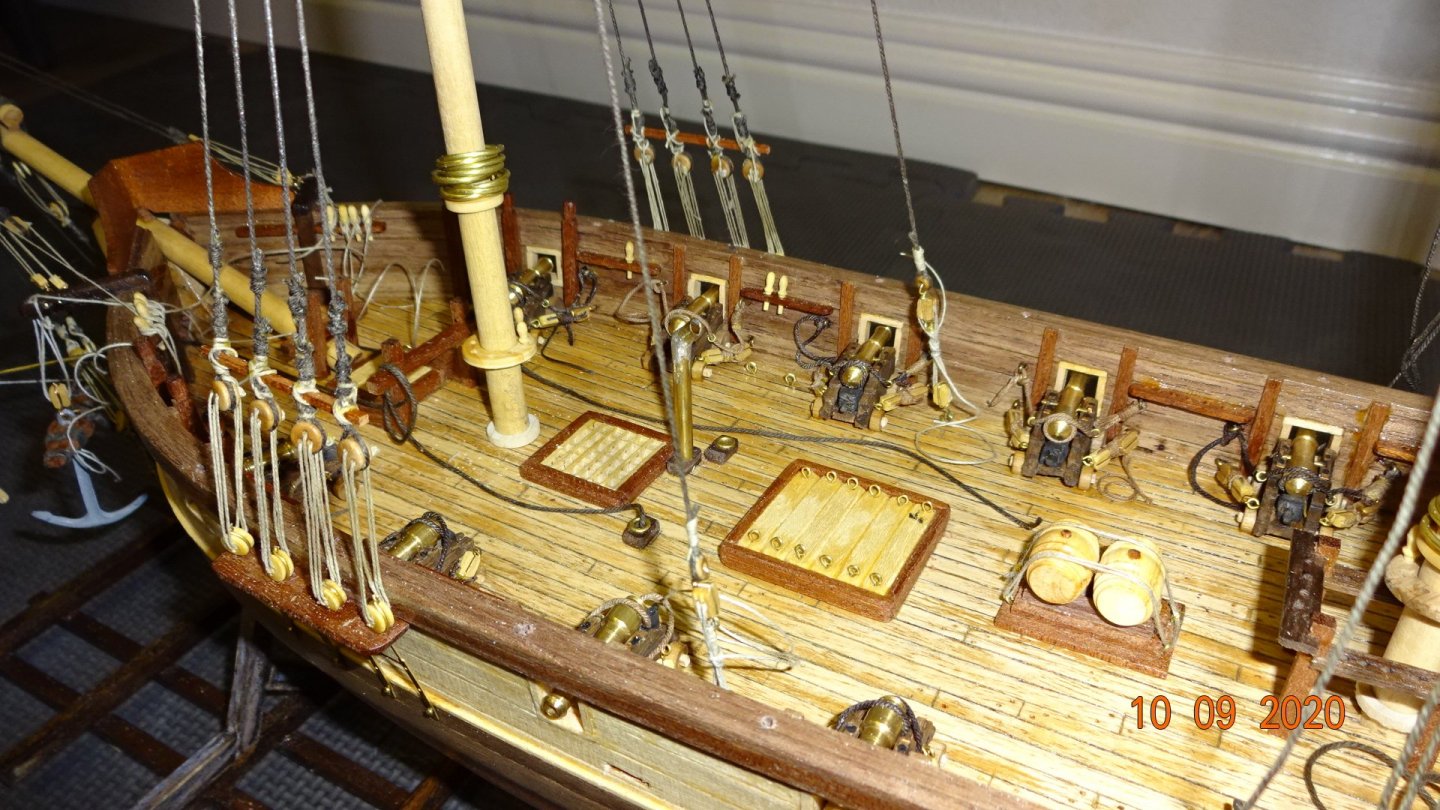
Initially I thought the lines would tie off at a belaying pin.
However, there is not a pin near the blocks so I ended up wrapping the excess line around the tackle lines.
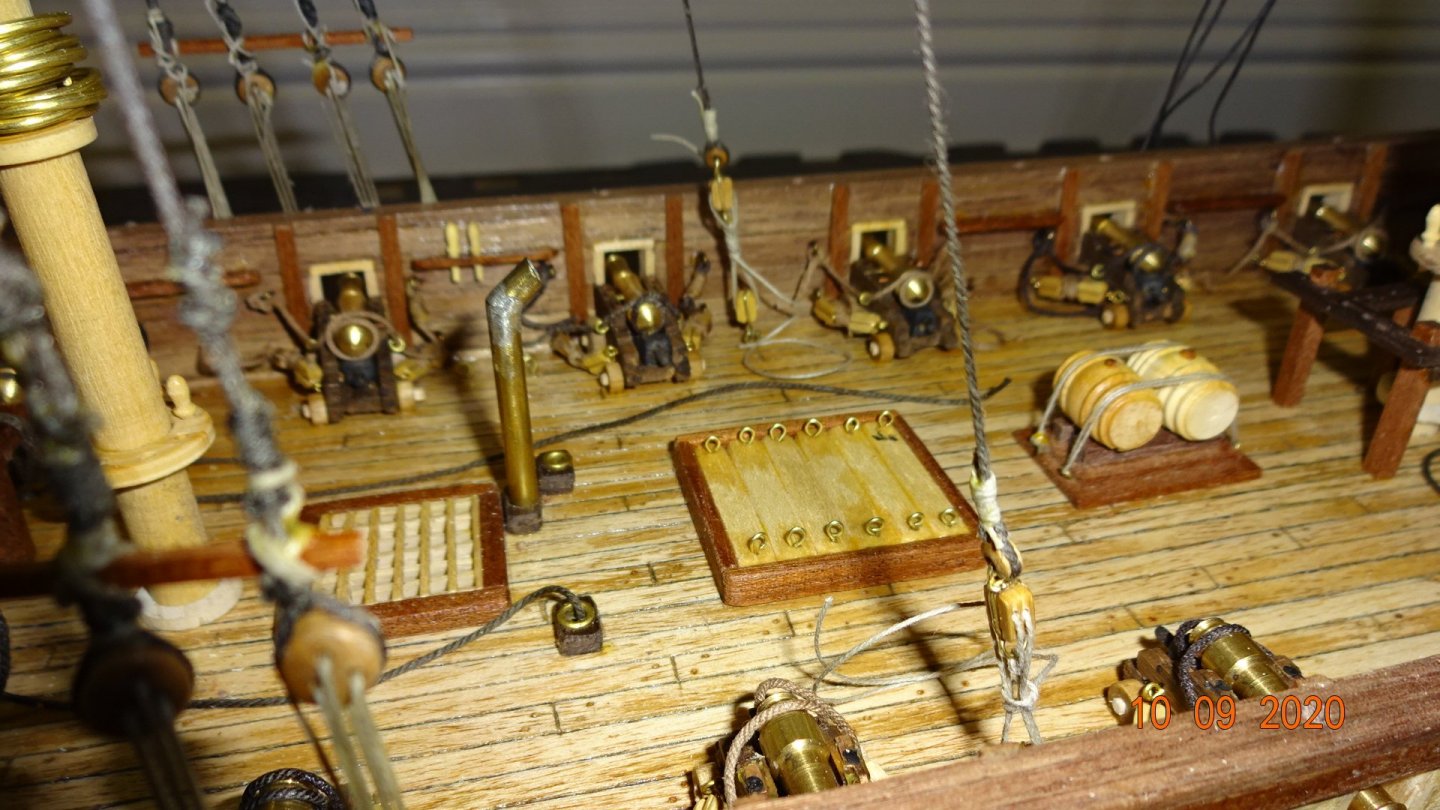
Ran the fore stay and the jib stay lines next.
The 2 lines on the right are those stays. I tied a line around those two lines at the fore mast (it runs straight up the fore mast), it will pull the 2 stay lines off the back of the shroud lines.
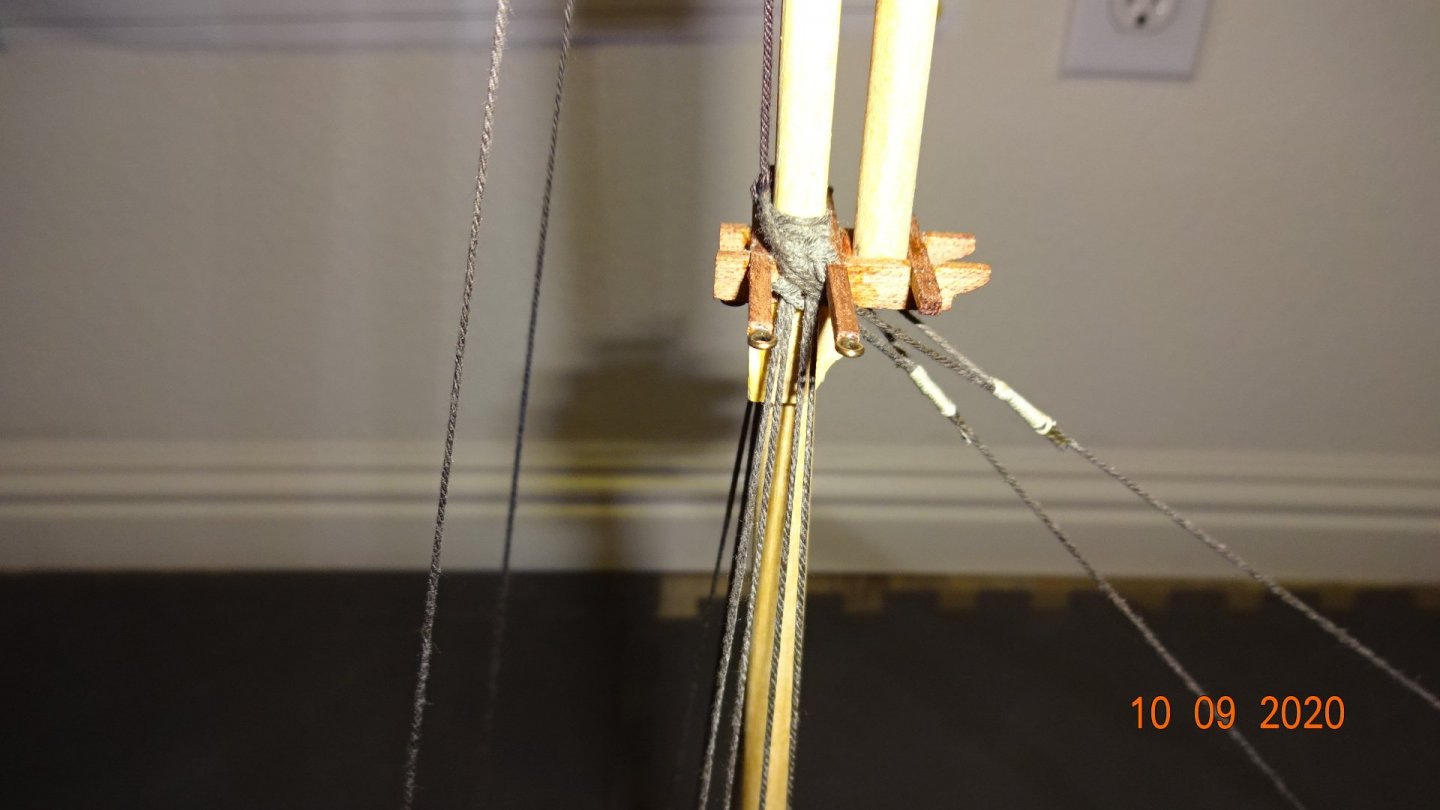
Here's a better picture showing the line pulled taught.
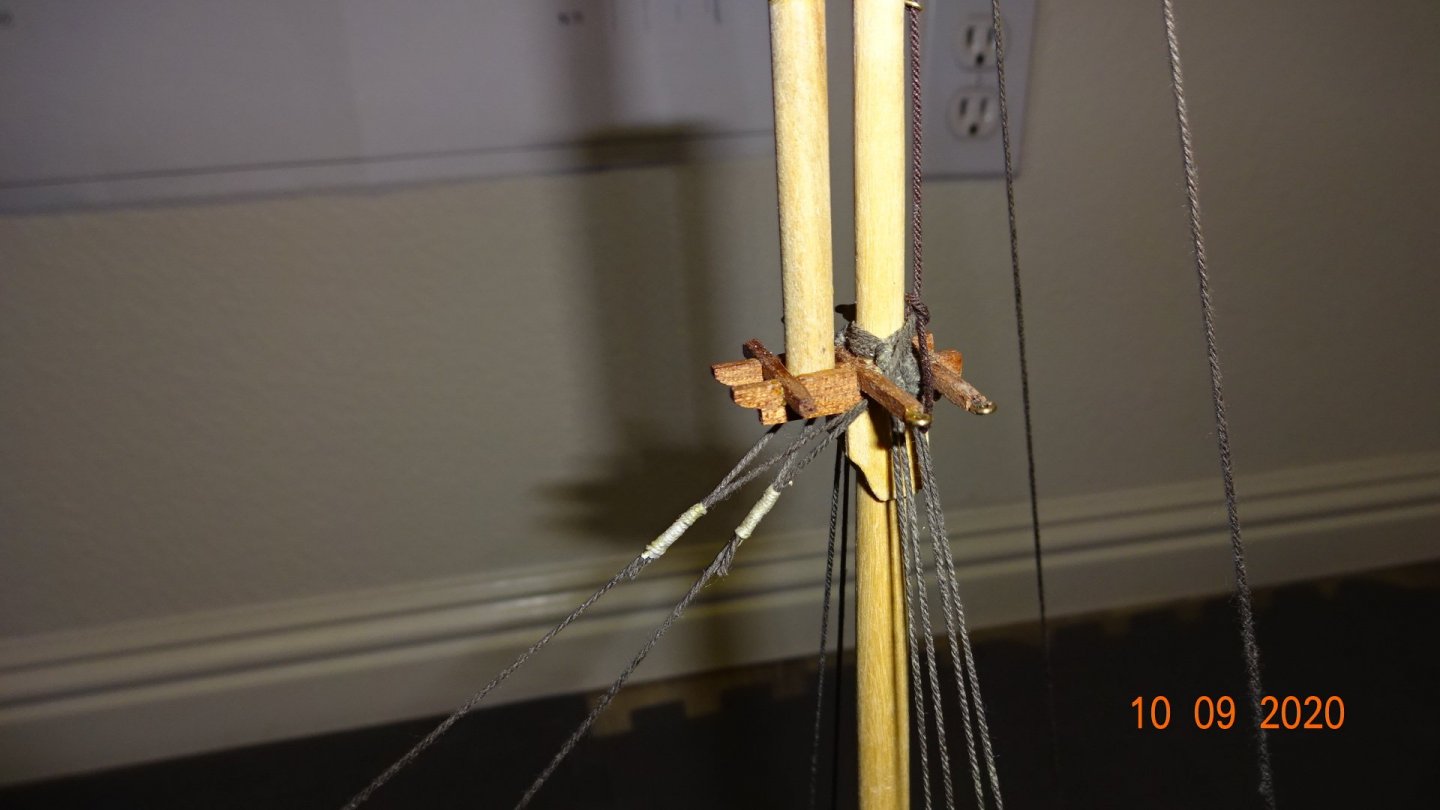
I next added the flying jib and the top fore mast rigging lines.
I show here where the fore stay, jib stay, flying jib stay and the top fore mast stay all tie off to the bow spirit.
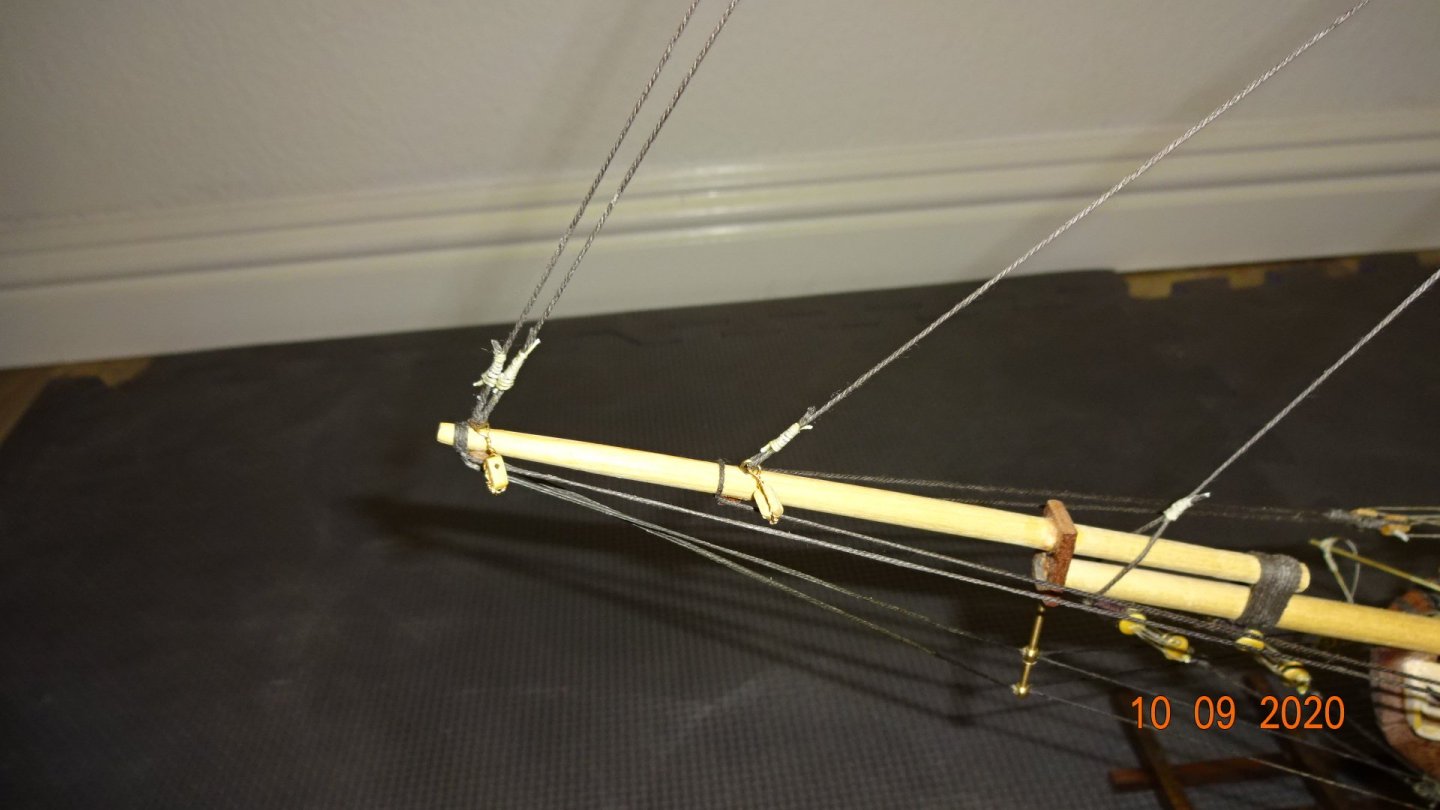
Some pics showing them all connected. I have the main mast placed but not glued.
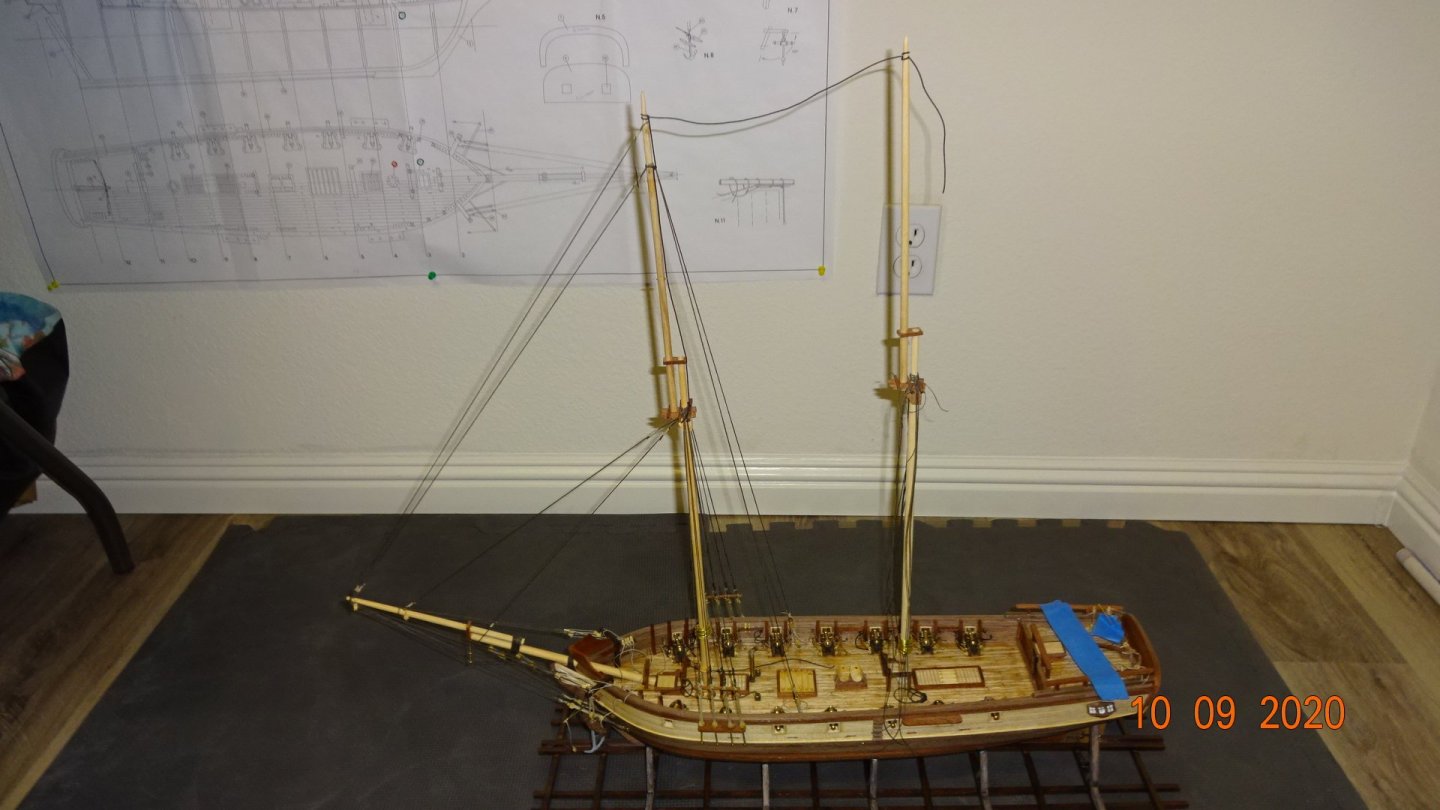
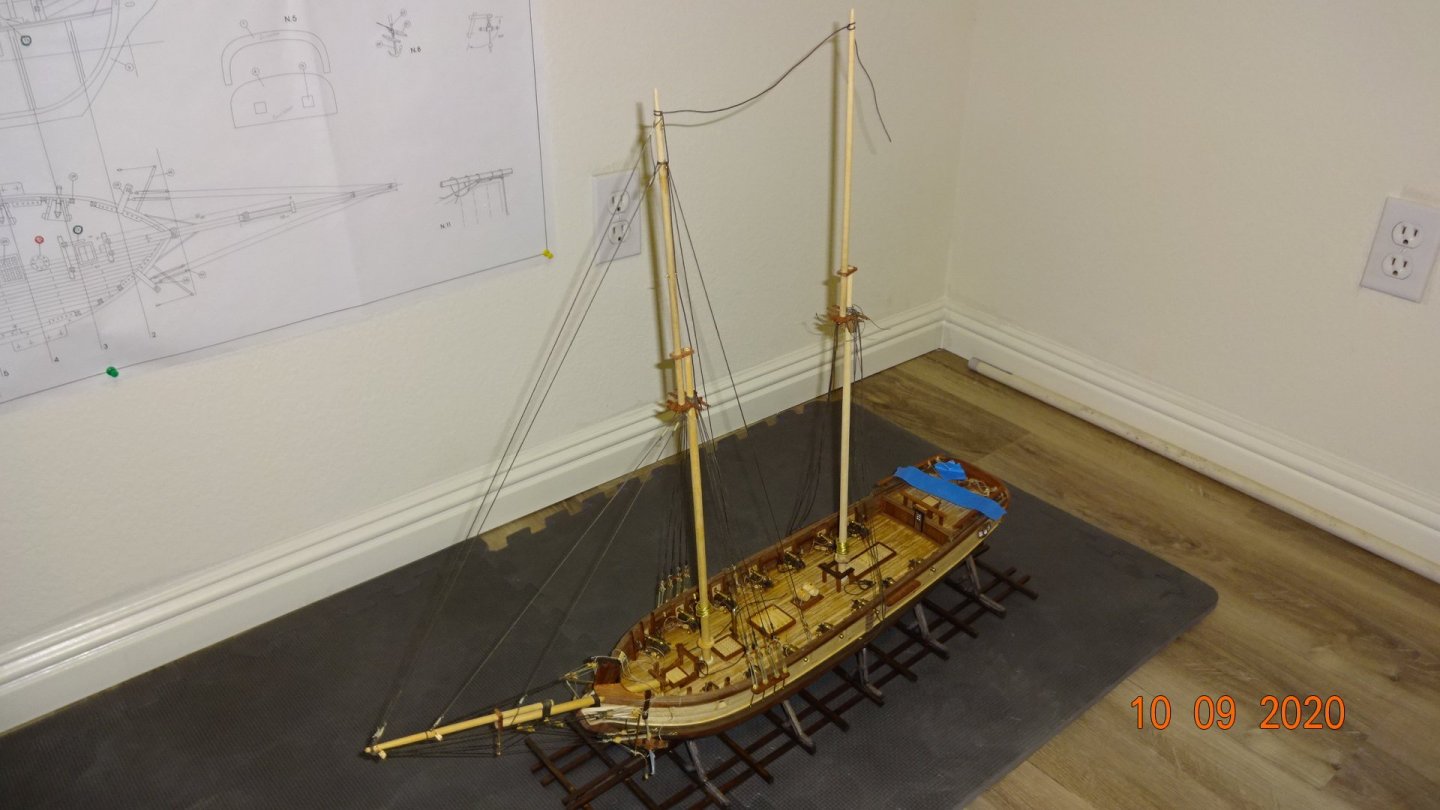
I need to do a better job with the pictures. Flash kept going off and I was to lazy to turn it off.
Also taking these entire ship pictures is challenging, either to far away and details don't show or to close and the masts get cut off.
I did not realize that in taking on ship model building I would also need to up my photography skills

Having the fore mast standing rigging completed is very a satisfying feeling.
I actually look forward to rigging the main mast !
But then there's those ratlines ........
Once I had confidence in the placement I began.
Here is the 2 fore back stay lines rigged.
From another angle.
Initially I thought the lines would tie off at a belaying pin.
However, there is not a pin near the blocks so I ended up wrapping the excess line around the tackle lines.
Ran the fore stay and the jib stay lines next.
The 2 lines on the right are those stays. I tied a line around those two lines at the fore mast (it runs straight up the fore mast), it will pull the 2 stay lines off the back of the shroud lines.
Here's a better picture showing the line pulled taught.
I next added the flying jib and the top fore mast rigging lines.
I show here where the fore stay, jib stay, flying jib stay and the top fore mast stay all tie off to the bow spirit.
Some pics showing them all connected. I have the main mast placed but not glued.
I need to do a better job with the pictures. Flash kept going off and I was to lazy to turn it off.
Also taking these entire ship pictures is challenging, either to far away and details don't show or to close and the masts get cut off.
I did not realize that in taking on ship model building I would also need to up my photography skills
Having the fore mast standing rigging completed is very a satisfying feeling.
I actually look forward to rigging the main mast !
But then there's those ratlines ........
Last edited:
The lanyards were a bear at 1:00 scale on my Constitution. Some of the deadeyes were teeniny.Starting to connect the shrouds.
First I copied the drawing of the starboard shrouds to use for measurements.
Then I cut out the holes for the top deadeyes to help with alignment.
Used the back side of the drawing for the port side.
As I started adding the shrouds I realized I forgot to make the holes for the stanchions.
I drilled and tested, no gluing yet. Seems like someone mentioned to wait on the gluing.
First shroud and deadeye tieoff was a bit unnerving to do, having the drawing for placement really helped out.
Only did 2 a day.
Still need more practice on "frapping" the shrouds.
Next up is to finish the standing rigging on the fore mast.
Are you planning on adding sails, Rowboat?
You are a brave soul.
Happy Birthday Mr. Rowboat 
Hallo @Rowboat ,My build log.
Here's what I'm aiming for.
Update 9/2020: Attached build plans in pdf form
View attachment 123220
we wish you all the BEST and a HAPPY BIRTHDAY
Enjoy your day

Woot, woot! Happy, happy!
Happy Birthday!!! 

Belated Happy Birthday.
Jan
Jan
Completed most of the standing rigging except for the ratlines. Waiting for some more rope.
Here's some pictures of my attempt at the gaffs.
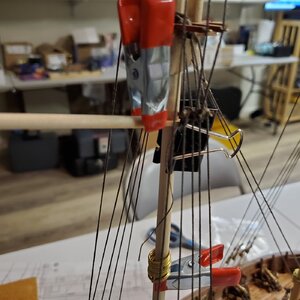
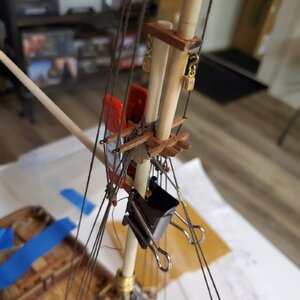
The observant eye will notice there is no hardware on the gaffs
So now I'm attempting to add the rigging hardware while the gaffs are mounted .
.
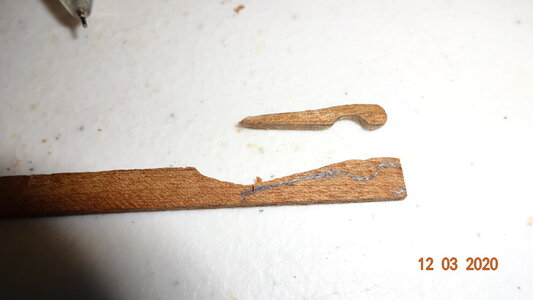
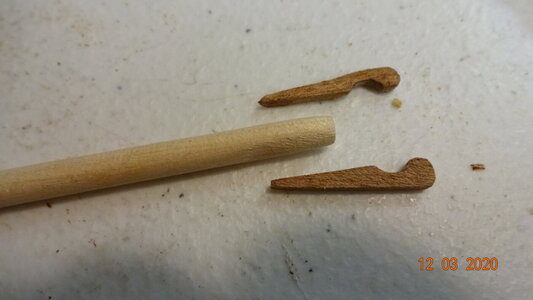
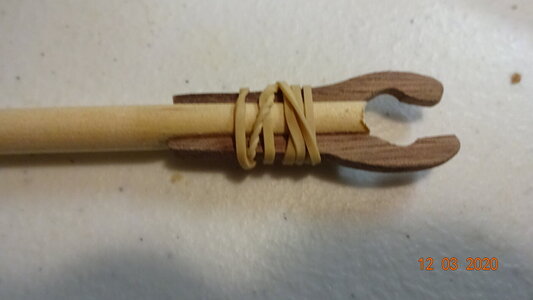
Here are some pics of the making of the gaff jaws.
Not sure if it's the right way but it's what I did.
Basically made my own design, sanded it down and used it as a template.
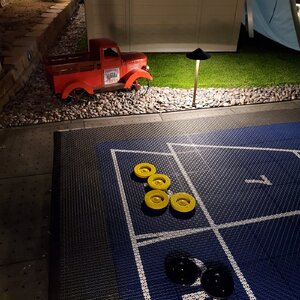
It's been a while since I've posted anything,mainly because of the backyard remodel.
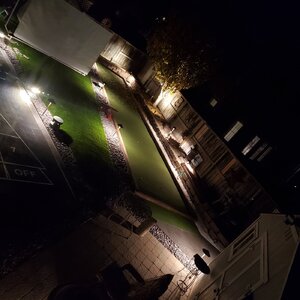
We are almost done so I though I would throw up a few pics of the before and after.
Not really related to model ship building but it is the reason I didn't get much done on the model .
.
This is a DIY project!
Before: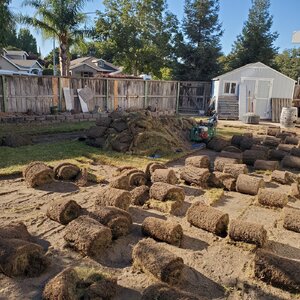
After:
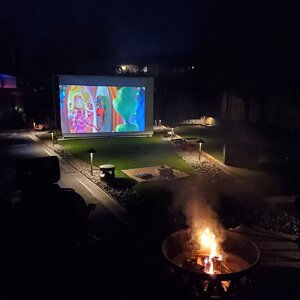
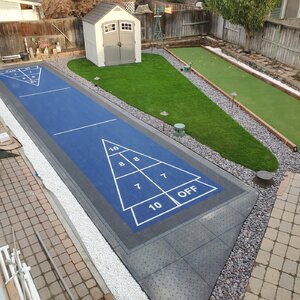
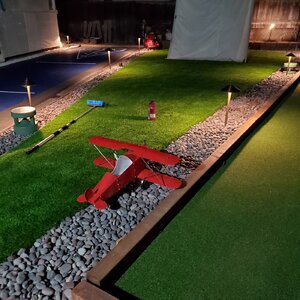
Here's some pictures of my attempt at the gaffs.


The observant eye will notice there is no hardware on the gaffs
So now I'm attempting to add the rigging hardware while the gaffs are mounted
Here are some pics of the making of the gaff jaws.
Not sure if it's the right way but it's what I did.
Basically made my own design, sanded it down and used it as a template.


It's been a while since I've posted anything,mainly because of the backyard remodel.
We are almost done so I though I would throw up a few pics of the before and after.
Not really related to model ship building but it is the reason I didn't get much done on the model
This is a DIY project!
Before:

After:


Attachments
Nice work on the ship and backyard.
Jan
Jan


