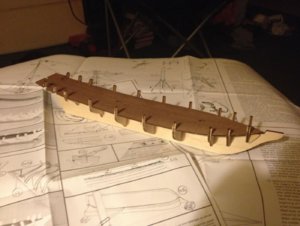
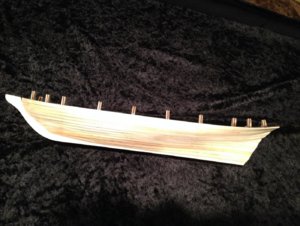
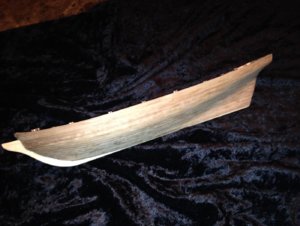
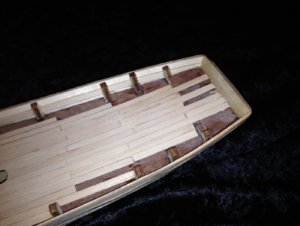
First Build: Black Prince (1775) Colonial Schooner - Mamoli - 1:57 - Double Plank on Bulkhead

Joined
Jul 9, 2019
Messages
495
Points
323

This is my very first build, but I have always had a fascination with tall ships and the age of sail. I started building the Black Prince a few years back, and then it got put in storage after a move. I found myself in need of some tools to continue, but I recently jumped back in. I've dug it out of storage and am finally making some progress, so I thought I would post some log photos here. I am really learning a lot from the process (and from this group). I know there are some imperfections, but like I said--steep learning curve.
This post will be a table of contents with links to particular parts in case folks are interested in going directly to a particular section of the build.
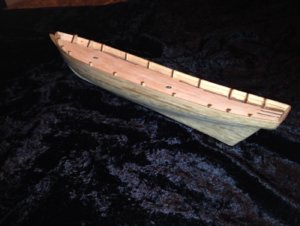
1. Framing on keel and bulkheads
2. Hull planking
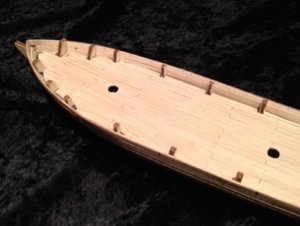
3. Deck planking
4. Bulwarks
5. Hull Painted
6. Hatch Gratings
7. Masts
7. Pin rails
8. Channels with lower deadeyes
 
Last edited:
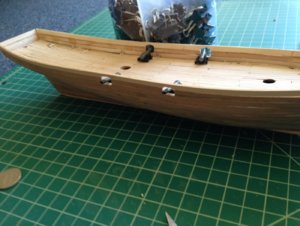
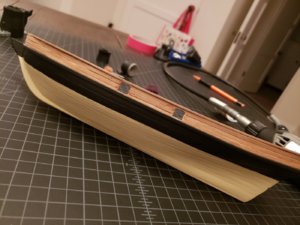
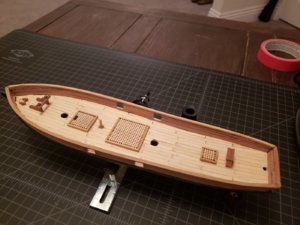
This is where I picked it back up after about 3 years in storage. Gunwales and strakes in place and the hull is painted -- tallow below the water line, flat black to first strake, and clean walnut above. Some of the plank bending could be better, but we're moving forward, so...

no8.jpg
 
Dry fit of deck furniture. I decided to paint the deck under the grates black to simulate darkness below, but I am loving the models I have seen with a built-out gun/tween deck below. Looking forward to my next model for that. Pretty happy with the grates overall, but I realized I butted them at the corners--I'll try a fancier method next time.

no9.jpg
 
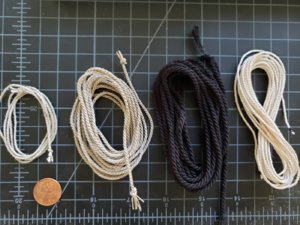
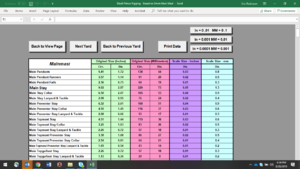
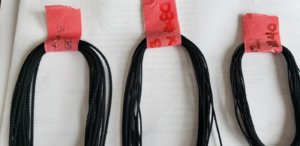
Super excited about this...I got a simple rope walk and have been practicing rope making for my rigging. I also discovered this Period Ship Rigging Spreadsheet which uses Lees's calculations from Masting and Rigging of English Ships of War, 1625-1860 to calculate the size of each line (real and scaled) of standing and running rigging. Terrific resource! And the Lees book has been incredibly helpful in understanding the web of rigging on my schooner model as I "learn the ropes". I'm sure many of you are already aware of this spreadsheet, but I am sure there are a few out there who will find it new and useful. As always, I am incredibly impressed by the dedication to realism among ship modelers to create these resources. I can only hope to approach that dedication and the skill of those I have admired on this forum.no10.jpg1567043685459.png
 
Last edited:
Hi ,interesting project ,thanks for sharing with us ,I will look into this build when time permits.

As for the images to have them full size you need to hit the Full Images button before posting ,I will edit your first few post to fix them,thank you.

5CAB70D8-6327-4094-864C-7FD11745F146.jpeg
 
Hi ,interesting project ,thanks for sharing with us ,I will look into this build when time permits.

As for the images to have them full size you need to hit the Full Images button before posting ,I will edit your first few post to fix them,thank you.

Thanks, Zoly. I actually meant to have keep them as thumbnails, but full size is alright too if you think that is is best.
 
Thanks, Zoly. I actually meant to have keep them as thumbnails, but full size is alright too if you think that is is best.
Hi ,you can keep them Thumbnail ,but you need to Thumbnail beside the full image button otherwise they will upload like a raw file attachements.

E9F1068F-E57C-453B-9B85-4E99D13A6C05.jpeg
 
Your self-made ropes are looking very good! Which kind of thread do you use? is it pure synthetic? I can not see any fusel
Hey Uwek,
I have been experimenting with a few things, but landed on cordonnet tatting thread, made from Egyptian cotton These were (#80, #40, #20) spun 1x3 or 3x3. After turning it on the ropewalk, I did a quick run through some bee's wax which I read helps with the fuzz. The #80 is quite thin and is actually available in quite a range of colors, so I dont have to worry about dying it. I'm happy with it, but it isn't cheap. I got mine here: https://www.hhtatting.com/lizbeth-thread.cfm
 
Hallo Eric,
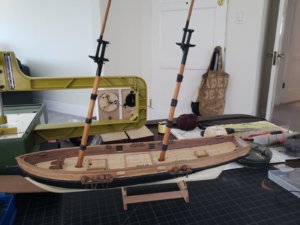
very good progress with your masts - they are looking a little bit oversized (in diameter), but these schooner had a lot sail area, so Mamoli should know which diameter of bar they are supplying with the kit.
But another point:
Are the masts already fixed with the hull?
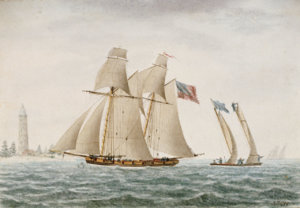
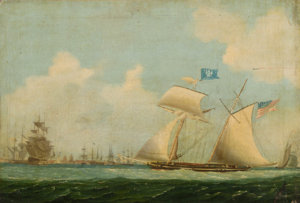
The Black Prince is dated with 1775, and in this time the angle of the masts were relatively more vertical than later in the 19th century

pu8895.jpg
American schooner Thetis in 1794 - Coast of Virginia (PAD8895)

bhc1089.jpg
Oil painting by Burton, entitled 'An American privateer schooner and other vessels near a harbour'. (1815)

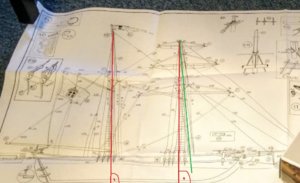
I found in the web one photo with the Mamoli drawing (ok it is warped) but shows with the added lines, what I want to explain.....
IMG_20150918_132053.jpg
 
Are the masts already fixed with the hull?
The Black Prince is dated with 1775, and in this time the angle of the masts were relatively more vertical than later in the 19th century
Grüß Dich, Uwek.
Yes, the Mamoli plans do show some rake angle to the masts, but these are not stepped yet, this was just a dry fit to see them in place. I will set them up a bit more vertical but still with a small degree of rake when I do.
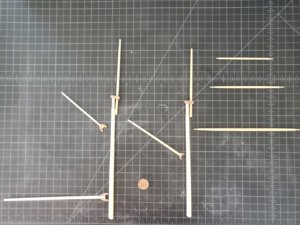
I agree about the woolding diameter. The kit actually does not provide rope for woolding or diagram it at all and I was just experimenting. I realize they are a bit large (about 2x by my calculations), and I am debating re-doing them. The problem is they are very neat and clean right now, if too large, and I'm not confident I can do as solid a job on the redo. :rolleyes:
 
Back
Top