"Flying Cloud " by Mamoli - kit bash

A really interesting thread Peter, I have to go back and spend some quality time reading the many pages.

….. Thoughts (Do you often make sketches on used envelopes or cocktail napkins? :rolleyes:

Sketches? On anything handy! A very good friend of mine, a naval architect, would often grab anything within reach when we discussed aspects of ship construction and stability. There’s many a cafe napkin and even pub beer mats covered with his explanatory scribbles :).
 
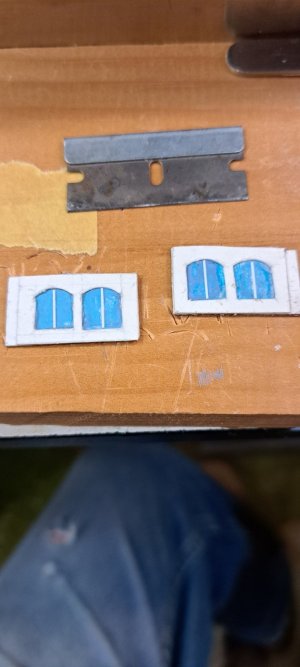
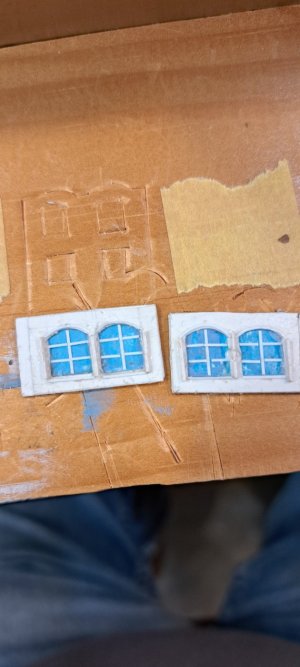
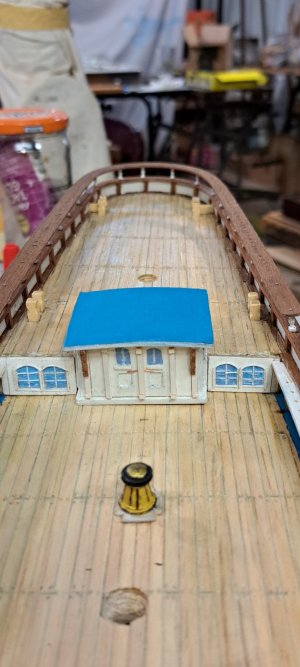
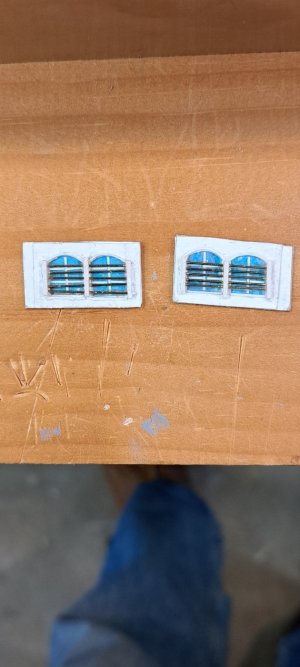
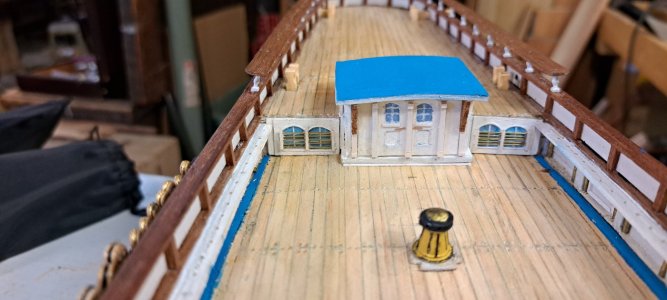
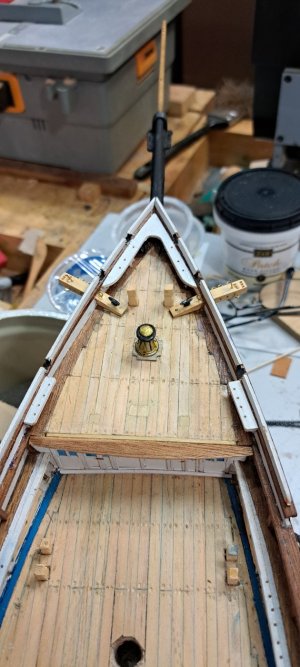
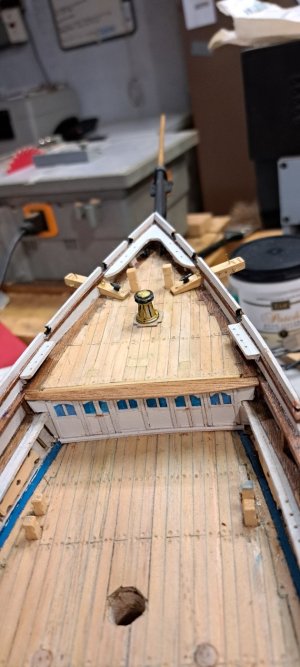
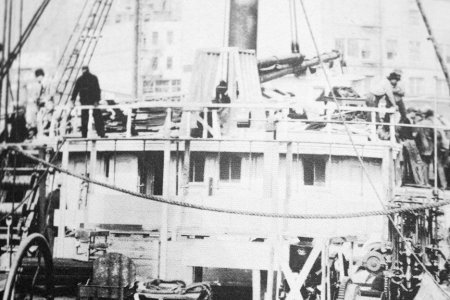
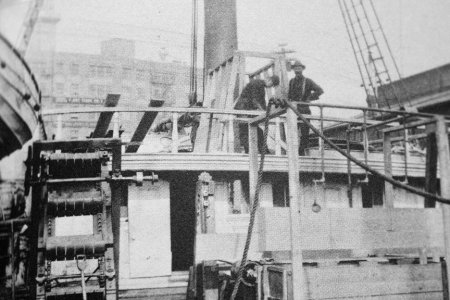
Re. The windows to either side of the portico. Since that area is subject to some battering in high seas would windows in such a vulnerable area have had sliding or folding shutters? or possibly iron or bronze protective bars?
Thoughts (Do you often make sketches on used envelopes or cocktail napkins? :rolleyes: )
Peter,
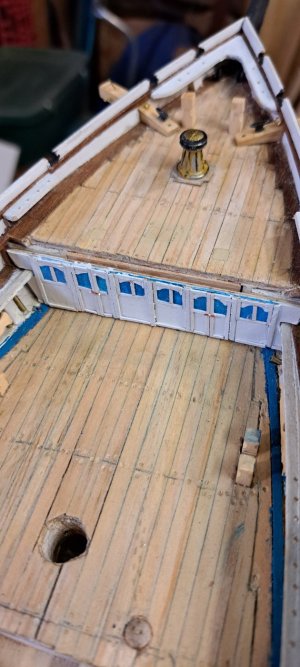
I imagine there must have been some sort of wooden overlapping slats like shutters for inclement weather protection. I don't think bars, either of iron or bronze would protect glass from seas. What we do know is that there definitely were windows in the poop deck bulkhead. And yes, I often sketch on napkins or envelope backs to flesh out ideas.
 
Whatever's at hand if you have a good idea to capture before it slips your mind.
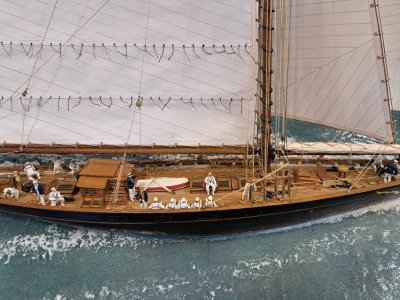
I thought of the bars to protect against flotsam that might have come loose in heavy weather. More to protect against solid objects sloshing and flailing about or falling from above, 20221121_154843 (1).jpglike the bars on skylights. I see bars protecting windows on deck houses on sailing craft (mostly regatta yachts from the early 20th c., Like the Britannia) on the side windows as well as the ones facing up.20221121_154735 (1).jpgThe above depictions are based upon a 1920s photograph of the ship at sea and her configuration of sail and of the deck furniture at the time.
 
Last edited:
Thanks Doc and Jim. Always encouraging.
I think I may have a way to go back and create a frame structure for the protective bars, so that it doesn't look so haphazard. Make them separately, then apply them as assembled units.
 
Peter, I see you’ve made great progress on your mods. I think it looks wonderful. She looks like her description as laid out by Duncan McLean. Much better IMV.

Any new updates on the masting/rigging?

Rob
 
Thanks, Jim, Doc and Rob,
Rob, I hope you and your wife had a wonderful fortieth!
I'm picking away at detailing the portico: buckets, railings, some more windows, ladder, etc. Very fiddly and fussy slow going. I'm challenged by how well you bring your details off, so my "OK, good enough, I'm satisfied." quotient has shrunk! Thanks for looking in and the kind words.
Still lots of detailing to do before I think about masting and rigging.


Pete
Pete. Sometimes you just need to say……I’m done.
Skill set is another factor…..not forgetting “laziness “. Which is my worst enemy.
Every time I settle for “I’m done, cuz I’m being lazy”, I regret it. And since model building, for the most part is NOT a competitive sport, I force myself to do it as right as I can manage, in my scale.
Take the sheet blocks for instance…..I can make an exact duplicate of what they look like…..but not in scale, and not massed produced
symmetrically. Scale is more important to me, then an exact replica. In my scale, a good constructed representation is all that is needed.
And paint covers a multitude of sin.
I also fudge using preformed blocks, I’ve scavenged off old Cutty Sark an Thermopylae models. They are cleaned up, they are painted various wood colors and then their stropping is highlighted. I attach eyebolts and hooks when needed. These save me hours of time and are quite convincing in my scale. I do, however, make any special blocks for special purposes.

I’m about doing things fast. These models always take years to make, and if I can shave off a month or two……I’m down with it.

You are doing very well….since Rich and I came along and through wrenches in your work.

Rob
 
I'm using the wrenches to tighten some nuts and bolts. I think we are on the same page with believability and efficiency at this scale being suffuicient to the task. I really like your solutions for these early industrial age iron blocks!
 
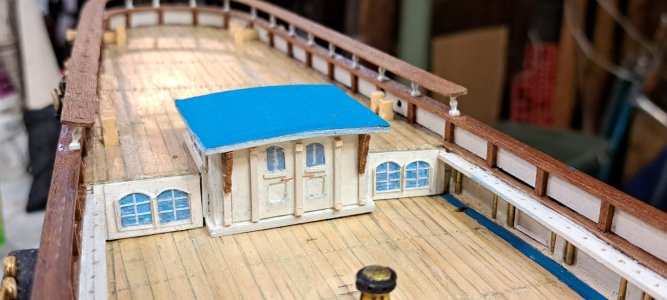
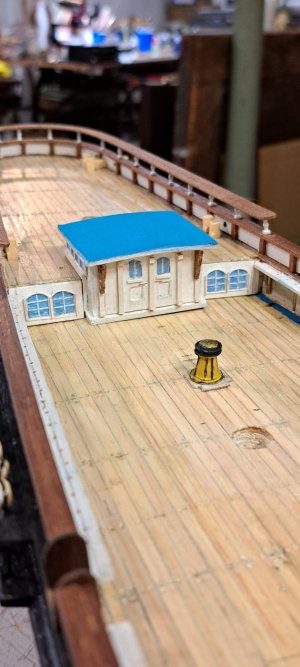
I tried bars on the windows. Didn't like the look so I opted out and this is what I have so far, dry fitted in place. Still needs some touch up and coamings to fill the gaps.View attachment 474072View attachment 474073View attachment 474074View attachment 474075View attachment 474076View attachment 474077View attachment 474078View attachment 474080
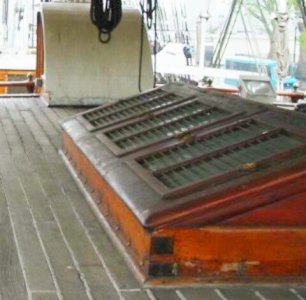
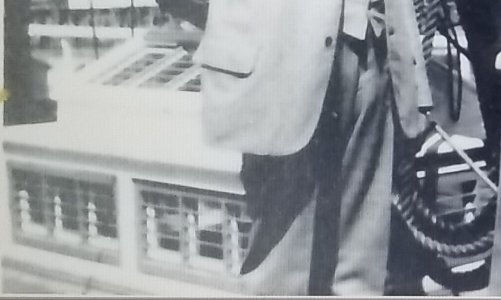
Peter, I've attached images of skylights from Cutty Sark and Glory of the Seas. From what I can see, there was a lot of wooden slats but no iron or brass bars. They both look like the slats can be shut like venetian blinds and both sides could be propped up in warm weather. Meanwhile, photos of the aft Glory of the Seas coach cabin show no horizontal bars on any of the windows.

post-4738-0-49960800-1449351899.jpg

20210916_102217.jpg.040b67f2b64a19f230005fbcf46fdebd.jpg

20240730_004544.jpg

20240730_004505.jpg
 
I'm using the wrenches to tighten some nuts and bolts. I think we are on the same page with believability and efficiency at this scale being suffuicient to the task. I really like your solutions for these early industrial age iron blocks!
Dependent on the scale.....You can modify or even omit some details, if the scale is causing you difficulties. I tend to push myself and try to make items in scale and as convincing as possible. It is part of the challenge for me to make what otherwise would appear most difficult.....adding that *extra* added detail.
One , reason I like to fully rig my ships, and not omit any running rigging...no matter how crowded it becomes. Another reason why I use the smallest line feasible for the task. I even used silk line for the flag haulyards that went all the way to the top of the mast and through the mask cap sheeves(I forgot their name).

Rob
 
As Rob says maybe "paint can hide a multitude of sins..." :rolleyes:
The art of Camouflage is a well kept secret of any true *Hack* modeler, such as myself. Paint and or weathering can(if done well), distract viewers away from noticing any missteps you may have taken.
You first must admit you are NOT a purist...releasing yourself from the burden of such bonds....freeing yourself to use any and all modifiable materials or re-engineering another's whares to accomplish your goals.Thumbs-Up

Rob
I am NOT a purist! Purists and perfectionists take for freaking ever, if they finish a task at all. (IMHO) :rolleyes:
I am on board with the rest of your commentary. Thumbsup
I agree with your reason for fully rigging the ship. I may, however, go the "dockyard model" route with this one, with partial masting and rigging as I did on my little (1:192) "Young America" model. (gallery12) I may not have enough time left living in this house with a full workshop to do justice to the task. Time and health limitations looming.
 
Last edited:
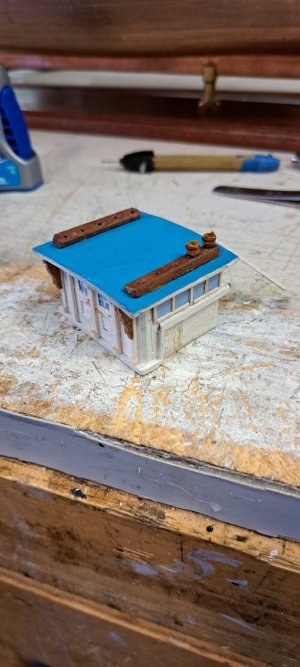
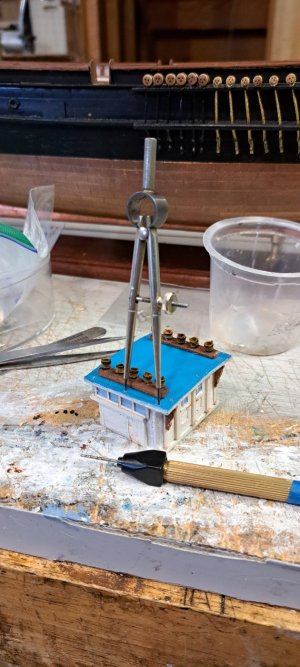
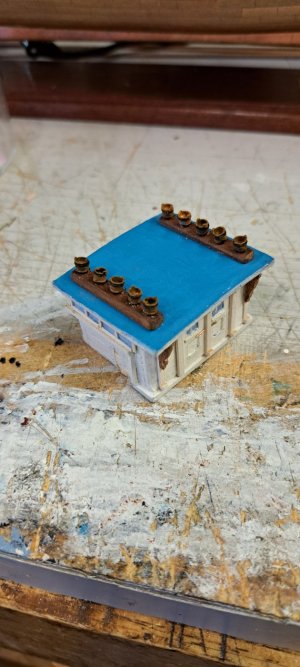
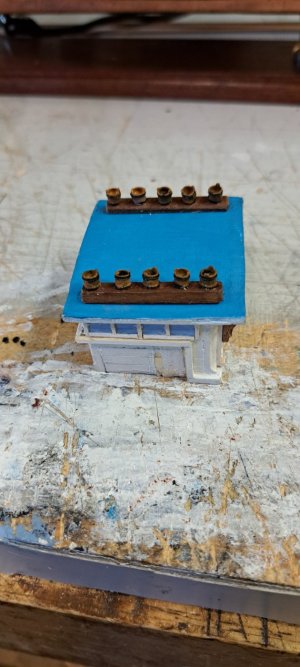
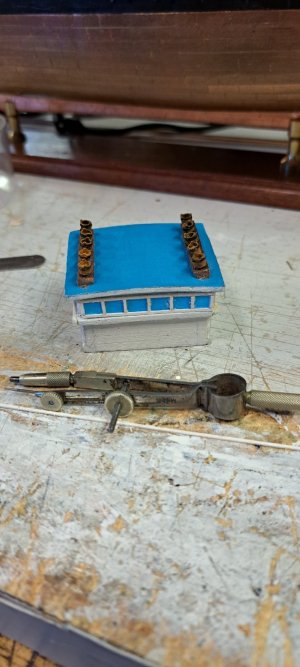
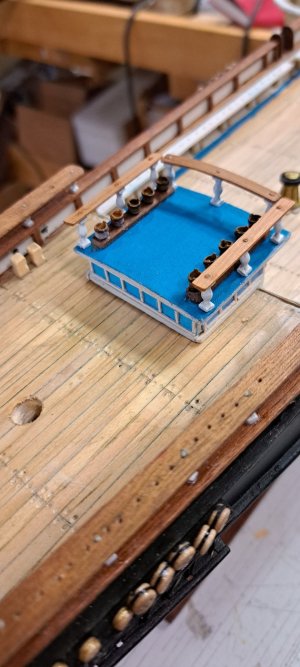
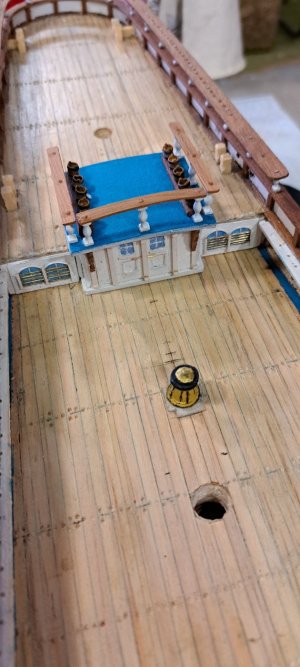
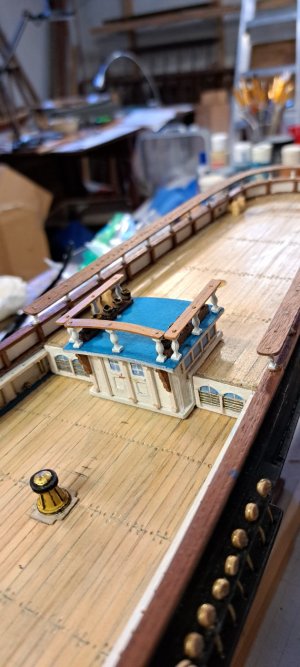
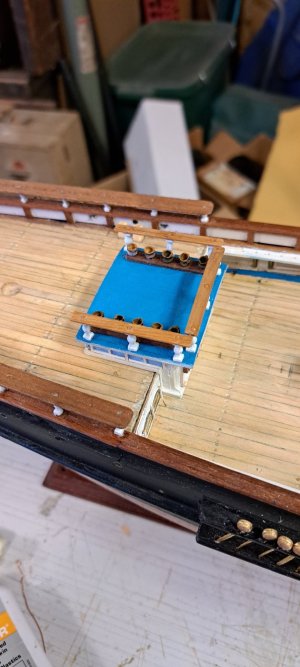
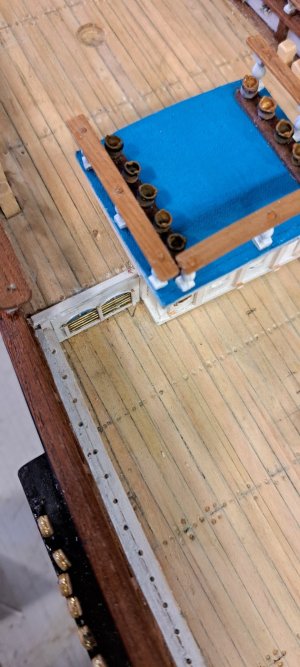
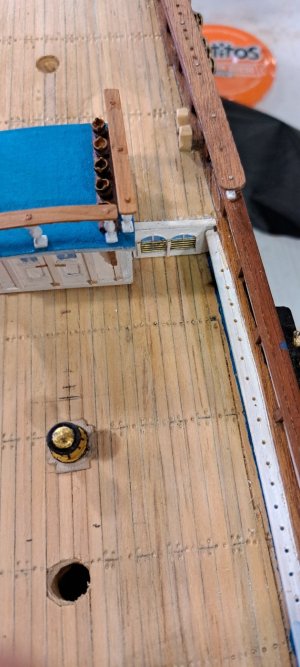
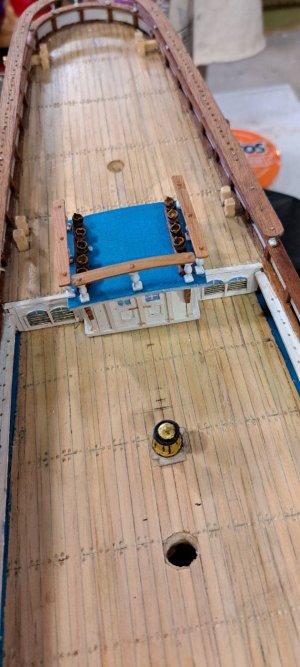
Details for the coach house-portico.
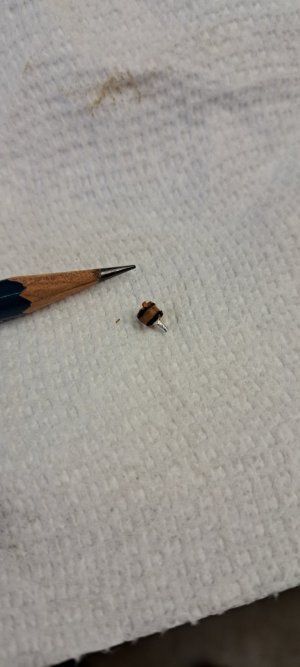
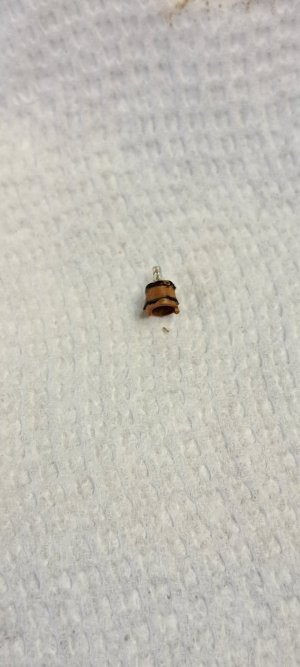
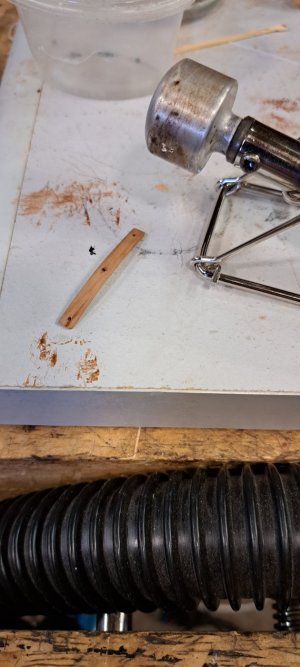
I painted the fire buckets all black first, then brown over that, leaving just the black for the bands. Believe it or not it's easier to paint it that way at these small scales. I used the hot bending drum to shape the railing to match the curve of the portico roof. The railings are yew wood that I had left over from my Britannia project. Yew has a really nice rich sienna color when finished with amber shellac. I then added the sills finishing the edge of the deck.
The portico is still just dry-fitted.20241007_130102.jpg20241007_125820.jpg20241007_125636.jpg20241008_164528.jpg20241008_120111.jpg20241008_120118.jpg20241008_125049.jpg20241008_164601.jpg20241009_141837.jpg20241009_141818.jpg20241009_141923.jpg20241009_141827 (1).jpg20241009_143415.jpg20241009_143420.jpg20241009_143436.jpg
 
Last edited:
Back
Top