-

Win a Free Custom Engraved Brass Coin!!!
As a way to introduce our brass coins to the community, we will raffle off a free coin during the month of August. Follow link ABOVE for instructions for entering.
-

PRE-ORDER SHIPS IN SCALE TODAY!
The beloved Ships in Scale Magazine is back and charting a new course for 2026!
Discover new skills, new techniques, and new inspirations in every issue.
NOTE THAT OUR FIRST ISSUE WILL BE JAN/FEB 2026
You are using an out of date browser. It may not display this or other websites correctly.
You should upgrade or use an alternative browser.
You should upgrade or use an alternative browser.
Friedrich Wilhelm Zu Pferde 1/48 scale by Euro Model
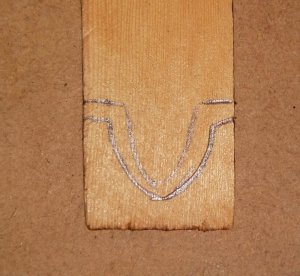
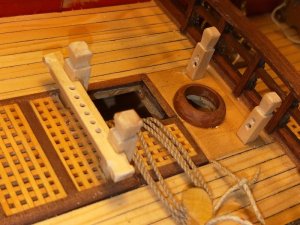
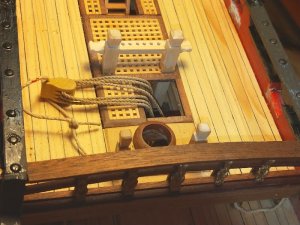
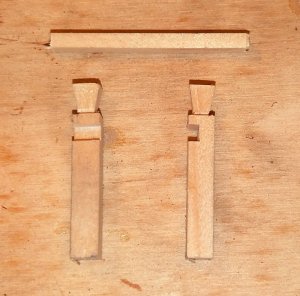
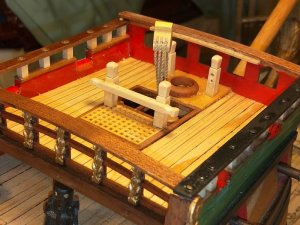
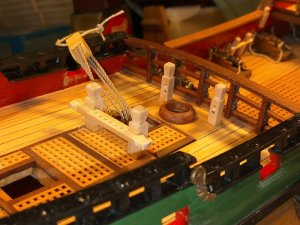
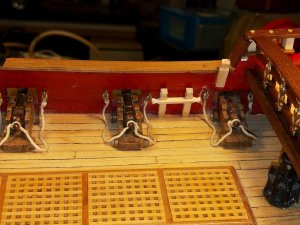
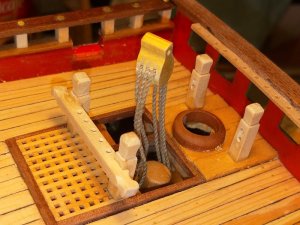
I believe these are called Cavells, could be wrong, I needed four, so I marked them out on a piece of wood that
was deep enough to cut all four out of,
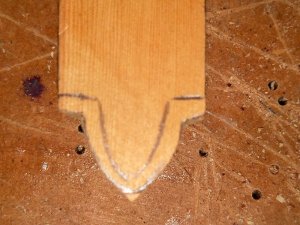
First part of the cutting out, the wood was Huon Pine,
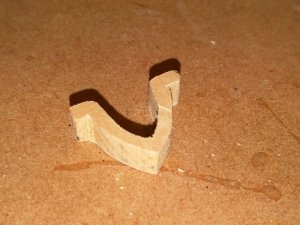
The shape cut out,
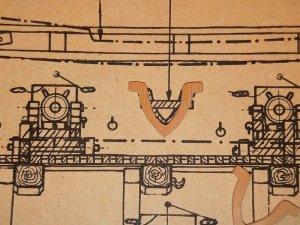
and sitting on the plan after slicing from the block,
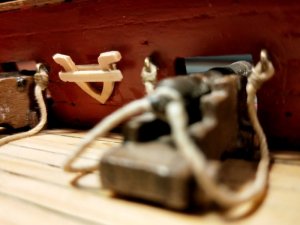
finished and attached in place,
Absolutely amazing mate.
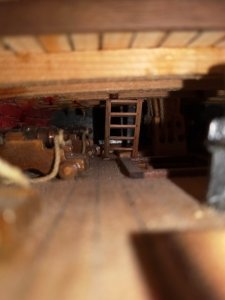
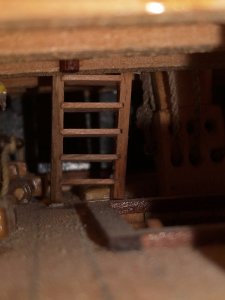
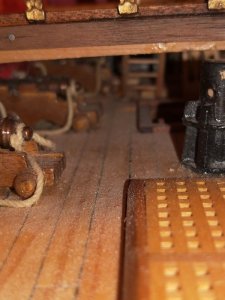
Great camera work under the deck.
Happymodeling
Greg
Great camera work under the deck.
Happymodeling
Greg
Very Nice Build
Hi John, its looking good mate. Well done.
Thanks guys for all the encouragement, comments and likes,
best regards john.
best regards john.
Managed to get a little bit more done, I've moved up to the head rails,
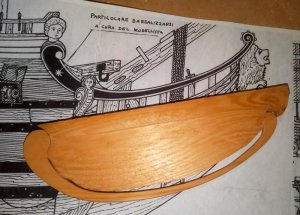
I cut both the port and strb head rails out of separate pieces of wood, and then sanded them to finish,
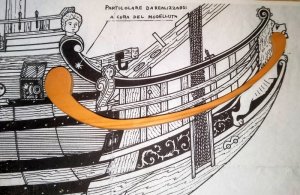
starboard head rail,
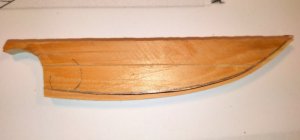
for the lower rails I cut and sanded the shape of the bottom of the rail onto a piece of thick wood, thick enough
so after shaping i could slice two rails off, the rail marked on the wood,
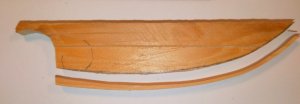
and after cutting it off,
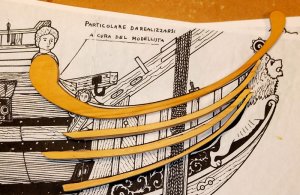
Shows all the rails sitting over the plan, they all are a little longer than the plan because of the 3D effect,
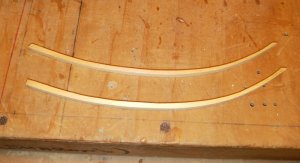
this is two of the rails after they have been sliced off,
.

I cut both the port and strb head rails out of separate pieces of wood, and then sanded them to finish,

starboard head rail,

for the lower rails I cut and sanded the shape of the bottom of the rail onto a piece of thick wood, thick enough
so after shaping i could slice two rails off, the rail marked on the wood,

and after cutting it off,

Shows all the rails sitting over the plan, they all are a little longer than the plan because of the 3D effect,

this is two of the rails after they have been sliced off,
.
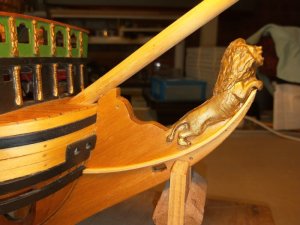
The very lowest moulding rail in place, I will have to cut this back where it touches the wale for the triangular
piece that fits in here, I cannot remember its name,
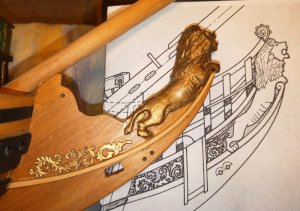
Next I placed the scroll work on top so i could position the next moulding rail, this is when I found out i had a
problem, if you look at the plan on the right you will see that the Lion on the plan is a lot thinner and that the rail
runs up his back,
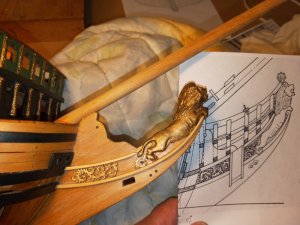
I had noticed on photo's of other models that that rail also stopped at the lions tail, so I followed
suit and and stopped it at the tail,
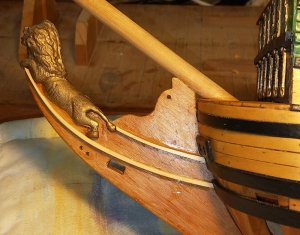
A view of the Port side,
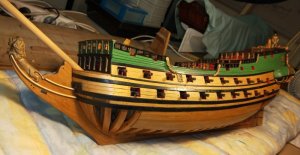
and an overall view of the ship, I have finished painting all the top side rails and have also sanded back the
planking below the wales and re-varnished with a darker varnish,
any questions just ask,
thanks for looking,
best regards john.
.
Last edited:
G'day John
She's looking great mate. You always make it so simple when you shows us your progress.
Happymodeling
Greg
She's looking great mate. You always make it so simple when you shows us your progress.
Happymodeling
Greg
Outstanding job John looks great.
It's looking really good John. The moulded Rail looks fine stopping at the Lion's Tail, you should have put the Lion on a diet before you fitted it 
Cheers Andy
Cheers Andy
Thank you Pat, Zoly, Greg, Maarten, Path finder, Mike and Andy, for all the nice comments and likes,
Best regards John
Best regards John
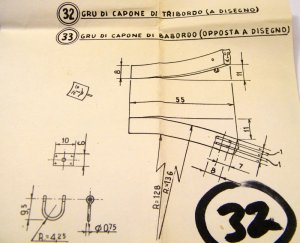
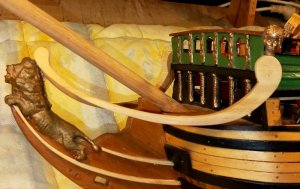
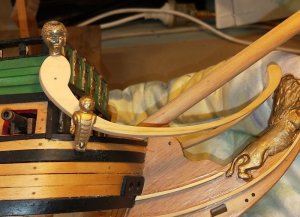
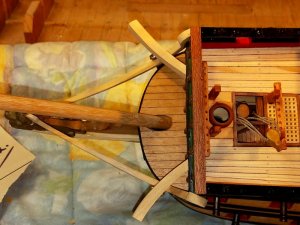
Next job was to work out the positions for the cat heads and supports, on the plans they show the arms curved
not only to the sides but also upwards,
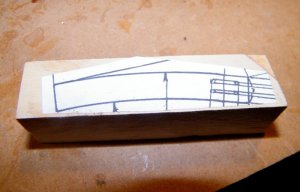
I glued a copy of the arm onto a piece of wood, this is the top view,
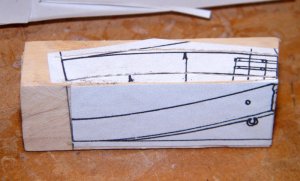
and then also glued the side view also,
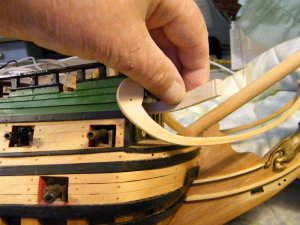
When cut out , this was the resulting arm, when put in position it was obviously to high,
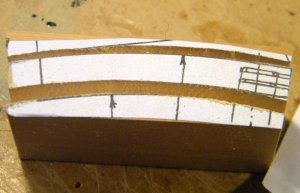
So I used builders license and glued another view of the top of the arm to another piece of wood, but this time
I only cut it vertically through a piece of wood deep enough so that I could two arms from it,
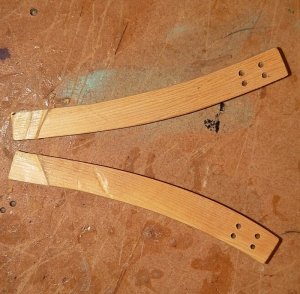
The two arms with holes drilled for sheaves and also a small notch cut on the back of each to locate them in the
front beak head bulkhead,
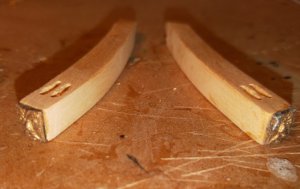
the two arms with the cat head moulding on the front,
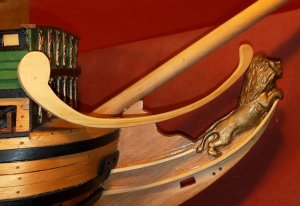
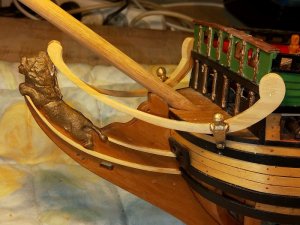
A view of the rails before the supports are attached,
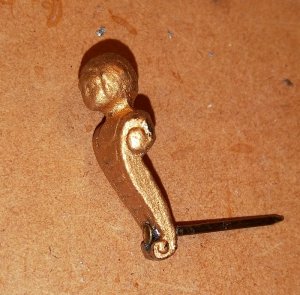
To attach the Cherub support I drilled a hole through the base and super glued a brass pin through,
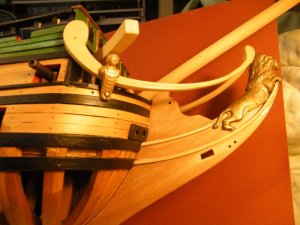
With the arm located in the beak head I then had to work out where the Cherub had to sit so it supported the cat,
it took two tries and I have a hole to fill with a Dowell, the arm is not yet glued in place,
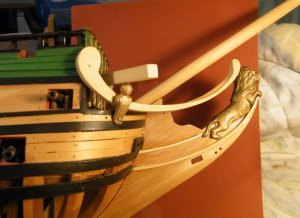
another view,
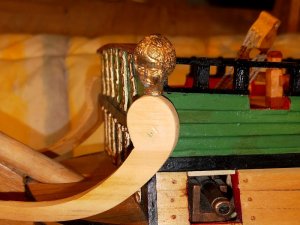
Looks great John. Did you paint your decorations? The gold looks good.


