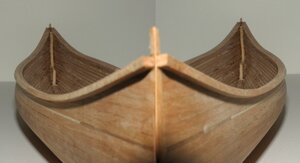
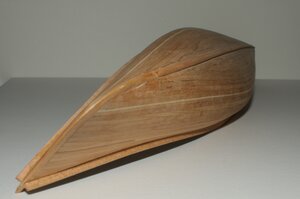
Gilles' 17-inch canoe - Cherry wood - Canoe # 2 [COMPLETED BUILD]

Joined
Feb 18, 2019
Messages
684
Points
353

This canoe will be the first of two listed as 17" models.
It will be built out of cherry... and as you will note, that early on I decided to modify the design for a different look.
G
 
Last edited:
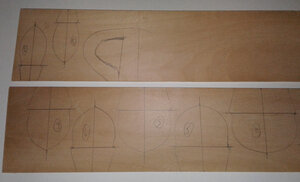
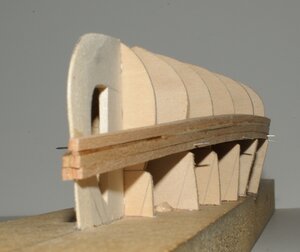
First step for me: tracing the station molds onto the basswood sheet.
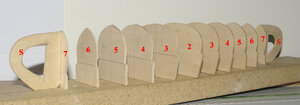
Because I am building the 17" model, my center station mold is # 2. So only 13 patterns to be traced and cut: including the 2 stem patterns;
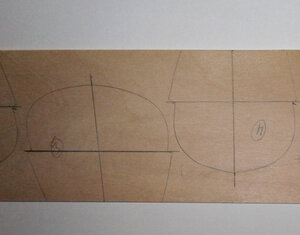
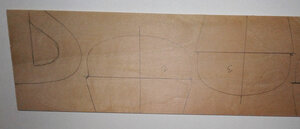
And here are the station molds traced:

20200618_221902 copy.jpg

20200618_221955 copy.jpg

20200618_222008 copy.jpg

Will cut them and prepare the strongback soon as the lumber package is still to come.\
G
 
Last edited:
No lumber package yet by still need to stay a step ahead (and it is a good thing :eek:) so I moved on to the next steps: marking the building base, cutting and installing the station molds on it.

Note: this is the 17 inch / 440 mm canoe building jig/mold.

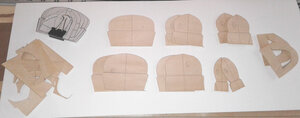
The station mold have been cut...

20200619_104834 copy.jpg

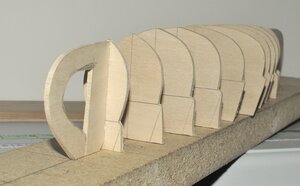
and installed onto the building base ... I use hot glue for this as it cleans up easy for the base to be used for another model.

_DSC0701 copy.jpg

_DSC0704 copy.jpg

G.
 
Last night while trying to figure out a good way to show that using hot glue was convenient in assembling the strongback, I came up with an idea...
Well! The result, slight change in plan (literally)...
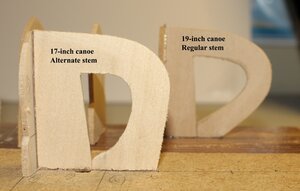
This 17-inch model is going to be made to look different: although, except for the stems, all other patterns are the ones I traditionally use; the ones included in the guide.
This said, it is only a simple , easy to do modification of the basic stem pattern.
But the hot glue allowed me to switch stem-pieces with no problem at all. All that was needed was a very sharp blade to cut the joint between the building base and the stem-pieces. once the joint was cut, the stem was moved back and forth from station 7 a few times and it easily came apart. The glue remnants were then removed / peeled off from the baseboard and stations 7.
And the new stem-pieces were set in place: the canoe will look different...

_DSC0774 a copy a.jpg

G.
 
Hmm...
So, tell us.... Why the change.??
It appears as if the 'redesign' will have less "rocker". In the water, this change would have a more abrupt entry and more drag. The canoe would probably 'track' better, but would be less maneuverable. (This is just my perspective..). I really know NOTHING about design, but I have done quite a bit of paddling.
Just interesting that you would change it.!!

Oh wait... Maybe just an example of how easy to make changes with hot-glue.??
 
Well, my pear wood still hasn’t arrived yet so a slight change of plans. I intended to build a total of 2 canoes within the scope of this project: one 19 and one 17 -inch. Today I decided to add one more: so if you felt a sigh of relief as my 19-inch model is now complete … well forget it, I am back with more, so some will have to endure seeing more activity on my part in the “group canoe build”.

This canoe (#2) will be built out of cherry as well but 17 inch long and as explained in a previous post, it will have a different look at the stem and stern. Furthermore, it will likely be built a bit slower than the first one since the pear wood canoe (#3) will be started as soon as the lumber arrives from Russia.

Anyways, here are the first steps in the construction.
The photos will hopefully be slightly different than the ones from the first canoe log, but there is only so much one can do about that. I will try to give complementary information as well so that I will not just be a repeat of canoe #1.

So, on with the construction:
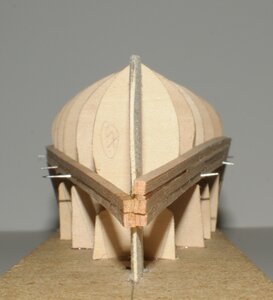
A thin (1/32" - 0.8 mm) partial strip is included as a contrasting strip within the planking. Unfortunately, the thin cherry strip, the extension of the light basswood strip, is much darker that the rest of the planking, so we will see what the result is: although the colour should equalize when finish will be applied throughout.

_DSC1486 aa.jpg


_DSC1490 aa.jpg

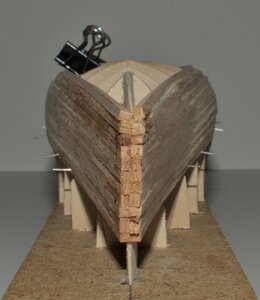
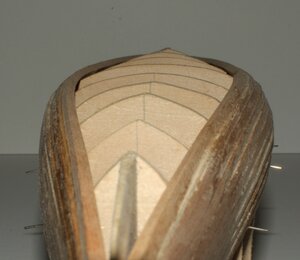
Trying to keep the 2 sides as symmetrical as possible while laying down the planking strips: getting the strips end to be leveled from one side to the next.
I did cut a slight forward bevel in station 6 and 7.
Sorry, I could not get a "dead center" shot hand holding the camera so the stem piece shows a very slight offset / angle.

_DSC1487 aa.jpg

G
 
Last edited:
Planking, session 2 (Aug 11)...
A few more strips were installed.
In strip-planking a hull, the most important strip to be laid is the first one on each side. The curves must be smooth. There are 2 curves, 1 horizontal from one end of the vessel to the other and the 1 vertical curve at each end of the vessel. Avoid sharp bends in either curves: let the curve run naturally. First, pin in 1 place (at the center), then towards the stems (station 6) at both ends. Once happy with the curves, then pin in a couple more spots in between making sure that the curve is not altered. If a station mold or bulkhead sticks out, just cut is back so that the strip does not sharply bends abound it. If the station mold is too short, you may pin the strip to it anyways, but adjust it by pulling it out to restore the natural curve while creating a small gap between the strip and the station mold.

_DSC1498 aa.jpg

_DSC1510 aa.jpg

_DSC1506 aa.jpg

G.
 
Last edited:
Planking .... session 3 (Aug 12)
Have not done much today, just a couple strip installed and a bit of preliminary sanding: nothing too serious at this point.
It will soon be time to begin closing the planking at the bottom of the hull.
The 19-inch canoe was done following the method shown in the construction guide.
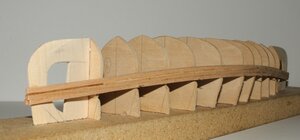
For this one, I am going to proceed in a slightly different way: I installed a strip running straight along the length of the "keel" through the center of the floor.

_DSC1520 aa.jpg

_DSC1523 aa.jpg

G.
 
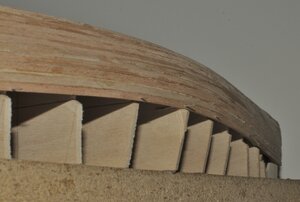
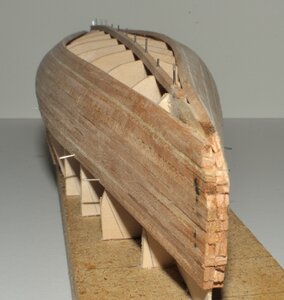
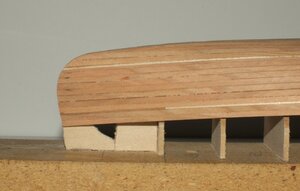
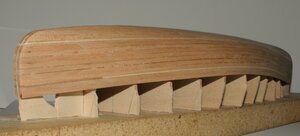
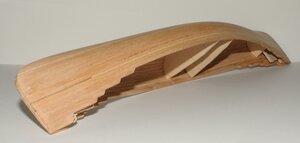
It took a while but the basic planking, done as the hull is sitting on the building base, is now complete.
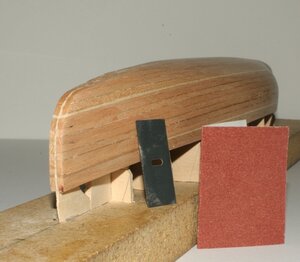
A vigorous scraping / sanding has been applied: well mostly scraping for the planking.

Here are the tools used

_DSC1525 aa.jpg

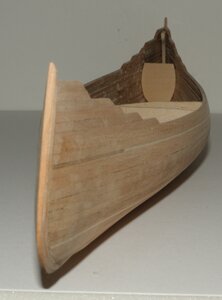
Again, as previously mentioned, note that the ends of this canoe will be different in shape than the previous model (19-inch #1)...
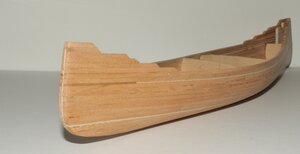
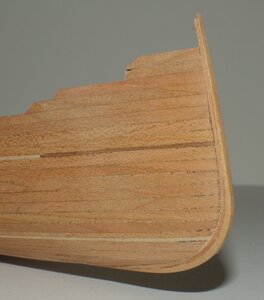
This is what this one (17-inch) looks like: Straighter ends.
Also note the 2 thin contrasting strips: 1 partial near the sheer, the other, a full length strip, towards the bottom of the hull. These strips are 1/32" (0.8 mm) thick.

_DSC1531 aa.jpg

and here are some views once scraping has been "completed". This is of course all preliminary as more sanding will be applied following the build-up of the planking towards the ends of the canoe and the installation of the outside stem / stern pieces. At this point the thickness at the stem still needs to be reduced so that it "matches" the width of the lumber (strips) used for the outside stems, as it will be laminated.
This canoe will also be fitted with a keel.

_DSC1535 aa.jpg

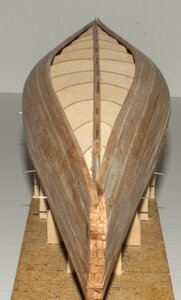
And an overall view. The photo below is a bit deceiving as the curved is symmetrical at both ends. The end of the first strip is located at the same height at both ends: but the curve is smooth without a "forced bend at any station mold, which is always something to be careful of....

_DSC1536 aa.jpg

G
 
Two new images as the ends have now been planked up to the top of the stems pieces and more: I added 1 more strip above the top of the stem pieces so that the short deck will fit right to the end, in the corner.

Next step will be to install the outer stems...


_DSC1543 aa.jpg

_DSC1542 aa.jpg

As usual, some of the station molds will be kept in place until the outwales have been installed: in order to strengthen the hull so that it keeps it shape. Removing them before the outwales are in would squeeze the sheer line slightly inward.

This canoe will also be ribbed, but their layout will be slightly different: lower number.
I will also be adding fasteners at some point after that.

G.
 
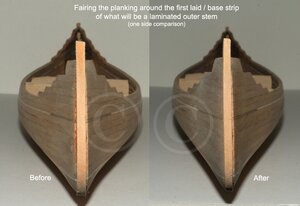
The outer stems will be laminated. I normally lay all the strips as indicated in the "Construction guide", but this time I decided to show an alternate way because of lumber size issues. It does take a bit longer, but the joint with the planking will come out better.
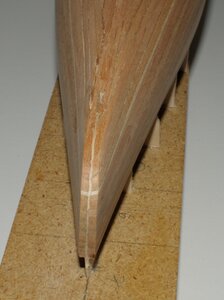
So on this canoe, I have installed the base strip for the lamination. Once in place, the planking is then sanded down flush with that strip, making sure that the stem stands straight / vertical from top to bottom.
The lumber used for the outer stem is 3/64 of an inch thick (as cut by the lumberyard instead of 1/32). It works well but the 1/32" strips work better. Furthermore, My 1/4" wide lumber was missing from my order so I ended up using the 1/8th wide stuff (lumber originally destined for the ribs).
Working with the 1/4' wide lumber for the outer stem makes that step quite easy as then, there is no need, or minimum need to fair the end planking to reduce the width of the stem before lamination of the outer stem.

Anyways here is a view of the "before" and "after" to give you an idea as to what is involved:

Untitled-1 aa.jpg

Again, all sanding done by hand using a small wooden sanding block mounted with 150 grit paper.
This is to be repeated on both side at both ends of the canoe.

G
 
Last edited:
Once both sides have been faired so that the planking is flush with the outer stem: even out the joint between the planking and the outer stem ..... Keep in mind that a final sanding will be applied after having completed the outside stems.

_DSC1578 aa.jpg

Now, the second strip can be installed.
For this canoe, I have also decided to give the outer stem a certain look. In total I will be installing 3 laminated strips.
After having installed the base strip, I gave it a slight taper from the top to about 2/3rd down, before the bottom curve begins. I want that curved area to be reinforced by having more volume. The bottom of the outer stem has also been tapered down in preparation for the keel which will be installed later.

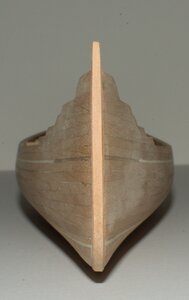
Here is a view of the outer stem as it stand right now: it has been shaped and is ready for the 3 layer to give me that extra deep, reinforced curve.

_DSC1596 aa.jpg

To be continued...

G.
 
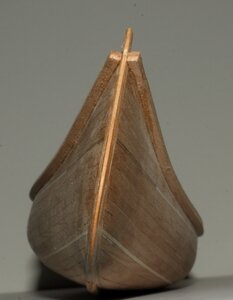
Lamination and shaping of the outer stem is done.
Here we clearly see the 3 laminated strips including the taper at the top compared to the curved area where we have full thickness.
The "semi-macro" photos shows OK joinery so this area should be clean when seen from normal distance.
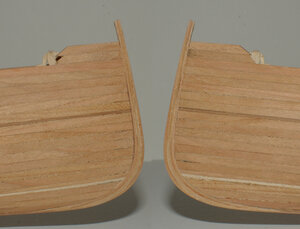
This is a view of one end of the canoe: port and starboard.

Untitled-2.jpg

G.
 
Before final installation of the gunwale, the thickness of the planking at the sheer line needed to be reduced.
As was the case for the 19 inch model, the lumber used on this one is oversize so even after having applied the overall preliminary sanding, more is needed at the sheer line to ensure that the combination gunwale + planking + ribs + inner-gunwale does not end up too much out of proportion.
Here is the result of that sanding. You will note the enhanced vertical curve at the sheer line. It seem quite pronounced but once the outer gunwale is in place it will almost disappear.

_DSC1620 aa.jpg

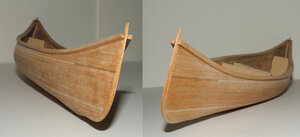
The next image shows both sides of the model with the outer gunwales installed (glued). and the extra planking above it was removed.
The outside edge of the outer stems is approximately 1/32" (0.8 mm) thick.

Untitled-1.jpg

Sorry for all the entries in the log today, but it is easier to post as the work gets done instead of one long entry at the end of the work session.

G.
 
Gilles, you don't have to be sorry!! We are enjoying your educational journey and happy to see each and all of your posts. Personally, I love them and treat them as a 'must' for all modeling levels. Using your images it is easy to follow!
 
A couple more view specifically showing the outwales... Always looking for symmetry between the 2 sides. It is a bit difficult and in this case not perfect but looking at the model from normal viewing distance and angle, it is not bad.

In the photo, the outwales appear to be laminated (darker at the top compared to the bottom. Well... they are not... It is just that they were cut using a nail-clipper so it is the light hitting the angled cuts : the horizontal line been in the center where the actual cut takes place.

_DSC1642 aa.jpg

As well as the curves at the sheer line...

Untitled-2.jpg

Next subject will be sanding the inside...

G
 
So sanding the inside ...
As for every model where the inside needs to be sanded, this step can be long and boring. It really depends a lot on what the modeler wants to achieve, how far one may want to take it, what will be covered by other parts, etc....
In the ends, does the modeler want to work to get the inside of the hull surface as smooth and even as the outside.
In this case, because ribs, flooring and a couple other battens will be installed, I usually do not push sanding to obtain a surface that equals the smoothness of the outside planking. Through this process, I will get rid of all the hard edges so that I can achieve good contact between the ribs and the planking.

no sanding applied yet: heck, the station molds have not yet been removed:
Some sharp edges, some glue oozed out between strips ....
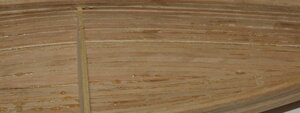
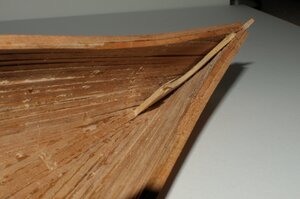
_DSC1645 aa.jpg

_DSC1650 aa.jpg

Because sanding is so boring, it is never done fast enough. As a result, I brake it down into 3 or 4 sessions of +- 20 minutes each: applying vigorous sanding at first using 80 or 100 grit paper (first 2 sessions), to eliminate sharp edges. Then the next 2 sessions are spent working with 150 grit paper.

After the first 2 sessions... It is already a little better... so 2 more sessions to go....
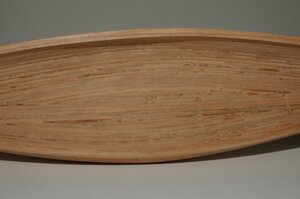
_DSC1685 aa.jpg

Should the canoe be built without ribs and floor, which is often seen as the traditional canoe look, then sanding is applied to a really smooth surface. How hard is it? Well, it really depends on how careful the modeler was when planking the hull in the first place: hard edges, glue , some gaps between the planks, etc....

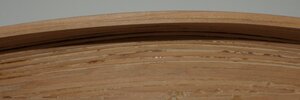
While sanding the inside, I also work on further reducing the thickness of the sheer strip / plank. The final size should be a little less than 1/16 of an inch.

The top of the photo below shows the width of the gunwale (3/32" +) and the thickness of the sheer plank, which is a little less than 1/16th of an inch.
_DSC1692 aa.jpg

Of course all sanding is done by hand. The inside ends of the canoe will not be sanded as much as the rest as it gets very tight in there: the area will be covered by the deck anyways...

Next step .... the ribs.

G.
 
Before the ribs go in....
A canoe with a keel. Why not?
Running straight down the middle from one end to the other.
Still needs to be beveled on both side to end up looking like something between a shallow "U" and a shallow "V" to follow the shape of the outer stem pieces: but that will be done later in case it get banged-up between now and then.

_DSC1689 aa.jpg

G
 
Back
Top