H.M.A.V Bounty, Constructo 1:50

Hi Mike

I just just caught up with your build of the H.M..V Bounty.

You have done a excellent job on her. I will have more of a read on the build log tomorrow.

Cheers
Geoff
 
Hi Geoff,
When I started with SOS I had no idea of what a build log should be, but I'm learning and hope to be back building soon.
 
Hi Mike

Great work you are doing on your HMS Bounty, she sure is looking good and with so much of your personal details. Just love your cradle a barrow to mount your ship on, that's a great idea. I also see that you have eliminated that pin rail set around the foremast that Amati had on their plans. Oh, I built it and installed and then just hated it and then removed it. I did a lot of checking first on the amount of belaying points that I would need and with no Studding to add to my ship I discovered that there was more than enough belaying points, my Bounty sure looks much nicer without all of that clutter.

I find it very pleasing to see your personal touches that you have added, your paint and so on, your Bounty will serenity be one of a kind and a very nice one at that, keep up the great work and above all else ENJOY.

Regards Canoe21 { Lawrence }
 
Hello Mike

Just browsing the Forms build logs and dropped in to see if you had any new updates on your HMS Bounty, but alas it looks like I am just a bit too early, ENJOY.

Regards Lawrence
 
Hello Mike, I thought you might be interested in this and maybe raise a glass to the Bounty;

April 28
1789 – About 1,300 miles (2,100 km) west of Tahiti, Fletcher Christian, acting lieutenant on board the Royal Navy ship Bounty, led a mutiny against the commander, William Bligh.

Regards
Eric
 
Thank you Professor Eric. I have been thinking of changing my name to One Eyed Dick Wrench. That sounds very nautical.
 
Ahoy to all my mates,
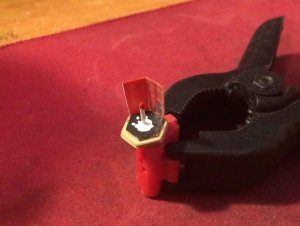
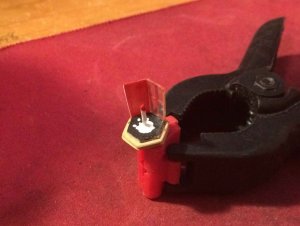
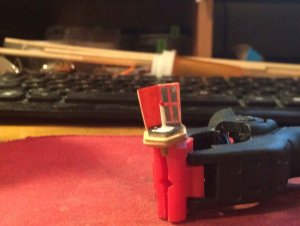
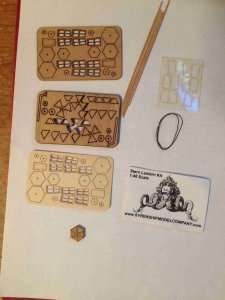
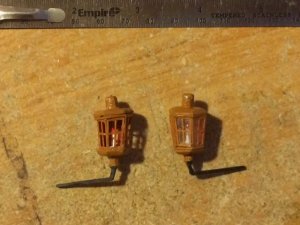
My ship yard is back open. I am starting with the ships lanterns. I did not like the metal lanterns that came in the kit so I bought some from Syrene.IMG_1470 (3).JPGIMG_1471 (3).JPGIMG_1473 (3).JPGIMG_1467 (5).JPGIMG_1469 (3).JPG
 
Back at work on the tiny stuff. This is the hardest part for me as I am so shaky. I destroyed allot of part to get this far.
 
Ahoy Mates.
Back at work on the Bounty. The Stern Lanterns are done and ready to install.
IMG_1508 (2).JPG

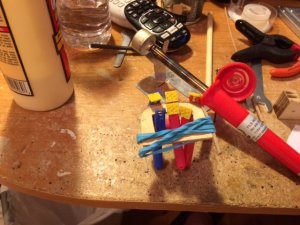
The next order of business was to finish assembly of the foremast crows nest by installing the hand rail. This may not seem like much but for a shaky Jake like me it is an accomplishment. I will wait to install them until last
IMG_1496 (2).JPG
IMG_1498 (2).JPG

.
 
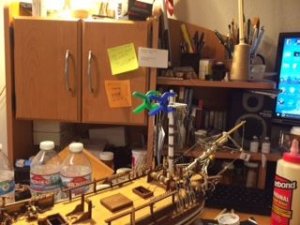
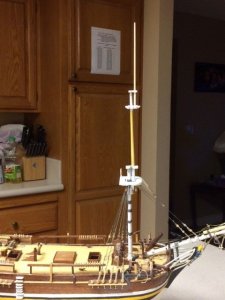
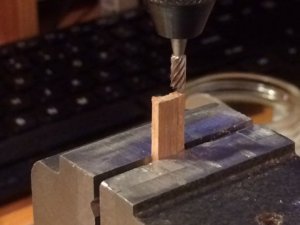
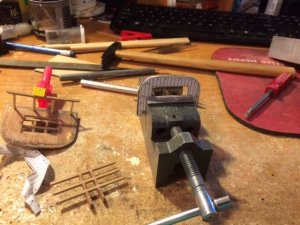
Meanwhile back at the dry dock. I finished the assembly of the formast with Blocks and Tackle, and the topmast cross beams. This I will show more of the build when I do the Mainmast. I used My new X,Y table and my Dremel to cut the notches.


The finished foremast.
IMG_1501 (3).JPG
 
[Ahoy Mates,
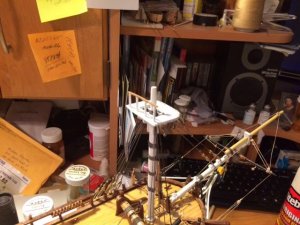
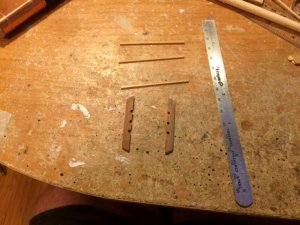
I've moved along to evening up some timbers with my "Drem-mill." to construct the mainmast top.
IMG_1512 (2).JPG

A little clean up an then some paint and then to install on the mainmast top.
IMG_1507 (2).JPG
IMG_1513 (2).JPG
 
Last edited by a moderator:
Ahoy Mates,
I wanted to show the completed mainmast top.
IMG_1514 (2).JPG
Now with a little more TLC and paint I'm ready.
 
Last edited by a moderator:
Ahoy Mates,
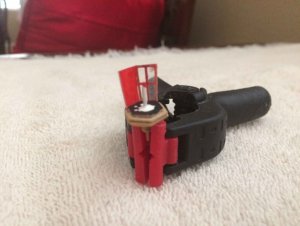
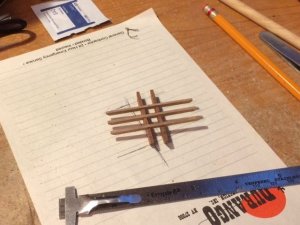
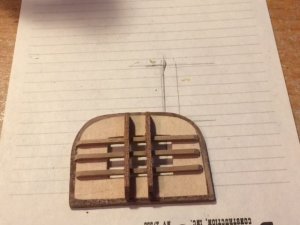
I now moved on to construction of the Mizzenmast Top fitting the edging.

IMG_1520 (2).JPG
I used templates to construct these parts. This is why I like this club so much little tricks like this I picked up from some of our members. This helped me locate Holes for My spiders and hand rail posts.
IMG_1525 (2).JPG
 
Last edited by a moderator:
Mike

Looking very good mate.

Keep the photos coming along.

Cheers
Geoff
 
Back
Top