H.M.S. Victory by Caldercraft - Build Log

Joined
Oct 21, 2022
Messages
66
Points
103

Well....after 40 years of work, I retired 2 years ago and have been trying to find things to do. As a teenager, I certainly worked on plastic models, with all their glue stings and poorly fitting parts and horrific paint jobs. I remember getting a small Cutty Sark wooden model, with poor instructions and parts that were only printed to wood sheets. Everything had to be cut out and even the hull was a solid block of wood that had to be shaped and sanded....never came close to finishing.

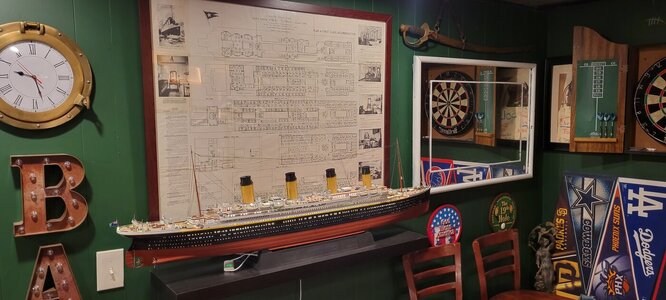
Last year I took on a plastic model, Trumpeter's Titanic. It was a massive undertaking and took just about a year to finish. I had to learn how to handle photo etch, a paint gun, the use of CA glue and manipulating teeny, tiny parts. I took most of last summer off in the build as I own a sailboat in upstate NY, USA and that took priority, but I finished her last November or so. Is she a show room piece? Lol, no, but I am very proud of how she looks.

I have fairly good wood working skills and can problem solve a lot of things with wood. I love sailing and have always wanted to buy one of those pre-made wooden ships for my office. The ones that cost about $500-$700 USD. Instead, I decided, why not try to build one!!!!

I know this kit is VERY hard and having never even tried to build a wooden model or the subsequent issues and tasks concerning rigging, I just wanted to take a stab at it.

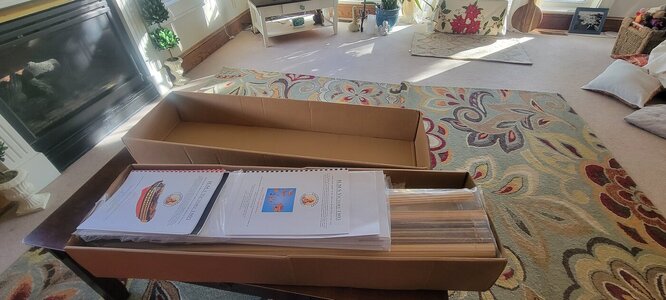
So I found a kit in stock in the UK through Arrow Models. I ordered her and within about 2 or 3 weeks it arrived in the USA. Arrow did a great job and while I was a bit nervous working with an overseas company where I could find little feedback, they were tops! Great communication and great customer service.

There are a number of builder logs for the HMS Victory and a few YouTube video logs that I am using. I thought I would add a log that is from a person with absolutely NO experience with this type of kit and certainly a kit that requires a high degree of skill or expertise or as is my hope....just the patience and perseverance to gut it through!

I've posted a few Titanic pics in this post, I promise going forward it will be all Victory all the time. I just want to see how the posting process works and I will start adding right away. As of Feb 21, 2024 I am on the first planking task, about 5 planks up. So.....I'll see you at the finish line and thank you!
Chris20240221_092815.jpg
 
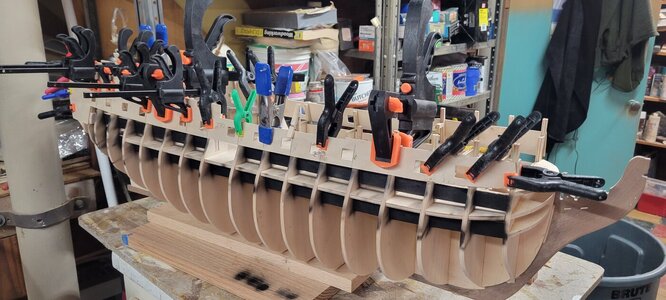
I will do a quick catch up of the work have done over the past few weeks.

Certainly the first few steps are pretty routine.

I bought the kit from Arrow Models in the UK, they were just top notch. There appears to be such a backlog for this kit from Jotika and Arrow works very closely with them.
20240214_145938.jpg

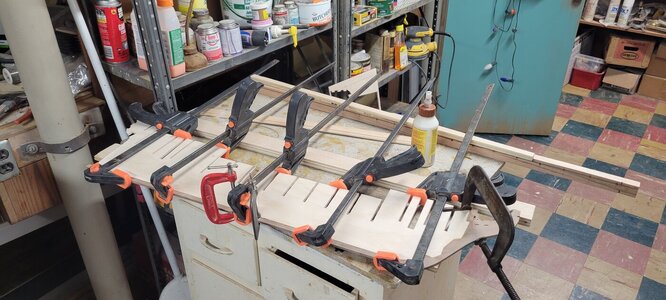
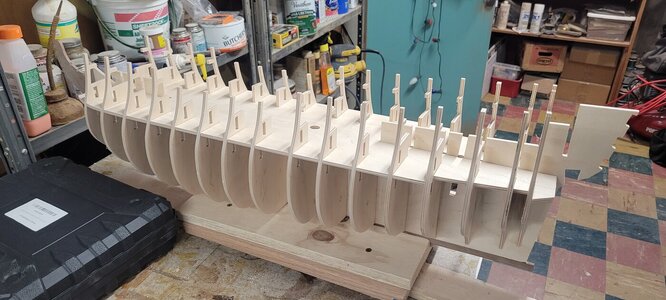
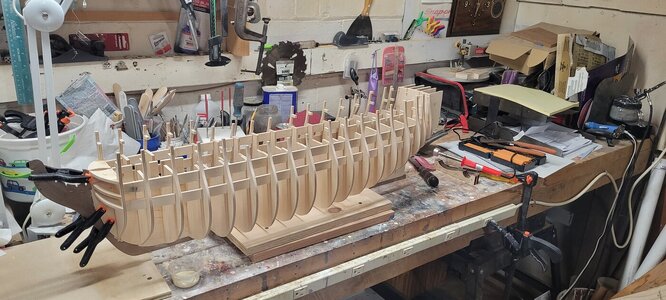
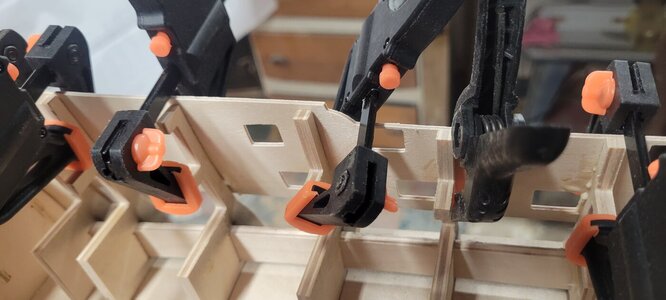
I did make an error and glued some of the keep parts that should have been left off until after the planking was done. I will have to adjust on the fly.
20240215_114105.jpg
20240216_142830.jpg

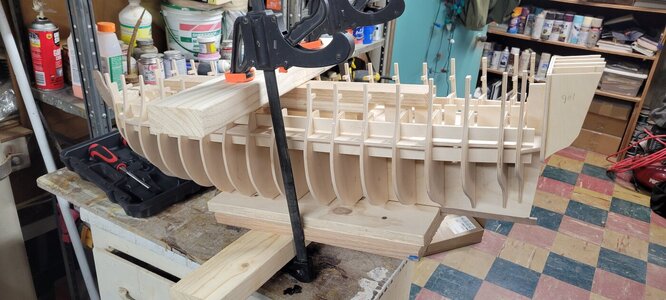
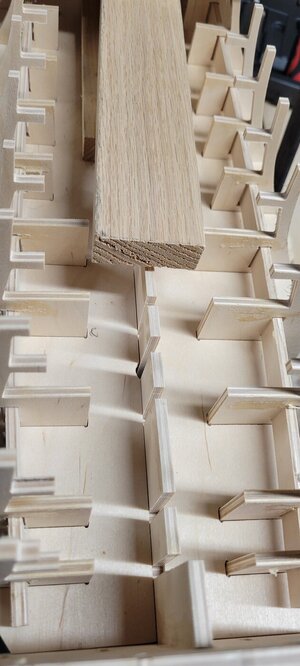
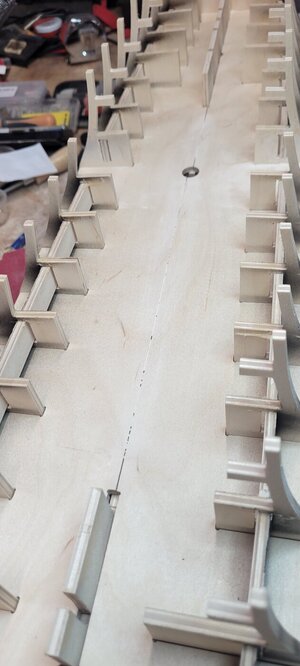
My second (of which will be MANY), I didn't quite understand the instructions and installed BOTH dummy gun barrel strips BEFORE installing the middle gun deck.
I couldn't understand why the deck was sitting so high and awkward and then realized my mistake.
I couldn't remove the dummy strips out of fear I'd break some of the bulkheads. I decided to just cut the deck down the middle and glue the pieces together.
That worked just fine.
20240218_113548.jpg
20240216_175459.jpg20240218_113616.jpg

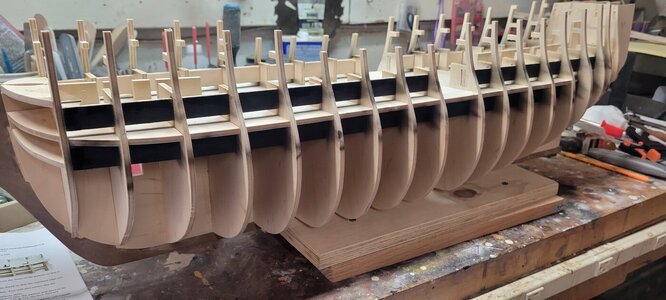
Painted dummy strips with Tamiya flat black, I had ordered the full set of Admiralty paints from Jotika, but they hadn't arrived yet.
20240218_170340.jpg

There is my battle scar!
20240218_170352.jpg

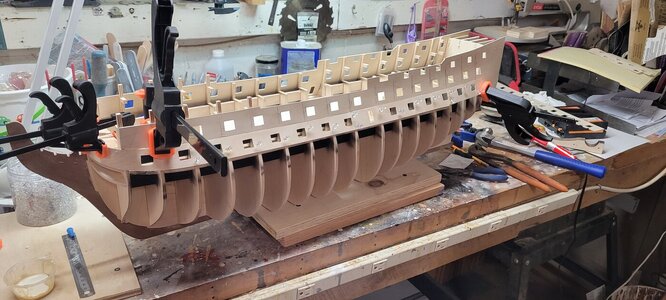
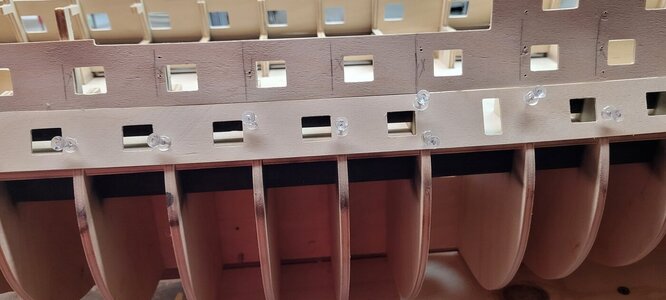
Starting gluing the gun ports on, I haven't noticed any alignment issues yet.
20240218_175444.jpg20240218_175457.jpg20240219_124110.jpg
20240219_124123.jpg20240220_093924.jpg

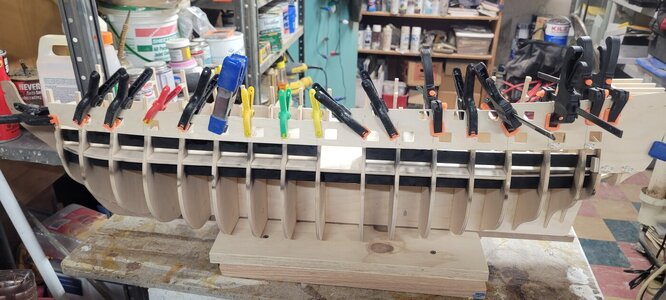
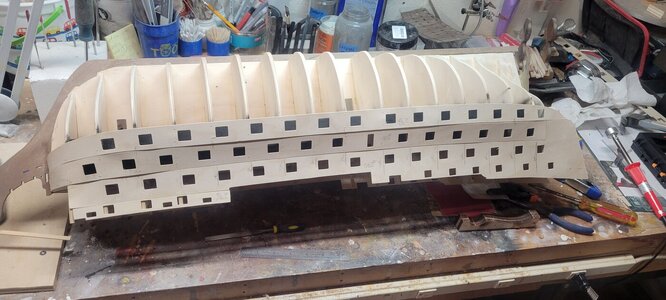
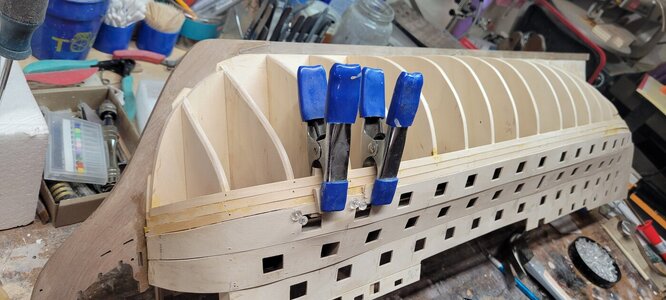
Started with the 1st planking. Now I have NEVER done this before.
I have watched dozens of YouTube videos on planking and reviewed countless build sites.
It still alludes me and my attempt is just atrocious.
20240220_181244.jpg20240220_191855.jpg20240221_124132.jpg20240221_124138.jpg20240221_124151.jpg


20240221_180325.jpg

She'll never float like this!!!!
20240221_180333.jpg

20240221_180356.jpg

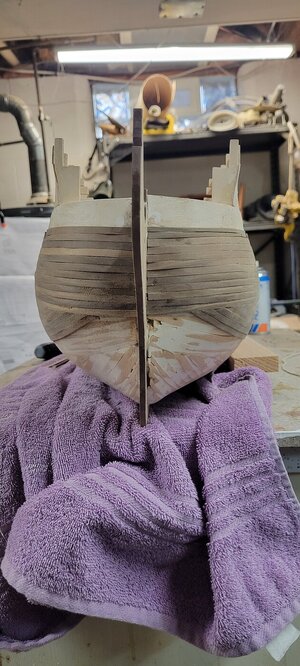
I decided to try planking from the bottom back up to counter act the clinkering that was happening because I am not installing the planks correctly.
20240222_125917.jpg

20240218_175505.jpg

20240218_202909.jpg
 
Hi Chris,

First let me be the first to welcome you to SoS, which is a great forum with many skilled and helpful modellers.

You have taken on one of the most advanced and challenging kit builds, POF, in the market. The upside of this is there are many others who have done this build and post on forums their log and experience.

The planking process is a very challenging part of building these tall ships and one that requires much practice and consideration.

Without going in to too much detail in my reply, the stem (bow) and stern (rear) of the hull is the most challenging and you need to bend and taper the planks to try and minimise the gaps and steps between adjacent planks. Leaving gaps in any of the three planes that are thicker than the plank itself will not yield a good hull base.

In some of your photos I can see the gap between adjacent planks is greater than the thickness of the plank, this will not be amenable to sanding or filling after planks are laid. You may wish to consider redoing some of the planks rather than persist with work that will be difficult to rectify.

Welcome again, you have come to the right place for ship modelling.

Michael
 
Despite the disastrous work thus far, I plodded on.

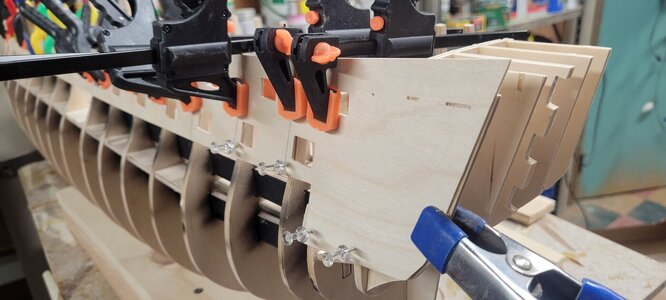
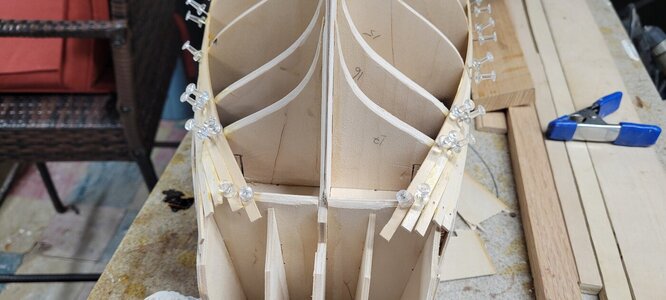
I should also note, I could not get the included pins to work. I bought a cheap brad pin pusher through Amazon and I couldn't get them into the bulkheads, they were just too weak and kept bending.

I bought a bucket of map pins and would pre-drill each plank and then hammer them into place. That worked very well.
20240225_162154.jpg

This was the end, just closing up some loose ends.
20240225_173045.jpg

I did not wet down and bend the strakes that are attached to the bow and many broke.
You can also see that I tried to cut some of the strakes with notches, sad.
20240225_173051.jpg
20240225_173102.jpg20240225_192334.jpg

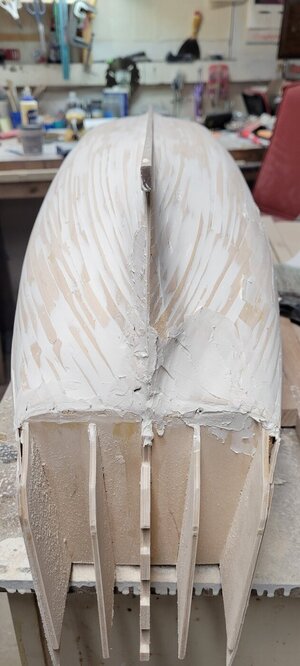
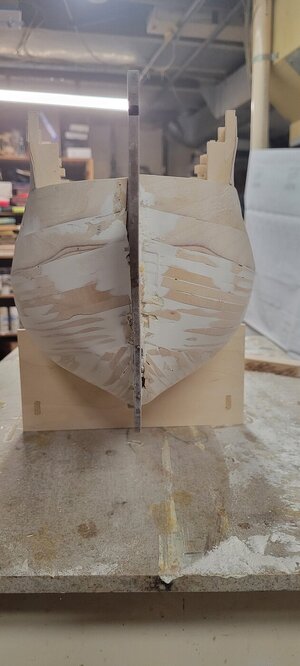
That being said, it is just wood in the end. I covered this puppy with a wood filler.
Normally I would use wood putty, but I saw this at Home Depot and decided to try it.
It is a Dap Premium Wood Filler. It has the consistency of toothpaste and goes on like frosting.
When it dries, it sands much like drywall mud with the same amount of dust.

I was able to shape the bow and stern and I have created a nice base for the next phase.
20240226_155924.jpg
20240226_155930.jpg20240226_184912.jpg
20240226_184901.jpg20240227_133423.jpg20240226_184918.jpg
 
Hi Chris,

First let me be the first to welcome you to SoS, which is a great forum with many skilled and helpful modellers.

You have taken on one of the most advanced and challenging kit builds, POF, in the market. The upside of this is there are many others who have done this build and post on forums their log and experience.

The planking process is a very challenging part of building these tall ships and one that requires much practice and consideration.

Without going in to too much detail in my reply, the stem (bow) and stern (rear) of the hull is the most challenging and you need to bend and taper the planks to try and minimise the gaps and steps between adjacent planks. Leaving gaps in any of the three planes that are thicker than the plank itself will not yield a good hull base.

In some of your photos I can see the gap between adjacent planks is greater than the thickness of the plank, this will not be amenable to sanding or filling after planks are laid. You may wish to consider redoing some of the planks rather than persist with work that will be difficult to rectify.

Welcome again, you have come to the right place for ship modelling.

Michael
Hi Michael;
I appreciate the quick welcome and response!

Most of that work was done a few weeks ago and I am just trying to get this log caught up to where I am today!
You are right, the planking is a learning curve. My only saving grace is that it is covered by a 2nd layer...which is where I am right now.

Chris
 
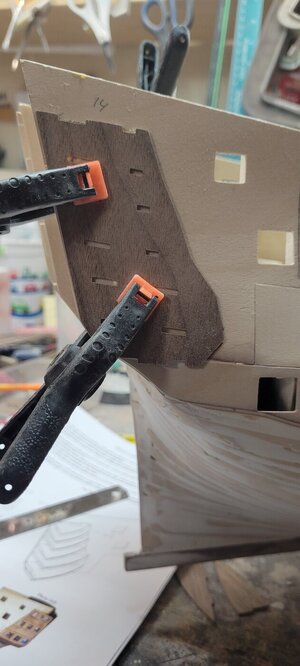
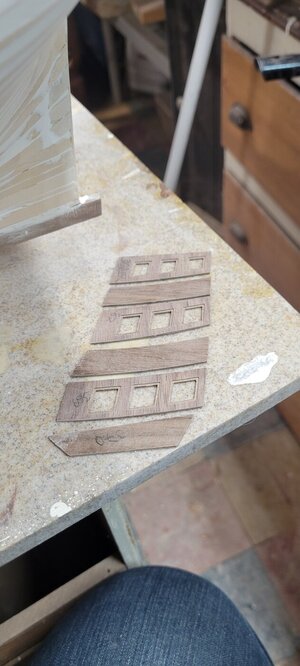
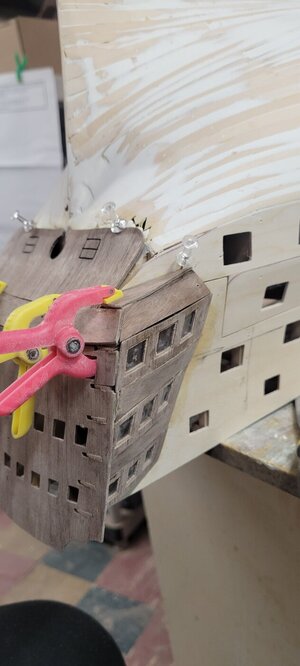
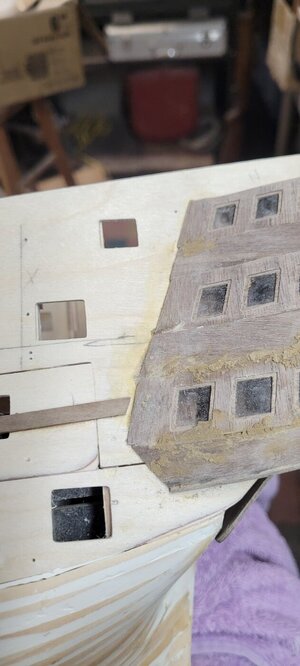
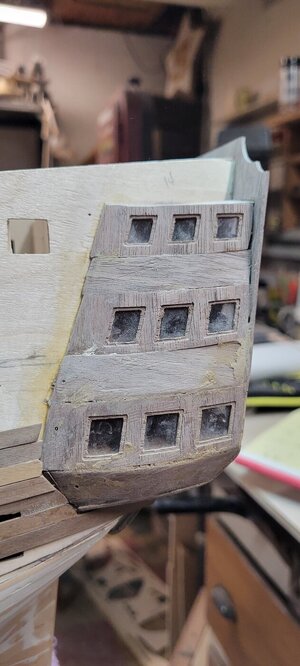
The next phase was to install the quarter galleries.

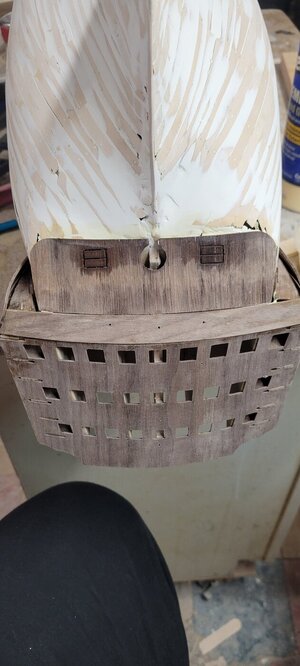
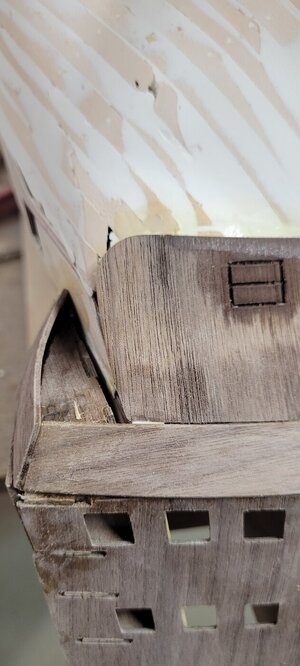
Despite the simplicity of this section, it was EXTREMELY difficult. Just too many pieces that need to be connected together, at the same time, with just 2 hands!

I ended up gluing part# 373 to each side and then was able to install the side gallery floors that help shape the final look.

20240227_145146.jpg20240227_151838.jpg20240227_151850.jpg20240227_161225.jpg20240227_194016.jpg20240227_194510.jpg

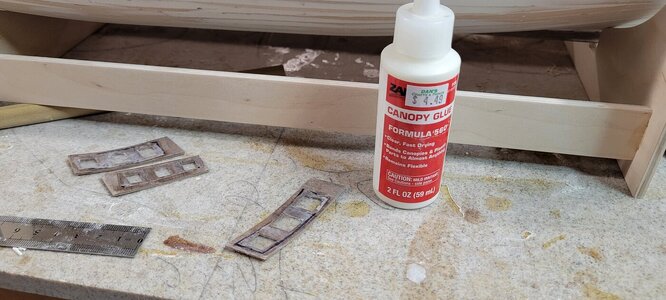
When adding the glazing to the side panels, I used a canopy glue, it won't haze or fog the windows.
20240227_194023.jpg20240228_105626.jpg
 
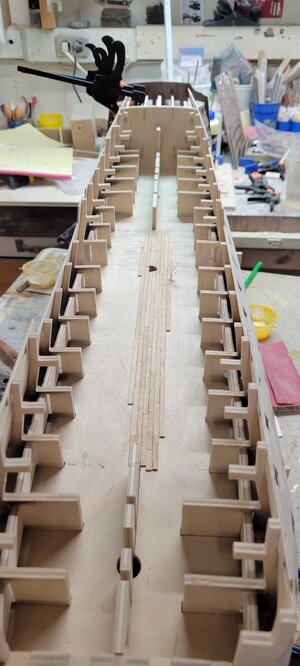
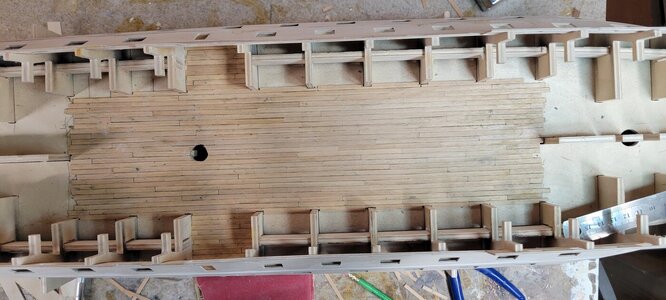
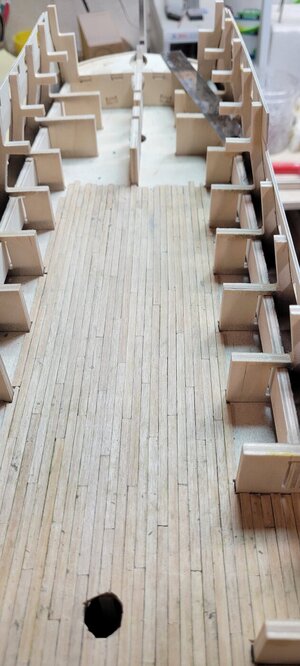
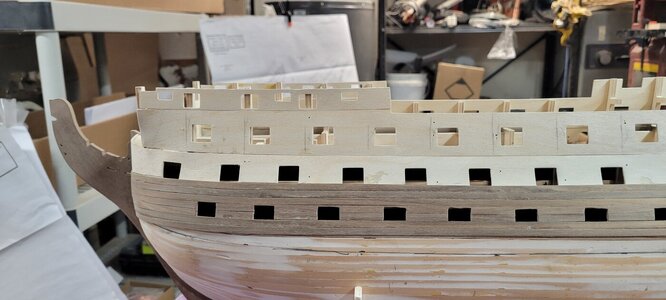
Next up was the deck planking of the middle deck.
At the time, I didn't have any of the books that have a lot of the detail concerning the ship.
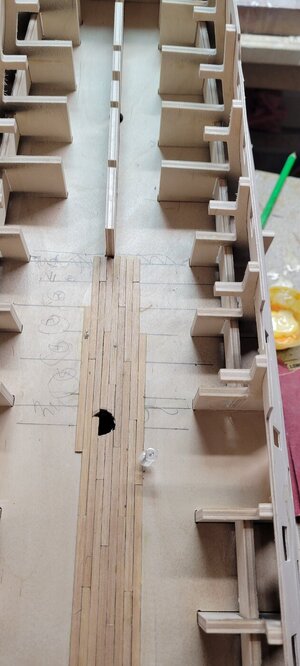
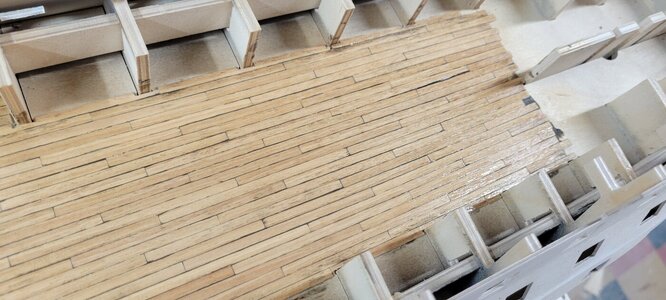
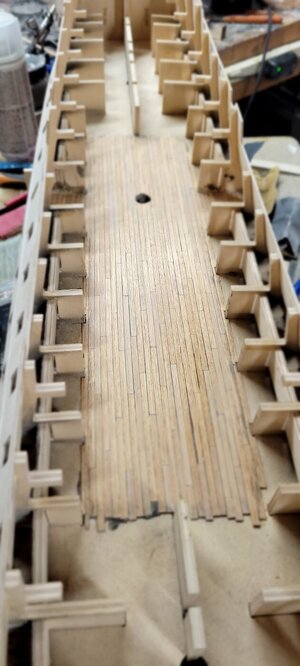
Online I found some PDF's on decking and decided to go with a 5-butt system for this deck. I kind of liked staggered look using a 5 plank system.

I also used a pencil to 'create' the caulking. I've seen some videos of builders using black threads and it looked great. However, 1mm thread would translate to about 72mm in real life. That seems like a 2" or so caulk and I wouldn't think the real decks would have that wide a caulking....

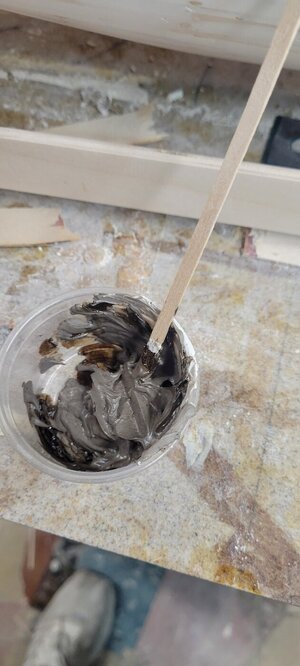
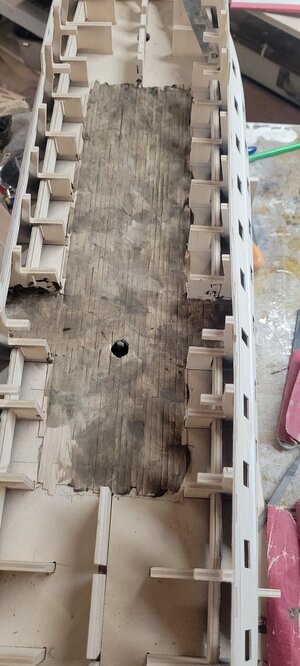
After it was done, there were some gaps from my work. I used the wood filler and added some Jacobean stain to it. It looked scary going on, but it sanded out very nicely and gives the deck a worn look. Again, not much of this deck will be in view and was more for practice and what I need to watch for later.

20240228_135752.jpg20240228_135756.jpg20240228_184859.jpg20240228_184920.jpg20240229_095709.jpg20240229_101104.jpg20240229_133049.jpg

There is a bit of coloring issue with some of the planks, but overall they have a nice oaky feel!
20240229_175332.jpg
 
Chris,

You certainly have done a lot of work already, and it appears as though you have good problem solving skills and determination.

I would suggest that the amount of wood filler you have currently on the hull will increase the difficulty you will have in laying the second planking layer. In my experience, ask me how I know, large areas of filler no matter how premium do not hold glue and bonds the same way as wood to wood. Planking the second layer requires innovative ways of bonding and clamping, especially if you wish to avoid nails and perforation and discolouration of the wood.

I recognise that Victory is copper platted below the water line and a painted hull, in most cases, which hides many of these imperfections, however you will want to achieve a nicely aligned wood base in the second layer as both these mediums show up imperfections considerably. Ask me how I know.

Also in your last photo, it appears as though the stern width for the keel part is too narrow, and you may have trouble in this area. Ideally you taper this area, called the deadwood area to account for the width of the stern keel and the two layers of planking either side to have a smooth finish.

Please do not take mine, or anyone else's comments to be critical, just trying to help.

Please keep posting your progress log, I will watch with interest.

Michael
 
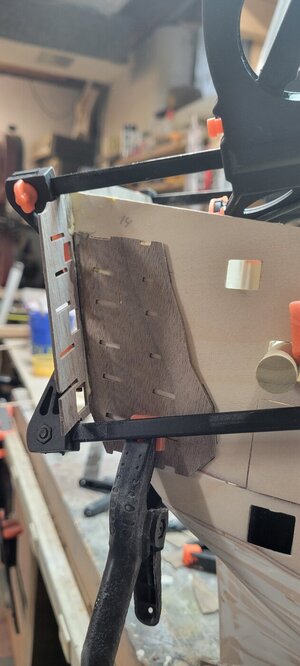
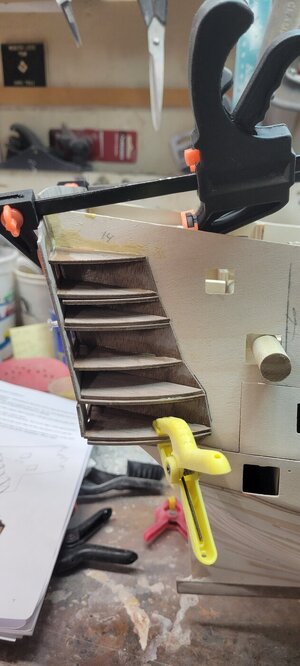
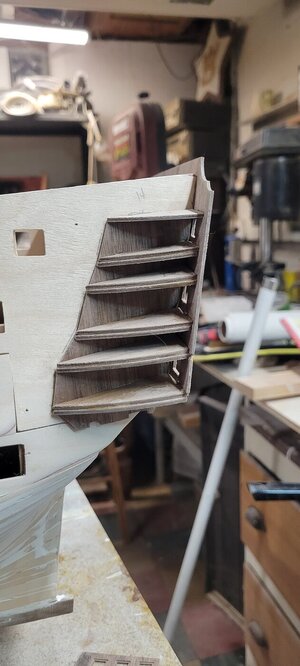
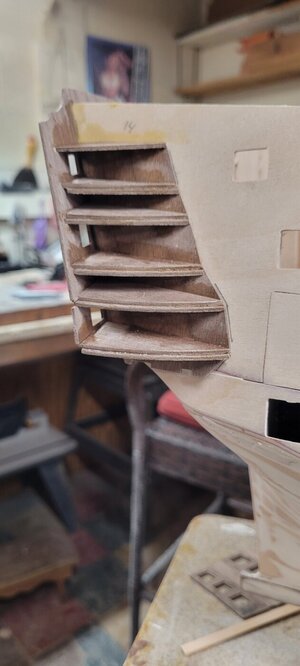
I worked on completing the first round of assemby for the quarter gallery.
Bending part #372 was very hard. I ended up microwaving some water and then wrapping it around a spray paint can.
I used about 20 rubber bands and sunk the whole thing in a vase of water for an hour. That seemed to work.

I did make another mistake gluing part #220. They are supposed to create the lower base of the gallery. For some reason, I set mine so they were actually recessed.
I was forced to created new 220's that I glued over them. That seemed to correct it.

20240229_122542.jpg20240229_122545.jpg20240229_124346.jpg20240301_152718.jpg

I added some regular putty here, but most of it has been sanded away. I will fine tune it once the 2nd planking has been complete.

20240301_180600.jpg
 
Chris,

You certainly have done a lot of work already, and it appears as though you have good problem solving skills and determination.

I would suggest that the amount of wood filler you have currently on the hull will increase the difficulty you will have in laying the second planking layer. In my experience, ask me how I know, large areas of filler no matter how premium do not hold glue and bonds the same way as wood to wood. Planking the second layer requires innovative ways of bonding and clamping, especially if you wish to avoid nails and perforation and discolouration of the wood.

I recognise that Victory is copper platted below the water line and a painted hull, in most cases, which hides many of these imperfections, however you will want to achieve a nicely aligned wood base in the second layer as both these mediums show up imperfections considerably. Ask me how I know.

Also in your last photo, it appears as though the stern width for the keel part is too narrow, and you may have trouble in this area. Ideally you taper this area, called the deadwood area to account for the width of the stern keel and the two layers of planking either side to have a smooth finish.

Please do not take mine, or anyone else's comments to be critical, just trying to help.

Please keep posting your progress log, I will watch with interest.

Michael

I never take offense when I am working on something when there are folks out there who have already faced the tasks I am trying to complete.

I believe that when I sanded the stern area, I did so to account for the addition of 2mm for the 1st layer of planking on each side, which I also sanded down. My thinking is that the 2nd planking will add another 2mm, hopefully enough to equal the 5mm deadwood piece? Hopefully....

I agree that the filler will run the risk of falling out of cracks that are too wide. That hasn't happened yet, so knock on wood filler it won't!
I am currently using medium CA glue and that has worked well.

Thank you and your thoughts and advice are VERY much appreciated.
Chris
 
Getting close to where I am today!

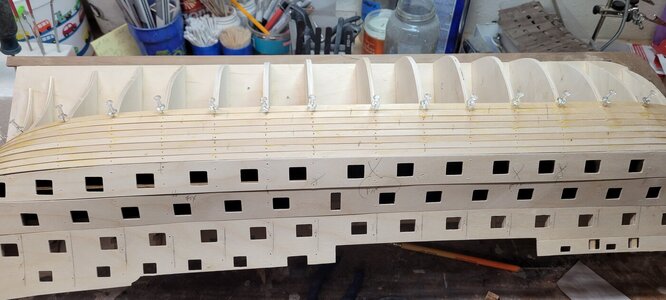
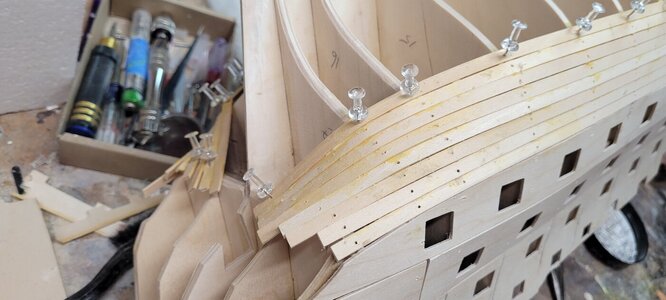
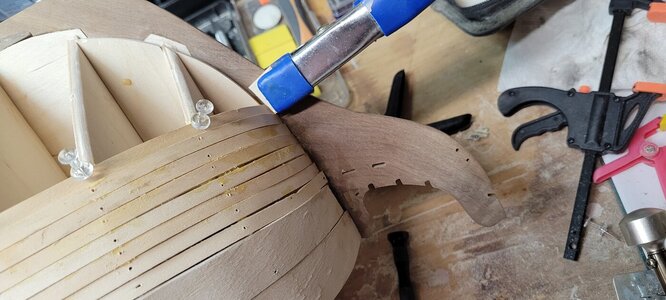
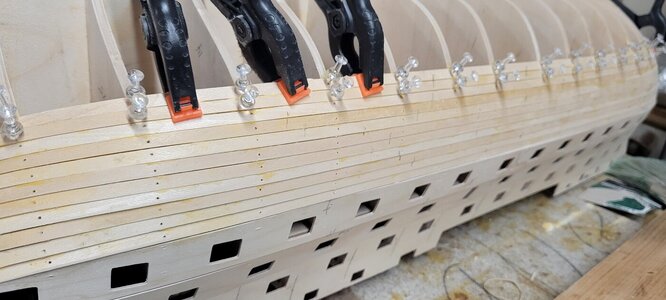
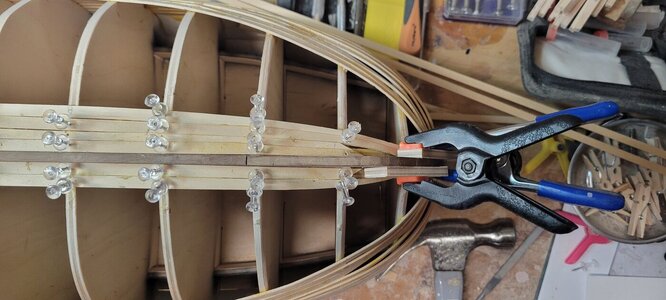
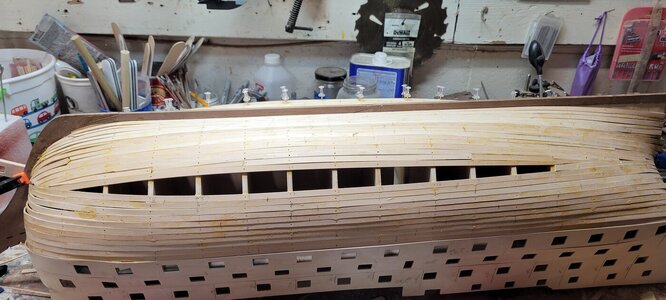
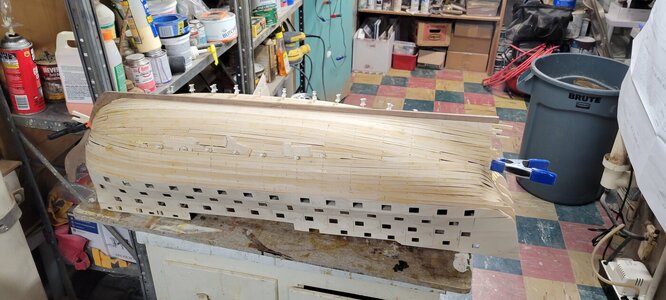
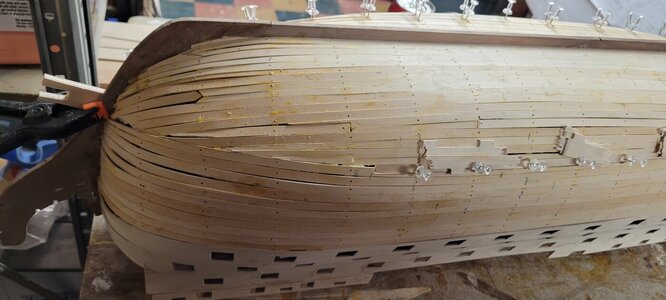
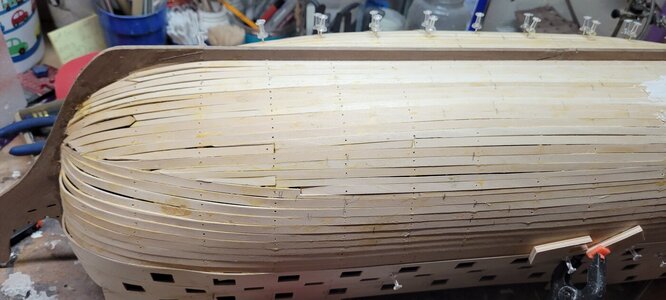
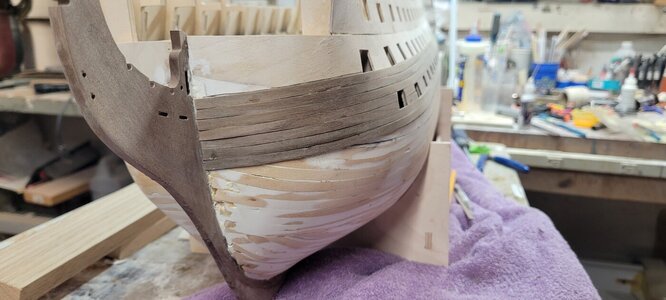
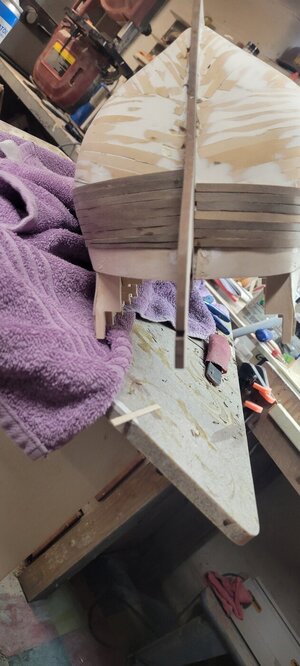
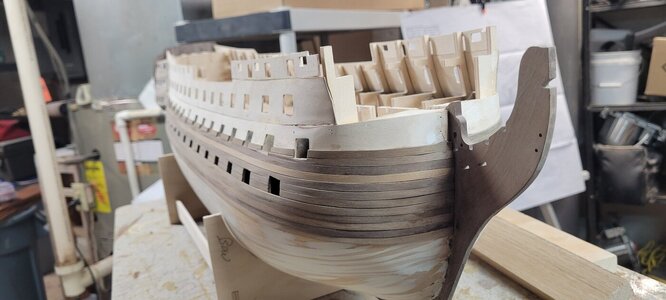
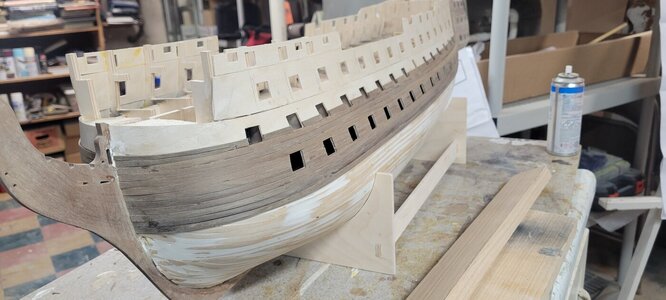
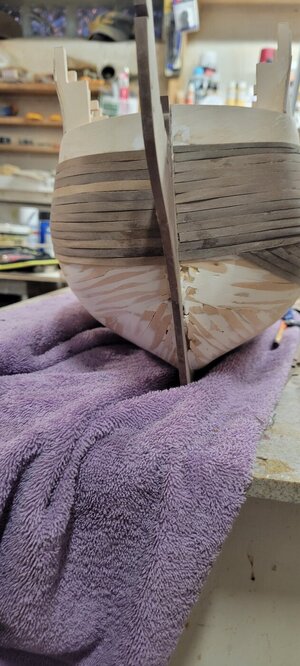
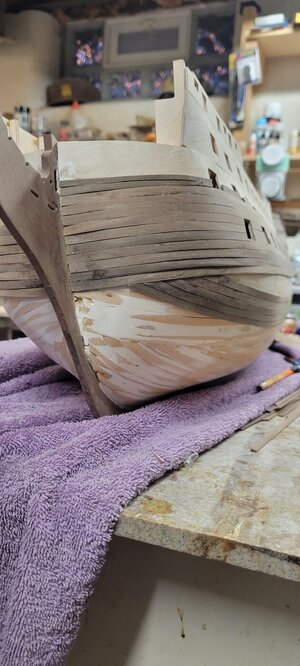
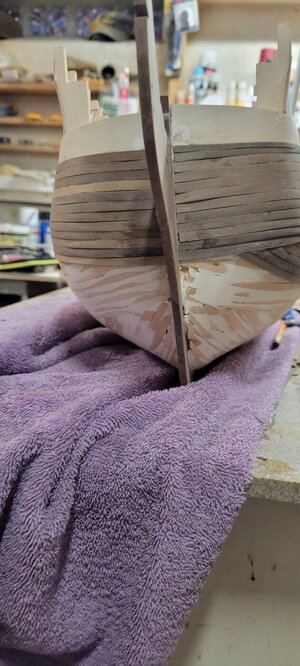
I started the 2nd planking. I still have some fit issues around the bow. I know that is because I haven't either tapered or adequately accounted for the curving.

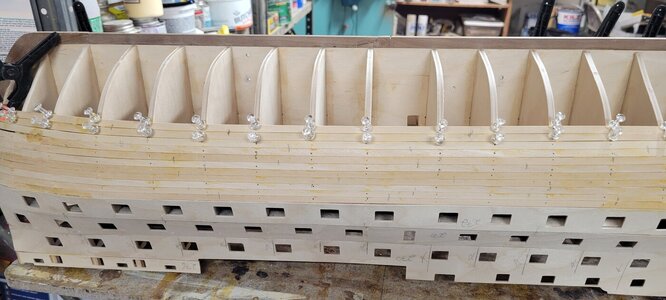
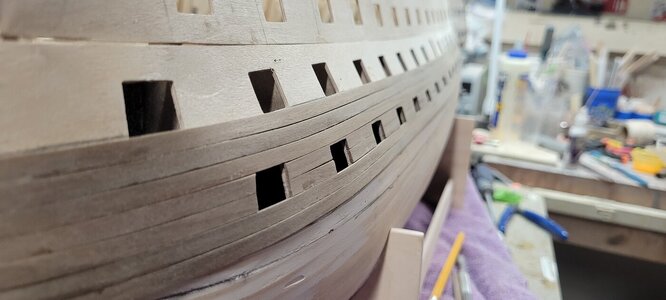
I started with 7 strakes on each side. Overall it looks pretty good. Using medium set CA glue works fine. Although it is hard not to get it on your finger tips and on the planks. They do sand out so I am not too concerned...although my fingers and thumbs tips are not happy!

20240301_180552.jpg

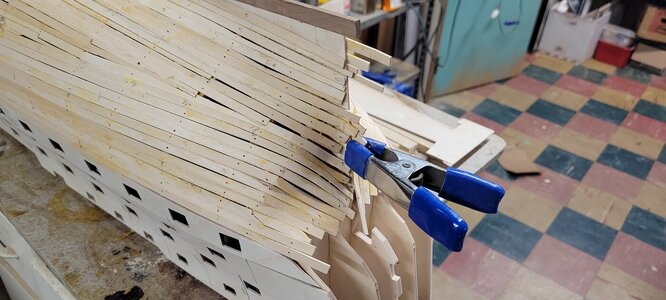
I have noticed a bit of clinkering in the bow, I think I need to concentrate on some tapering and chamfering the planks.
20240301_180612.jpg20240301_180619.jpg20240301_180841.jpg20240303_134346.jpg

I noticed when I started the other side that even though I was POSITIVE that I had laid them up evenly, they weren't

As I added strakes up towards the top, I was able to taper them to even them out.
20240303_134404.jpg20240303_162621.jpg20240303_162634.jpg

This is where I am as of today (3/6/24)
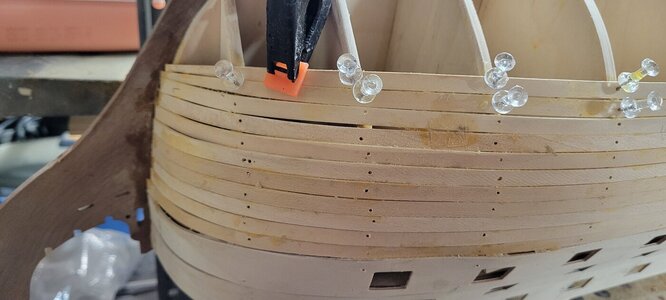
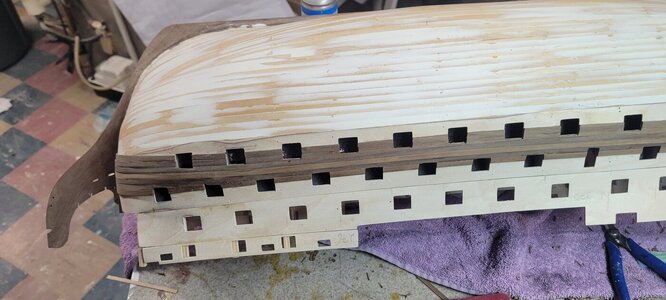
I took a different tact and installed strakes so that they run into the ones that run parallel to the water line.
They seemed to fit better with less twist.
Again, you can see some fit issues, especially on the port side.

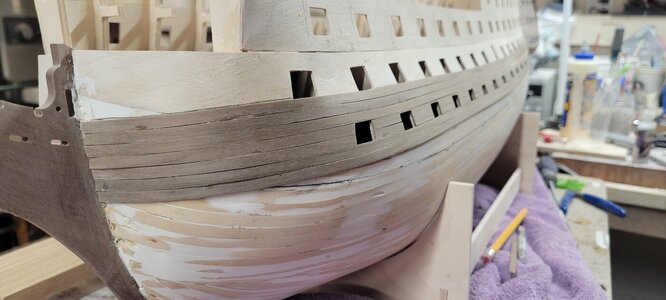
My feeling is that I can add wood filler to the finished work and after it is sanded it will look good. I believe I will add a walnut stain to the filler to help make it look nice, despite the fact I will be adding copper tiles and the wales to the upper planking.

20240306_175921.jpg
 
I thought that I would add a bit of detail to the interior of the middle deck near the 2 entrances.
I couldn't find any pictures of this area, not matter how many different words I used in the search engine.

So I was working on my computer and I had Napoleon on, I have already seen it and just have it on for background noise.
When I looked up and saw the HMS Victory. In the movie it is the HMS Bellerophon and then an English officer walks through the entrance and they cut to an interior scene! I had it!

20240303_173159.jpg


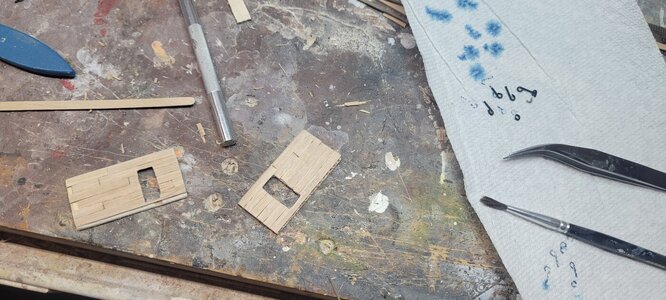
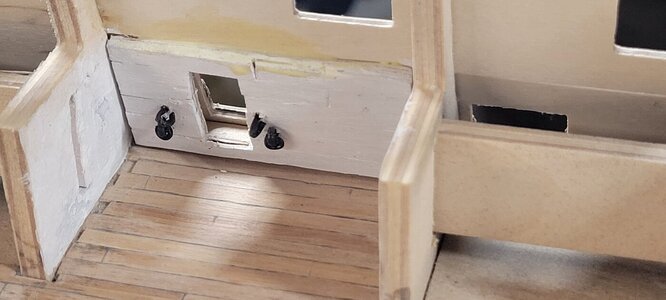
I created some knee walls for the inside of each entrance. My thoughts are you 'might' be able to see them from the opposite entrance.
I also bent some brass wire I had and blackened it to create the rings.

I painted the walls white and glued them to the inside walls...I put a piece of the 1st planking on the ground to give the knee wall some space to add the trim later.
20240306_161007.jpg20240306_165802.jpg


It'll be fairly dark when the upper decks are installed, but it adds a bit.
20240306_175821.jpg20240306_165719.jpg


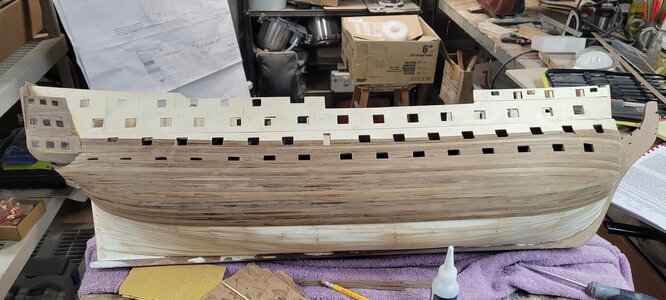
Finally, the 2nd planking thus far.

Probably not the model for on the job training. Also, it looks much better in person, the camera not only adds 10 pounds it magnifies mistakes 100x!

Thanks guys!
Chris
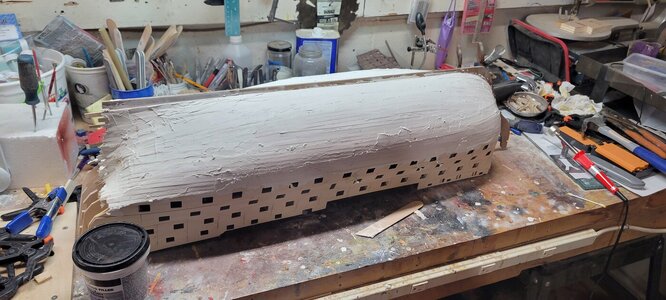
20240306_175918.jpg20240306_175921.jpg

20240303_162803.jpg
 
Last edited:
I thought that I would add a bit of detail to the interior of the middle deck near the 2 entrances.
I couldn't find any pictures of this area, not matter how many different words I used in the search engine.

So I was working on my computer and I had Napoleon on, I have already seen it and just have it on for background noise.
When I looked up and saw the HMS Victory. In the movie it is the HMS Bellerophon and then an English officer walks through the entrance and they cut to an interior scene! I had it!

View attachment 433177


I created some knee walls for the inside of each entrance. My thoughts are you 'might' be able to see them from the opposite entrance.
I also bent some brass wire I had and blackened it to create the rings.

I painted the walls white and glued them to the inside walls...I put a piece of the 1st planking on the ground to give the knee wall some space to add the trim later.
View attachment 433178View attachment 433179


It'll be fairly dark when the upper decks are installed, but it adds a bit.
View attachment 433180View attachment 433186


Finally, the 2nd planking thus far.

Probably not the model for on the job training. Also, it looks much better in person, the camera not only adds 10 pounds it magnifies mistakes 100x!

Thanks guys!
Chris
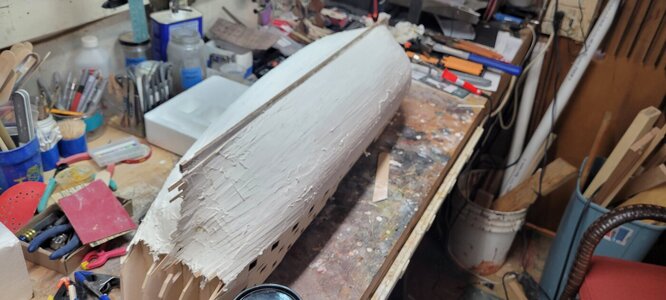
View attachment 433183View attachment 433184

View attachment 433176
Hi Chris
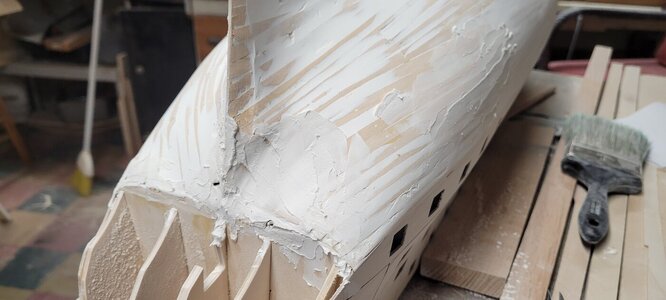
Great job so far.
Caldercraft is my next kit and I'll certainly follow your build log
Good luck
 
First of all a warm welcome on board of the active membership.
Great that you started a building log - and I have to state, that we can see here really good work
You are on a very good way in this challenge - Have fun, this is most important, but we can see, that you have already a lot of fun working on this nice lady
 
Next up was the deck planking of the middle deck.
At the time, I didn't have any of the books that have a lot of the detail concerning the ship.
Online I found some PDF's on decking and decided to go with a 5-butt system for this deck. I kind of liked staggered look using a 5 plank system.

I also used a pencil to 'create' the caulking. I've seen some videos of builders using black threads and it looked great. However, 1mm thread would translate to about 72mm in real life. That seems like a 2" or so caulk and I wouldn't think the real decks would have that wide a caulking....

After it was done, there were some gaps from my work. I used the wood filler and added some Jacobean stain to it. It looked scary going on, but it sanded out very nicely and gives the deck a worn look. Again, not much of this deck will be in view and was more for practice and what I need to watch for later.

View attachment 433154View attachment 433155View attachment 433156View attachment 433157View attachment 433158View attachment 433159View attachment 433160

There is a bit of coloring issue with some of the planks, but overall they have a nice oaky feel!
View attachment 433161
Hello from down state! I too am attempting my first build of this kind. I had the same problems with first planking. I like the way you added the stain to the filler. I would never have thought of that. Your build is looking good!
 
Hi Chris
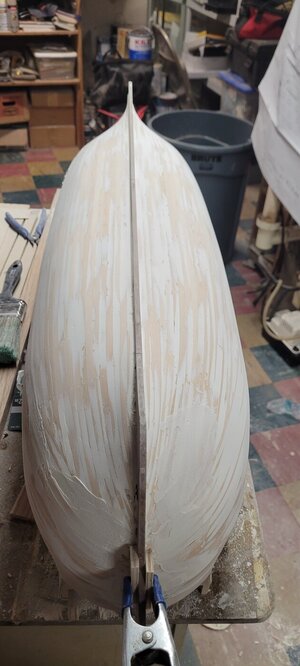
Great job so far.
Caldercraft is my next kit and I'll certainly follow your build log
Good luck
First of all a warm welcome on board of the active membership.
Great that you started a building log - and I have to state, that we can see here really good work
You are on a very good way in this challenge - Have fun, this is most important, but we can see, that you have already a lot of fun working on this nice lady
Hello from down state! I too am attempting my first build of this kind. I had the same problems with first planking. I like the way you added the stain to the filler. I would never have thought of that. Your build is looking good!

First, I just love this website. The options and widgets that allow for easy access and response are just wonderful!

Thank you guys for your responses! I am about half way done with the 2nd planking and will post more pics this evening with my progress.
It is equally as tough as the first planking, yet at the same time a little better. I think part of it is having the entire base of the hull to work on.

That Premier wood filler accepts all kinds of stains....much like vanilla frosting accepting food coloring!

That being said, you can definitely see unevenness and poor fitting at the bow below. I am positive that I can sand that smooth once I am done.

The side view appears a little nicer. I have sanded a bit to remove the excess CA glue.

Don't kid yourself as you prepare for the 2nd planking. I spent perhaps 4 or 5 hours yesterday on one side maybe adding 6 or 7 strakes AND laying out my plan to finish one side.

I took measurements from the finished lower strake to the keel at bulkhead points. Once I did that, I divided the remaining open area into 3 sections and ran string from stem to stern to see the sections.

I tried to leave 40mm of space at the widest point as this would accept eight 5mm planks. I had a bit more for the garboard (very first...or last depending on how you look at your boat) plank.

When I adjusted the string at the bow and stern, I feel like I do not have to trim or taper a lot of the planks, so we will see if an hour or so of work pans out!

My only problem is it's going to be about 60 here and I started working on the real rudder of my sailboat and want to get the bearing caulked back into the hull so it can set for a week!!!!! Decisions....decisions!

20240307_133152.jpg20240307_152829.jpg
 
Last edited:
Lol...it was getting so bad that I couldn't even pick up pieces of wood my fingers were so caked in CA!!!!

I have a whole bag of those tips that I bought for my previous model, which was all plastic. They never seemed to work with the bottles I was using, but I am going to give them a second chance tomorrow...thanks for the reminder!!
Chris
 
Back
Top