Halcon 1/100 [COMPLETED BUILD]

Joined
Feb 10, 2022
Messages
34
Points
48

First a quick introduction.
I'm getting back into making models since being a teenager and before life and work got in the way. Now I've retired I'm picking up this hobby again.
I only made plastic kits before. But before I jump into HMS Victory i need to see if I can get my hands to do what I want them too.
So brought my self this cheap Chinese kit (GBP £11.00) of the Halcon scale 1/100. the idea being in need to start slowly with something that doesn't matter if it ends up as firewood but hopefully learn some technics and good practices along the way.

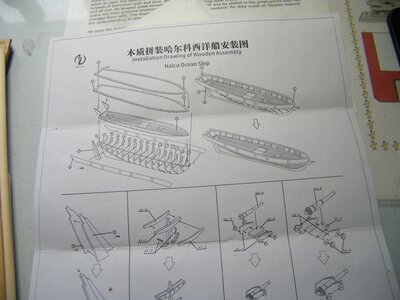
1st Impressions is the kit is pretty poor and instructions are rubbish but the laser cut seems accurate.
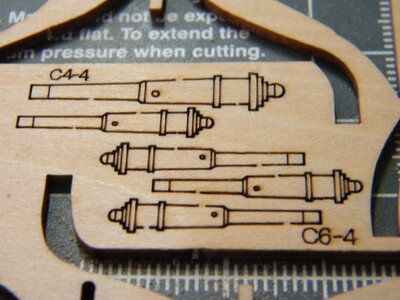
I haven't brought the accessories for it so I will be attempting to turn the square cannons etc. round.

Pics of progress so far.

batch_DSCF8166.JPG
Above Laser cut bits

batch_DSCF8167.JPG
Above Poor instructions

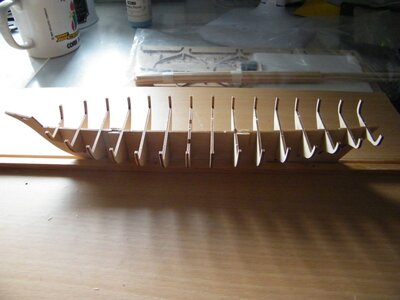
batch_DSCF8170.JPG
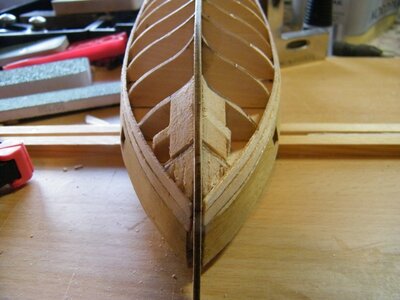
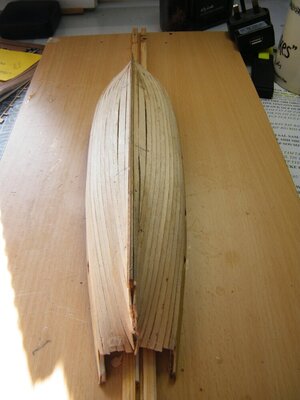
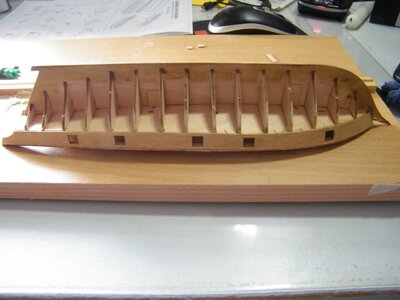
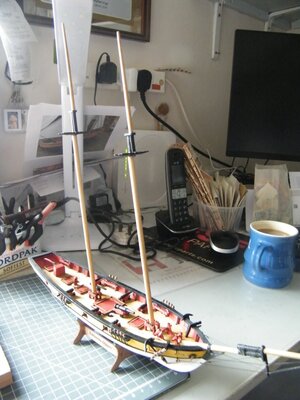
Bulkheads fitted. Took the extra step/precaution of adding some scrap wood to make mast boxes, they have been drilled out to take the masts.
just thought this addition would give a bit of a better more secure fit.
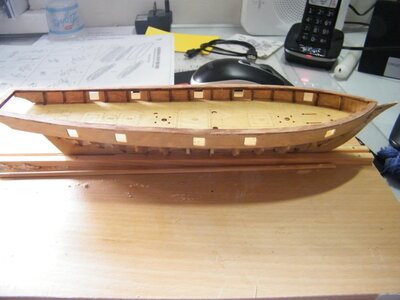
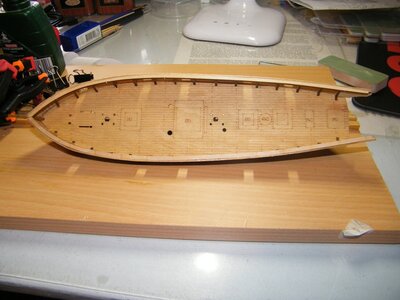
batch_DSCF8171.JPG
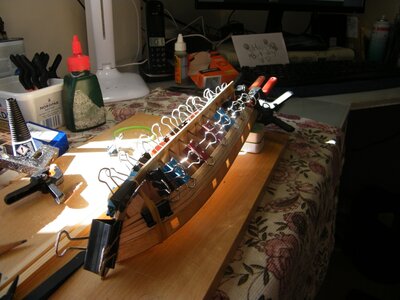
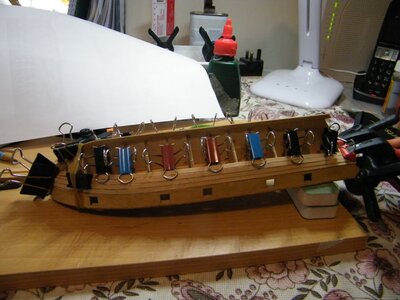
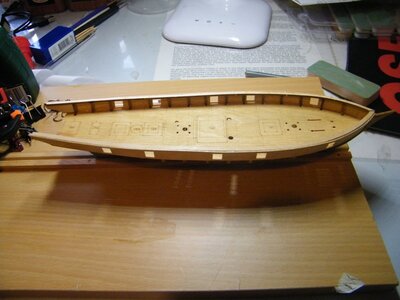
Above deck, gunwales and rail fitted didn't to soak the gunwale used a score/cut on the inside to help with the bend.
in hindsight soaking then bending would have been better
batch_DSCF8172.JPG


batch_DSCF8173.JPGbatch_DSCF8174.JPG
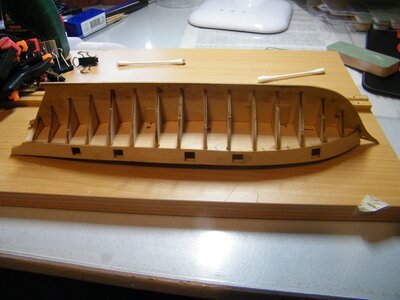
Above pics after a bit of stain (more for protection at this point).
Not sure of the finish I want at the moment leaning towards using just stains and varnish.
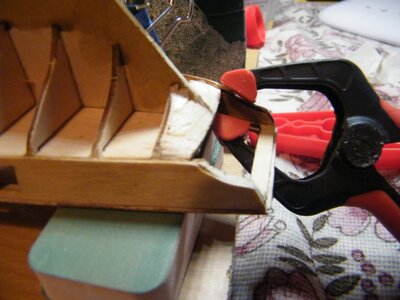
batch_DSCF8177.JPGbatch_DSCF8178.JPGbatch_DSCF8179.JPGbatch_DSCF8181.JPG

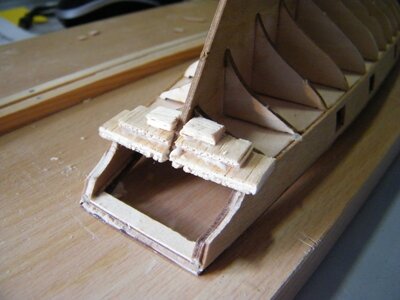
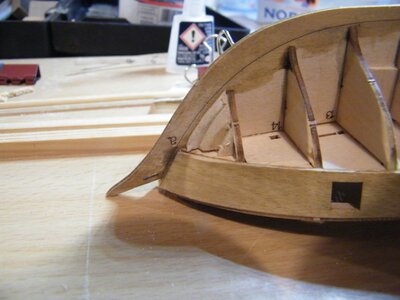
the above pictures show another addition as i started to plank decided wasn't happy with the strength of the bond between the planks and the bow and stern so added a filler of scrap wood between the bulkhead's and bow stern/transom.

As I start to add the next rows of planks I'm thinking I'm going to need to use filler so the Idea of a stained and varnished hull is probably going to be painted.
batch_DSCF8175.JPG
 
Using home made clips is ok as you can have lots of them but any suggestions to how to hold planks in place as the gap gets smaller the bulkhead doesn't seem thick enough to hold pinsbatch_DSCF8182.JPGbatch_DSCF8184.JPG
 
from my side a warm welcome here on board of our forum.
Many Thanks for starting this building log of your Halcon - this build will be a one step to collect enough experience for the Victory
 
Using home made clips is ok as you can have lots of them but any suggestions to how to hold planks in place as the gap gets smaller the bulkhead doesn't seem thick enough to hold pins
Looks like you're off to a great start! Welcome (back) to this great hobby, hope you find as much enjoyment in it that many of us here do.

I used the small brass nails to hold planks once I run out of room for the clamps. Once the glue dries I remove the nail and add a few drops of water to the nail hole in the wood, this helps close the hole.

I have seen others use the plastic handled tacks pressed into the bulkhead next to the plank with great results. No holes in the planks to worry about.

If you haven't already, look around on this and other forums, you will find quite a bit of planking information.

Glenn
 
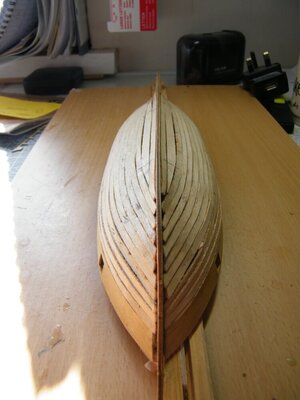
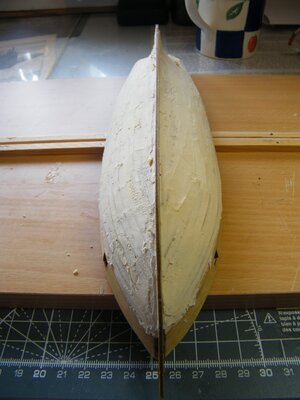
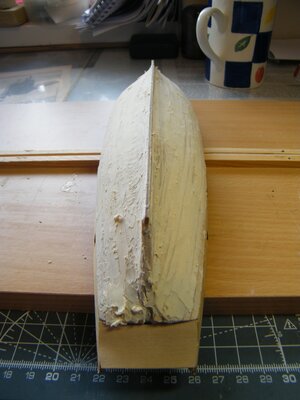
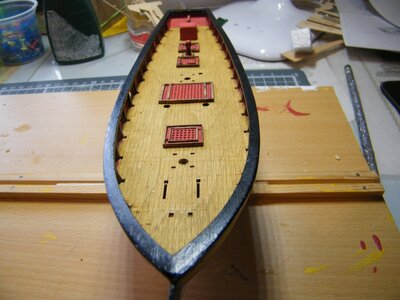
So it took a bit of time and the results leave a bit to be desired. But planking finished will need a shed load of filler and a a lot of sanding to get an acceptable finish. But its a start and all a good learning curve.

batch_DSCF8218.JPGbatch_DSCF8219.JPG
 
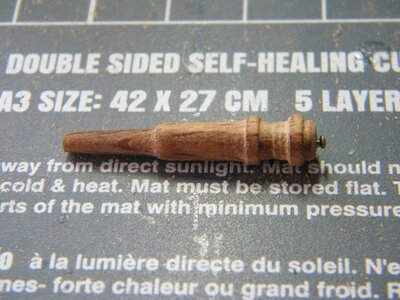
In between waiting for the glue to dry I tried to improve on the square cannons supplied (Didn't get the accessory kit for this model)
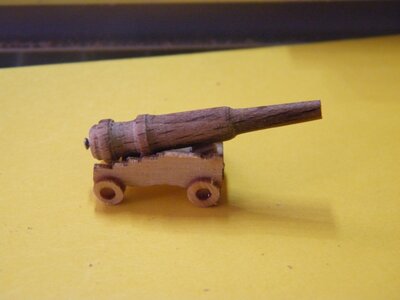
Used a bit of scrap dowel and a mini lathe and tried my hand at turning the cannon barrel 1st attempt not to bad and surprisingly therapeutic and calming.
Needs more work on the carriage.
batch_DSCF8185.JPGbatch_DSCF8186.JPGbatch_DSCF8187.JPG
 
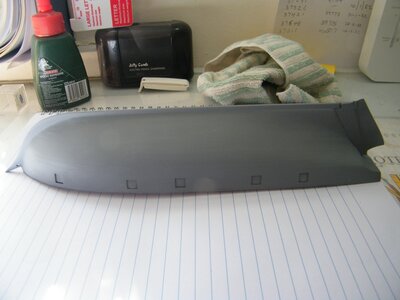
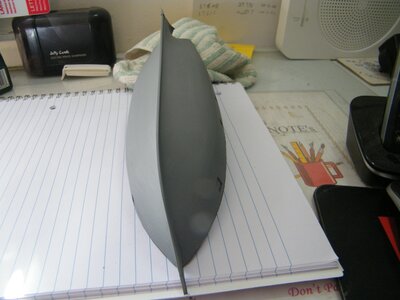
Buttered the hull in filler then a lot of sanding to get it back to the wood. seems a bit over the top with filler but as the planking was of a poor quality wood it needed a lot. Took a bit of sanding but the results where ok (forgot to take a pic) ended up nice and smooth. Gave it a good coat of primer to cover the final imperfections. Needs a gentle sand and polish before painting.

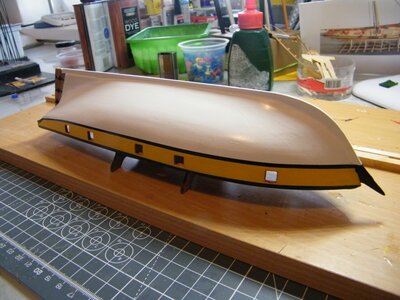
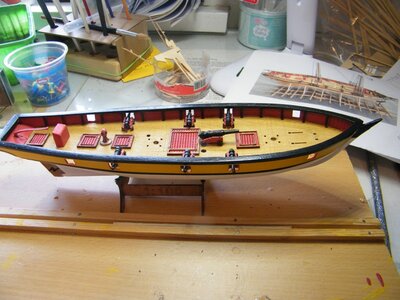
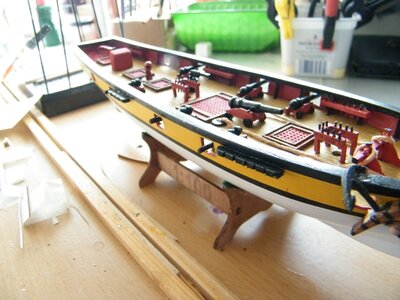
I'm still not 100% on the final colour scheme but thinking a white hull up to the gunwale then above and around the ports a yellow/buff colour with a black line to separate white and yellow then a black rail. for in side the gunwale, gun carriages, capstans and to pick out other deck features leaning towards a darkish red. This is project is more of a learning curve for me so not looking to create a 100% accurate model of a specific ship. Any thoughts on colour scheme will it look ok or totally naff. Have obviously had a search of the web and these clippers came in many different colours schemes I suppose to reflect the preference of the owners/skippers.

batch_DSCF8221.JPGbatch_DSCF8222.JPGbatch_DSCF8223.JPGbatch_DSCF8224.JPGbatch_DSCF8225.JPG
 
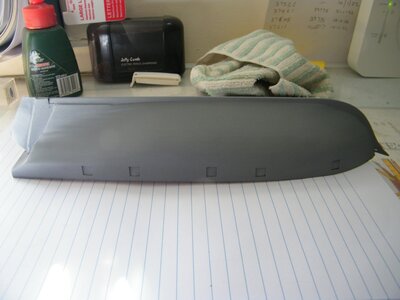
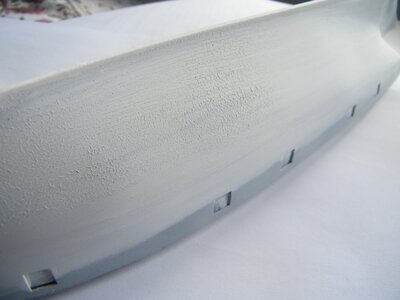
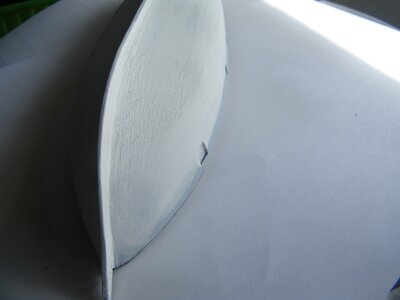
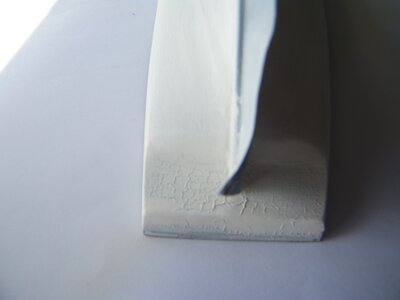
Okay bit of a mistake.
Primed the hull with Humbrol acrylic came out ok
So went for the top coat also Humbrol acrylic but was applying by brush but not getting a good finish so a light rub down with fine paper to lose the brush marks.
Decided that maybe better of with a spray (rattle) can for the large areas.
A trip to local craft shop to get some only to find out they only stock Revell paints but they had a white acrylic so thought would be ok as both where acrylic big mistake. I did several light coats 2 hours apart with a light sand and clean in between. But the third coat seems to be a reacting to the others.
Now need to sand down and try again any thoughts?

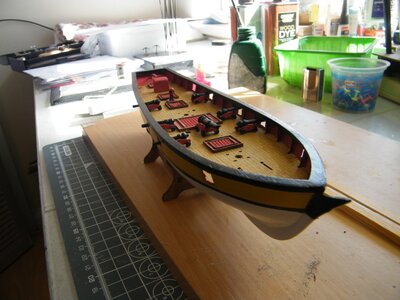
batch_DSCF8227.JPGbatch_DSCF8228.JPGbatch_DSCF8229.JPG
 
I have to say for a $15 kit, your making it look like a $100. You're doing an amazing job. Keep it up I'm anxious to see the finished product.
 
I have to say for a $15 kit, your making it look like a $100. You're doing an amazing job. Keep it up I'm anxious to see the finished product.
Thank you for the encouraging words. I still have a long way to go before I think I'm ready to tackle the mamoli 1/150 HMS victory to do it justice..

I think this model is looking ok but when I take close up photos they just show up where I should of spent a bit more time sanding.
 
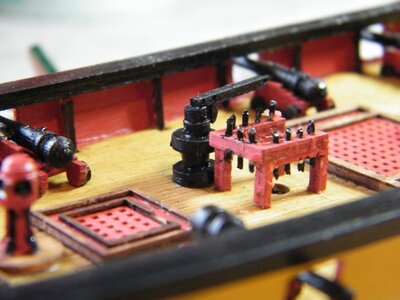
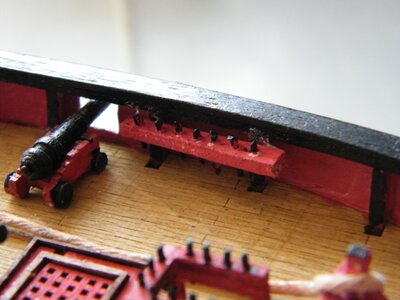
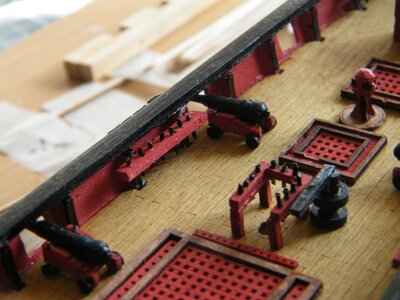
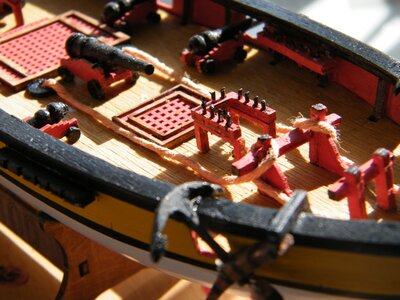
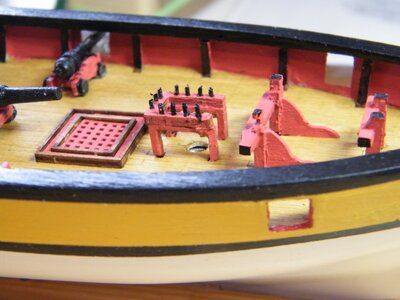
A few more bits of deck furniture added. Plus a couple of modifications/additions not in this cheap kit.


batch_DSCF8260.JPG

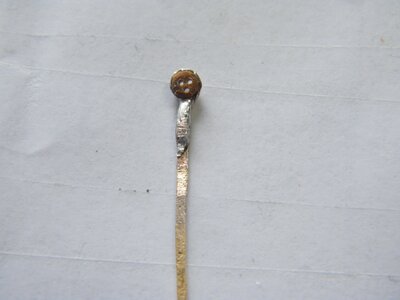
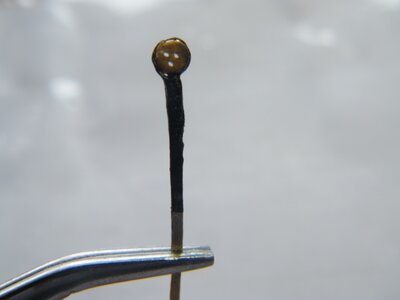
Tried to find a quick way to make Belaying pins painted and cut dressmaking steel pins pretty tatty but ok from a distance

batch_DSCF8266.JPG

Added some channels

batch_DSCF8267.JPG

Made some belaying pin racks with pins

batch_DSCF8268.JPGbatch_DSCF8269.JPG

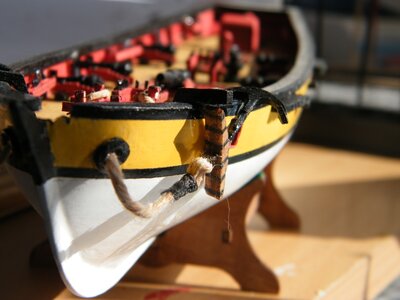
added the anchors tried to use rope in stead of chain as think that's more in keeping with the era and size of vessel.

The rope was just a bit of string that i tried to colour with some water colours to look like hemp used black cotton for whippings. Note for next time try to stop string unravelling. Should I twist it more and set with some glue?

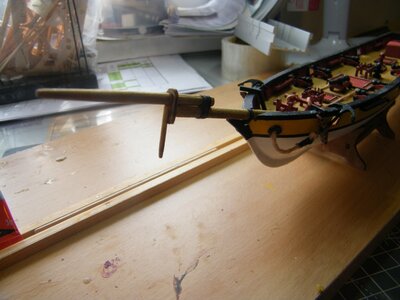
Have cut a slot in the bow for bowsprit. Which is the next thing to add again bit of modification.


batch_DSCF8270.JPG

batch_DSCF8259.JPG
 
Been a few weeks since been able to pick up the tools again. (Life does have a habit of getting in the way of important things)
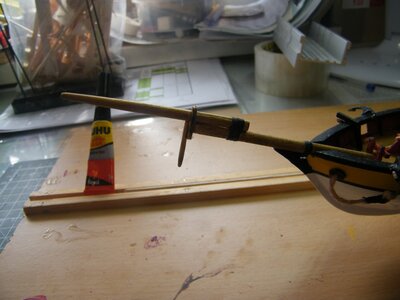
Time to work on the masts and bow sprit
tapered it using electric drill and sanding block seems to do the trick.
The kit only supplies poor instructions no indication of sizes and a one piece dowel bowsprit
To be a bit more true to type made it a two piece Bow Sprit and Jib boom assy with dolphin striker.
Not to happy with the finish but its all in the name of learning.
batch_DSCF8408.JPGbatch_DSCF8409.JPG
 
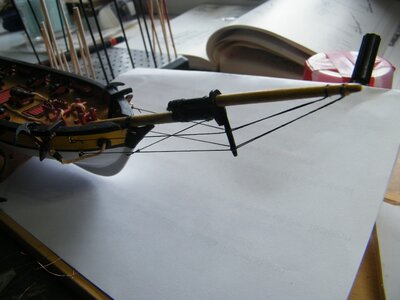
Added some rigging to the bowsprit.
Used some Eye pins sourced from local hobby craft to make the ring bolts not true to scale but does the trick.batch_DSCF8702.JPG
 
As mentioned this kit is very poor on instructions and missing bits that it would look better for.
Also as stated I'm using this as a learning curve so having added the Channels earlier to help with making the rigging a tiny bit more true to life.
The mast have been made (pics later) but before they can be installed thought I would think about how the standing rigging should be attached.
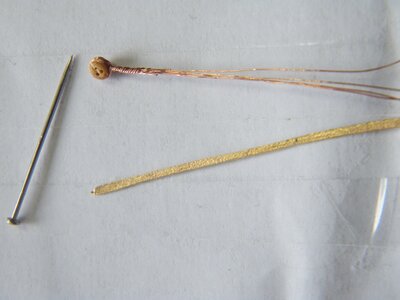
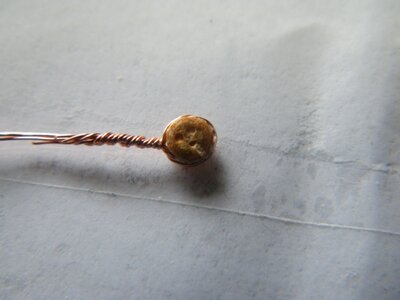
So Having a go at making my own chains and dead eyes. The dead eye where a complete failure unless one takes a leaf out of Edision's book and accepts that i found several ways not to make them.
So purchased some 1.5mm dead eyes from Caldercraft in the UK.
for the Chains decided to flatten out brass pins.
Used strands of wire to wrap round the dead eyes and secured to the chain plates with a bit of soldering then a few dabs of black paint one down 15 more to go hopefully they will look ok when on the model when have decided how to connect them will try to drill and pin.batch_DSCF8699.JPGbatch_DSCF8697.JPGbatch_DSCF8700.JPGbatch_DSCF8701.JPG
 
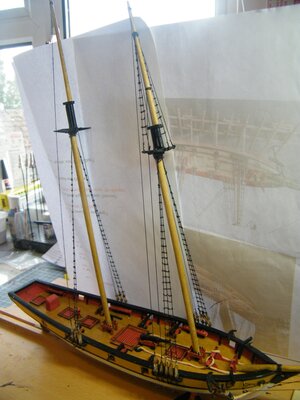
the channel chains did not work well built ok but bit of a pain to install went for plan B and used a few strands of wire and twisted to look like wire rope not very authentic but should look ok. Have assembled the masts and set in position hope i got the rake right looks ok to the naked eye so hopefully will pass muster. Now ready to start adding the standing rigging.

batch_DSCF8703.JPG
 
Had to put down the tools to enjoy the annual family holiday.
Back at it for the last few days. this is my first ever attempt at real rigging.
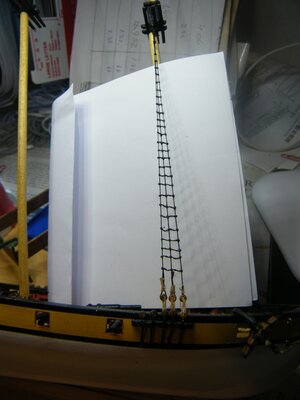
Not perfect but still on a learning curve but seems an acceptable start for the main mast lower shrouds and rat lines.
batch_DSCF8791.JPG
 
Doing a fantastic job. I'm just starting the same build (first ever). Thanks for all the tips. Keep it up, cannot wait until the finished product. And more tips.
 
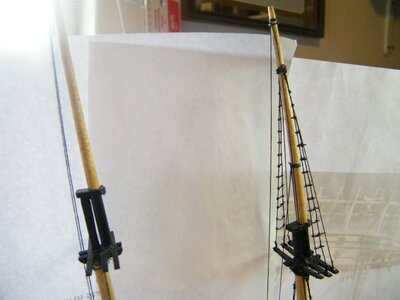
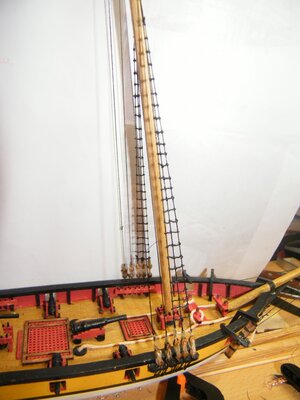
Finished both masts main shrouds/rat-lines. for the next model I will try to rig the dead eyes before attaching to the shrouds should be less of a fiddle and probably a more uniform better finished result. I did buy a jig to do this but at this scale the jig was not able to be adjusted down to the small gap I needed so will be a bit more patient and try to make my own jig. Onto big next step main rigging before try to fit the yards which I have already shaped/tapered using some sanding blocks and battery drill. I'm probably not going to worry about blocks for this model as when finished it will probably have a Viking funeral as the whole purpose of this one was to see if I would enjoy this hobby again and get ready for HMS Victorybatch_DSCF8795.JPGbatch_DSCF8796.JPGbatch_DSCF8797.JPG
 
Back
Top