-

Win a Free Custom Engraved Brass Coin!!!
As a way to introduce our brass coins to the community, we will raffle off a free coin during the month of August. Follow link ABOVE for instructions for entering.
-

PRE-ORDER SHIPS IN SCALE TODAY!
The beloved Ships in Scale Magazine is back and charting a new course for 2026!
Discover new skills, new techniques, and new inspirations in every issue.
NOTE THAT OUR FIRST ISSUE WILL BE JAN/FEB 2026
You are using an out of date browser. It may not display this or other websites correctly.
You should upgrade or use an alternative browser.
You should upgrade or use an alternative browser.
Halifax Build Log: Lumberyard
- Thread starter donfarr
- Start date
- Watchers 14
-
- Tags
- halifax lumberyard
Good work, Don! She's coming along nicely.
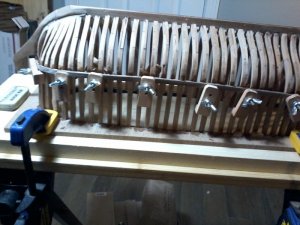
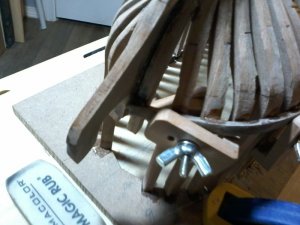
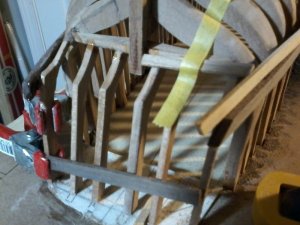
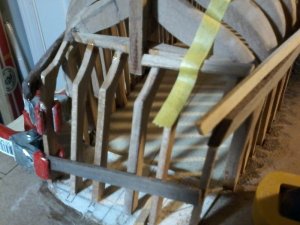
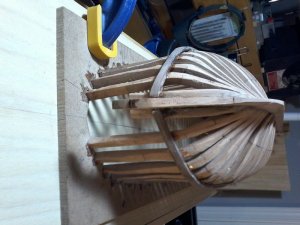
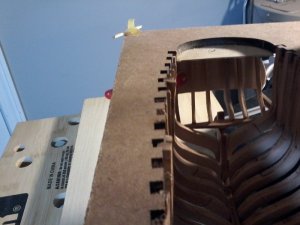
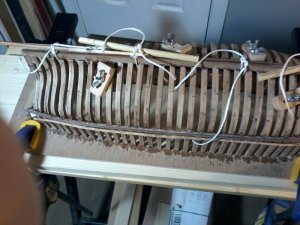
Thanks Dave, The new clamps that I got work great, could not have gotten the profiles with the old method that i used. THANKS AGAIN Don
A
Aussie048
Guest
Hi Don
I like those clamps and will make some myself
Cheers
Geoff
I like those clamps and will make some myself
Cheers
Geoff
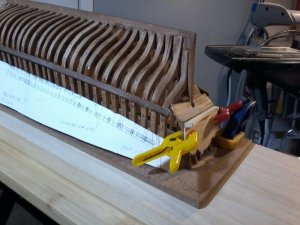
Mistake happened with the wales, templet was excelent my mistake was using the marking the frames for wales for the top, but when placing the wales marked the bottom, wales were glued on with CA, took me 3 hours using nail polish remover 100% acetone, got it apart with no breakage and dry fitted in the corect place,,,,,,my next question in order to prceded is the stern decoration and the fashion piece, withe the fashion piece do I cut the wale to meet the fashion piece or leave the fashion piece out an jusr=t run the wales to the decorative stern piece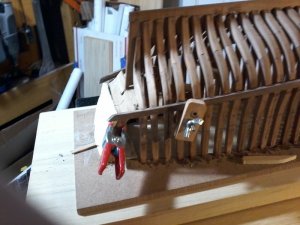
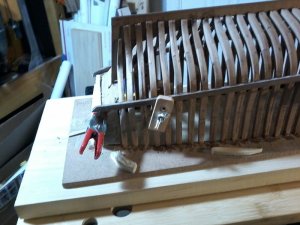
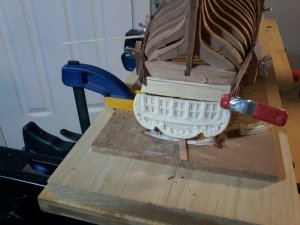
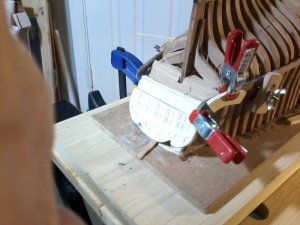


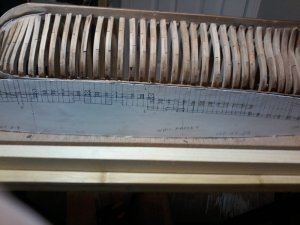
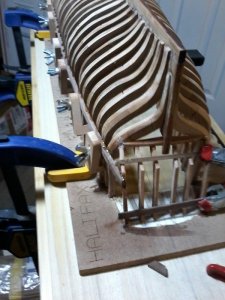
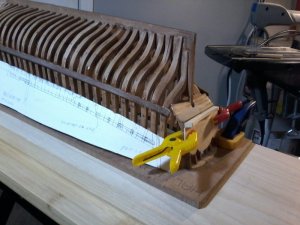
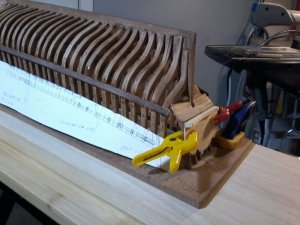
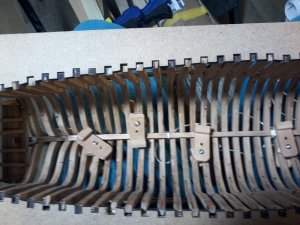
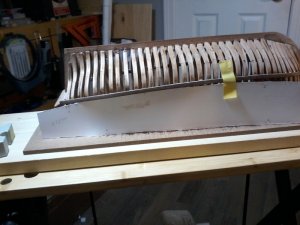
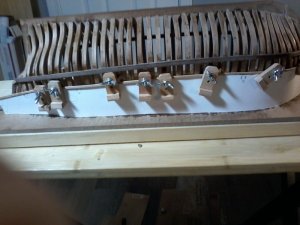
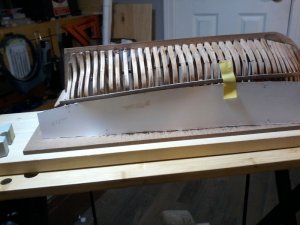
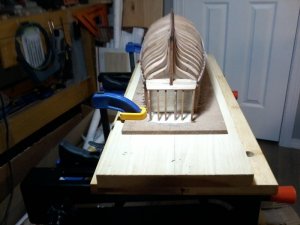
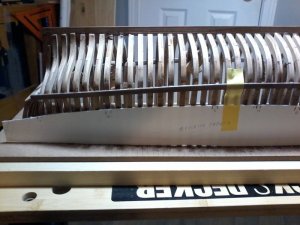
progress pictures showing correct posistion of wales check previous pictures to show the mistake which I corected, also pictures showing the deck clamp and moulding patterens and the placement of the hull moulding dry fitted until I check the distances between top of moulding and top of wale on the plans, still having problems with the stern, but will do the stern after I cut the model from the jig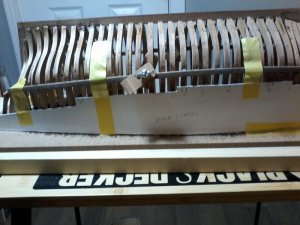


A
Aussie048
Guest
Looks like you are achieving quite a bit, nice work.
Cheers
Geoff
Cheers
Geoff
Thanks Geoff. Don
- Joined
- Dec 1, 2016
- Messages
- 6,383
- Points
- 728

you asked what glue to use for the 3D printed stern to glue to the model and how to paint the piece.
in short I don't know because 3D printed parts is a new aspect of this hobby. Basically you have the prototype build.
I do know who to ask that is the person who does the 3D printing. I sent her an Email and asked her. So when she gets back to me I will post the answers.
in short I don't know because 3D printed parts is a new aspect of this hobby. Basically you have the prototype build.
I do know who to ask that is the person who does the 3D printing. I sent her an Email and asked her. So when she gets back to me I will post the answers.
Thanks Guys Zoly and Doc,,,,,,Daves did you get a chance to look at the stern details and if I have the right idea, also where does the breast hook go plans do not show to many lines can not figur it out. Don
- Joined
- Dec 1, 2016
- Messages
- 6,383
- Points
- 728

are we talking about the bresthooks back in post 170?
Great job, Don!
Your work just reminds me working on the Lumberyard Rattlesnake timbering set. I had a crazy idea then not to glueing the frames into the jig at the first place, but only attaching them temporarily. The idea was that after the outside of the frames had been sanded to the correct shape, the individual frames can temporarily be removed to be able to mark/sand the inside of them. Well, it did not go so I had to revert, to glue the frames to the jig and sanding the inside of the frames in situ. Probably a good idea but did not work out!
Janos
- Joined
- Dec 1, 2016
- Messages
- 6,383
- Points
- 728

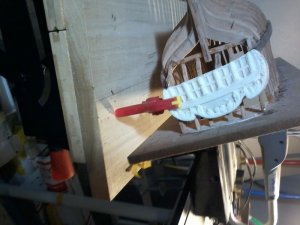
the stern decoration of the Halifax is a 2 part Epoxy resin casting you will notice it is flexible that is you can bend it. The Halifax stern has an arc and each builder may have a slightly different arc so this is why the cast piece can be formed to fix a built stern.
as for gluing the casting
Standard polystyrene cement which is perfect for conventional styrene models is absolutely useless for resin parts. Poly cement works by slightly dissoving the styrene plastic, but it wll not dissolve resin and so will not work at all. When gluing resin parts to each other, or to plastic or wood you will need to use either two-part epoxy glue or cyano (superglue) adhesive. Both of these work well, so it is down to individual preference.
Epoxy Glue Epoxy cement comes in two parts, the adhesive and hardener. They are usually mixed in equal parts. Drying time varies depending on the type and can be anywhere from 30 seconds to 24 hours.
Cyano is the most convenient because it does not have to be mixed and so is probably the first choice for many modellers. However, the epoxy cement will probably produce the strongest and most reliable bond.
Whichever glue you use, it will only work if the surface is prepared properly. Both types of glue need a dust-free and grease-free surface, so wash the parts in warm water with detergent and dry them thoroughly. The bond will probably be stronger if the surfaces to be joined are roughened slightly with sand paper.
Once you have glued the parts together, there may be a need for filler. The normal fillers intended for polystyrene such as Squadron ‘Green Stuff’ and ‘White Stuff’ will not adhere to resin because they are designed to ‘melt’ the surface of polystyrene. This does not mean that they cannot be used in certain situations, but you should be aware that they may flake away if spread thinly. Epoxy putties such as Milliput, or other fillers that have a natural tackiness, should normally used in preference when filling resin parts.
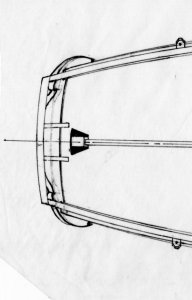

Thanks Janos great comming from you,,,,,Dave question yes the BREAST HOOKS are the same that you indentified for me from the board, CA NOT FIGURE WHERE IT IS PLACE AT THE BOW OF THE MODEL,,,DOES IT LINE UP WITH THE DECK CLAMPS OR ABOVE OR BELOW THEM, difficult to find location on the plans,,, also on the stern resin IF YOU LOOKE AT ONE OF MY POSTS YOU CAN SEE I MADE A 3/^$ inch BACKING PIECE, WILL GLUE THE RESIN PIECE TO THE BACKING otherwise it will not sit properly on the stern will send you a picture of it,,,I WILL PAINT THE BACK A FLAT BLACK AND ACROSS THE FRONT WHERE it is visable,,,,,DO I HAVE TO CLEAN THE WOOD WITH WATER NO PROBLEM JUST DAMPEN IT WIT A RAG,,,,,AND FINALLY WHAT TYPE OF PAINT DO I USE ON THE RESIN PIECE I WANT TO PAINT THE PARTS SHOWN IN HAHNS BOOK BLACK I HAVE BEEN USING TAMYA PAINTS BRUSH ON FOR ALL MY PAINTED WOOD DO NOT KNOW IF I NEED ANY OTHER TYPE OF PAINT. THANKS AS ALWAYS YOUR HELP IS INVALUBLE COULD DO THIS WITH OUT YOU Don
- Joined
- Dec 1, 2016
- Messages
- 6,383
- Points
- 728

you can use the wood backing pieces on the stern then glue the resin piece to the backing piece as long as the backing piece is bent to form the stern arc. There is a glue E 6000 which works great for gluing anything to anything.
the resin sets up to something like a hard rubber. it can be bent or shaped. Like I said this was done so it can be formed to fit the arc of the stern. Once it is glued to the stern timbers it will maintain its shape so I really do not see the need for the wood backing piece.
as far as the paint use the Tamya paint I would paint a small area on the back of the resin pieces just to make sure but I think it will be ok. The best paint jobs I have seen is to paint the piece a light color then wash it with a darker color and wipe the paint off the high areas. This leaves some paint in the lower parts showing off the details.
you can not mess up the resin stern because I will send you another one so try different things
Last edited:
Looking good Don. I also bought some of those plank holding clamps from China that you are using, but I reckon they are easy to fabricate myself.

