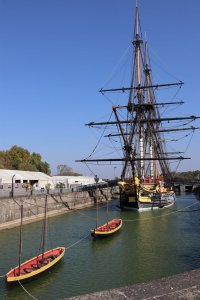
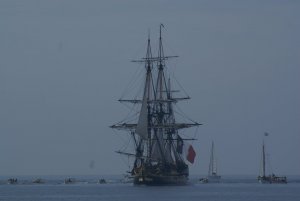
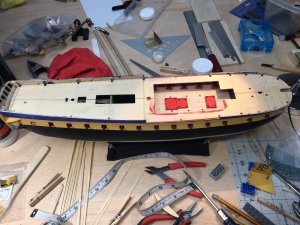
Hermione Lafayette by Artesania Latinia 1:89 Scale

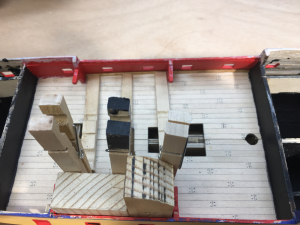
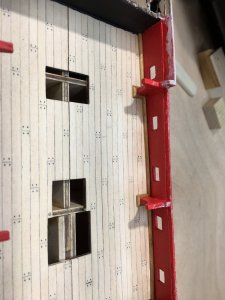
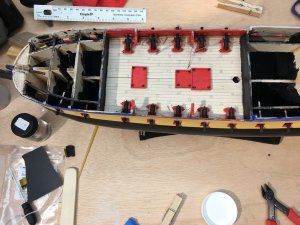
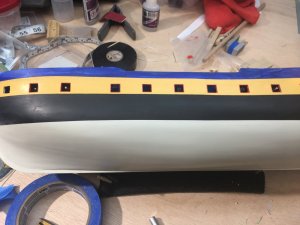
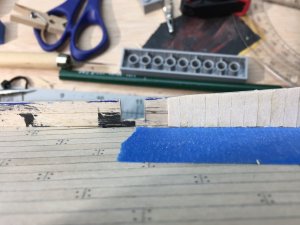
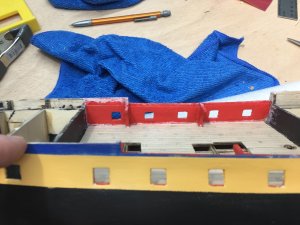
Put bulkhead paneling on, I had some on earlier so I had to do a few repairs.

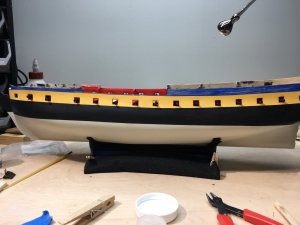
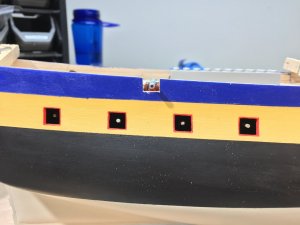
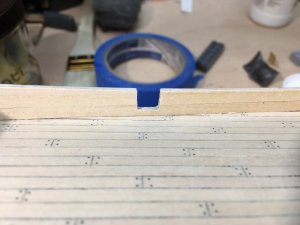
Almost there, put a few pieces in the bottom of the gun ports then sand and paint.
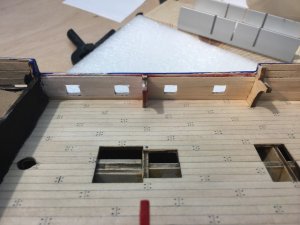
Bulkhead1.jpg

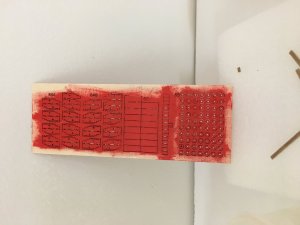
I was using Cadmium red, didn't like so sanded down (the is the Cadmium red) and using Cadmium free red.
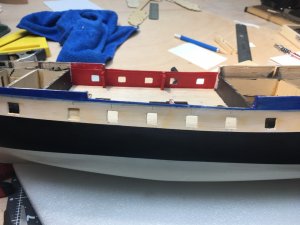
Paint1.jpg

The Cadmium free paint (finished the port yellow as well), need to sand and do a few more layers.
nonc.jpg

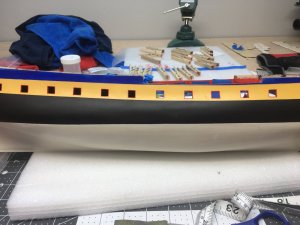
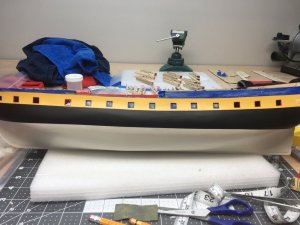
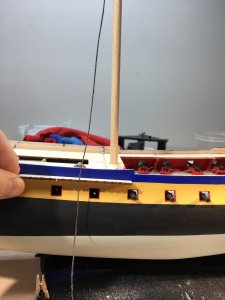
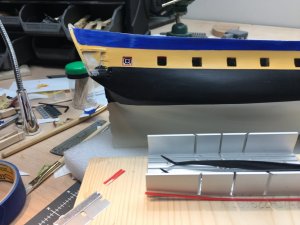
Started to do gun ports sills. I fill in visible defects with a bit of glue and will do the touch up paint (gotta put the #0 and #1 paint bush to work). The aft cabin window is in. My chopping station is in the pic, just used and old miter box mounted so some wood and a blade. After all sills are in, then I will put on a layer of black and then the tallow. After that, gotta be more careful when handling. I will put on a base, and on a swivel.
Window in.jpg
 
Been a bit, been working here and there. Starboard has been done for a while, just been lollygagging on port (good news, I finally painted the post on my front porch so that is off my honey-do list).

Stbd done, paint staging for port sills in background.
stbdportdone.jpg

Port progress, fast since I decided that at best with the wood provided is a bit rough, but then took of my magnifiers and was happy with the look.

PortWorking.jpg
 
On to the waterways. Only a few and some are mitered around the hanking knee (looking to be a bit of a pain). Finally got to use the shaper (quarter moon for these) I bought a year ago. I just stained the wood and glued in place, used a few blocks and clothes pins to hold while glue dries.
waterway.png
 
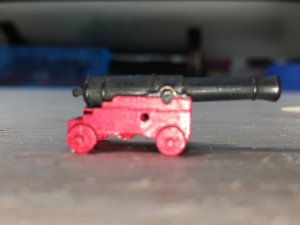
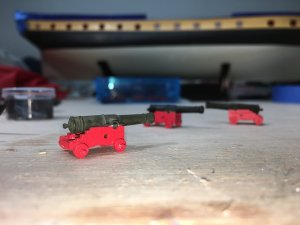
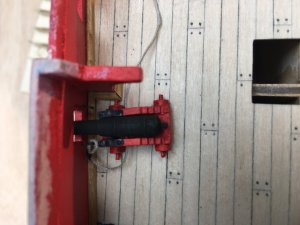
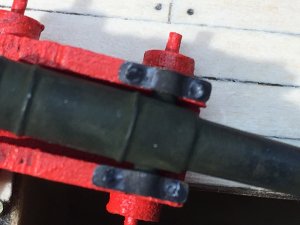
Making some progress. I built up some of the carriages a bit back. Blackened the guns, I like the effect of not perfectly black, but some off colors as well.

Side view, the trunnion clamp needs touch up (will use a bit of black).
CarriageSide.jpg

Nice part of this picture, I can seem some red touch I need to do on the carriages. I like the looks of the cannon barrel. Probably not the perfect black the crew may keep.
Carriages.jpg

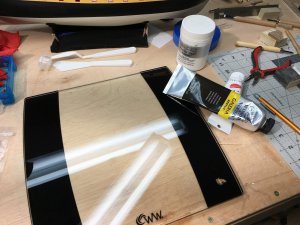
My paint mixing stating (old glass scale). Making grey for simulated trunnion bolts. I found the idea kinda buried in Historic Ship Models (Wolfram zu Monfel), page 52 left column of English version.
MixingPain.jpg

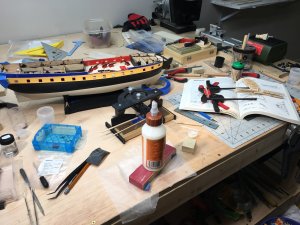
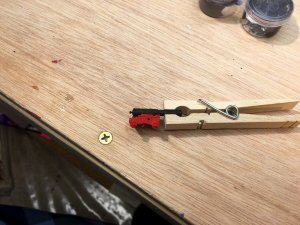
Multitasking. Carriages on deck, glue holding down hold latch covers as the glue sets, miter rite was cutting said latches, clamps holding a few jigs for drilling hols to put in breaching ring bolts.
OverView.jpg

Not sure if I should seize the breaching line or not. Could just do simple knot, or do a few wraps with some black thread I have. Instructions show with line under tension, but I will do a loose line. Below was just a quick mock up to see how it looks. WhatToDo.jpg
 
Hi, if you have the first photo s of the trunnion bolts I am more then interested. She beco.es a very nicely detailed model.
 
Hi, if you have the first photo s of the trunnion bolts I am more then interested. She beco.es a very nicely detailed model.
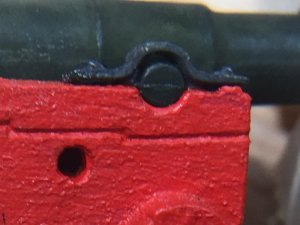
Here are the original clamps, typical for a kit I think, I filled the hole with paint and repeat as the paint dries. I thought about putting a blacked nail head on, but didn't like the look
orig.jpg

So, I mixed paint and went with a very dark grey. I tried lighter but didn't like the look. Given the scale, it is hard to see.

Top view, I will add a few more drops until there is no depression.

top.jpg

Side view. The gap in between is not visible on the complete model, but may fill in to see if can do the same with the carriages that are visible (or do a better job of fitting). You can see the simulated bolts, I will not sand down or anything as to get this pic I had to use the zoom on the camera and my visor as well. Unaided, it has a look I don't mind.

CU1.jpg
 

Attachments

  • out.jpg
    out.jpg
    318.8 KB · Views: 12
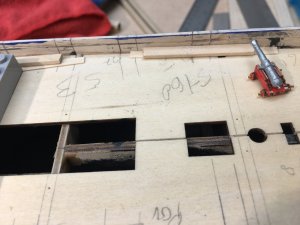
Carriages and faux cannons installation. Doing the faux cannons now before the false decks go in so I can clean, adjust, and so forth. Once done, a bit of touch up paint on the hull where I dinged it and few sills.

Need to adjust the faux cannons, but may be futile...
image1 (1).jpeg

Checking out various alignments before setting in place.
image2 (1).jpeg
 
So, I went through the drawings and assembly prior to building and took notes. Forgot to make a note to review notes, one of which was to finish the bulwarks with the hull. So, had to finish the bulwarks, fill, paint. I had glued the carriages in place on the gun deck, pushed those back and will need to re-glue later. I had also glued the upper deck on, and should have just set in place to do the bulwarks. Once paint is dry, I will put together a few carriages to make sure the cut outs will be spot on.

Fitting the top deck, should have noticed the bulwark issue...
topd.jpg

Bulwark in (will cut out ports once done), and painting. You can see the carriages pushed back and the dowels for the faux cannons, cannonless. First layer of blue, and this blue is taking about 4 or 5 thin layers to look ok. Note the line between blue and yellow is not fine since it will be covered later, more of a reference line for most of the hull line (not at the forward end).
bul.jpg
 
Put together a carriage so I could check the layout and started to cut out. Next is the deck.

I painted the carriages before cutting out with two light coats (I will do one more coat after assembly). I put one partially together to see how fits on the deck.
carriagepaint.jpg

Did a few measurements from instructions and pictures, checking rigging and cannon position to make sure don't shoot the rigging.
lineuupone.jpg

Nice part of no deck, I can make all the marks I want. Extra wood I use so i know when to stop cutting. The measurements in the instructions were pretty close to what my test fit ups were.
gunport.jpg

First one cut, only 15 more to go. I can see I need to do some touch up paint as well.

cutout.jpg
 
When I built HMS Snake I fitted and rigged all the cannon, then found that a couple of belaying pin rails were a real pain to fit with the cannon in place and it took me ages. I respectfully suggest you have a close look at the rigging plans and check the tie-off points on the bulwarks - just passing on a personal lesson learned, here. Compliments on a great build, she's coming together nicely.
 
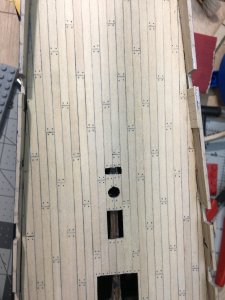
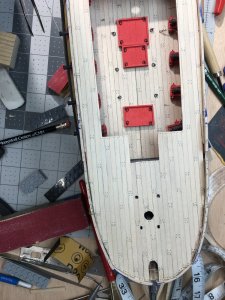
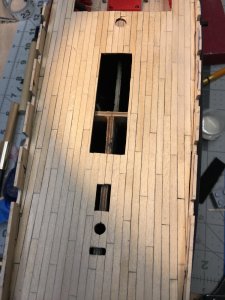
Completed the upper deck planking, matte varnish is drying. I used the Deck Planking Tutorial by Ulises Victoria at http://www.navyboardmodels.com/index/resources.

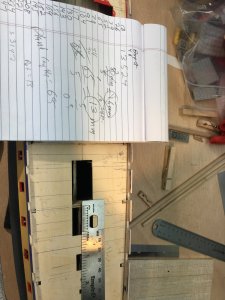
65mm planks with 1,3,5,2,4 pattern. I continued the pattern from the gun deck.

My notes about the pattern and plank length. Marked out positions of plank ends.
IMG_2361.JPG

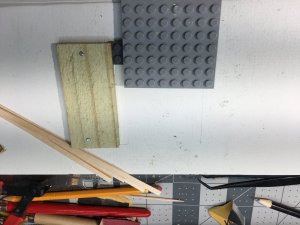
My rig for cutting planks, it is not pretty but sits in my lap and makes the cutting go fast. I like to use Lego parts as they a nice right angle, strait edge, and wood glue does not stick.
IMG_2362.JPG

First few down, put a wood stack on the deck like a delivery.

IMG_2363.JPG

Planks in, I have a few broken parts to fix, sand, repeat.
IMG_2366.JPG

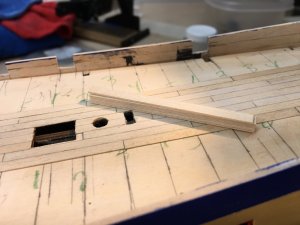
Sanded and faux-trunnel look added. I just use a mechanical pencil and push a bit with a rotation to make the faux-trunnel. A few things: I had simple rig that I tested early on to make each trunnel perfectly spaced--I hated the look. Same goes for the gaps between planks, I did not like the look when I had each perfectly aligned with about the same gap.

IMG_2370.JPG
Need to clean below decks and holds as well. When I was doing the faux-trunnels, I went a bit overboard as I was thinking where else would these go (and some spots will be covered later).
IMG_2369.JPG
 
Building up bulwarks. The instructions call for double planking, horizontal. I followed the advice of Mastini and doing inside vertical and outside horizontal.

I started aft, set in one made perpendicular to deck (used Lego) then glued others. It goes quick, can be a bit sloppy as this layer won't show.
vert.jpg

Once first layer in, sanded smooth to get rid of bumps and cut excess. Then put on next layer, I set the max length at 99 mm to match the hull; however, with paint I don't think this detail will show. Just need to smooth a bit more, square up gun port and paint.

hoz.JPG
 
Back
Top