Nice work.
JL
JL
 |
As a way to introduce our brass coins to the community, we will raffle off a free coin during the month of August. Follow link ABOVE for instructions for entering. |
 |
 |
The beloved Ships in Scale Magazine is back and charting a new course for 2026! Discover new skills, new techniques, and new inspirations in every issue. NOTE THAT OUR FIRST ISSUE WILL BE JAN/FEB 2026 |
 |
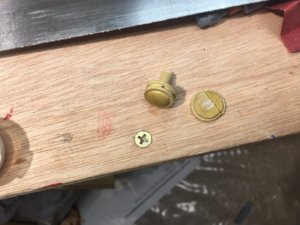
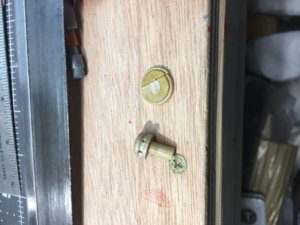
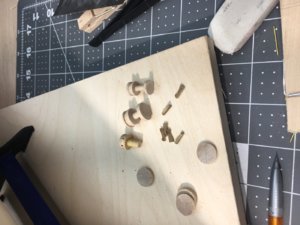
 the crew of the ship sold from Artesania separately has a figure to turn the capstan which I have used in my build and as you see it corresponds to the size of the capstan as the picture of the replica showing the sailors turning it.
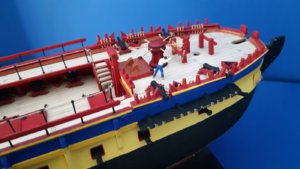
I believe the capstan's size in the kit its ok. Not sure about the 1779 ship but sure for the replica.

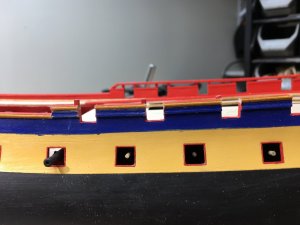
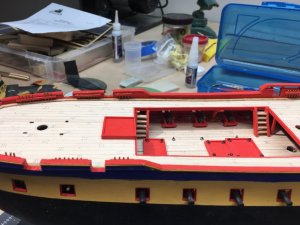
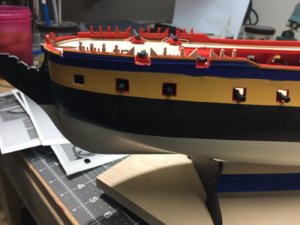
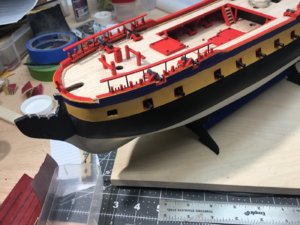
Hi, started on this kit recently…. What kind of yellow are U using on the hull?Here is today picture of the starboard side. I just put on a coat of yellow, with my eyes I really need the colors to see how things look. The gunports will need minor tweaks as I put in the trim (it is red). I will do a few more coats of yellow and then work on the port side, I will have pics of that progress.
Thanks for all your comments--wish I would have just done the log here in the first place
View attachment 42107
Hallo @bikepunkI started this build in August of 2017 and had a build log on Blogger, but the app I used no longer works so I am transferring the log here--plus seems like a nice community. I have a few post to catch up with, so I will add a post or two a day until I catch up. I lost some pics of my phone of some of the work, so there will be jumps.
I chose this kit for a few reasons. First, I like the French ships. Second (and perhaps most important) my wife like how it looks. Third, I was on the Lafayette class of boats, so that was part of the decision, sea stories of use-ta-fish are always fun. Even though the original Hermione meet her fate grounding, she did participate in some naval battles and did bring Lafayette to the colonies during the revolution.
I am a bit particular with inventory and sorting, so I spent the better part of the weekend going though the kit. Right off the bat--I am no fan of anything on a DVD, Blue-Ray, Thumb Drive, and so on that requires me to make it--I want paper to spill coffee on, write on, lose and have to find, and so on. The kit did come with the full size plans only (on the wall, pic below), but all other documents are on the DVD. Back to my inventory habit, the inventory was not a list, but pictures on a blue background. While it was only 17 pages, I would have preferred a printed inventory with a list and pictures. I am ok with no paper build manual, I don't keep my computer at my work bench, and I would not say that I follow the build directions 100%. The paint colors are on the website, and I do plan on painting. Sail quality are like my my last kit, but I am going though my mind if I want to furl, or just no sails.
A few quirks in the inventory. The capstan or support ribs are wrong size, no big deal to make new ribs. Real picky is that 2 rolls of the black thread is listed at 0.75 but supplied at 0.80--perhaps I should mention that I worked in QA to help pay for my drinking habit while going through college. There was no quantity for the decking (part 17, 110 was my count) and part 167 (3 pieces).
Box Ready to be Unpacked
Packaged quite well
Said Capstan and Ribs
Clean Workbench ready to start

Hallo @bikepunkI started this build in August of 2017 and had a build log on Blogger, but the app I used no longer works so I am transferring the log here--plus seems like a nice community. I have a few post to catch up with, so I will add a post or two a day until I catch up. I lost some pics of my phone of some of the work, so there will be jumps.
I chose this kit for a few reasons. First, I like the French ships. Second (and perhaps most important) my wife like how it looks. Third, I was on the Lafayette class of boats, so that was part of the decision, sea stories of use-ta-fish are always fun. Even though the original Hermione meet her fate grounding, she did participate in some naval battles and did bring Lafayette to the colonies during the revolution.
I am a bit particular with inventory and sorting, so I spent the better part of the weekend going though the kit. Right off the bat--I am no fan of anything on a DVD, Blue-Ray, Thumb Drive, and so on that requires me to make it--I want paper to spill coffee on, write on, lose and have to find, and so on. The kit did come with the full size plans only (on the wall, pic below), but all other documents are on the DVD. Back to my inventory habit, the inventory was not a list, but pictures on a blue background. While it was only 17 pages, I would have preferred a printed inventory with a list and pictures. I am ok with no paper build manual, I don't keep my computer at my work bench, and I would not say that I follow the build directions 100%. The paint colors are on the website, and I do plan on painting. Sail quality are like my my last kit, but I am going though my mind if I want to furl, or just no sails.
A few quirks in the inventory. The capstan or support ribs are wrong size, no big deal to make new ribs. Real picky is that 2 rolls of the black thread is listed at 0.75 but supplied at 0.80--perhaps I should mention that I worked in QA to help pay for my drinking habit while going through college. There was no quantity for the decking (part 17, 110 was my count) and part 167 (3 pieces).
Box Ready to be Unpacked
View attachment 41914
Packaged quite well
View attachment 41927
Said Capstan and Ribs
View attachment 41928
Clean Workbench ready to start
View attachment 41930

