HM Armed Cutter Alert (1777) - Vanguard Models - 1/64

Ironwork

View attachment 485982

First attempt. Doesn't that look chunky! The lug at the back could almost pass for a casting.

This was of course, a complete mess. The three lugs were randomly spaced around the circumference, the joint between the two ends broke easily and the mistake right at the beginning? The brass was too thick for the job. But I explored the process and found that while it wasn't as easy as Davis makes out, it was possible.

View attachment 485983

Second try. This time I went for the one with only a single lug and disregarding Davis for the moment, I made the joint at the lug.


View attachment 485984

There was slight movement when the soldering torch melted the solder which momentarily lubricated the joint so the thing isn't quite round, but as you see above it still fits the 4.5mm drill bit I was using as a mandrel.

View attachment 485986

I think my eye band is a lot more realistic even if the PE one is perfectly formed. I've used the Vanguard Models version on another boat model and the flat eye band bent under the tension of the rigging. Mine being the correct shape, sort of, won't bend - promise.

Mine looks a lot smaller in diameter than the PE one. It's an illusion but it's so convincing that I put the calipers on the pair of them. The PE was 4.72mm.

View attachment 485985

Mine was dead on at 4.50. Fluke! So mine is a tad smaller than the PE but do you agree the comparison photo makes them look wildly different?

View attachment 485987

Here's the bending sequence for the three hole band. I'd gone back to the Davis method of putting the joint at the elbow of one of the lugs. As I write, I wonder why I did that when the previous ring went so well. Probably because that's what I did on the three hole ring before, some rigidity of thinking there. Silly me.

View attachment 485988

Nevertheless, it was looking good. Nicely symmetrical this time.

View attachment 485989

That joint is awful, but I pressed on regardless. Maybe I was tired? Hungry? I certainly wasn't thinking well.

View attachment 485990

Not enough flux and far too much solder.

View attachment 485991

And then, when it was drowning in solder that refused to flow where it was supposed to, about a kiloton too much heat. Boom!

View attachment 485992

That's better. PLENTY of flux and a lot less solder. Maybe not quite enough solder - the longer of the lugs looks a bit dry?

View attachment 485993

It fit the mandrel well and didn't fall apart when I pulled it about a bit.

View attachment 485994

Drilling went well. I drilled the lugs with the band on the mandrel and a block of hard wood behind the lug. I also 'centre punched' the brass with a large needle in a pin vice.

View attachment 485995

Unfortunately the drilling was too much for the dodgy lug with not enough solder and it came apart. My first thought was to CA the lug back together but having the eye-band open will make fitting it to the bowsprit an easy job and when there's a line or two passed through the lug it will automatically close up, and that's when I'll glue it.

View attachment 485996

There you are it's rough as a .... Rough as a .... Rough as a piece of mid eighteenth century ironwork, perhaps? I've been to Ironbridge and seen the famous Iron Bridge. It was built in 1781, four years after Alert and close up it looks about as rough-hewn as my eye-bands. There are dovetail joints in the iron with half inch gaps all round. It's gorge-eous from a distance and it's still standing, but seriously Mr Prichard and Mr Darby, where was your quality control? ROTF

Anyway, that's not the issue. Accurate or not, I made it with hand tools, persistence and butane and I'm very pleased with myself, thank you very much! Thumbsup
It's nice to see that with your persistence you finally have a result that you are happy with, Smithy/Bertie. Building the Bluenose’s in the group-build, some of us have the same problem and made the bands also with the '6th-bend-principle' shown in the Davis drawing. You are not alone with soldering struggles.;)
Regards, Peter
 
a result that you are happy with

Well Peter, I wouldn’t go as far as “happy” ;) It’s a good start and a big step forward for me, but I’m only content with the standard at this point. However, like a dog playing the violin the point isn’t that it’s done well, but that it’s done at all!


(I may have said that before. It’s always a good excuse for shoddy working.ROTF)
 
Today was B-day!

Bidet?

No, you foolish boy - Bowsprit day!!!!

IMG_1576.jpeg

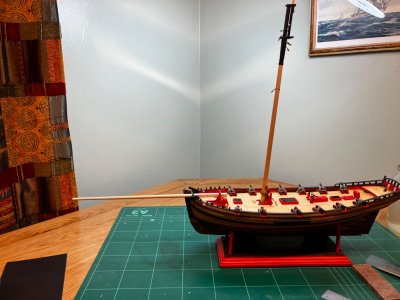
All cut to size. I begin to understand how much sail Alert could carry.

IMG_1577.jpeg

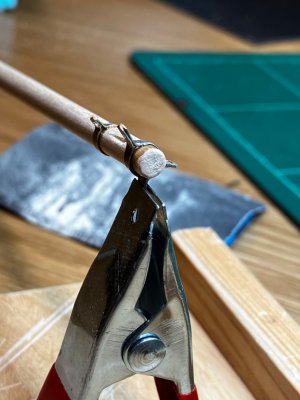
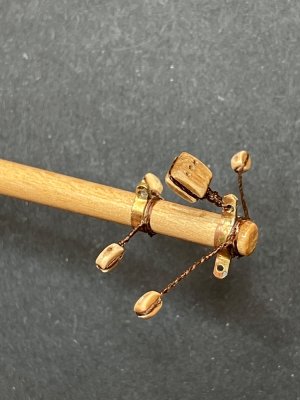
My ‘local blacksmith’s new apprentice quality’ ironworks works. I’m letting the super CA set as hard as possible.

IMG_1578.jpeg

Peter Pan wasn’t the only boy who never grew up and so I have to say this..

“How do you like my butt then?”
 
Last edited:
More on the bowsprit but not much as I've had a distracting day.

PB240024.JPG

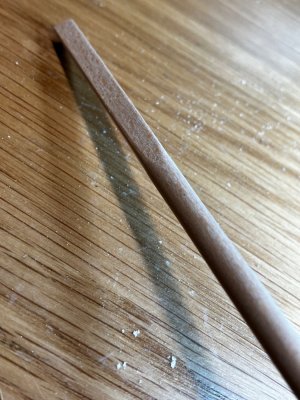
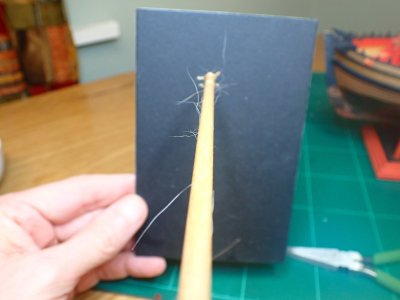
First lesson. It sometimes takes a freshly shellacked piece of wood to tell you that the carpet needs vacuuming. I cursed myself for dropping it and the dog (slightly) for dropping ten million hairs on the floor. I had noticed that I was banging my head on the doorframes but I put it down to subsidence. :D

Action: Let it dry. Rub with wire wool. All neat and tidy again.

PB250030.JPG

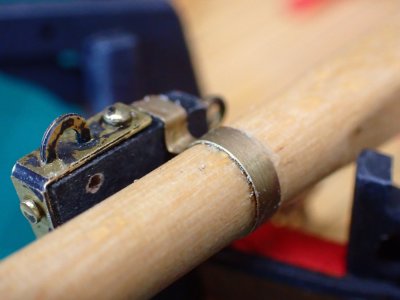
Having changed feeble PE at the front end for self-made ironworks, I had to rip out the skinny hoop that was supplied. This is a strip of brass cut from the frame of another PE set, annealed to soften it and then wrapped around the bowsprit and CA'ed into place. It hasn't much strength so there's a nail inside it that passed through the stem and into the spar.

PB250031.JPG

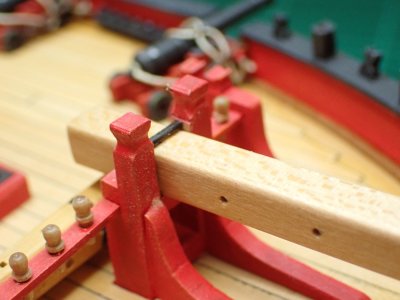
The butt end is held down with an iron bar, not by a wooden beam. The holes in the square section allow for shortening the bowsprit in heavy seas and soon there will be evidence of the fid sticking out through the bitts. I forgot that bit until now!

PB250032.JPG

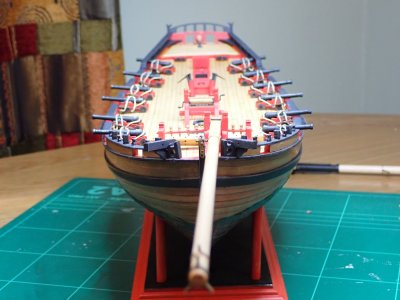
Strange to have an off centre bowsprit but I guess the important thing is that the end of it is close to the centreline?
 
It’s so easy to post from my phone using its camera. OK some 21st century tech is marvellous.

IMG_1581.jpeg

Small modification to my self closing teeezers. The bent ends are much better at holding a block.

IMG_1582.jpeg

Which made this a little easier.

I’ve begun to cheat now. Seizings are great but in 1/64, you can’t see them. I can’t see them. So I’ve gone back to knots and glue. I want this thing finished. I want to see it in all its glory on my shelf.

I’m still aiming to complete Alert by the end of the year.
 
Hi Smithy
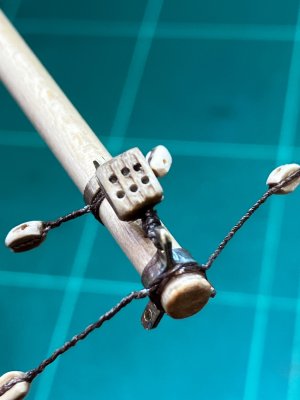
I think the triple block in post #405 is upside down.:(
Allan

Oh yes. Thanks.

I said I’d do that, didn’t I? :)

Sharp eye you have, but if he drills new set of holes on top it would still look good.

Well that’s a bloody good idea! I would never have thought of that quick fix. Thanks muchly. :D

I could double drill them all…
 
the triple block in post #405 is upside down

I wonder how many of you noticed it but were too polite to mention it. :)

Sure, I’d have discovered this simple and common error when the time came to reeve a line through it, but fixing it then might be a lot more difficult with other lines in the way.

I think it’s better to point out these things so that the builders can then decide whether to take action or not, as they choose.
 
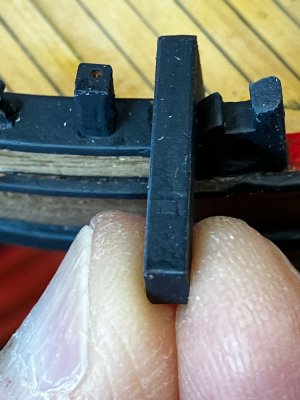
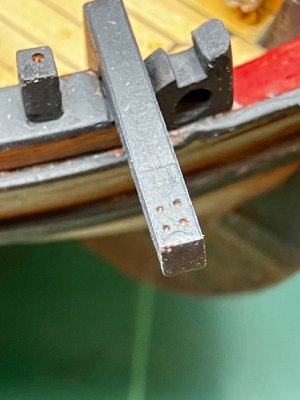
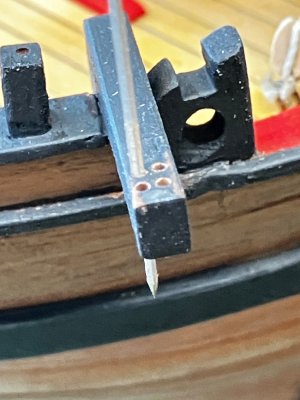
Drilling the triple successfully gave me confidence so I drilled the catheads too.

IMG_1590.jpeg

The worrying things were the narrowness of the catheads and more significantly, their depth. If the drill went in crooked there was a good chance it would come out of the side or cross one of the other holes.

IMG_1591.jpeg

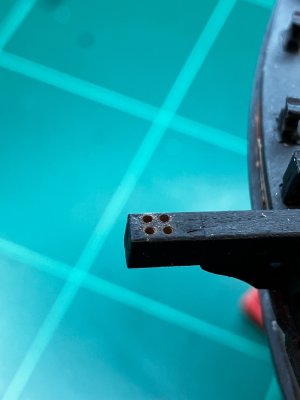
I ‘centre-popped’ the four holes’ locations.

IMG_1592.jpeg

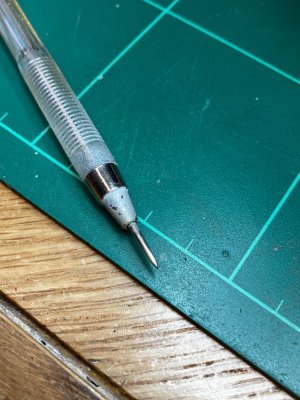
I use a very large needle glued into a ballpoint pen handle.

IMG_1593.jpeg

First I drilled four blind holes about 2mm deep (0.6mm dia). That took care of locating the drill and left me free to concentrate on holding the Proxxon drill square in both axes.

IMG_1595.jpeg

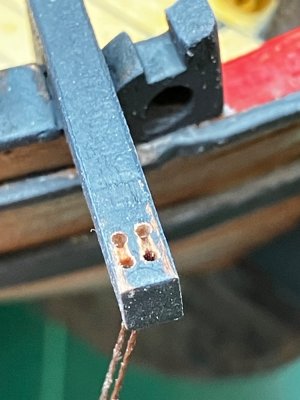
Looking good so far. What about underneath?

IMG_1597.jpeg

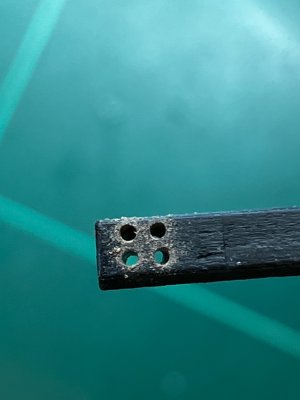
I drifted a little but it’s still a quadrilateral if now quite a rectangle. It's within my limits.

IMG_1598.jpeg

I deburred the holes with sandpaper and polished the bore with a broach.

IMG_1599.jpeg

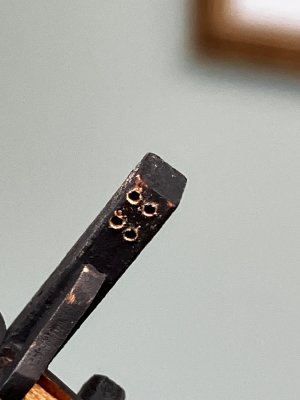
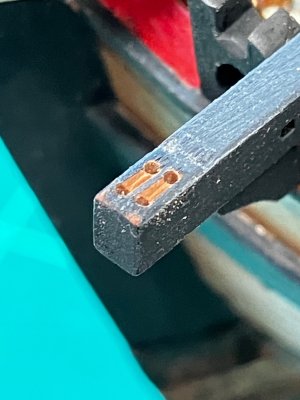
The surface was carefully chiselled away between the holes to suggest the buried sheaves.

IMG_1602.jpeg

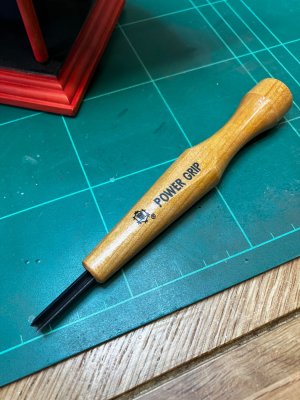
I used a small Japanese ( = sharp!) V-chisel designed for carving lino- and wood-cut printing blocks.

It’s a new tool to me and worked very well. I will buy the full set of ten as I’ve been looking for decent micro chisels with reasonably sized handles for ages.

IMG_1600.jpeg

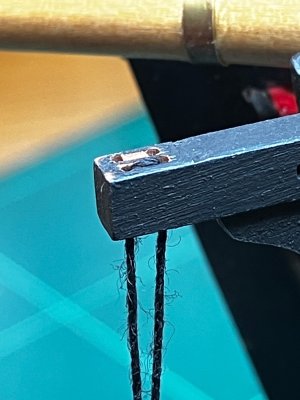
I ran a thick, coarse line through the holes and sawed it backwards and forwards to round off the corners. I won’t be using this hairy mess for real!

IMG_1601.jpeg

And that’s how the real line will sit down on its imaginary sheave. :)
 
Last edited:
Back
Top