Hi to all. Keep safe in theses difficult times.
As promised the first images of the build log. This is my first attempt at building a model of an historic ship. My wife bought me the kit after I had discussed with her about starting a new hobby and venturing into the world of ships. My build of this ship will go more or less with the instructions from the manufacturer and not applying too much detail according to the ships original build. At present, and as this is my first model, it is important for me not to achieve perfection, although I will attempt to do the job properly, but to sucessfully complete the model and display it with pride in my "cave".
The kit is from Occre, scale 1:54. The materials are of a high quality and, as far as I can tell, the garn for the rigging and the sails are more or less true to the original, in size and in colour. The instructions are sub-optimal, the drawings supplied in 1:1 are excellent, although a view onto the bow, the stern and views onto the port and starboard sides are not included. For me as a person with a technical background these views are essential for the build and an email to Occre on this subject bore no fruit. The photos included with the kit detail each step, but still a lot of gestimate involved. I wonder if anybody out there has detailed drawings of the bow, stern, etc?
I started the build by checking the kit for integrity and completeness against the parts list supplied and numbering each part from the drawings.
The first step of the build involved the keel and struts. These were bonded together using white glue. For the deck planking I used contact adhesive.

Joining the two halves of the false keel.

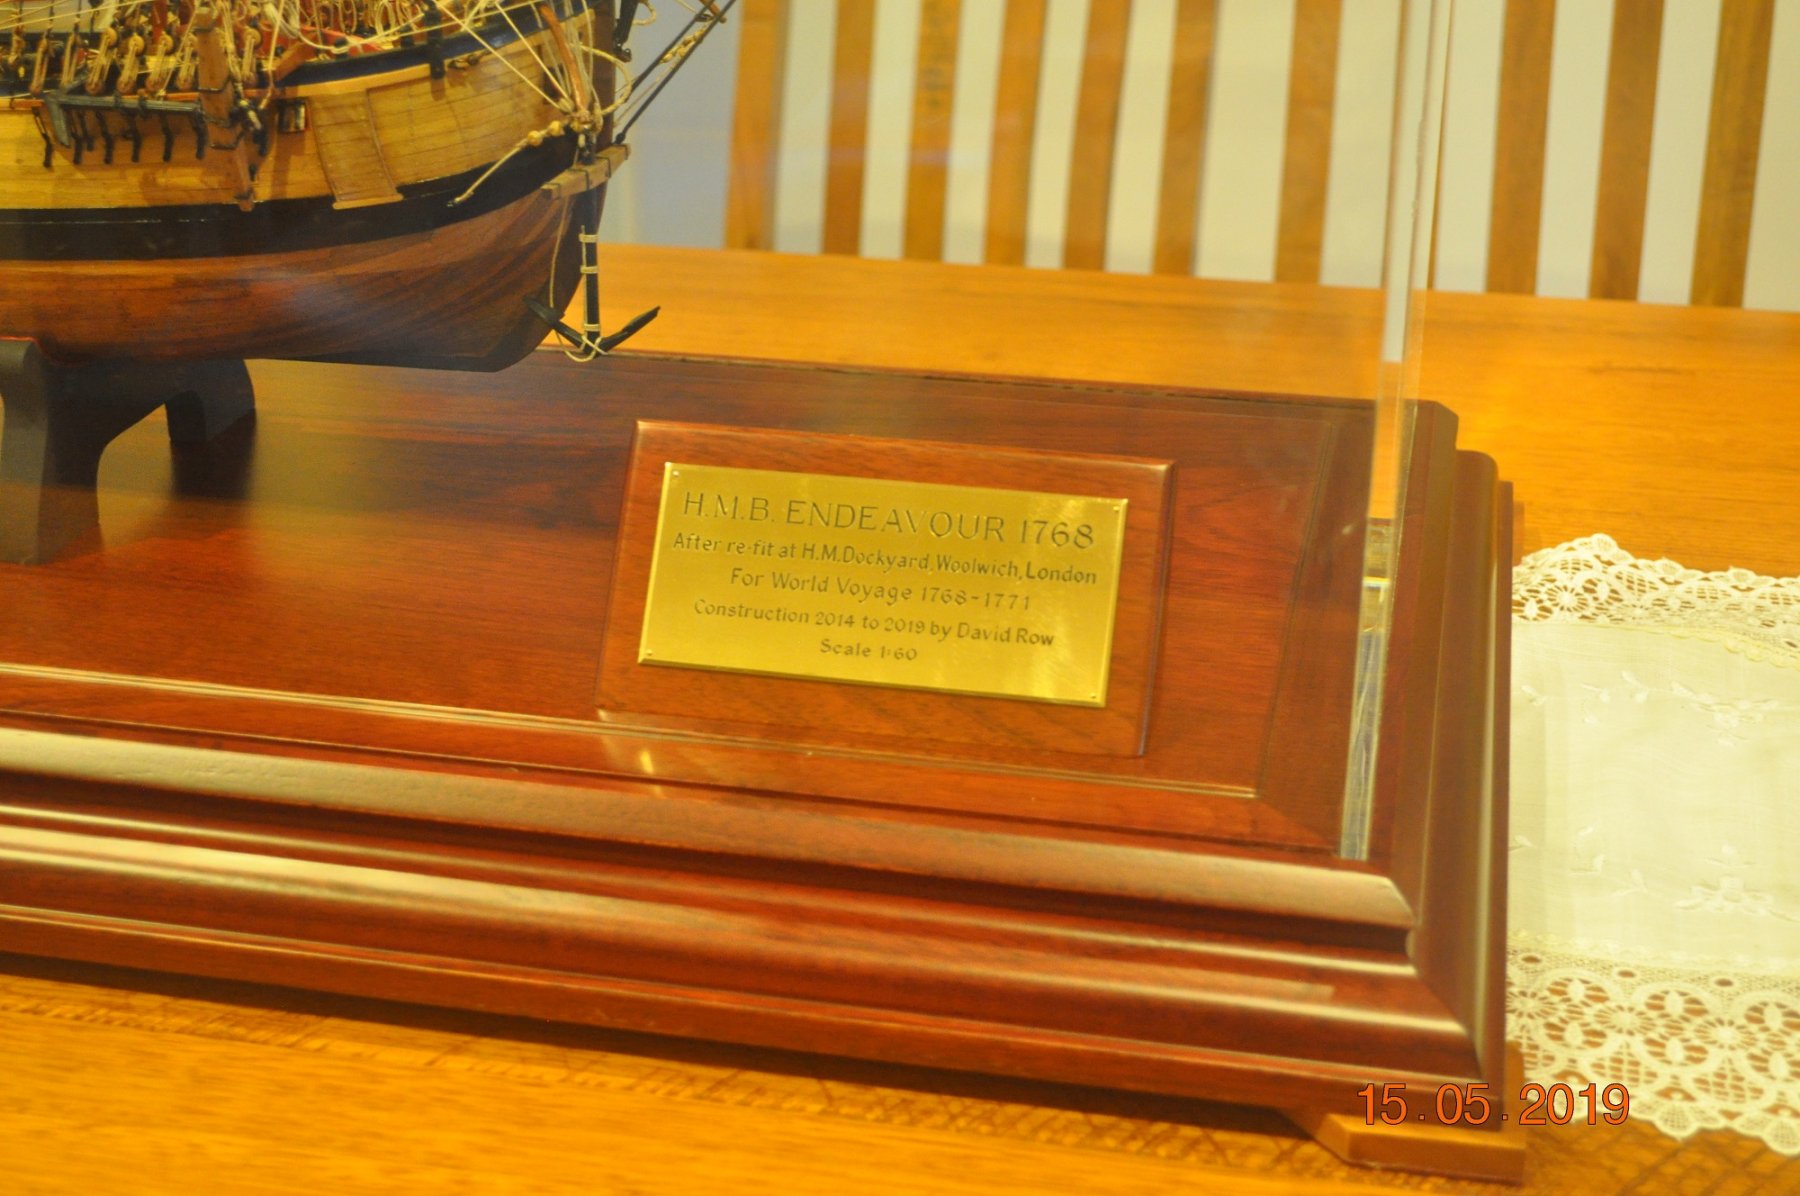
I knocked up an assembly fixture out of old pieces of wood I had lying around. My ultimate goal is displayed as a poster in the background!

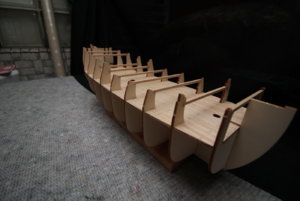
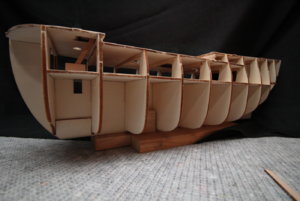
The struts in position. I mounted the decks before the glue dried to ensure the correct positon of 90° of each strut relative to the false keel.

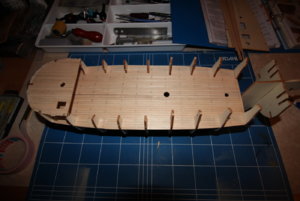
The decks, apart from the bow deck were supplied in halves. I marked the positon of the 1st plank on the deck, thus ensuring that a plank rang along the middle of each deck.


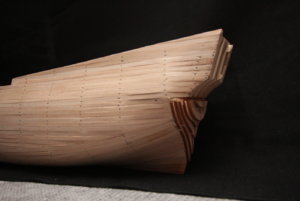
I used a wallpaper roller with a rubber roll to apply sufficient pressure to the planks to ensure a good bond to the deck beneath. After completion of the deck planking, having used a pencil with soft graphite beforehand to mark the edges of the planks, simulating the teer sealent, I marked the planks using a pencil to simulate the joints of the planks and the nails, using Marquardt's book for the position of the planks. The manufacturer stated every second plank was butted, Marquardt states every third plank butted.

Provisional mounting of all decks to check the position of the holes in the decks and the keel for hole alignment to accomodate the masts and to check the angles of the masts relative to the decks. All was well.

The decks were glued on to the hull using white glue and the hold cover built and the frames for access to the decks below and for the rudder mounted. After assembly of the decks, I noticed that the lower deck had not needed to be planked at all as it cannot be seen when the model is completed!


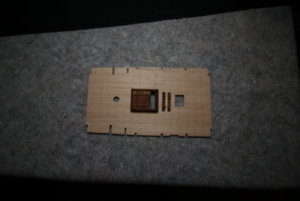
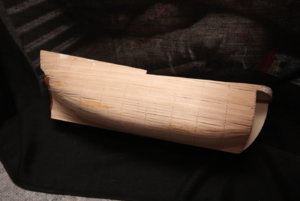
The next step would be to install the 1st planking. But, as this was my first kit and knowing that a successful planking was the essence of good modelling, I left this step on the back burner and plumbed for some of the deck accessories shown above. I knew, though, that I had to start planking sometime, and after consulting with this site and other sources I dived into the deep end and started.....
This a view of the tools and materials I am using to build the ship. Not shown are a small hand drill, pillar drill and a vertical disc sander.
As promised the first images of the build log. This is my first attempt at building a model of an historic ship. My wife bought me the kit after I had discussed with her about starting a new hobby and venturing into the world of ships. My build of this ship will go more or less with the instructions from the manufacturer and not applying too much detail according to the ships original build. At present, and as this is my first model, it is important for me not to achieve perfection, although I will attempt to do the job properly, but to sucessfully complete the model and display it with pride in my "cave".
The kit is from Occre, scale 1:54. The materials are of a high quality and, as far as I can tell, the garn for the rigging and the sails are more or less true to the original, in size and in colour. The instructions are sub-optimal, the drawings supplied in 1:1 are excellent, although a view onto the bow, the stern and views onto the port and starboard sides are not included. For me as a person with a technical background these views are essential for the build and an email to Occre on this subject bore no fruit. The photos included with the kit detail each step, but still a lot of gestimate involved. I wonder if anybody out there has detailed drawings of the bow, stern, etc?
I started the build by checking the kit for integrity and completeness against the parts list supplied and numbering each part from the drawings.
The first step of the build involved the keel and struts. These were bonded together using white glue. For the deck planking I used contact adhesive.
Joining the two halves of the false keel.
I knocked up an assembly fixture out of old pieces of wood I had lying around. My ultimate goal is displayed as a poster in the background!
The struts in position. I mounted the decks before the glue dried to ensure the correct positon of 90° of each strut relative to the false keel.
The decks, apart from the bow deck were supplied in halves. I marked the positon of the 1st plank on the deck, thus ensuring that a plank rang along the middle of each deck.
I used a wallpaper roller with a rubber roll to apply sufficient pressure to the planks to ensure a good bond to the deck beneath. After completion of the deck planking, having used a pencil with soft graphite beforehand to mark the edges of the planks, simulating the teer sealent, I marked the planks using a pencil to simulate the joints of the planks and the nails, using Marquardt's book for the position of the planks. The manufacturer stated every second plank was butted, Marquardt states every third plank butted.
Provisional mounting of all decks to check the position of the holes in the decks and the keel for hole alignment to accomodate the masts and to check the angles of the masts relative to the decks. All was well.
The decks were glued on to the hull using white glue and the hold cover built and the frames for access to the decks below and for the rudder mounted. After assembly of the decks, I noticed that the lower deck had not needed to be planked at all as it cannot be seen when the model is completed!
The next step would be to install the 1st planking. But, as this was my first kit and knowing that a successful planking was the essence of good modelling, I left this step on the back burner and plumbed for some of the deck accessories shown above. I knew, though, that I had to start planking sometime, and after consulting with this site and other sources I dived into the deep end and started.....
This a view of the tools and materials I am using to build the ship. Not shown are a small hand drill, pillar drill and a vertical disc sander.
Attachments
Last edited:


.JPG")