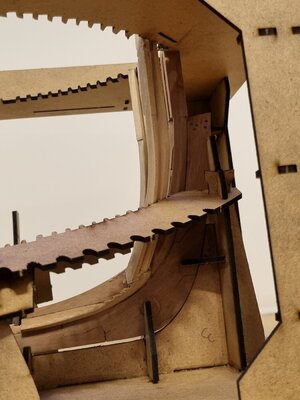
HMS ALERT 1777 cutter POF by shota70 [COMPLETED BUILD]

Dear Friends
thank you very much for all of your kind words and support, Thanks
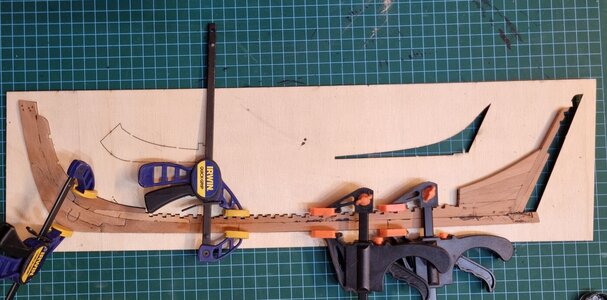
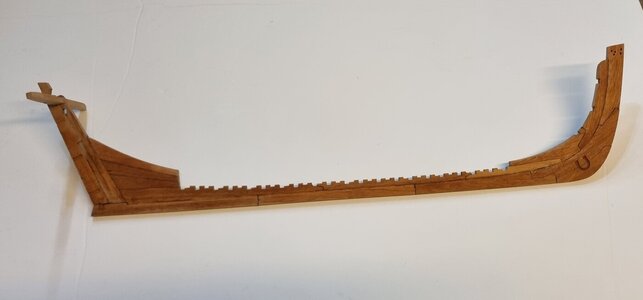
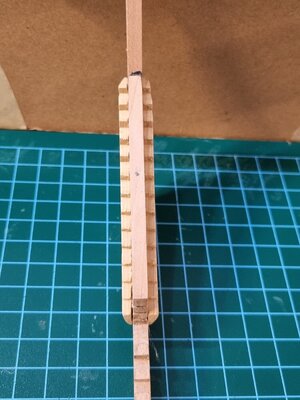
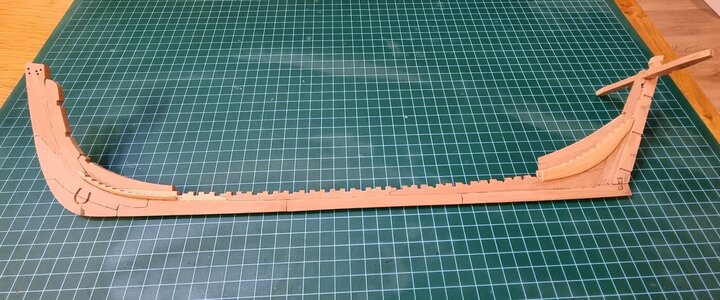
tonight I get forwarded with the The construction of the keel and the false keel. I have a lot of work to do until everything is at the required level of finish. I'm a little exhausted and let the pictures express themselves.
This model gave me a fresh spirit of creation :)
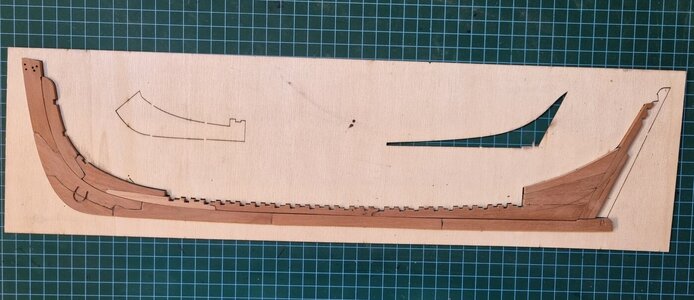
20211213_222023.jpg20211213_224609.jpg20211213_231720.jpg20211213_231601.jpg
 
Hello dear friends
Tonight I planned to work only two or three hours, in practice I immersed myself in work and did not notice that I have been working for about six hours and already at 02:39 am, so excuse me not to expand in the explanations and let the pictures express themselves.
I Wants to emphasize that the work on the keel is far from over and he is in the jig just to make sure he gets in the future smoothly.
So good night and I get up in about 4 hours for work o_OSleep
20211215_225210.jpg20211216_020525.jpg20211216_020511.jpg20211216_020854.jpg20211216_020907.jpg20211216_020921.jpg
 
I know for my self that you are not the only builder who has gotten lost in work and lost track of time.

I often bring my alarm clock to the shop to remind me what time it is, so I can finish a task and call it a night in time to get adequate rest for the next day.

Great work on the keel and fitting in the jig.
 
My dear friend - I had to do a lot of reading - such is your progress. You have made an excellent start and seem to be well in control of things. Good luck with the build and enjoy it!
 
My dear friend - I had to do a lot of reading - such is your progress. You have made an excellent start and seem to be well in control of things. Good luck with the build and enjoy it!
Wow looking good sir
I know for my self that you are not the only builder who has gotten lost in work and lost track of time.

I often bring my alarm clock to the shop to remind me what time it is, so I can finish a task and call it a night in time to get adequate rest for the next day.

Great work on the keel and fitting in the jig.
Dear Friends , Thank you very much for your support and kindness :)
 
good evening dear friends
Unlike yesterday evening I decided that I would really only sit for two hours and I succeeded in doing so.
since that pretty much done with the keel assembly, I only left with two parts BL34 and BL33. Both parts are rising wood for the Stern and Stem.
I removed the parts from the wooden board in the kit that need to be done very carefully to prevent damage to the wooden stairs. After the four parts have been sanded and with emphasis on the stairs on which the Frames sat.
then I sanded the pieces to give them the sharp angle in the encounter with the keel.
I attach photos documenting the process
20211216_195957.jpg20211216_200011.jpg20211216_201753.jpg20211216_201805.jpg20211216_203732.jpg20211216_203740.jpg20211216_211256.jpg20211216_211348.jpg20211216_211353.jpg20211216_211424.jpg20211216_211725.jpg20211216_211745.jpg20211216_211334.jpg
 
Shota, I think something went wrong. Your contribution from the alert has landed in Adi‘s Le Coureur construction diary. ROTF
 
Hello dear friends
Today I moved on to the second stage in the construction of the Frames : :)

Shortly before, I completed to sanding the Wing Transom - part BL30. I sanded the required angles on the drawing attached to the kit.
20211217_130728.jpg20211217_130839.jpg
20211217_130712.jpg
So as I already mentioned I started today with Frame BL1, after I carefully cut them from the wood board and sanded the rest of the wood I used the drawings of the Frame.
20211217_134446.jpg

20211217_135455.jpg20211217_140831.jpg20211217_143934.jpg
I sanded the Frames with a variety of sanding tools (manual and electric). Even after I apparently finished sanding, I cut from the drawing of the Frame the part that was sanded and made sure that it was accurate and only then did I do the fine sandings / parts. then I glued them to the keel and I admit I am quite satisfied with the result.
20211217_150557.jpg20211217_150616.jpg20211217_152027.jpg20211217_154727.jpg20211217_161829.jpg20211217_161844.jpg20211217_161856.jpg20211217_161940.jpg
By the way, I recommend to friends who have not yet started their construction to clean the charcoal residue left on the cardboard parts and which come in contact with the wood parts in the model. This is because they leave marks and black on the wood
20211217_131339.jpg
You will see the slot enter the Wing Transom after it is cleaned, later it will clear all the required slots
Wishing us all a pleasant and enjoyable weekend
 
Last edited:
Good evening friends
In the last day I have focused on the preparations that required to Frames AL2-AL5 that produce the shape / curvature of the bow.
After cleaning the sawdust residue of these parts. 20211219_193728.jpg20211219_201028.jpg
In the first step I designed the slopes in Frame AL5 using the compressed cardboard boards. 20211219_202559.jpg20211219_214624.jpg
Unfortunately after designing them I discovered that I made a mistake and actually polished these two Frames in the same configuration and not in the opposite direction as required.
So , I created an alternative frame according to the drawings attached to the kit as well as according to the stencil left after the original Frame was removed. To my delight, the mistake was corrected and an identical and new Frame came out and of course this time I polished it as required. 20211219_223543.jpg
then I glued frames AL5 -AL4.
20211220_000037.jpg20211220_000050.jpg20211220_000206.jpg20211220_000227.jpg20211220_000249.jpg
Tomorrow I will make the adjustments / sandings of Frames AL3-AL2 and then I will paste them.
I would like to emphasize that later in the construction process, sanding of the remnants of the blackened paint left over from the cardboard, as well as the areas of gluing and smoothing of the angles between the frames, will be required.
I will keep updating
 
You are putting in a lot of work and progressing very fast. It is good to see enjoy a build again after Hannah!
 
good evening friends
today I finished the first cant frames in the bow. I made the frames AL2 and AL3, this time I sanded them without errors according to the drawings at the required angles on both sides .
after adjusting the required angles between the frames, they were in the place in a good way that produces the slope of the front of the bow.
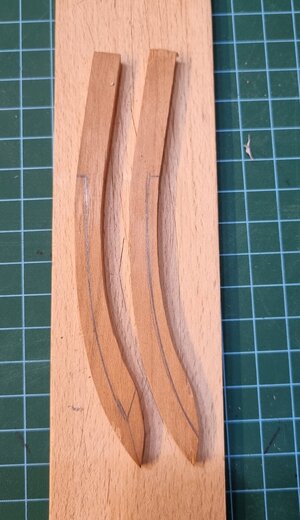
I will let you be impressed by the innocence.
20211220_220831.jpg20211220_220856.jpg20211220_220958.jpg
Good night and Merry Christmas to the friends and your family :)
 
Back
Top