Happy Birthday Jolley
-

Win a Free Custom Engraved Brass Coin!!!
As a way to introduce our brass coins to the community, we will raffle off a free coin during the month of August. Follow link ABOVE for instructions for entering.
-

PRE-ORDER SHIPS IN SCALE TODAY!
The beloved Ships in Scale Magazine is back and charting a new course for 2026!
Discover new skills, new techniques, and new inspirations in every issue.
NOTE THAT OUR FIRST ISSUE WILL BE JAN/FEB 2026
- Home
- Forums
- Ships of Scale Group Builds and Projects
- HMS Alert 1777 1:48 PoF Group Build
- HMS Alert 1777 1:48 Group Build Logs
You are using an out of date browser. It may not display this or other websites correctly.
You should upgrade or use an alternative browser.
You should upgrade or use an alternative browser.
HMS Alert by Jolley Roger
- Thread starter Jolley Roger
- Start date
- Watchers 22
Happy birthday!!
Happy Birthday 
FROM ME TOO. GOD BLESS STAY SAFE DON
Happy Birthday, JolleyRoger!!! Much more happy and healthy life!! 

happy birthday
Many Happy Returns. take care
Thanks for the birthday wishes guys, much appreciated!
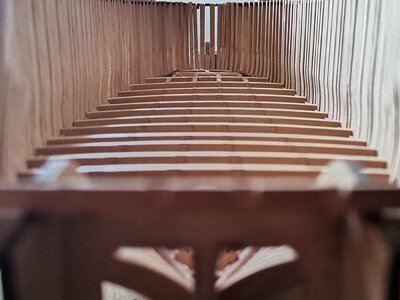
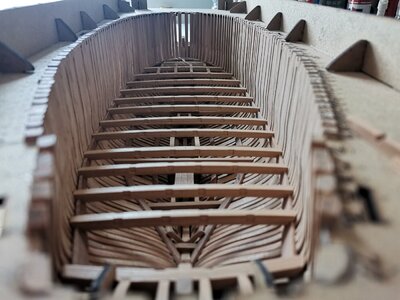
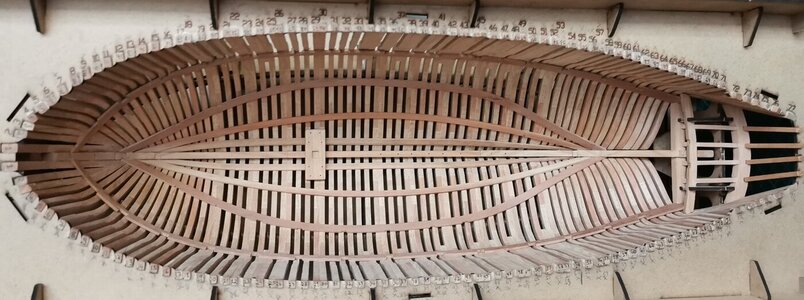
By hook or by crook it's all in!
Keelson, strakes etc fitted. As per the manual best to soak in water for a while, much easier to bend.
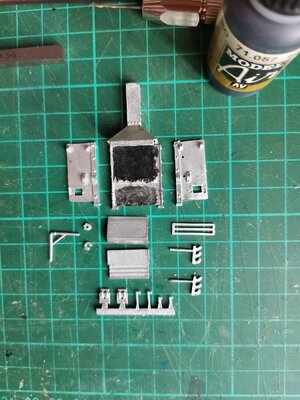
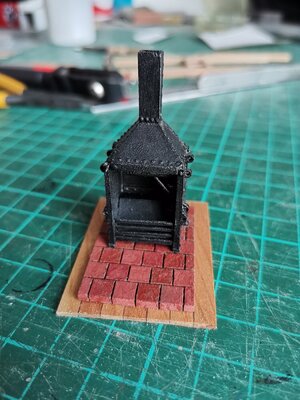
Also assembled the ship's stove for a change in scenery. Fun little project!
Still have to give it another coat or two of paint
Bricks were painted with Burnt Sienna gouache paint, mixed here and there with a bit of Crimson for variation.
Keelson, strakes etc fitted. As per the manual best to soak in water for a while, much easier to bend.

Also assembled the ship's stove for a change in scenery. Fun little project!
Still have to give it another coat or two of paint
Bricks were painted with Burnt Sienna gouache paint, mixed here and there with a bit of Crimson for variation.
Last edited:
HAPPY BIRTHDAY FROM ME TOO. GOD BLESS STAY SAFE YOU AND YOURS DON
Wow!!! Great accomplishment and another milestone in the money pot!  looks very neat and clean. BTW, the bricks look so realistic, I want immediately made mine the same. Please post some pictures of the paint you have used and the recipe mixture! 'Mixed here and there' will not gonna work for Jim
 looks very neat and clean. BTW, the bricks look so realistic, I want immediately made mine the same. Please post some pictures of the paint you have used and the recipe mixture! 'Mixed here and there' will not gonna work for Jim
 Fully agree with Jim, these stones look very very realistic. Great work.
Thanks Jimsky. There is probably many ways to achieve the same result, I just used what I had in hand.Wow!!! Great accomplishment and another milestone in the money pot!looks very neat and clean. BTW, the bricks look so realistic, I want immediately made mine the same. Please post some pictures of the paint you have used and the recipe mixture! 'Mixed here and there' will not gonna work for Jim

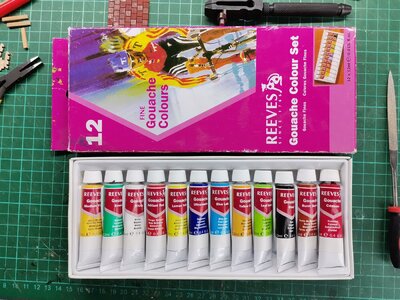
First of the paint: Reeves Gouache paint, I think this is just about available anywhere in the world(I nicked mine from the Admirals supply store, sssh!)
Second: Tamiya Mud colored weathering stick(basically mud colored lipstick
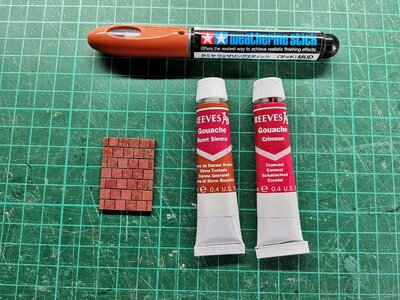
The process: very simple, no funny tricks
I smeared the mud stick on to each individual brick and allowed it to dry for a couple of hours. This is probably not necessary, but my thought process at the time was : mud brick = mud lipstick
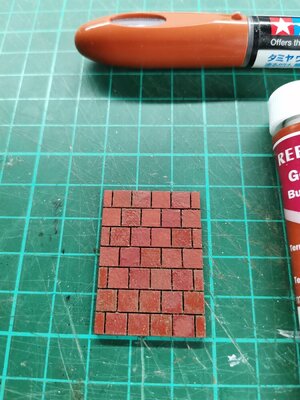
I then applied the Burnt Sienna with a small brush, straight out of the tube - the area to paint is so small, i didn't bother to use a pallet. While the Burnt Sienna was still wet, i mixed in a minute amount of Crimson onto odd bricks to get a bit of variation.
That's it, as simple as can be.
Sorry Jimsky , no special formula was used in creating these bricks, it really was a here and there affair!
Last edited:
Hello Jollye Roger! You've got yet another proof of the deck beams fittings. All of you guys confirmed that beams fit perfectly! For the rest of us Alert builders, we have peace of mind on that part.
...and definitely do cabins, just for a fun!! You will add doors, nails perhaps??? Imagine you are abord your model... my hands itchy to start those cabins but required frames assembly first
...and definitely do cabins, just for a fun!! You will add doors, nails perhaps??? Imagine you are abord your model... my hands itchy to start those cabins but required frames assembly first
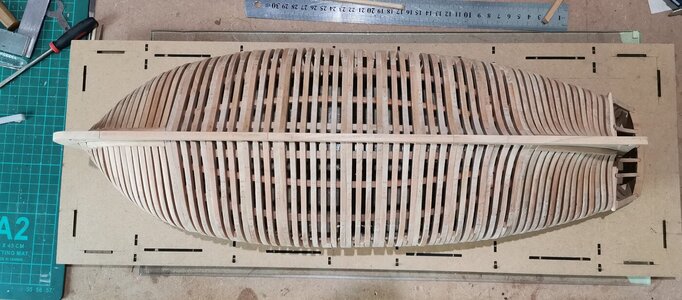
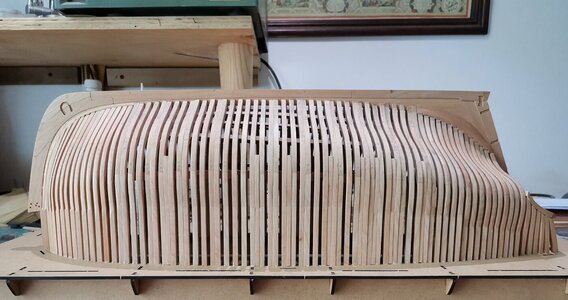
And she's out!
Not without a couple of hiccups here and there.
The Chief of Naval Staff(aka father in law) came for a shipyard inspection while i was drilling holes for the bolts.
How many drill bits have you broken, he asks? None so far, i say. Plink...there goes the first one! Managed to break 3 in the next 24 hours.
Now it will be sand, sand , sand, repeat.


Last edited:
Brawo, Joey Roger! A milestone to you, and your Alert!!! Now she is free...
Very nice !I realky like it.


