Fine work on the planking - looking good
also the kit is looking good - really an interesting small(er) project in between
also the kit is looking good - really an interesting small(er) project in between
 |
As a way to introduce our brass coins to the community, we will raffle off a free coin during the month of August. Follow link ABOVE for instructions for entering. |
 |
 |
The beloved Ships in Scale Magazine is back and charting a new course for 2026! Discover new skills, new techniques, and new inspirations in every issue. NOTE THAT OUR FIRST ISSUE WILL BE JAN/FEB 2026 |
 |
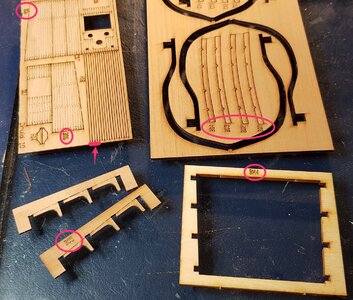
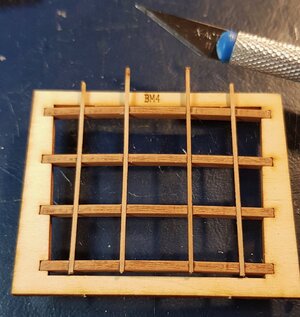
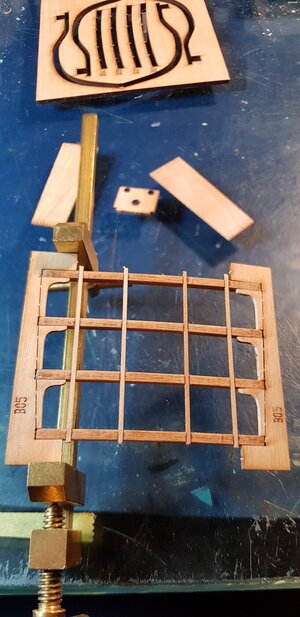
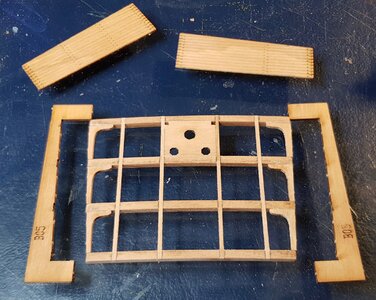
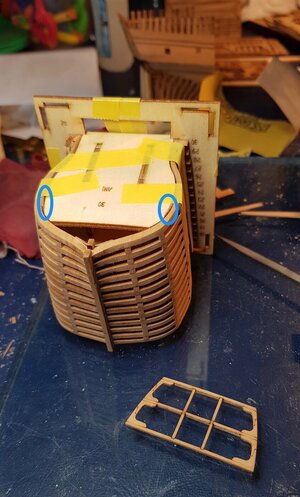
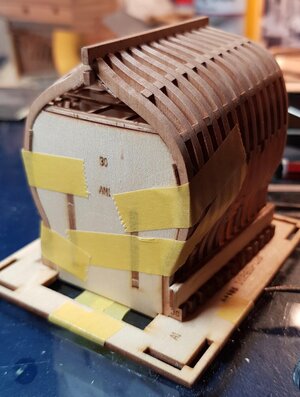
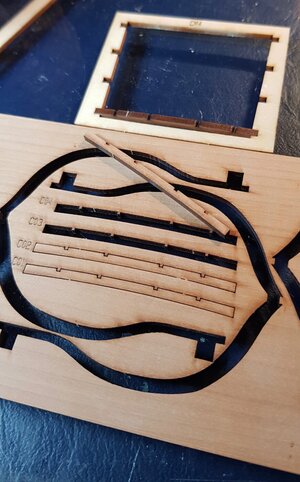
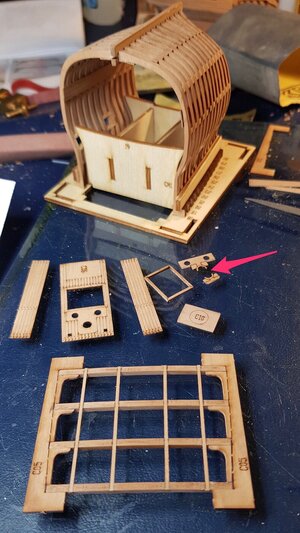

Hallo @JohnAToday I began the Unicorn Model's miniature kits of the HMS Druid cross sections.
The first is the stern cross section and the second kit is the middle cross section. The stern cross section came out about a year before the middle cross section.
I have had both for a few months now and always planned to build them simultaneously so that the final look is similar as I plan to display them in line in the same display case. Off course the final look will also be dependent on the wood supplied in each kit and since they were manufactured at least a year apart I'm not holding my breath on getting an identical finish for both. The kit states that the wood is pear.
So now to the photos:
Here are both kits- One opened already, the other one in it's plastic shrink wrapping between two plywood boards.
View attachment 202024
By the way to get an idea of scale my dirty cutting board has 1" squares in the middle for those not using metric.
A closer look at the stern section label
View attachment 202026
...and the mid section packaging
View attachment 202027
Instructions for both are on four A4 sheets of paper, printed single sided, all easy to follow photos but only in Chinese.
Having a camera translator App on your phone like Google Translate makes easy work of reading these instructions.
View attachment 202028View attachment 202029
The Kit's contents
First the stern Section:
The kit's building jig/berth are the light coloured plywood pieces in the top left of the photo.
View attachment 202030
The contents of the Mid Section kit:
View attachment 202031
Some close up details:
View attachment 202032
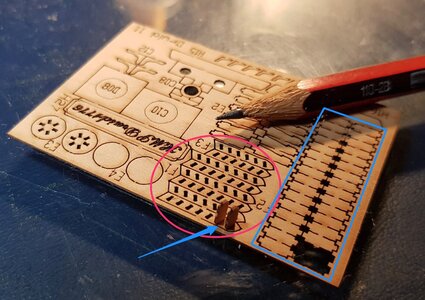
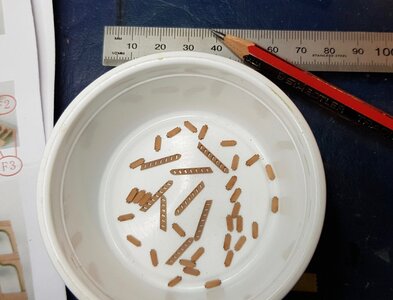
Some parts like A01, A02 and A03 are less than 1 mm wide and quite long with disproportionately large tabs to keep them attached so I am fairly hesitant in cutting these pieces away from the boards. At least the grain is going in the right direction to cut them away but we'll see- any tips by anyone having done anything similar with delicate pieces is definitely welcomed.
View attachment 202033
This is just a preview of the first parts of the building jig/berth being sanded and prepared for glueing.
View attachment 202034


Dear @JohnAToday I began the Unicorn Model's miniature kits of the HMS Druid cross sections.
The first is the stern cross section and the second kit is the middle cross section. The stern cross section came out about a year before the middle cross section.
I have had both for a few months now and always planned to build them simultaneously so that the final look is similar as I plan to display them in line in the same display case. Off course the final look will also be dependent on the wood supplied in each kit and since they were manufactured at least a year apart I'm not holding my breath on getting an identical finish for both. The kit states that the wood is pear.
So now to the photos:
Here are both kits- One opened already, the other one in it's plastic shrink wrapping between two plywood boards.
By the way to get an idea of scale my dirty cutting board has 1" squares in the middle for those not using metric.
A closer look at the stern section label
...and the mid section packaging
Instructions for both are on four A4 sheets of paper, printed single sided, all easy to follow photos but only in Chinese.
Having a camera translator App on your phone like Google Translate makes easy work of reading these instructions.
The Kit's contents
First the stern Section:
The kit's building jig/berth are the light coloured plywood pieces in the top left of the photo.
The contents of the Mid Section kit:
Some close up details:
Some parts like A01, A02 and A03 are less than 1 mm wide and quite long with disproportionately large tabs to keep them attached so I am fairly hesitant in cutting these pieces away from the boards. At least the grain is going in the right direction to cut them away but we'll see- any tips by anyone having done anything similar with delicate pieces is definitely welcomed.
This is just a preview of the first parts of the building jig/berth being sanded and prepared for glueing.

I have uploaded a short clipWOW - this is a great presentation - I LOVE IT
Congratulations for finishing this remarkable model
Maybe it would be possible to make some closer shots / photos to see the details of the yard better? Please
