• SUBSCRIBE TO SHIPS IN SCALE TODAY!

    The beloved Ships in Scale Magazine is back and charting a new course for 2026!
    Discover new skills, new techniques, and new inspirations in every issue.

    NOTE THAT OUR NEXT ISSUE WILL BE MARCH/APRIL 2026
  • Win a Free Custom Engraved Brass Coin!!!
    As a way to introduce our brass coins to the community, we will raffle off a free coin during the month of August. Follow link ABOVE for instructions for entering.

HMS Endurance Build . . .

Beautiful!!! Awesome work.

Big question remains...how did the grandson react to the ship in a bottle (and did he participate in raising it or did you present it "in the bottle")?
Thanks!!!

I don't get the see the grandson until January. Started the process today to put it in the bottle because it is about a three day process in order to let glue set up.

Only going to be visiting for two days so I will need to have it done before I go.
 
Last edited:
It's looking great @Rebus.
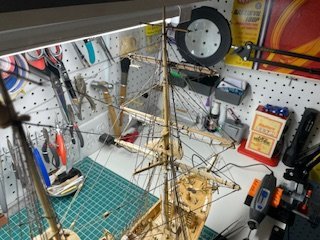
I have a question: what is that white cylinder strapped to the top of the main mast?
Thanks!

Here is the answer I found on the Web:
The Endurance was a three-masted barquentine (square-rigged on the foremast, fore-and-aft on the main and mizzen) built in 1912. The very top of a traditional sailing ship's mast features a masthead fitting, which usually culminated in a piece of wood called a truck.
This part of the mast typically had sheaves (pulleys) for halyards (ropes used to hoist sails and flags) and attachment points for the standing rigging (fixed wires/ropes that supported the mast). It would not have been a white cylinder.

Some one else might know a better answer.
 
Last edited:
Thanks!

Here is the answer I found on the Web:
The Endurance was a three-masted barquentine (square-rigged on the foremast, fore-and-aft on the main and mizzen) built in 1912. The very top of a traditional sailing ship's mast features a masthead fitting, which usually culminated in a piece of wood called a truck.
This part of the mast typically had sheaves (pulleys) for halyards (ropes used to hoist sails and flags) and attachment points for the standing rigging (fixed wires/ropes that supported the mast). It would not have been a white cylinder.

Some one else might know a better answer.
Thank you, @Rebus, for your well-explained reply.
The only reason I thought it was a cylinder was what I saw from the overhead view photo in post #99
 
It's looking great @Rebus.
I have a question: what is that white cylinder strapped to the top of the main mast?
I have no references with which to back this up, but I think it may have been a lookout station, intended to provide some protection from the wind for whomever was standing watch. In the photos I have seen, it looks a bit bigger.

Edit: Haha! I see Swabbie found the answer while I was typing.
 
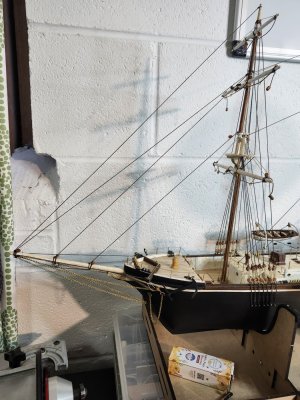
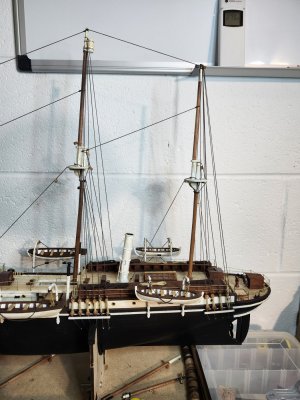
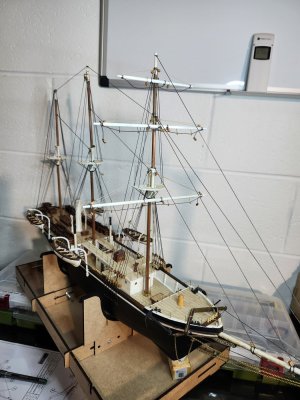
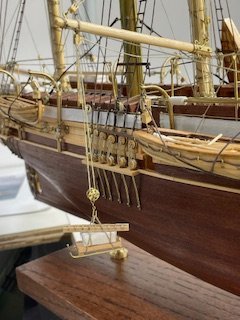
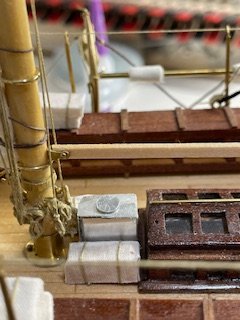
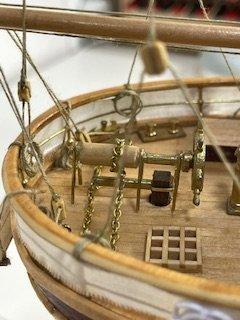
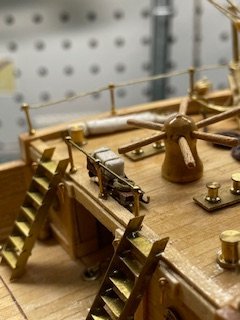
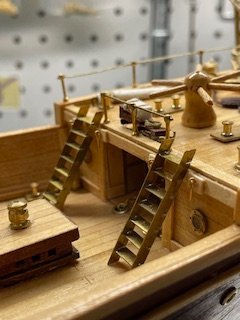
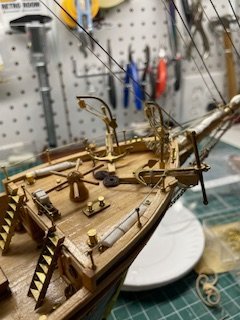
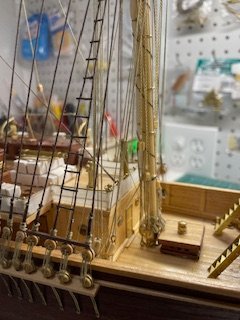
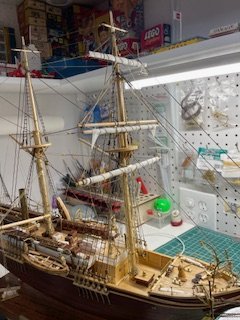
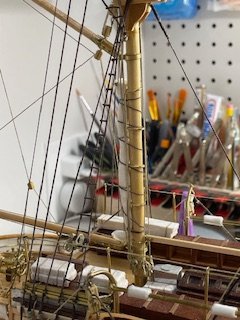
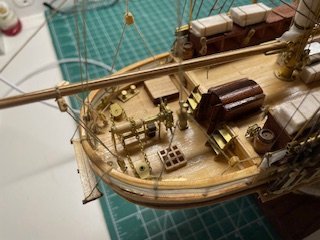
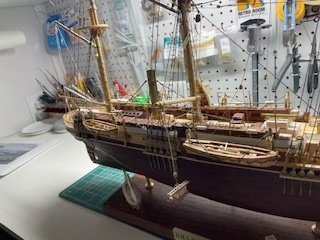
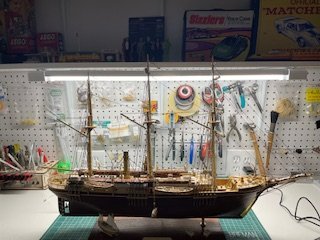
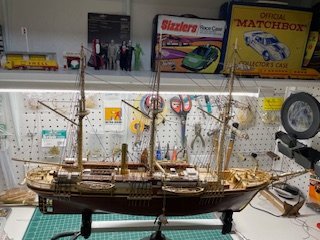
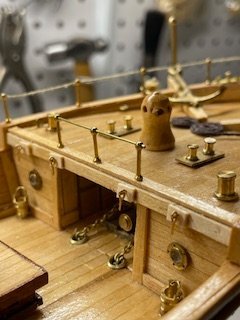
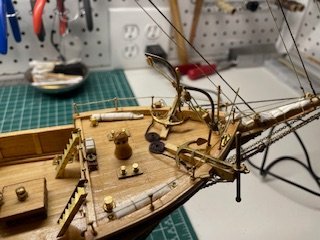
This week's progress:

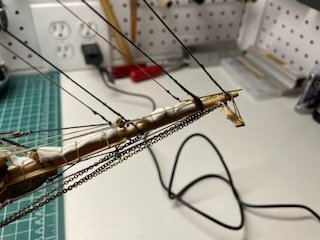
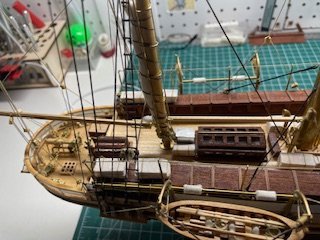
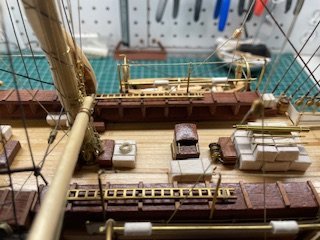
1000003097.jpg1000003098.jpg1000003099.jpg

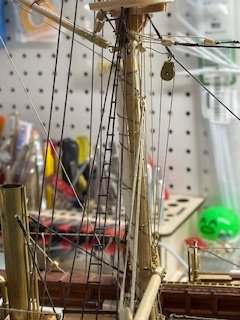
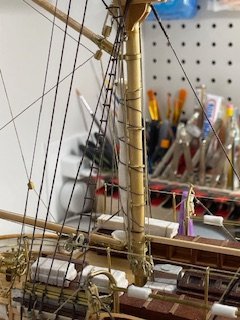
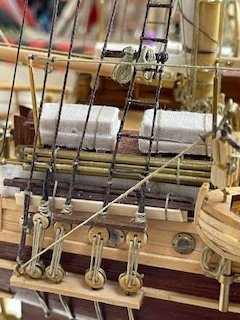
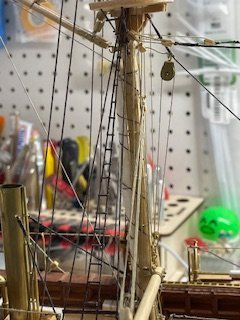
Shrouds and stays done this week. Now to do the ratlines while I wait for the Admiral to finish the sails. Nearing completion.

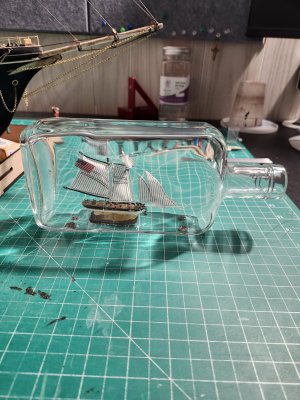
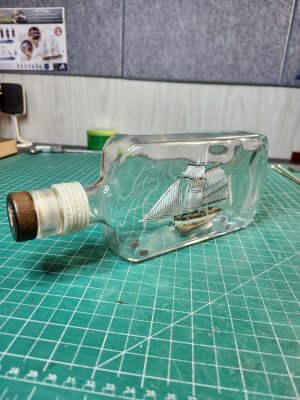
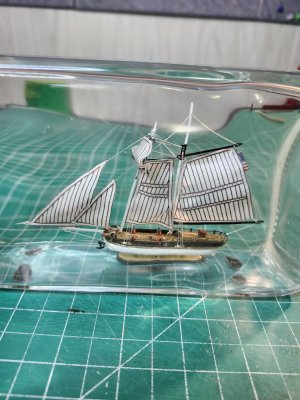
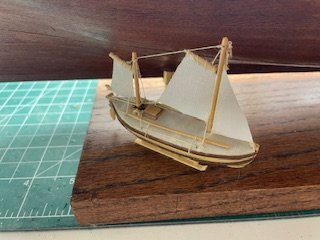
For my grandson, I've got the ship in the bottle and on the stand. Need to tidy it up some plus add a few more drops of glue to the stand to keep the ship in place.
1000003100.jpg

Since I did it without extra hands helping and at home with all my tools, it didn't take long to get it in place.
 
This week's progress:

View attachment 568383View attachment 568384View attachment 568385

Shrouds and stays done this week. Now to do the ratlines while I wait for the Admiral to finish the sails. Nearing completion.

For my grandson, I've got the ship in the bottle and on the stand. Need to tidy it up some plus add a few more drops of glue to the stand to keep the ship in place.
View attachment 568390

Since I did it without extra hands helping and at home with all my tools, it didn't take long to get it in place.
I'm loving the gift for your grandson!
 
Thanks for sharing the wonderful ship in a bottle for the grandson!! I'm sure he will LOVE it!

I bought a Lego ship kit for my granddaughter, and she persevered through the whole build, even though the recommended age was two years older.

It's great to give the next generations some inspiration for building ship models!!!!
 
Hey Rebus,

if your grandson doesn't want it, I'd take it... Really beautifully made!! Looks great!! Thumbsup
 
Now it is time to do the rigging and the sails. This is an enjoyable and meditative process for me. Soon to be done

View attachment 566558View attachment 566559View attachment 566560
Hello, I know I am about a year late for your build but I am just starting mine and came across this log. What a beautiful job you have done. I am just now to the point that I have laid all the planks for my decking. I went with a staggered pattern and used thread between the planks for the caulking technique. I also decided to joggle the fore and aft/poop decks although I’m not sure if that will get covered up or not. This is my first build and I’m trying to fit in as many techniques as I can and use this as a learning experience. I was wondering if you used the supplied planking that came with the kit for your decks or if you used something else? It just seems from the photos that your planks are wider to me…? Maybe it is just an illusion though? Also I am now debating on what to do with my treenails. I have had it set in my mind that I want to drill them and either fill them with a darkened wood putty or uses the toothpick method as pegs and sand them down. I know the kit says to use pencil but I want to go above that and from the research I’ve done it says they used wooden treenails. What are your thoughts? Thanks and what an amazing build! Your have outdone yourself!
 
Back
Top