• Win a Free Custom Engraved Brass Coin!!!
    As a way to introduce our brass coins to the community, we will raffle off a free coin during the month of August. Follow link ABOVE for instructions for entering.

HMS Enterprise 1:160 scale Boxwood - Unicorn Models

Joined
Apr 18, 2025
Messages
140
Points
103

Location
Kent Weald, South East England
I'm taking a break from the 1:96 scale HMS Enterprise to start work on this and will start with an unboxing of sorts.....................

The product is beautifully presented in very well designed and delightful lasercut box, sealed with thin strips of paper in a very Oriental style. The artwork is eye-catching with text in English and Chinese, and a striking use of colour. The overall impression is of weight and quality......................
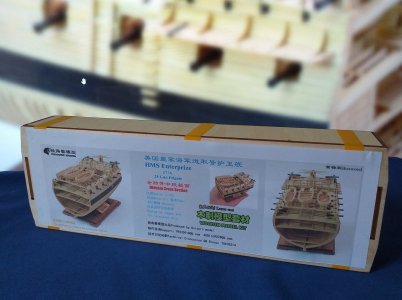
20251015_130347.jpg


After cutting the ribbons, everything that you need is very neatly arranged inside.................................
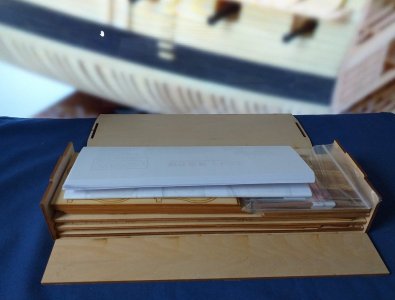

20251015_130528.jpg

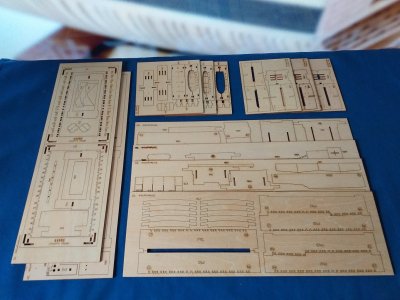
The kit includes a very large number of precisely cut templates which will be indispensible during construction..................
20251015_131251.jpg

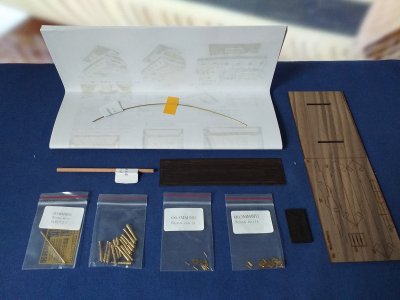
There is also a range of brass and non-boxwood parts as required, as well as good quality printed instructions in both Chinese and English.................................
20251015_131645.jpg


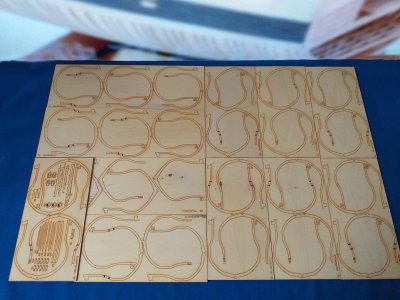
The frames represent a large part of the included and there'll be no shortage of extra material, if you should need it!!..................

20251015_132110.jpg

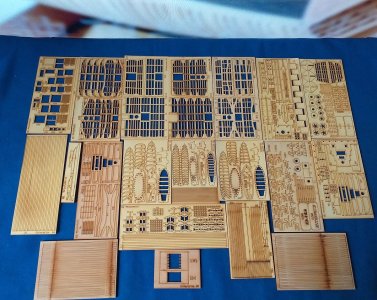
Finally, the remaining model parts, all exquisitely cut from fine quality boxwood, even the grating look amazing. Overall a very good looking and well manufactured and presented kit.........
20251015_132427.jpg

No doubt there will be challenges during construction at this scale, but my initial impression is that the kit gives you a good fighting chance of success.

Richard
 
I've got the seat next to Paul. I have this kit, along with the stern section, but haven't opened either of them yet. I want to finish Oseberg first and I know me, if I get "squirreled" with one of these, I'll never get back to the Vikings. ROTF I'll also happily let you find all the pitfalls first. :cool:
 
I've got the seat next to Paul. I have this kit, along with the stern section, but haven't opened either of them yet. I want to finish Oseberg first and I know me, if I get "squirreled" with one of these, I'll never get back to the Vikings. ROTF I'll also happily let you find all the pitfalls first. :cool:
Wise move.
So far I've worked on the double frames. Being as they are in one piece they have a weakness, as expected, above where the keel fits, but the breakage is not a real problem and might even makes some of them a bit easier to align. All will be corrected when the keel is fitted.
 
I'm very interested in watching your build.
I've also ordered this kit over a month ago, but it's delayed due to a postal strike.

Neil
 
I'm taking a break from the 1:96 scale HMS Enterprise to start work on this and will start with an unboxing of sorts.....................

The product is beautifully presented in very well designed and delightful lasercut box, sealed with thin strips of paper in a very Oriental style. The artwork is eye-catching with text in English and Chinese, and a striking use of colour. The overall impression is of weight and quality......................

View attachment 550413


After cutting the ribbons, everything that you need is very neatly arranged inside.................................


View attachment 550414

The kit includes a very large number of precisely cut templates which will be indispensible during construction..................

View attachment 550416

There is also a range of brass and non-boxwood parts as required, as well as good quality printed instructions in both Chinese and English.................................

View attachment 550419


The frames represent a large part of the included and there'll be no shortage of extra material, if you should need it!!..................


View attachment 550420

Finally, the remaining model parts, all exquisitely cut from fine quality boxwood, even the grating look amazing. Overall a very good looking and well manufactured and presented kit.........

View attachment 550421

No doubt there will be challenges during construction at this scale, but my initial impression is that the kit gives you a good fighting chance of success.

Richard
Very nice to see that you started this build-log, Richard. Will follow it with great interest.
I also want to reserve a chair. Still not now if it will be next to Paul or Russ ……..;)
My stern and mid-sections must wait till I have finished my current build.
Regards, Peter
 
Hi Peter,
I'll try to make regular updates. Here is the first one...................................

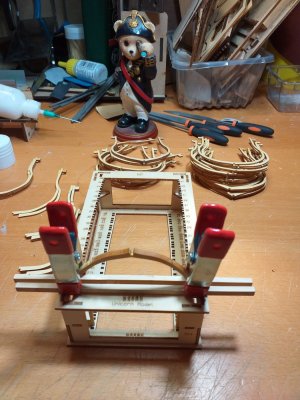
Frames ready for insertion into the template. I broke five, but they are easy enough to repair. They do need battoning as they tend to twist in the jig when trying to glue back together. I used thin CA in this case, but joining the keel will be a mixture of CA and wood glue. Because of that I cleaned the carbon from the connecting notches with a fine needle file. I'll probably CA every forth one, or something like that, the rest will be wood glue.

20251016_102025.jpg

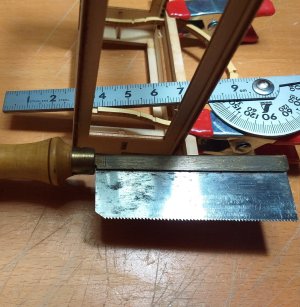
Cleaning and deepening the notches for the gunport sills was an interesting task.
I used an old, and very blunt, push razor saw. I drew it back and forth under its own weight. No pressure was applied, while continuously moving it left to right and swivelling it axially and diagonally. At no point did it make more than one pass without changing location to prevent making any deep cuts.

20251016_103632.jpg
 
So far so good.

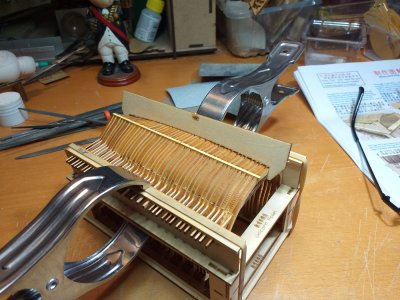
Frames installed a treat and first row of spacers fitted. I found that removing most, but not all, of the carbon made for a nice fit. Neither tight nor loose. In my case the measuring jig fits nicely without any adjustment. I used battons to clamp the spacers for glueing just in case any of them decided to move..........

20251016_195111.jpg


All spacers completed without drama.

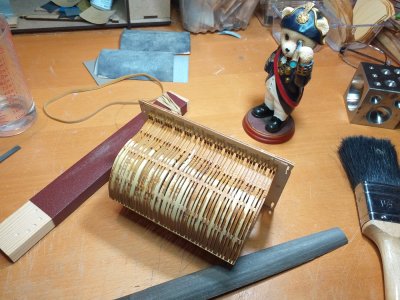
Once free of the jig, the next step is sanding the exterior.
Because I used CA for the spacers they are characteristically brittle joints at this scale. After clipping off the excess external material, I gently ran a medium file along the horizontal axis of each set of spacers. Periodically there would be a chattering sound which revealed a joint that wasn't glued properly. I would hesitate to file vertically as a loose spacer might snap if caught. After that I sanded with an 180-grit carborundum sanding stick.

I believe it is really important to continuously stop sanding and check for loose spacers. The glue contact area is small, CA is brittle and sanding exerts pressure so loose spacers may reappear occasionally if you used CA. That is unless you used tons of it which I think might spoil the hull's appearance. When sanding, the loose spacers do not chatter but you should hear a distinct vibration/sound.

Thats all for now.


20251017_153001.jpg
 
Last edited:
So far so good.

Frames installed a treat and first row of spacers fitted. I found that removing most, but not all, of the carbon made for a nice fit. Neither tight nor loose. In my case the measuring jig fits nicely without any adjustment. I used battons to clamp the spacers for glueing just in case any of them decided to move..........

View attachment 550803


All spacers completed without drama.

Once free of the jig, the next step is sanding the exterior.
Because I used CA for the spacers they are characteristically brittle joints at this scale. After clipping off the excess external material, I gently ran a medium file along the horizontal axis of each set of spacers. Periodically there would be a chattering sound which revealed a joint that wasn't glued properly. I would hesitate to file vertically as a loose spacer might snap if caught. After that I sanded with an 180-grit carborundum sanding stick.

I believe it is really important to continuously stop sanding and check for loose spacers. The glue contact area is small, CA is brittle and sanding exerts pressure so loose spacers may reappear occasionally if you used CA. That is unless you used tons of it which I think might spoil the hull's appearance. When sanding, the loose spacers do not chatter but you should hear a distinct vibration/sound.

Thats all for now.


View attachment 550802
That’s looking very nice, Richard. I know the chattering sound when sanding frames.;) That Captain has a keen eye on your work.
Regards, Peter
 
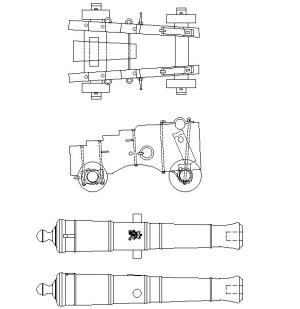
I do not envy you dealing with such a small scale. The carriage brackets in the kit are obviously inconsistent in shape but the thickness should be the same. For Enterprise (28) 1774, she would have had Armstrong Frederick guns and carriages. The brackets would be about 4.5 to 5 inches thick, so 0.03" (0.8mm) 1/32" aircraft plywood may be a good substitute for making your own if the ones in your kit are a problem.

The details below are probably impossible to replicate at 1:160, but you can at least get an idea of what the Armstrong Frederick pattern gun and carriage were actually like. This may be one of things where laser cutting is not the best way to go for the kit company.
Allan

1760782271312.jpeg
 
I do not envy you dealing with such a small scale. The carriage brackets in the kit are obviously inconsistent in shape but the thickness should be the same. For Enterprise (28) 1774, she would have had Armstrong Frederick guns and carriages. The brackets would be about 4.5 to 5 inches thick, so 0.03" (0.8mm) 1/32" aircraft plywood may be a good substitute for making your own if the ones in your kit are a problem.

The details below are probably impossible to replicate at 1:160, but you can at least get an idea of what the Armstrong Frederick pattern gun and carriage were actually like. This may be one of things where laser cutting is not the best way to go for the kit company.
Allan

View attachment 550948
Thanks Allan,
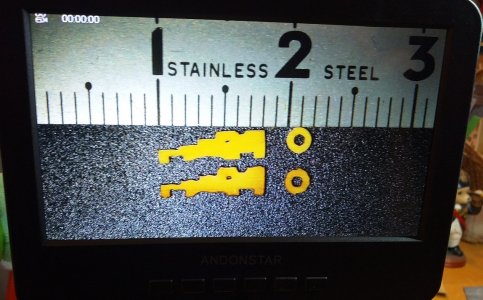
That's very useful. I'll be able to check later this afternoon, but the carriage material seems thinner than 0.8mm. I think that I have enough 1mm scrap yellow boxwood to make my own carriages if I get the urge as
I prefer the appearance of the correct pattern. Much heavier looking.
 
Without disparaging your skills in any way (see your 1:96 version for evidence of same) - if you can scratch 1:160 scale gun carriages out of wood that are better than what the kit has provided you will have my eternal respect. I truly hope you do it and shame me for having doubts!
 
Back
Top