• LUCZORAMA SHIPWRECK SCAVENGER HUNT GIVEAWAY. 4 Weeks of Fun • 1 Legendary Prize ((OcCre’s Fram Ship)) • Global Crew Welcome!
    **VIEW THREAD HERE**

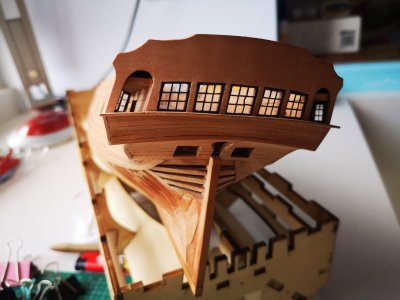
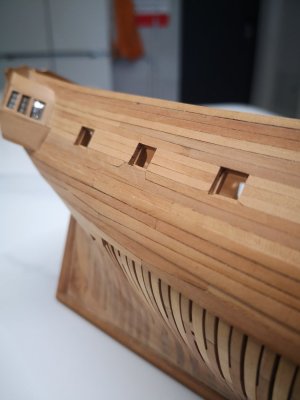
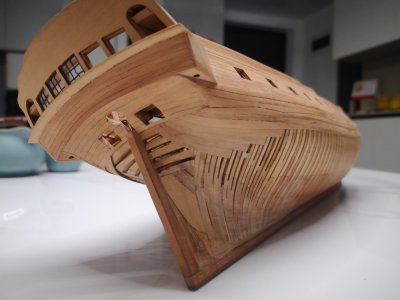
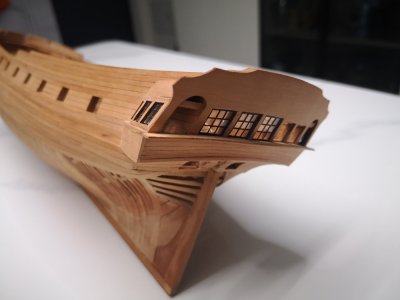
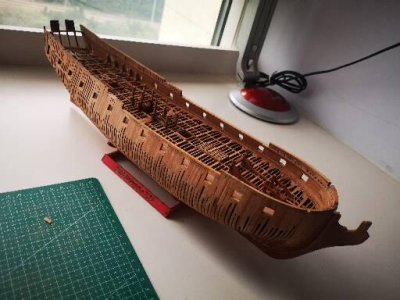
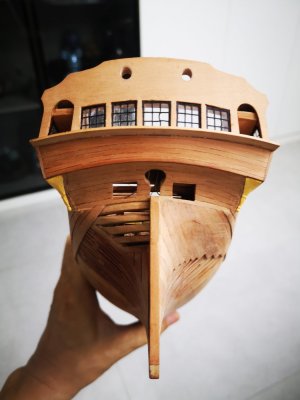
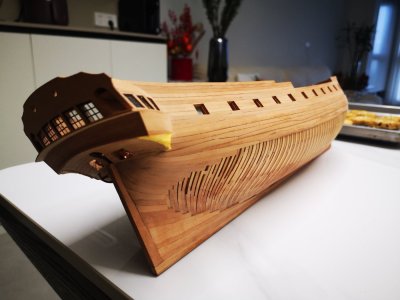
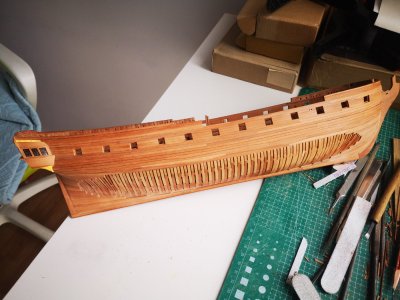
HMS Enterprise - 1:96 - 96进取套材的制作

Hi Wuxiaomeng
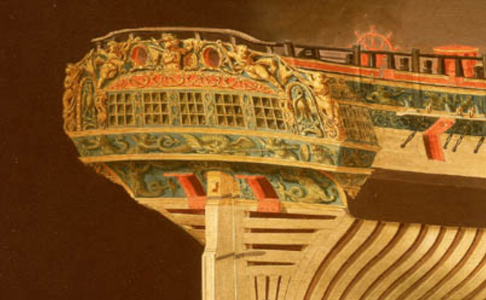
What is the red rectangle area that you show? It cannot be for the gun ports as the guns would have to be in the bread bins on the lower deck and the barrels would have to be five or six feet above the deck. Picture below shows the stern guns if they were on the upper deck or lower deck. I would go with contemporary information first as John Williams signed the drawings. Then again no one is infallible so maybe the original draftsman and/or designer of the ship made a mistake. The only evidence I can find so far that she had stern ports is from the 1777 Marshall painting which does not match the design drawings. Assuming she had stern ports these were typically not with guns. The aft most guns on that deck would be maneuvered to these ports. She carried twenty-four 9 pounder guns on the gun deck as can be seen in the notes on the drawing below and the number of gun ports on the side of the ship match that with 12 per side.
Allan
View attachment 457756
View attachment 457757
Hallo Allan,
I guess there were no guns on the lower deck on the Enterprize 1774 - I count 12 gunports on each side on the "upper deck"
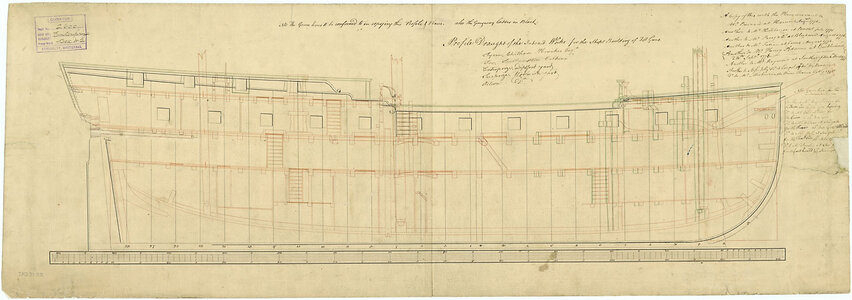
Inboard profile Ent class.jpg


also according given informations f.e. threedecks (based on Rif Winfield)
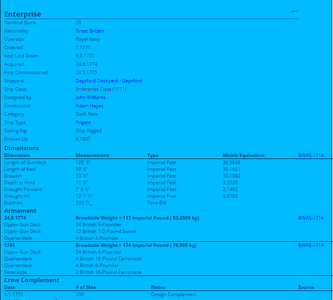
Screenshot 2024-07-08 124715.png
 
Last edited:
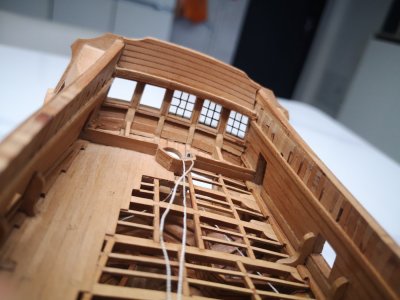
I can not find fast a contemporary drawing showing these two ports at the stern only the painting

Screenshot 2024-07-08 125716.png

so close above the waterline I am pretty sure, that the lids were more or less permanantly closed to keep the water out
So, if there were these ports, than it can be only for ventilation of the closed lower deck, open only when laying in harbour on calm sea
 
Hi Karl,
I saw the Joseph Marshall paintings as well and it really caused confusion in my head. I personally would rely on the plans in post 60 above, . The series of paintings by Marshall are exceptional, but at least in this case, does not match the plans. Builder's choice :)

Allan
 
2024年9月12日
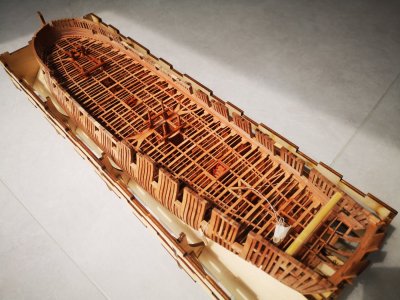
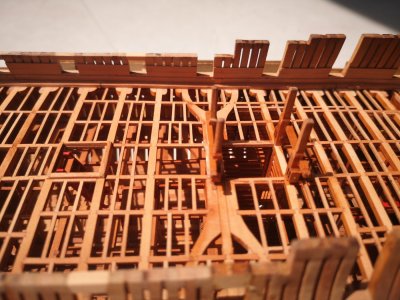
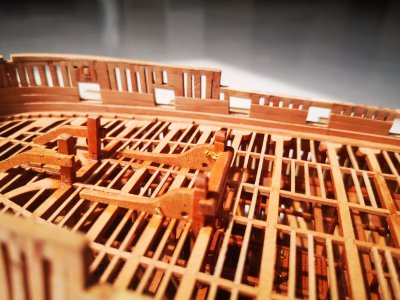
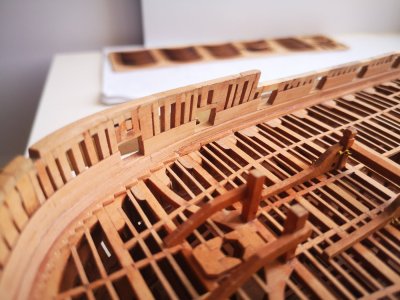
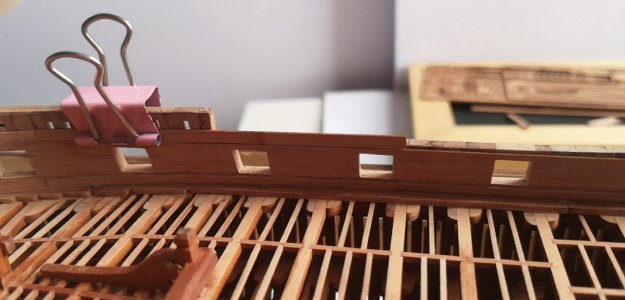
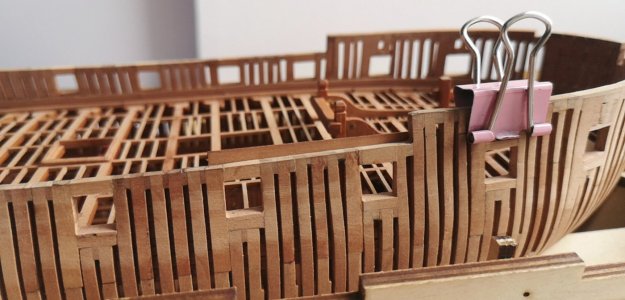
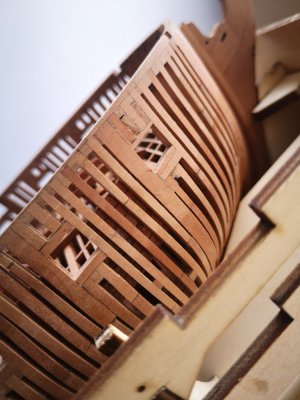
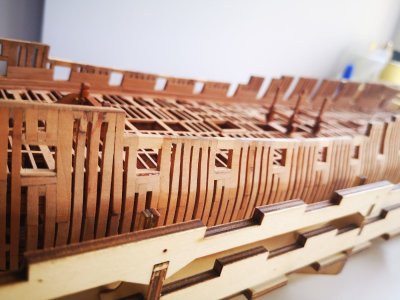
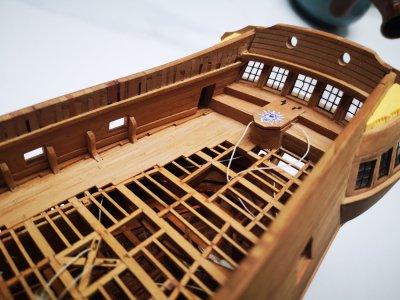
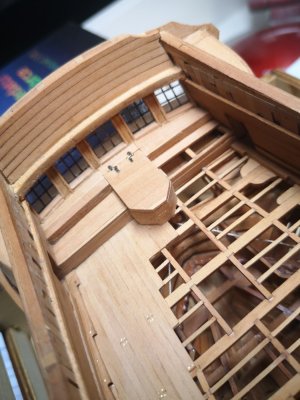
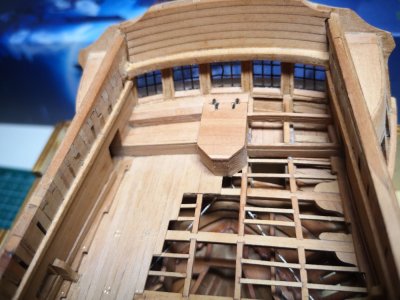
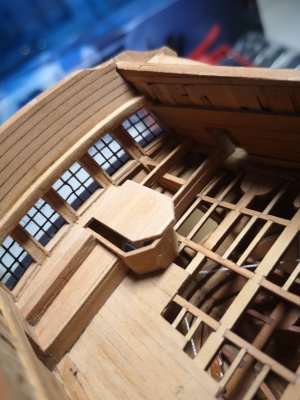
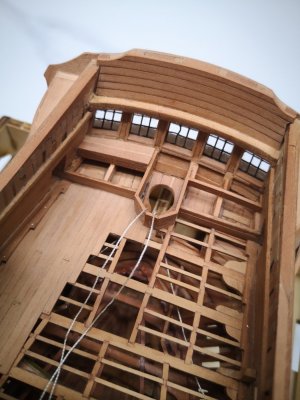
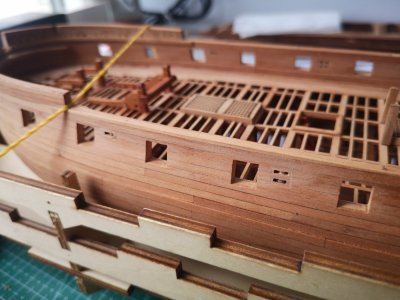
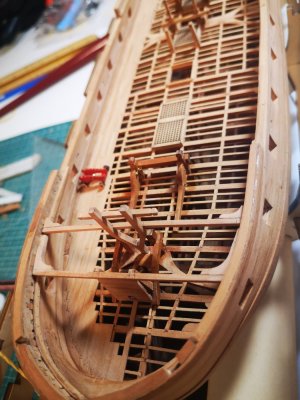
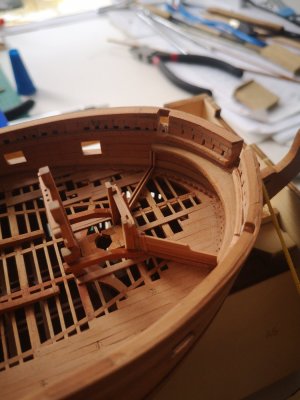
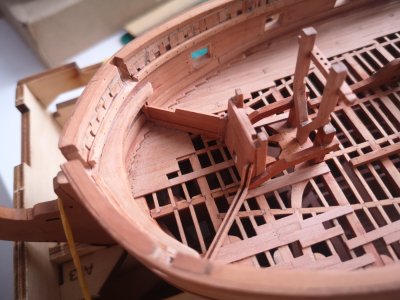
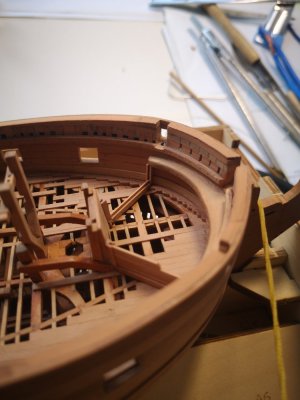
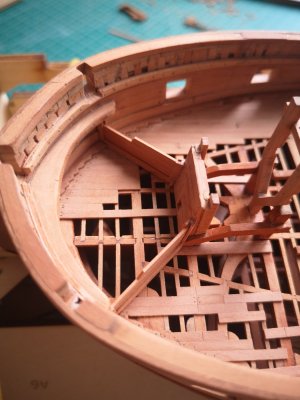
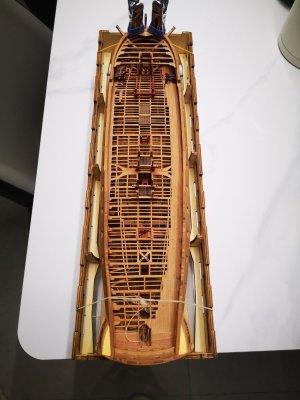
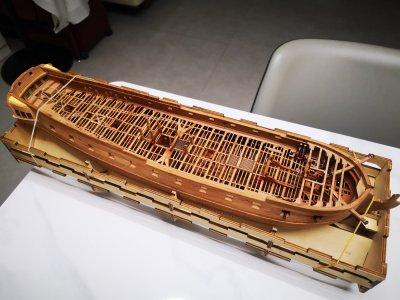
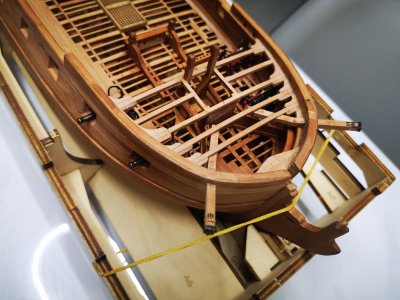
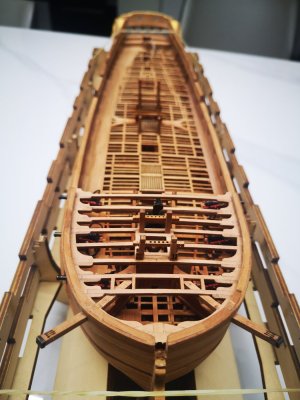
好久没更新了,并不是停工,因为小横梁重复的工作量太大,1*1mm的小横梁全部开槽安装,真的是快不起来,8月中旬全部炮甲板小横梁完成,开始做甲板压条,做内船壳,根据內船壳弧度调整炮窗高度
发现套材中编号W5的内船壳高度超出船舷3~4mm,是垫高船舷还是磨低船壳,这个要跟设计师确认一下,自己感觉应该是垫高船舷,后期也好修改

September 12, 2024
It’s been a while since I’ve updated. It’s not a work stoppage, because the repetitive workload of the small beams is too big. All the 1*1mm small beams are slotted and installed. It really can’t be done quickly. In mid-August, all the small beams of the gun deck will be completed, and the deck construction will begin. Layering strips are used to make the inner hull, and the height of the gun window is adjusted according to the curvature of the inner hull.
I found that the height of the inner hull numbered W5 in the kit exceeds the ship side by 3~4mm. Should I raise the ship side or lower the hull? I need to confirm this with the designer. I feel that it should be to raise the ship side. It can be modified later.

甲板压条240907.jpg

內船壳240907.jpg

內船壳240908-1.jpg

內船壳240908-2.jpg

內船壳240910-1.jpg

內船壳240910-2.jpg

炮窗调整240908.jpg

炮窗调整240909.jpg
 
Last edited by a moderator:
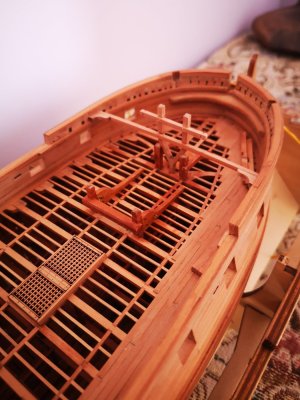
I love how you went into the detail of making the spirketting thicker than the quick stuff above it. Very nicely done!
Allan
 
2024年9月12日
好久没更新了,并不是停工,因为小横梁重复的工作量太大,1*1mm的小横梁全部开槽安装,真的是快不起来,8月中旬全部炮甲板小横梁完成,开始做甲板压条,做内船壳,根据內船壳弧度调整炮窗高度
发现套材中编号W5的内船壳高度超出船舷3~4mm,是垫高船舷还是磨低船壳,这个要跟设计师确认一下,自己感觉应该是垫高船舷,后期也好修改

September 12, 2024
It’s been a while since I’ve updated. It’s not a work stoppage, because the repetitive workload of the small beams is too big. All the 1*1mm small beams are slotted and installed. It really can’t be done quickly. In mid-August, all the small beams of the gun deck will be completed, and the deck construction will begin. Layering strips are used to make the inner hull, and the height of the gun window is adjusted according to the curvature of the inner hull.
I found that the height of the inner hull numbered W5 in the kit exceeds the ship side by 3~4mm. Should I raise the ship side or lower the hull? I need to confirm this with the designer. I feel that it should be to raise the ship side. It can be modified later.

View attachment 470651

View attachment 470652

View attachment 470653

View attachment 470654

View attachment 470655

View attachment 470656

View attachment 470657

View attachment 470658
There is a lotb to be learned by close study of these images, especially by a guy like me.
 
There is some Chinese at the top of the post. I don't read or understand Chinese, sorry.
Me neither but luckily we have plenty translate programs now :-)

" Update progress
I haven't updated for a long time. Something happened at home, so I was delayed for a long time before I started to complete this model
Share some recent photos "
 
Me neither but luckily we have plenty translate programs now :-)

" Update progress
I haven't updated for a long time. Something happened at home, so I was delayed for a long time before I started to complete this model
Share some recent photos "
I tried to use the iMac translation but iMac is new to me to I don't fully understand it
 
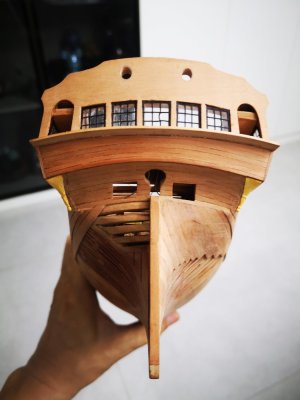
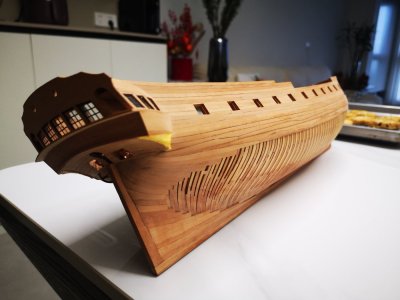
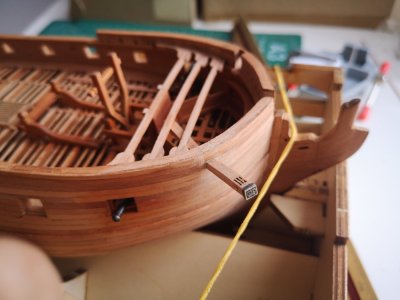
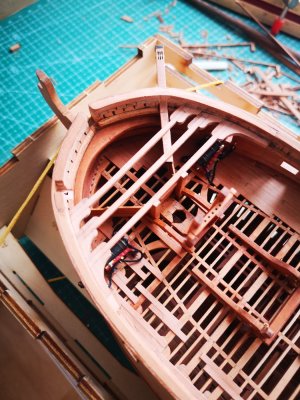
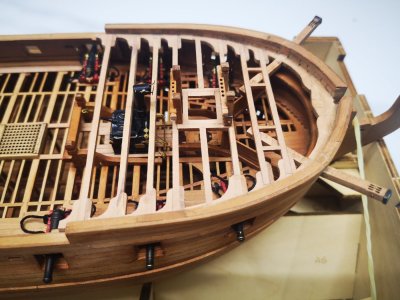
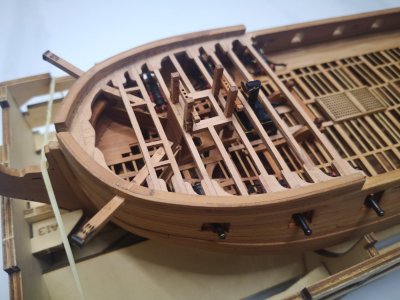
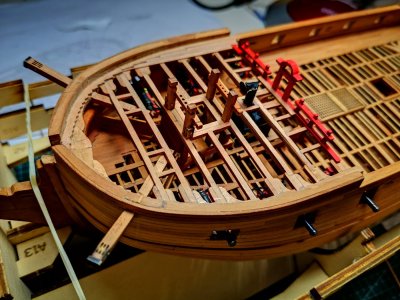
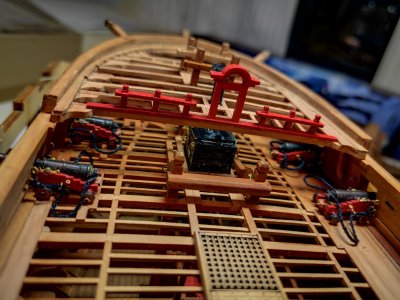
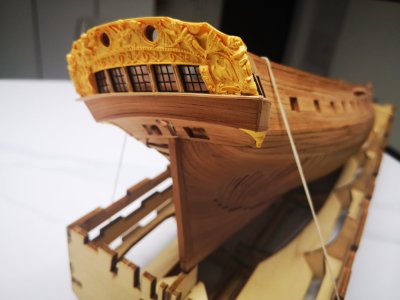
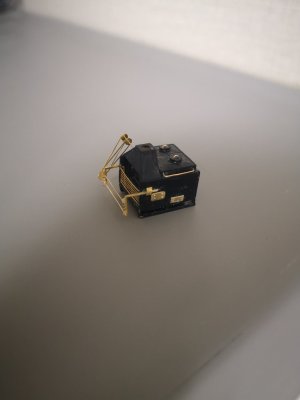
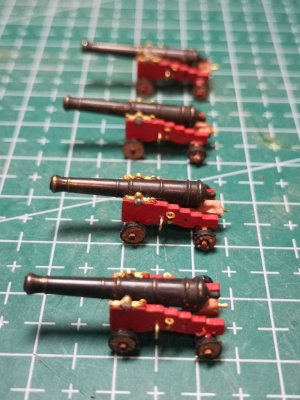
20250612更新:广州最近天气太热,好久没动手了,把前段时间做好的发几张,船壳粘了一边,尾部打印件太脆了,船尾雕刻粘的时候没对齐,拆分时搞断了,上色遮盖。完成了船头横梁,局部铺甲板,套材船头1/4甲板第1条横梁间距太大,考虑是否需要加多一条,安装吊锚架,有蚀刻片装饰,完成锚仓,隔板做成可活动的安装锅炉,船钟支架,火炮

尾壳250328.jpg

尾壳250329.jpg

局部外船壳250401.jpg

船舷滑轮250410.jpg

船头甲板250412.jpg

船头甲板250415.jpg

吊锚架250520.jpg

吊锚架250521.jpg

锚仓250515.jpg

锚仓250516.jpg

锚仓250517.jpg

锚仓250518.jpg

前横梁1.jpg

前横梁2.jpg

前横梁3.jpg

前横梁4.jpg

前横梁5.jpg

前横梁6.jpg

前甲板250606.jpg

前甲板250607.jpg

尾装饰250601.jpg

锅炉250430.jpg

炮车250426.jpg
 
20250612更新:广州最近天气太热,好久没动手了,把前段时间做好的发几张,船壳粘了一边,尾部打印件太脆了,船尾雕刻粘的时候没对齐,拆分时搞断了,上色遮盖。完成了船头横梁,局部铺甲板,套材船头1/4甲板第1条横梁间距太大,考虑是否需要加多一条,安装吊锚架,有蚀刻片装饰,完成锚仓,隔板做成可活动的安装锅炉,船钟支架,火炮

View attachment 525211

View attachment 525212

View attachment 525213

View attachment 525214

View attachment 525215

View attachment 525216

View attachment 525217

View attachment 525218

View attachment 525219

View attachment 525220

View attachment 525221

View attachment 525222

View attachment 525223

View attachment 525224

View attachment 525225

View attachment 525226

View attachment 525227

View attachment 525228

View attachment 525229

View attachment 525230

View attachment 525231

View attachment 525232

View attachment 525233
Stunning.
 
Back
Top