- Joined
- Jul 24, 2016
- Messages
- 540
- Points
- 188

 |
As a way to introduce our brass coins to the community, we will raffle off a free coin during the month of August. Follow link ABOVE for instructions for entering. |
 |
 |
The beloved Ships in Scale Magazine is back and charting a new course for 2026! Discover new skills, new techniques, and new inspirations in every issue. NOTE THAT OUR FIRST ISSUE WILL BE JAN/FEB 2026 |
 |



![IMG_20251025_124531[1].jpg IMG_20251025_124531[1].jpg](https://shipsofscale.com/sosforums/data/attachments/536/536410-8451039a2f628c81d60f179ddd4087ce.jpg?hash=GRxX4p-xYF)


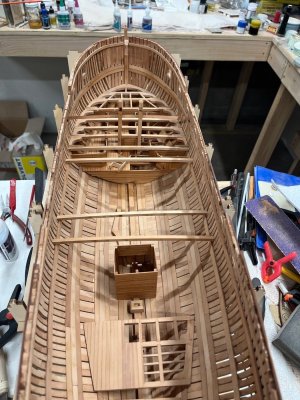
does that mean the Main Step can moveIs the mast step and/or the well fixed in place yet or just sitting for the time being? Regarding the mast steps' dimensions, the following may be of interest regarding their sizes.
Allan
From the contract
MIZEN STEP ….. The Mizen Step to be sided 14 ½ ins, of sufficient Depth on the Keelson, The Arms 5ft 6ins long each, & bolted with 6 bolts of 1 ⅛ diar.
MAIN STEP ….. The main Step to be sided 1 ft 11 ins and 15 ins deep on the Keelson and of a length to slide easy by the Stantions of the Well.
FORE STEP ….. The Fore Step to be sided 1 ft 9 ins, in Length 10 ft 6 ins, bolted 6 bolts of 1 ⅛ diar
You model them...


getting more disappointed with this kitDirection/Kit part mismatch? Probably.
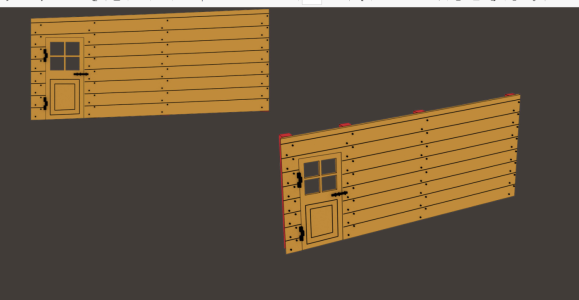
Again...refer to Victor's build. I built mine from strip....no windows.
wasn't thrilled with anything resembling a hinge....sourced resin hinges from Chuck @ Syren Model.
FWIW when done almost impossible to see anyway.
Did a few lower planks/carlings. Still have to sand knees/carlings flush to beams. About done here, now time to go to aft platform , and final positioning of well before running more.
Ended up notching planks for carling fit.......probably better than the laminated planks.
Tim
ts


this is mothing like the illustrations in the InstructionsDirection/Kit part mismatch? Probably.
Again...refer to Victor's build. I built mine from strip....no windows.
wasn't thrilled with anything resembling a hinge....sourced resin hinges from Chuck @ Syren Model.
FWIW when done almost impossible to see anyway.
Did a few lower planks/carlings. Still have to sand knees/carlings flush to beams. About done here, now time to go to aft platform , and final positioning of well before running more.
Ended up notching planks for carling fit.......probably better than the laminated planks.
Tim
View attachment 552462
Richard, you’re gettin bent out of shape for nothing, we’re supposed to be modelers, cutting notches for carlings and locating positions taken from the deck plan is pretty straight forward, as is scratch building doors, with or without windows. Now that I’m about halfway through lower deck I’m glad there are no laminated beams, far more accurate look.this is mothing like the illustrations in the Instructions
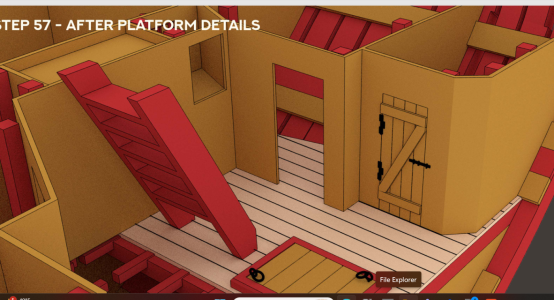
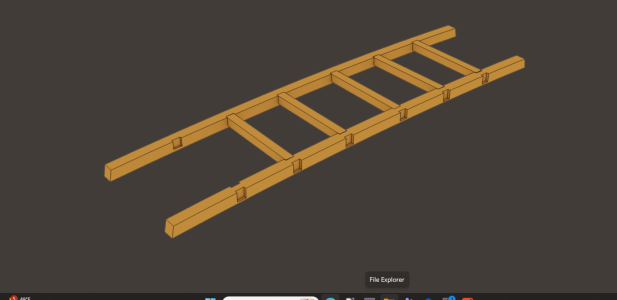
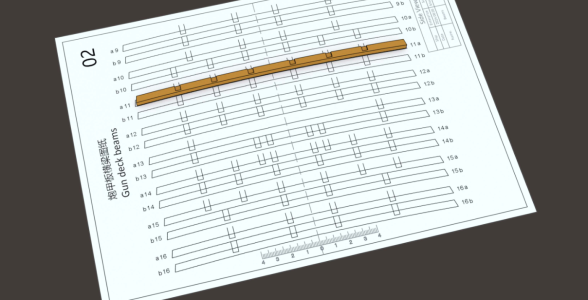
NOTHING marked Just Beams
When i saw the instructions i HAD to have this kit
NOW Not so sure
Brandford is so much better
Gave you seen this Keef and Corsair
Richard, as I mentioned before, this kit is quite advanced — a true plank-on-frame project that demands precision and plenty of patience. It’s definitely on the complex side and not an easy undertaking.this is mothing like the illustrations in the Instructions
NOTHING marked Just Beams
When i saw the instructions i HAD to have this kit
NOW Not so sure
Brandford is so much better
Gave you seen this Keef and Corsair

Thats rubbishRichard, as I mentioned before, this kit is quite advanced — a true plank-on-frame project that demands precision and plenty of patience. It’s definitely on the complex side and not an easy undertaking.
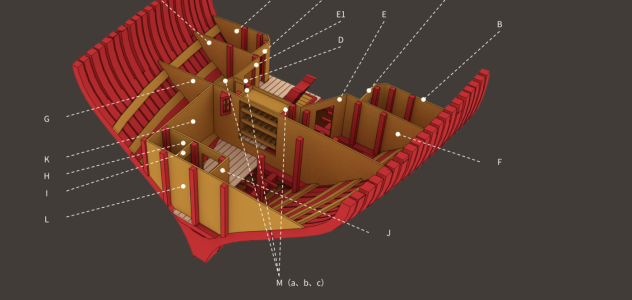 Where is all the detail shown in the Instructions which i downloaded before buying the Kit