• LUCZORAMA SHIPWRECK SCAVENGER HUNT GIVEAWAY. 4 Weeks of Fun • 1 Legendary Prize ((OcCre’s Fram Ship)) • Global Crew Welcome!
    **VIEW THREAD HERE**

HMS ENTERPRISE by Keith 1:48 scale. New Kit from M.D.

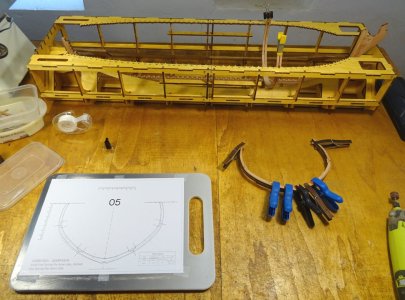
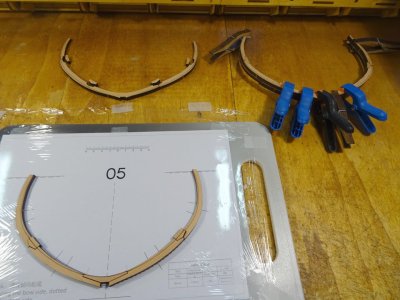
Frame number 7 sanded and ready to trial fit into the jig. The 2 halves of frame 6 assembled and ready to be glued together to form one frame. And lastly, frame 6 glued together, the components of frame 5 identified and placed over the drawing to check all parts are found, sorted into A and B side and fit as expected. No complaints so far :)

DSC00183.JPG

DSC00185.JPG

DSC00189.JPG

DSC00191.JPG

DSC00193.JPG

DSC00194.JPG
 
She is looking wonderful ! :)
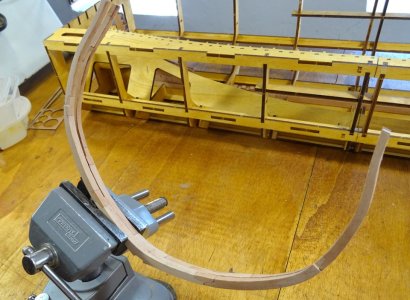
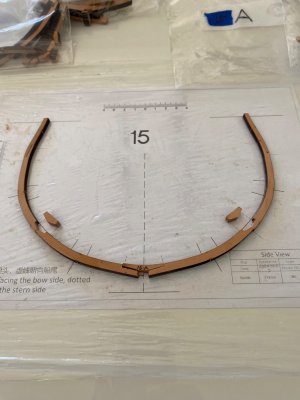
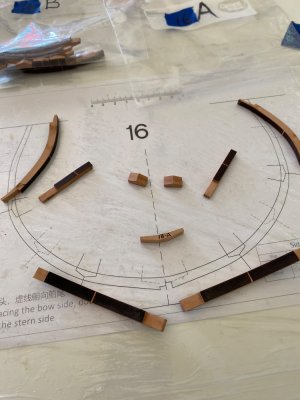
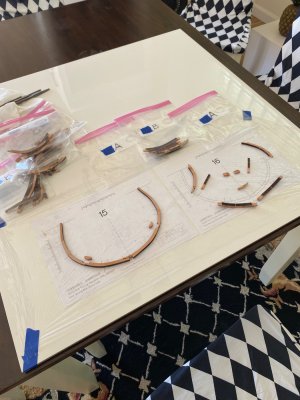
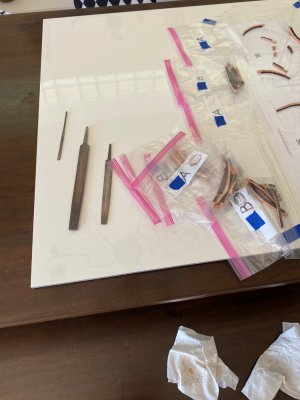
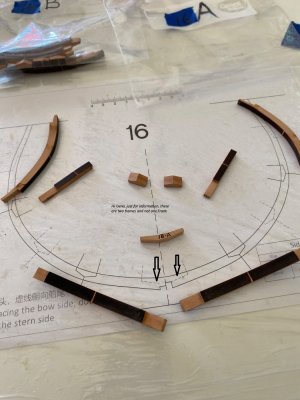
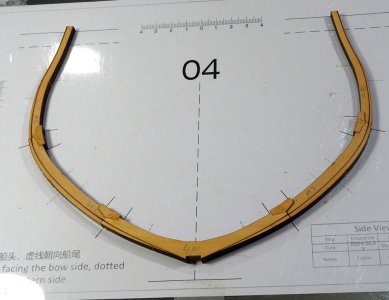
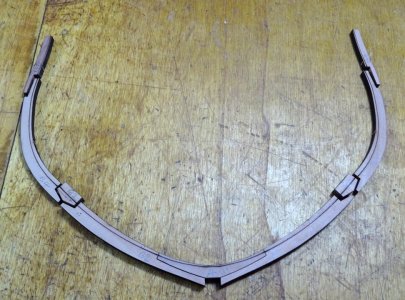
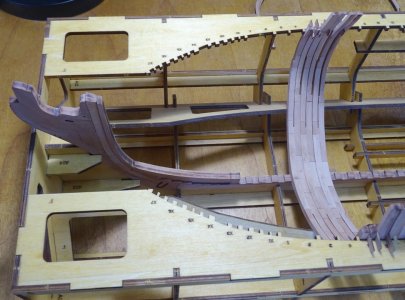
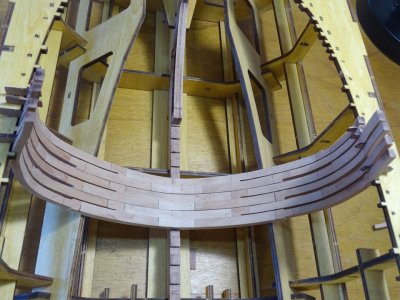
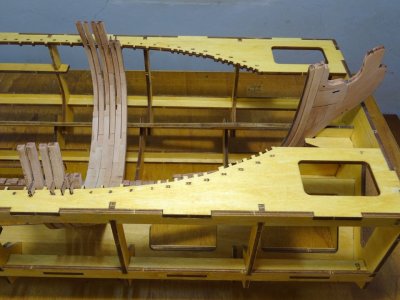
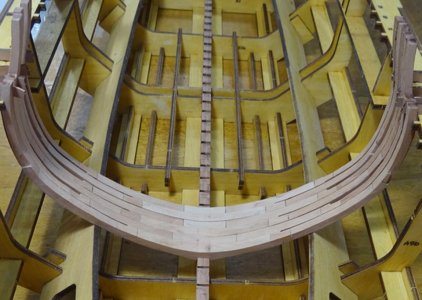
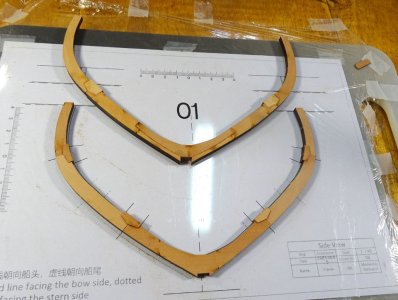
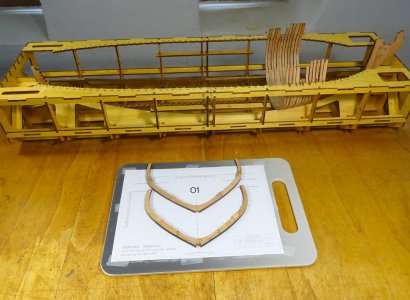
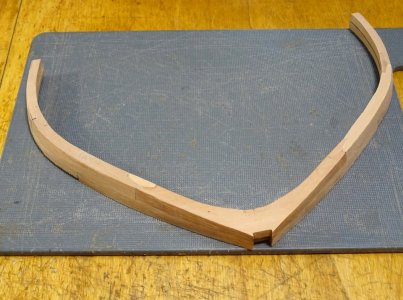
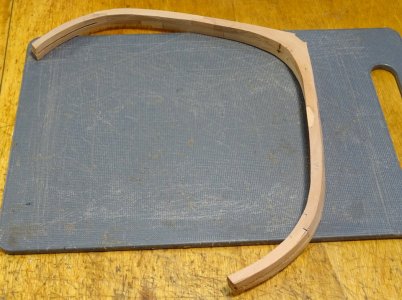
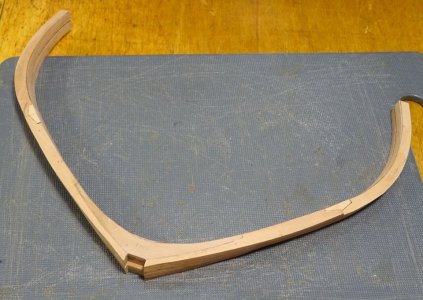
Because I’ll be heading back to Michigan in about ten days and I wanted to keep working on my kit I opted to not built the assembly mold at this time. Instead I’ve built my keel assembly then jumped to making frames starting with #01. The hard part was jumping in with that first frame; filing all glueable joints and chocks clean of burn, then figuring out how I was going to lay the pieces out to accurately make up the frame. First I went to Home Depot and bought a 3’ square glazed tile to work on. Then I spread a piece of plastic cling wrap across the bottom third of the tile. With that setup I could slip each of the frame prints under the film then lay out my frame pieces directly on the drawing. I’ve been using carpenters wood glue for the glue up. After applying glue to each piece and waiting for a couple of minutes I used finger pressure to squeeze the joints together making sure my frame pieces were directly over the drawing outline. After a half hour or so I could remove the frame and set it aside to cure and start another. After a few like this I started building two at a time. Now, I can clean up the joints on one set (2 frames, A and B sides) in about 35 minutes and I can glue up two frames in 15 minutes and in 45 minutes start the glue up process again.

This way when I go North I’ll be ready to sand frames to the lines in my wood shop. Right now after 5 days I have 18 frame sets finished and should have the 37 done by next week.

IMG_1431.jpeg

IMG_1432.jpeg

IMG_1433.jpeg

IMG_1434.jpeg
 
Because I’ll be heading back to Michigan in about ten days and I wanted to keep working on my kit I opted to not built the assembly mold at this time. Instead I’ve built my keel assembly then jumped to making frames starting with #01. The hard part was jumping in with that first frame; filing all glueable joints and chocks clean of burn, then figuring out how I was going to lay the pieces out to accurately make up the frame. First I went to Home Depot and bought a 3’ square glazed tile to work on. Then I spread a piece of plastic cling wrap across the bottom third of the tile. With that setup I could slip each of the frame prints under the film then lay out my frame pieces directly on the drawing. I’ve been using carpenters wood glue for the glue up. After applying glue to each piece and waiting for a couple of minutes I used finger pressure to squeeze the joints together making sure my frame pieces were directly over the drawing outline. After a half hour or so I could remove the frame and set it aside to cure and start another. After a few like this I started building two at a time. Now, I can clean up the joints on one set (2 frames, A and B sides) in about 35 minutes and I can glue up two frames in 15 minutes and in 45 minutes start the glue up process again.

This way when I go North I’ll be ready to sand frames to the lines in my wood shop. Right now after 5 days I have 18 frame sets finished and should have the 37 done by next week.

View attachment 515473

View attachment 515474

View attachment 515475

View attachment 515476
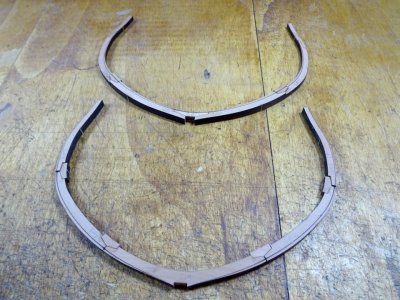
Hi Geno, just for information, these are two frames and not one.Frank

IMG_1432.jpeg
 
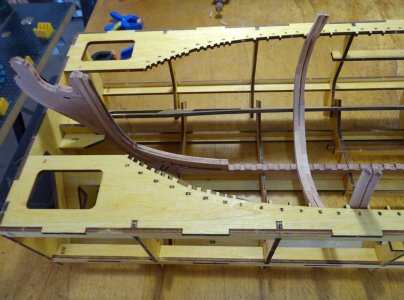
A little more progress with the frames. 3 now are now prepared and dry fitted onto the keel (7, 6 and 5). They fit into the cradle exactly as they should and l'm very happy with the result so far. A very accurate and interesting kit. There is one anomaly with the frame to the plan in the instruction manual that i have found so far. The 2nd futtock on frame 4 A side is on 6 mm stock, but is shown on the plan as the same thickness as the top timber which is 5 mm, centred on the floor timber. This throws the stagger of the futtocks out very slightly on the A side. Can't be helped, l can live with that. It won't be noticed in the scheme of things

DSC00196.JPG

DSC00197.JPG

DSC00198.JPG

DSC00201.JPG

DSC00202.JPG

DSC00206.JPG
 
A little more progress with the frames. 3 now are now prepared and dry fitted onto the keel (7, 6 and 5). They fit into the cradle exactly as they should and l'm very happy with the result so far. A very accurate and interesting kit. There is one anomaly with the frame to the plan in the instruction manual that i have found so far. The 2nd futtock on frame 4 A side is on 6 mm stock, but is shown on the plan as the same thickness as the top timber which is 5 mm, centred on the floor timber. This throws the stagger of the futtocks out very slightly on the A side. Can't be helped, l can live with that. It won't be noticed in the scheme of things

View attachment 515946

View attachment 515947

View attachment 515948

View attachment 515949

View attachment 515950

View attachment 515951
Nice Keith. You are owning those frames. Cheers Grant
 
A little more progress with the frames. 3 now are now prepared and dry fitted onto the keel (7, 6 and 5). They fit into the cradle exactly as they should and l'm very happy with the result so far. A very accurate and interesting kit. There is one anomaly with the frame to the plan in the instruction manual that i have found so far. The 2nd futtock on frame 4 A side is on 6 mm stock, but is shown on the plan as the same thickness as the top timber which is 5 mm, centred on the floor timber. This throws the stagger of the futtocks out very slightly on the A side. Can't be helped, l can live with that. It won't be noticed in the scheme of things

View attachment 515946

View attachment 515947

View attachment 515948

View attachment 515949

View attachment 515950

View attachment 515951
A couple of nicely prepared frames, Keef. With a beautiful wood color.
Regards, Peter
 
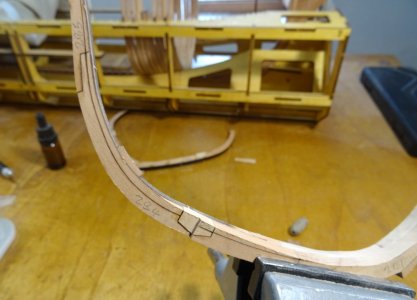
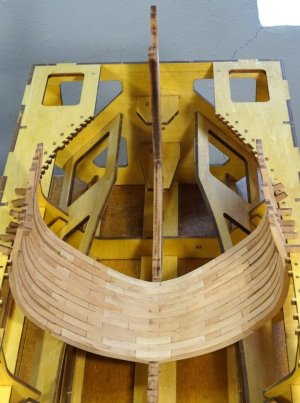
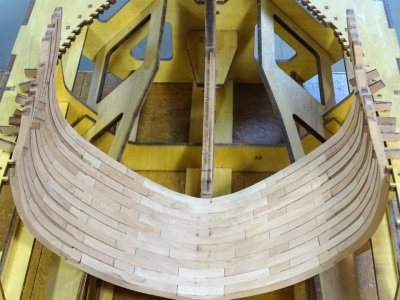
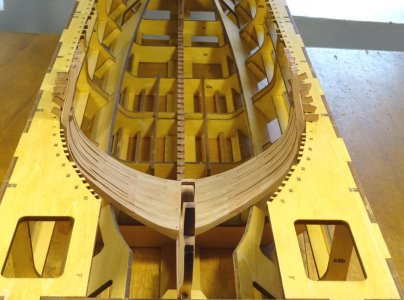
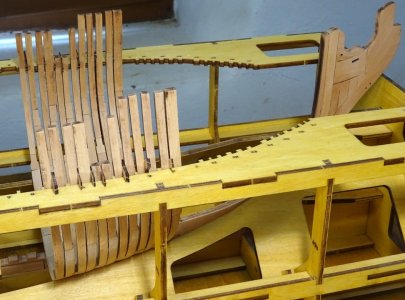
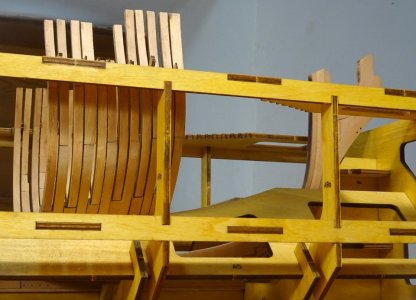
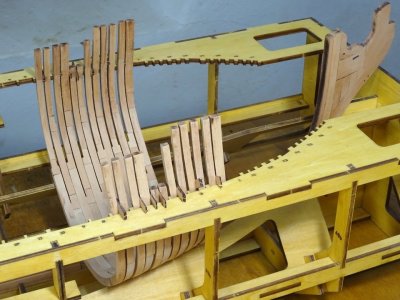
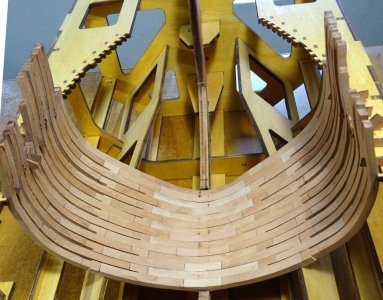
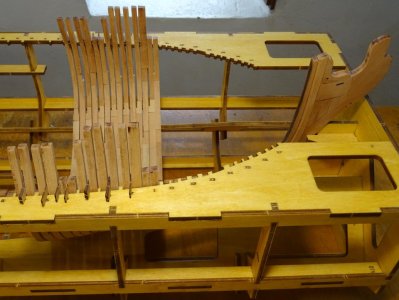
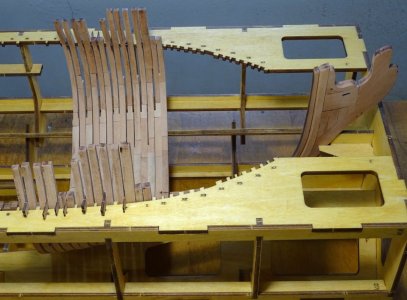
Last Monday the whole of Spain and Portugal suffered a total blackout. No power, no phones and no internet. Still not clear what caused it. Needless to say, no work on the Enterprise at the La Colina boat yard but have made some progress on the frames. Numbers 7 to 2 have been sanded and dry fitted into the building cradle with number one glued, both A and B sides, ready for joining and sanding. These frames need a lot of sanding as they get closer to the bow to follow the shape of the hull, but it's coming together nicely now, fitting very accurately into the cradle. Nice one Victor at Modelship Dockyard

DSC00208.JPG

DSC00210.JPG

DSC00214.JPG

DSC00215.JPG

DSC00223.JPG

DSC00226.JPG

DSC00228.JPG

DSC00229.JPG

DSC00231.JPG

DSC00238.JPG
 
She is looking great Keef !
As far as the power outage is concerned, lets hope there are no more issues.
If they haven't announced what caused it yet, I don't know that I would believe what they tell you at this point.
 
Last Monday the whole of Spain and Portugal suffered a total blackout. No power, no phones and no internet. Still not clear what caused it. Needless to say, no work on the Enterprise at the La Colina boat yard but have made some progress on the frames. Numbers 7 to 2 have been sanded and dry fitted into the building cradle with number one glued, both A and B sides, ready for joining and sanding. These frames need a lot of sanding as they get closer to the bow to follow the shape of the hull, but it's coming together nicely now, fitting very accurately into the cradle. Nice one Victor at Modelship Dockyard

View attachment 517356

View attachment 517357

View attachment 517358

View attachment 517359

View attachment 517360

View attachment 517361

View attachment 517362

View attachment 517363

View attachment 517364

View attachment 517365
Wow, even a hint of gun port here. Truly magnificent!
 
Last edited:
Looking great Keef, smooth, precise joints. I like your 1 and 2mm space separators ! I am also impressed by how well the frames fit on the build jig. Victor engineered the cradle very well.
What is your plan next ? Are you going to keep working towards the bow and make the bow cant frames and Hawse pieces ?
I'm planning on doing Y cant frames and then finish the stern, then I'll work on the midship frames and forward to the bow.
Does the order of frame construction matter ?
Congratulations

Alex R
 
Because I’ll be heading back to Michigan in about ten days and I wanted to keep working on my kit I opted to not built the assembly mold at this time. Instead I’ve built my keel assembly then jumped to making frames starting with #01. The hard part was jumping in with that first frame; filing all glueable joints and chocks clean of burn, then figuring out how I was going to lay the pieces out to accurately make up the frame. First I went to Home Depot and bought a 3’ square glazed tile to work on. Then I spread a piece of plastic cling wrap across the bottom third of the tile. With that setup I could slip each of the frame prints under the film then lay out my frame pieces directly on the drawing. I’ve been using carpenters wood glue for the glue up. After applying glue to each piece and waiting for a couple of minutes I used finger pressure to squeeze the joints together making sure my frame pieces were directly over the drawing outline. After a half hour or so I could remove the frame and set it aside to cure and start another. After a few like this I started building two at a time. Now, I can clean up the joints on one set (2 frames, A and B sides) in about 35 minutes and I can glue up two frames in 15 minutes and in 45 minutes start the glue up process again.

This way when I go North I’ll be ready to sand frames to the lines in my wood shop. Right now after 5 days I have 18 frame sets finished and should have the 37 done by next week.

View attachment 515473

View attachment 515474

View attachment 515475

View attachment 515476
Geno,
You have a great frame build system- and work very fast. I only work on one frame at a time (both A + B), otherwise I know I would end-up loosing parts and/or mixing them up. I work on each frame, from finding and cutting out the pieces, char removal and clean-up, to assembly and sanding/bevelling until it is ready for the keel. Old timey, but works best for me.
Congrats
Alex R
 
Looking great Keef, smooth, precise joints. I like your 1 and 2mm space separators ! I am also impressed by how well the frames fit on the build jig. Victor engineered the cradle very well.
What is your plan next ? Are you going to keep working towards the bow and make the bow cant frames and Hawse pieces ?
I'm planning on doing Y cant frames and then finish the stern, then I'll work on the midship frames and forward to the bow.
Does the order of frame construction matter ?
Congratulations

Alex R
Thank you very much Alex for your interest and comments. I plan to now work from frame 8 back to the stern cant frames, then probably next do the bow frames and hawse pieces. Like you, I work one frame at a time to completion. I'm not interested in a speedy result, I enjoy the time I spend on the project and try to get the best result I can
 
Back
Top