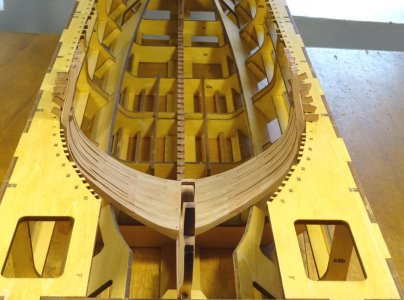
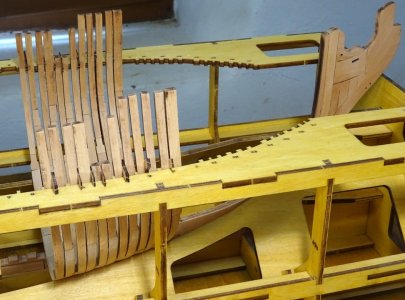
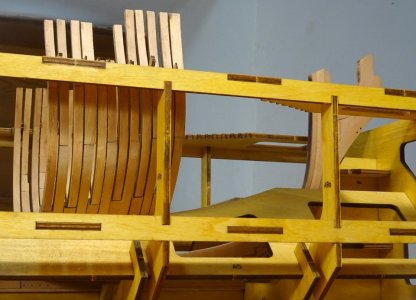
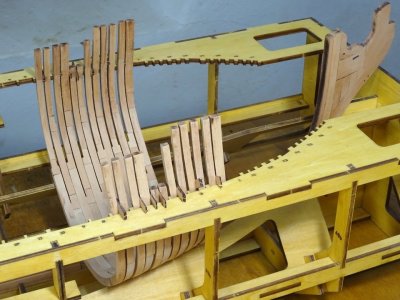
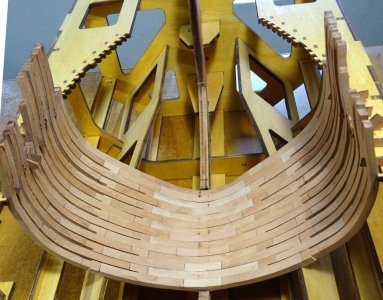
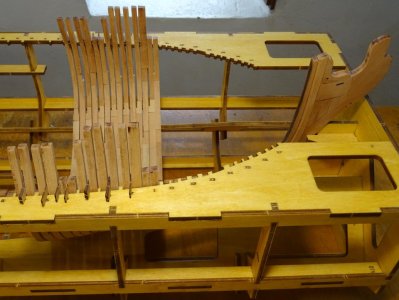
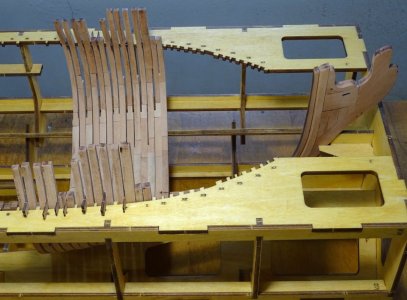
HMS ENTERPRISE by Keith 1:48 scale. New Kit from M.D.

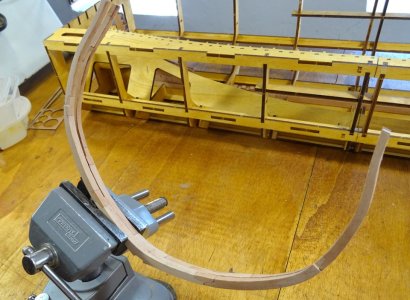
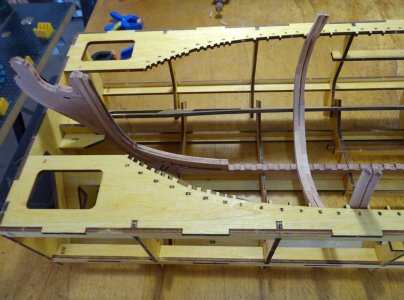
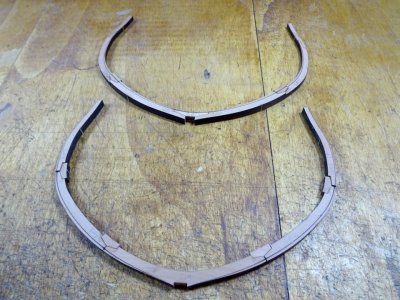
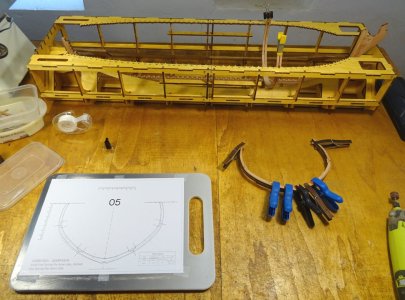
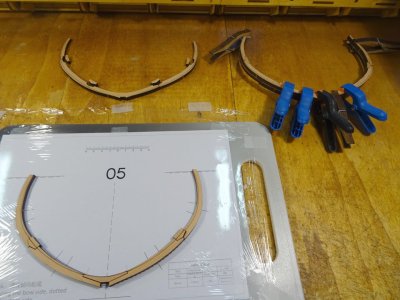
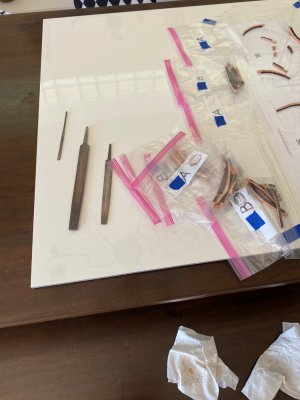
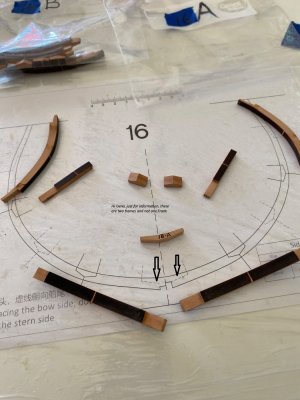
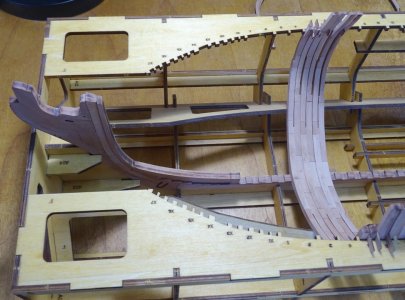
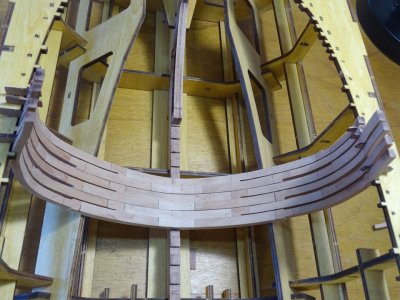
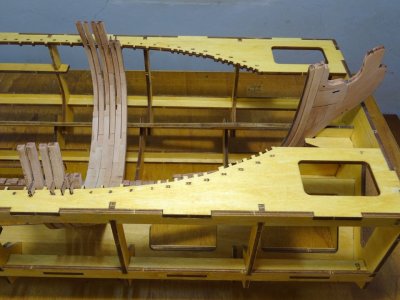
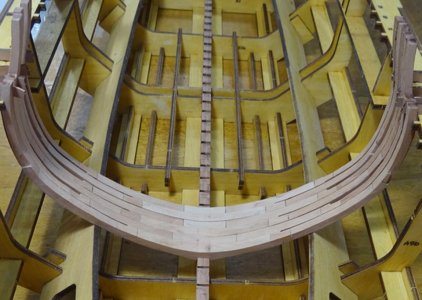
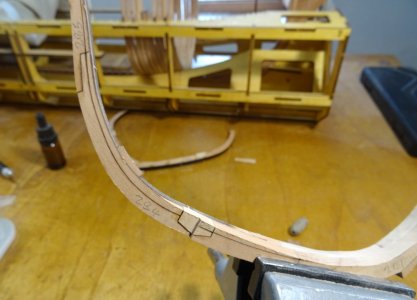
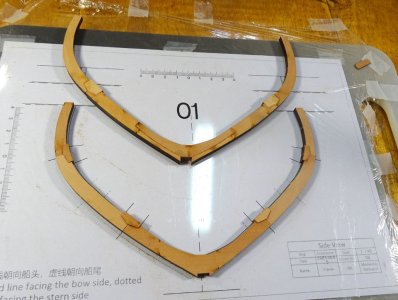
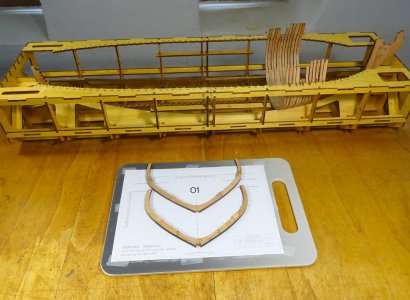
Frame number 7 sanded and ready to trial fit into the jig. The 2 halves of frame 6 assembled and ready to be glued together to form one frame. And lastly, frame 6 glued together, the components of frame 5 identified and placed over the drawing to check all parts are found, sorted into A and B side and fit as expected. No complaints so far :)

DSC00183.JPG

DSC00185.JPG

DSC00189.JPG

DSC00191.JPG

DSC00193.JPG

DSC00194.JPG
 
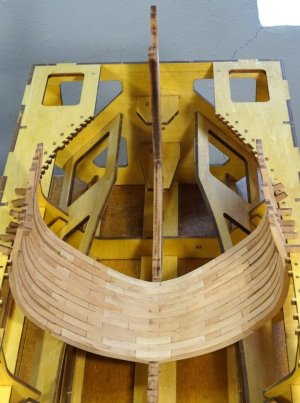
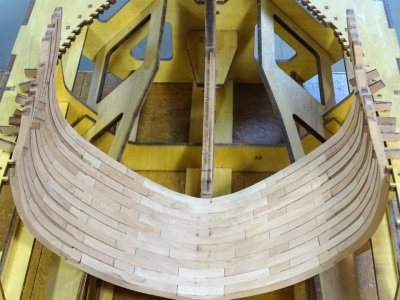
She is looking wonderful ! :)
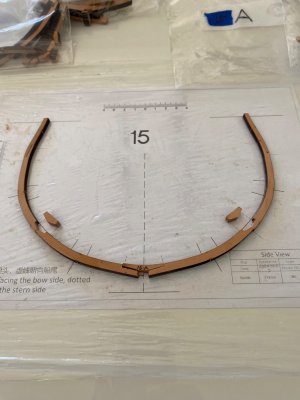
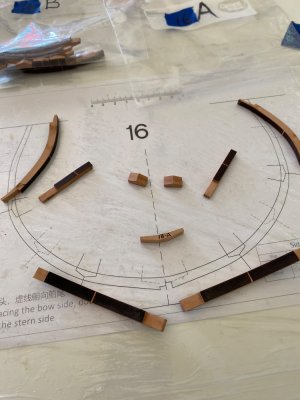
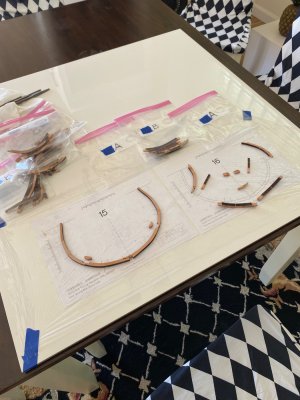
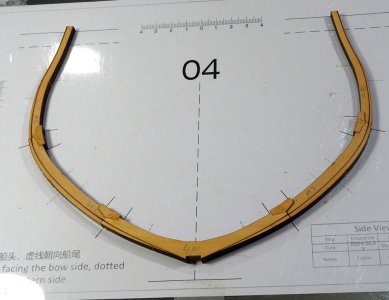
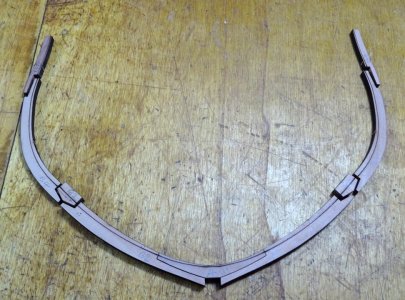
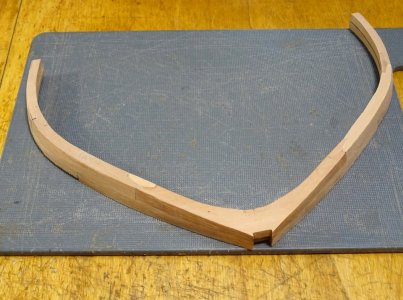
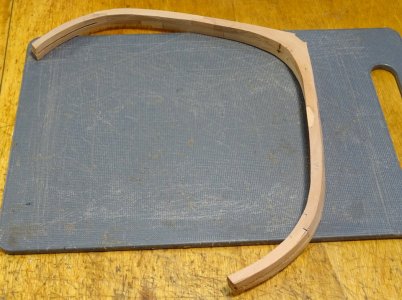
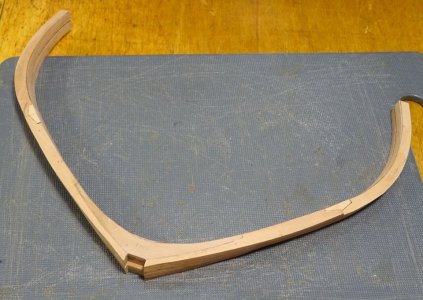
Because I’ll be heading back to Michigan in about ten days and I wanted to keep working on my kit I opted to not built the assembly mold at this time. Instead I’ve built my keel assembly then jumped to making frames starting with #01. The hard part was jumping in with that first frame; filing all glueable joints and chocks clean of burn, then figuring out how I was going to lay the pieces out to accurately make up the frame. First I went to Home Depot and bought a 3’ square glazed tile to work on. Then I spread a piece of plastic cling wrap across the bottom third of the tile. With that setup I could slip each of the frame prints under the film then lay out my frame pieces directly on the drawing. I’ve been using carpenters wood glue for the glue up. After applying glue to each piece and waiting for a couple of minutes I used finger pressure to squeeze the joints together making sure my frame pieces were directly over the drawing outline. After a half hour or so I could remove the frame and set it aside to cure and start another. After a few like this I started building two at a time. Now, I can clean up the joints on one set (2 frames, A and B sides) in about 35 minutes and I can glue up two frames in 15 minutes and in 45 minutes start the glue up process again.

This way when I go North I’ll be ready to sand frames to the lines in my wood shop. Right now after 5 days I have 18 frame sets finished and should have the 37 done by next week.

IMG_1431.jpeg

IMG_1432.jpeg

IMG_1433.jpeg

IMG_1434.jpeg
 
Because I’ll be heading back to Michigan in about ten days and I wanted to keep working on my kit I opted to not built the assembly mold at this time. Instead I’ve built my keel assembly then jumped to making frames starting with #01. The hard part was jumping in with that first frame; filing all glueable joints and chocks clean of burn, then figuring out how I was going to lay the pieces out to accurately make up the frame. First I went to Home Depot and bought a 3’ square glazed tile to work on. Then I spread a piece of plastic cling wrap across the bottom third of the tile. With that setup I could slip each of the frame prints under the film then lay out my frame pieces directly on the drawing. I’ve been using carpenters wood glue for the glue up. After applying glue to each piece and waiting for a couple of minutes I used finger pressure to squeeze the joints together making sure my frame pieces were directly over the drawing outline. After a half hour or so I could remove the frame and set it aside to cure and start another. After a few like this I started building two at a time. Now, I can clean up the joints on one set (2 frames, A and B sides) in about 35 minutes and I can glue up two frames in 15 minutes and in 45 minutes start the glue up process again.

This way when I go North I’ll be ready to sand frames to the lines in my wood shop. Right now after 5 days I have 18 frame sets finished and should have the 37 done by next week.

View attachment 515473

View attachment 515474

View attachment 515475

View attachment 515476
Hi Geno, just for information, these are two frames and not one.Frank

IMG_1432.jpeg
 
Back
Top