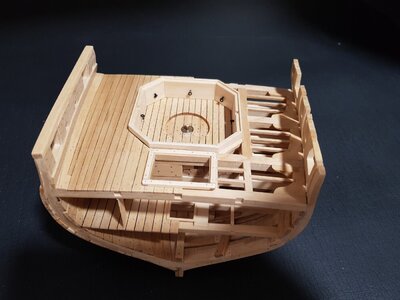
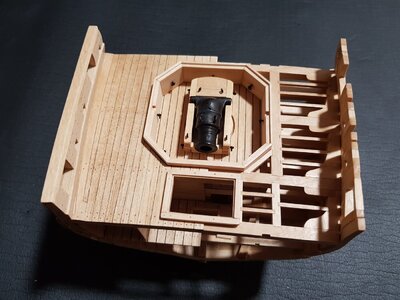
-

Win a Free Custom Engraved Brass Coin!!!
As a way to introduce our brass coins to the community, we will raffle off a free coin during the month of August. Follow link ABOVE for instructions for entering.
-

PRE-ORDER SHIPS IN SCALE TODAY!
The beloved Ships in Scale Magazine is back and charting a new course for 2026!
Discover new skills, new techniques, and new inspirations in every issue.
NOTE THAT OUR FIRST ISSUE WILL BE JAN/FEB 2026
You are using an out of date browser. It may not display this or other websites correctly.
You should upgrade or use an alternative browser.
You should upgrade or use an alternative browser.
HMS GRANADO (1742) - section - POF by CAF in 1:48 [COMPLETED BUILD]
We will
Looking very good 
Will you also install the side walls of the ammunition magazin?

Will you also install the side walls of the ammunition magazin?
I am only instaling one side wall. My plan is starboard full build and the portboard with open framing.
For me is the fore platform empty. According of the anatomy of the ship book I would like try to create on the fore platform the carpenter cabin and the coal hole.
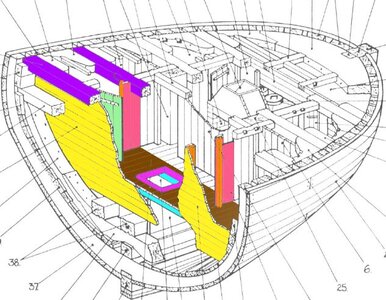
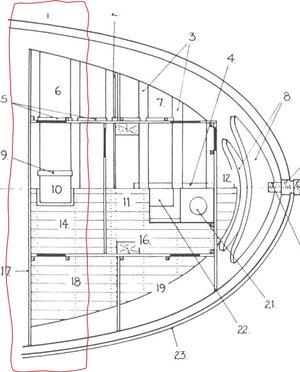
To compare there is a small wall closing the shell room. I have already tried to open it.
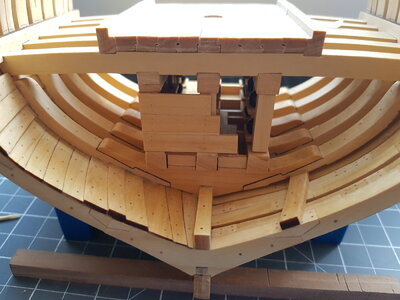
And after modification
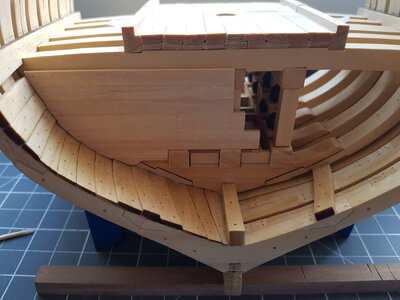
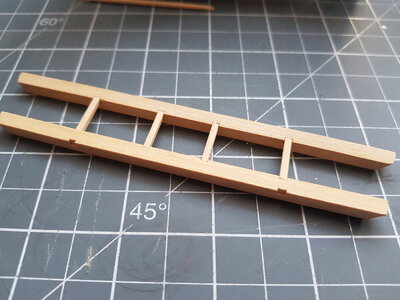
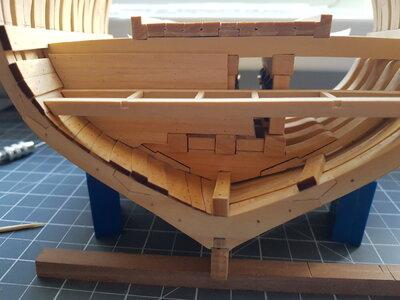
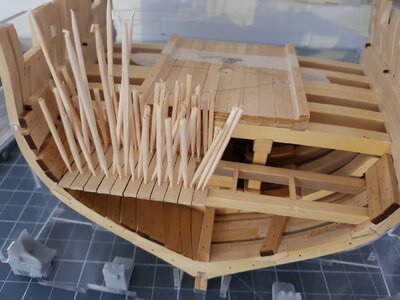
It is not easy, because there is no wood for all additional parts in the kit and I don have anything similar. Therefore I try to use everything I can find in the box of kit.
For me is the fore platform empty. According of the anatomy of the ship book I would like try to create on the fore platform the carpenter cabin and the coal hole.


To compare there is a small wall closing the shell room. I have already tried to open it.

And after modification


It is not easy, because there is no wood for all additional parts in the kit and I don have anything similar. Therefore I try to use everything I can find in the box of kit.
Yes - I saw this wall (yellow marked) also in the Anatomy book
Very fgood progress -> and it is looking very good
Very fgood progress -> and it is looking very good
Shame to read you almost aren't having enough wood.. it really looks greatI am only instaling one side wall. My plan is starboard full build and the portboard with open framing.
For me is the fore platform empty. According of the anatomy of the ship book I would like try to create on the fore platform the carpenter cabin and the coal hole.
View attachment 277069 View attachment 277070
To compare there is a small wall closing the shell room. I have already tried to open it.
View attachment 277071
And after modification
View attachment 277076 View attachment 277073
View attachment 277077 View attachment 277078
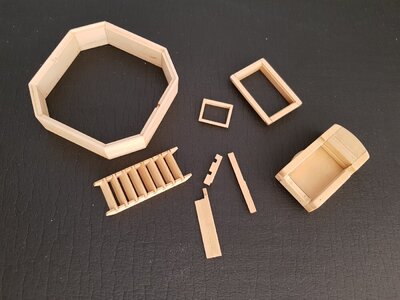
It is not easy, because there is no wood for all additional parts in the kit and I don have anything similar. Therefore I try to use everything I can find in the box of kit.
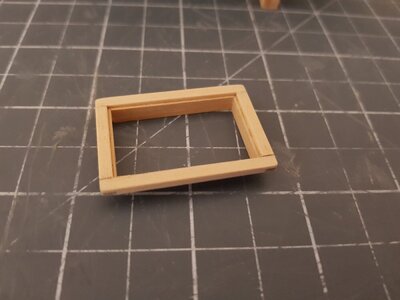
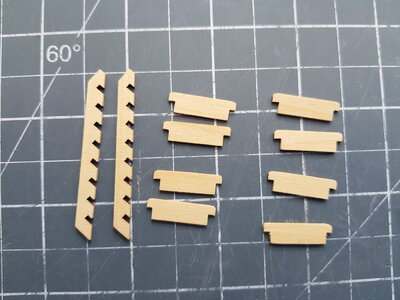
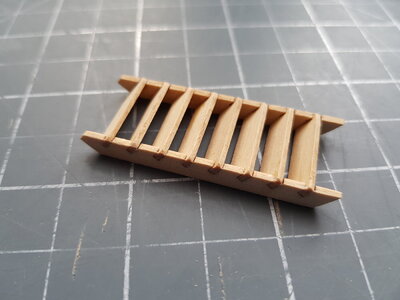
Small hatch to coal hole
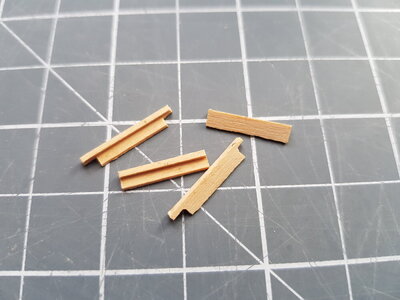

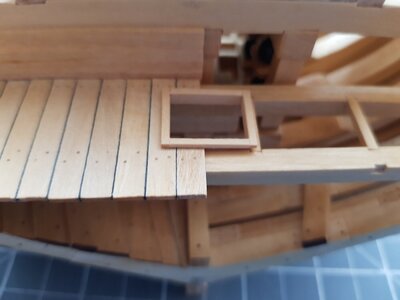
1st mortar pit planking
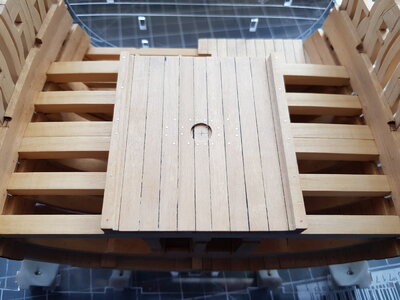
2nd planking
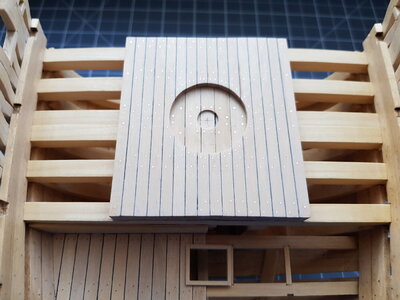
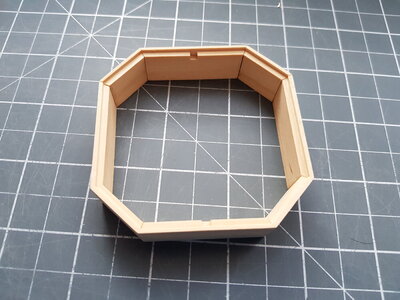
Mortar pit bulkhead. it was necessary to bevel the edges according to instruction and build small jig for gluing.
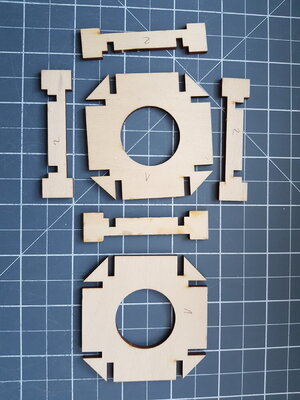
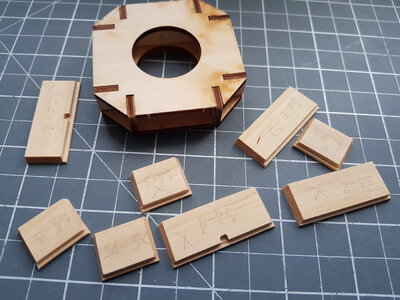
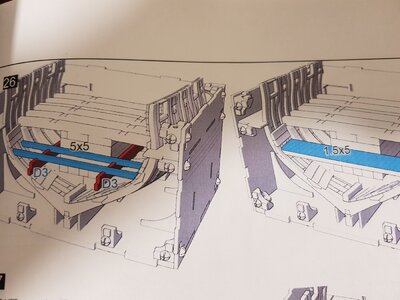
To avoid unnecessary surprises during assembly. I prepared the deck beams and heavy longitudal carlings. No adjustment was required the mortar pit bulkhead fit exactly into space in deck beams. All dry fitted.
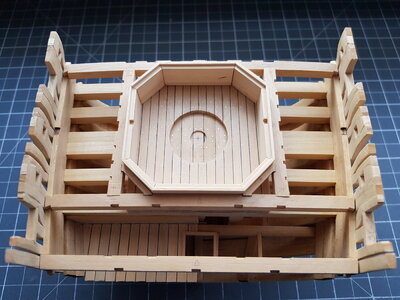


1st mortar pit planking

2nd planking

Mortar pit bulkhead. it was necessary to bevel the edges according to instruction and build small jig for gluing.


To avoid unnecessary surprises during assembly. I prepared the deck beams and heavy longitudal carlings. No adjustment was required the mortar pit bulkhead fit exactly into space in deck beams. All dry fitted.

I colsed the wall in carpenter cabin
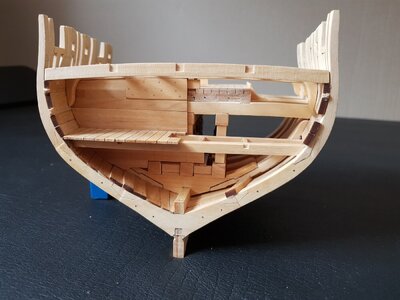
As I worked on the lodging knees. They need some beveling to fit on the frame. I finished the last piece, it fit very well. But I found out that it was the wrong place. I had to cut off part of the part, glue a new peace of wood and shape it as was before beveling.
It looks as nothing happened.
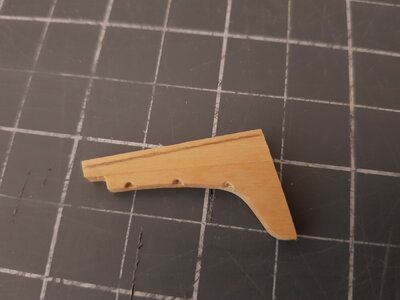
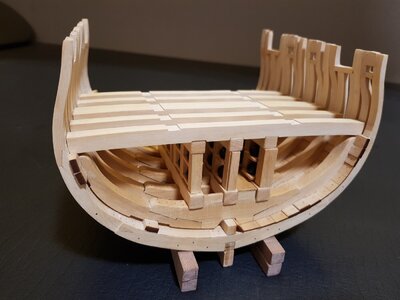
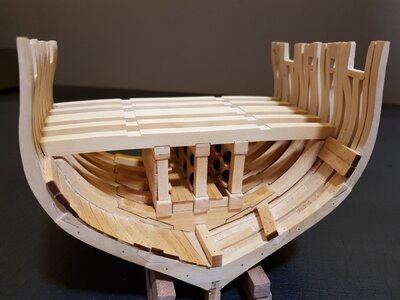
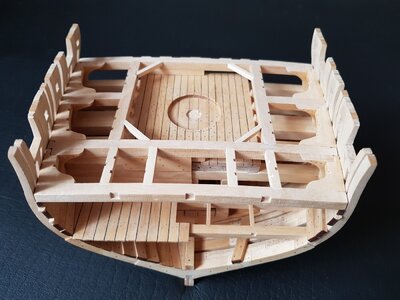
All the Lodging knees and Hanging knees are on pace. I also added the small mortar pit supportstandarts
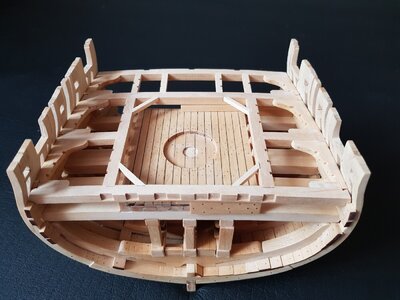
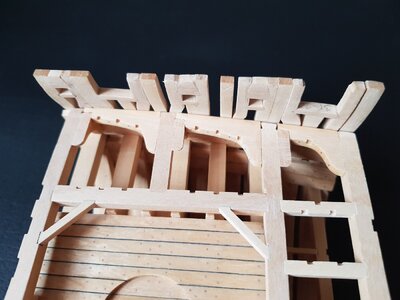

As I worked on the lodging knees. They need some beveling to fit on the frame. I finished the last piece, it fit very well. But I found out that it was the wrong place. I had to cut off part of the part, glue a new peace of wood and shape it as was before beveling.
It looks as nothing happened.

All the Lodging knees and Hanging knees are on pace. I also added the small mortar pit supportstandarts


Last edited:
Very good progress and work - I am very happy to what is still in front of me - you are a good teacher my friend!
Looking very good - clean and accurate -> well done
Next step - deck planking
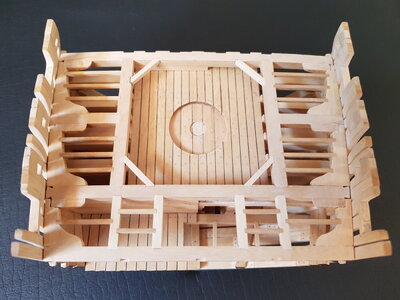
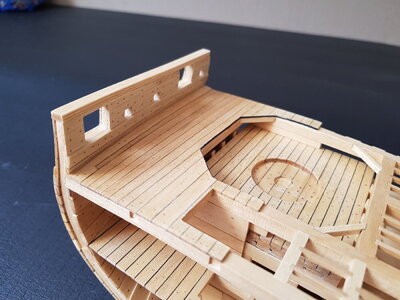
The deck plank follow the shape of the hull and have different width. It is necessary to mark them well.
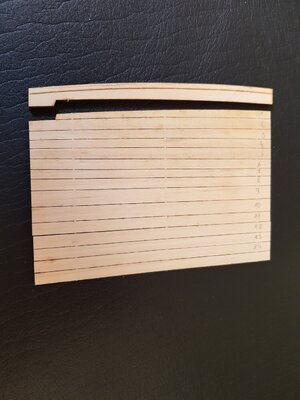
According to the instructions, part 2B-1 needs to be bevelled to the deck plank and to the spirketting plank 2B-6. The 2B-6 must also be beveled.
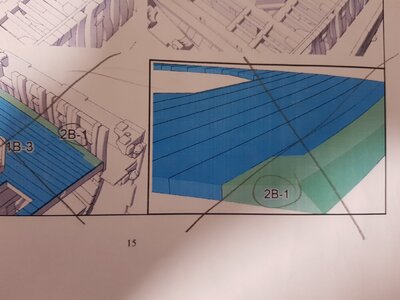
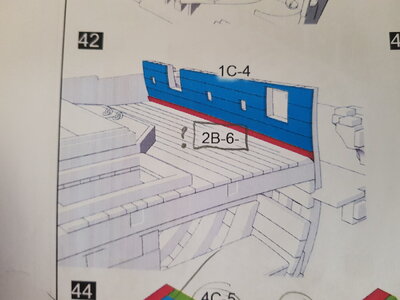
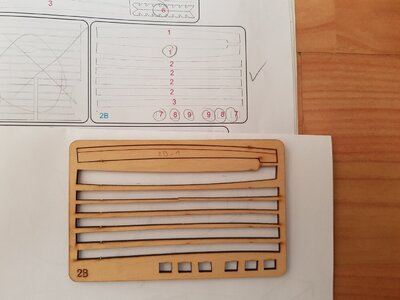
Before I start planking I wanted to add the chamfers to 2B-1 and 2B-6. This is where my trouble started on sheet 2B, there is no part 2B-6. Maybe there is a typo in the instructions so I searched all the parts in kit but there is no part similar to the missing 2B-6.
I have to thank the great support from Uwe and Tom @CAFmodel. Tom sends us a drawing how to convert the 2B-1 parts into missing 2B-6. There are two waterway planks in the kit, for both sides.
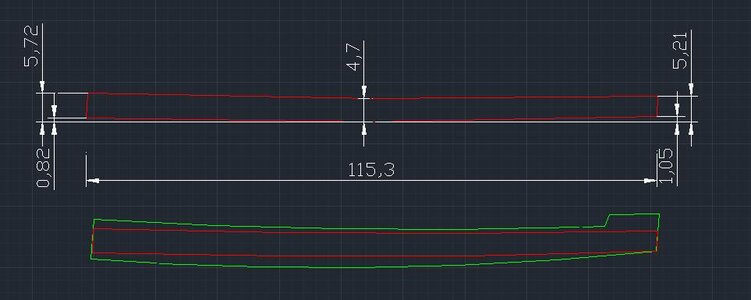
source: Tom @CAFmodel
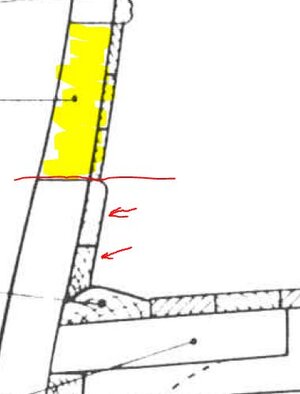
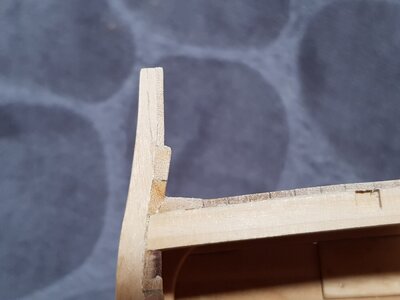
I made two planks. One following Tom's instruction and one made from some spare wood fom the kit. I saw in the AoS book that the spirketting plank goes up to the bottom edge of gun port .
I have finnished the inner palnking above deck as well. Balck pencil was used to simulate caulking.
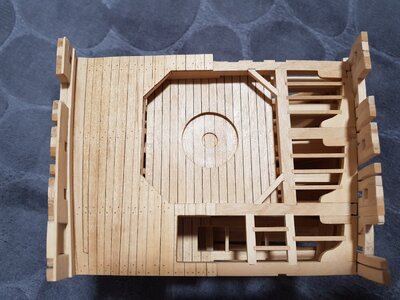
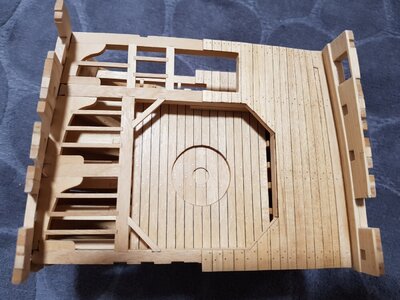
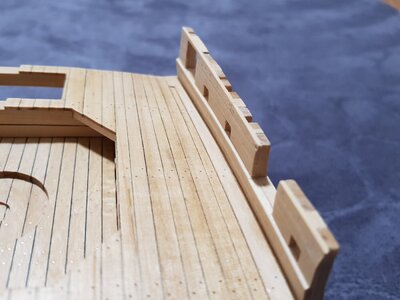
The deck plank follow the shape of the hull and have different width. It is necessary to mark them well.

According to the instructions, part 2B-1 needs to be bevelled to the deck plank and to the spirketting plank 2B-6. The 2B-6 must also be beveled.


Before I start planking I wanted to add the chamfers to 2B-1 and 2B-6. This is where my trouble started on sheet 2B, there is no part 2B-6. Maybe there is a typo in the instructions so I searched all the parts in kit but there is no part similar to the missing 2B-6.

I have to thank the great support from Uwe and Tom @CAFmodel. Tom sends us a drawing how to convert the 2B-1 parts into missing 2B-6. There are two waterway planks in the kit, for both sides.

source: Tom @CAFmodel
I made two planks. One following Tom's instruction and one made from some spare wood fom the kit. I saw in the AoS book that the spirketting plank goes up to the bottom edge of gun port .

I have finnished the inner palnking above deck as well. Balck pencil was used to simulate caulking.


Kurt Konrath
Kurt Konrath
Tom has always been a great help on their kits.
Your work is great, and when I build my kit, I will be reviewing your build log again to keep issues fresh in my mind.
Your work is great, and when I build my kit, I will be reviewing your build log again to keep issues fresh in my mind.
Very good work with the waterway and spirketting plank -> 
I am happy, that it was working like we discussed - super

I am happy, that it was working like we discussed - super
Next puzzle
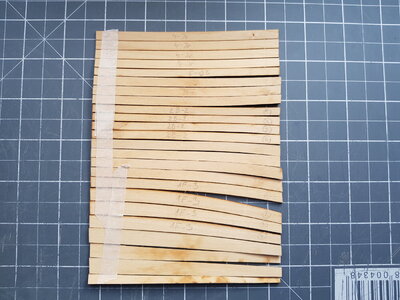
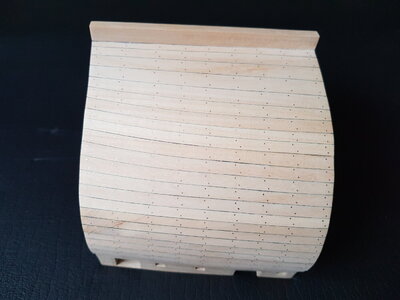
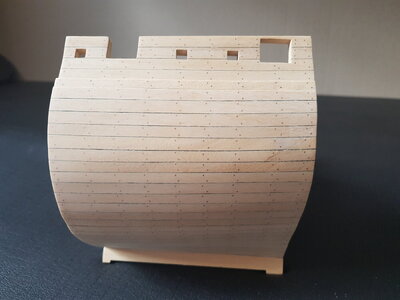
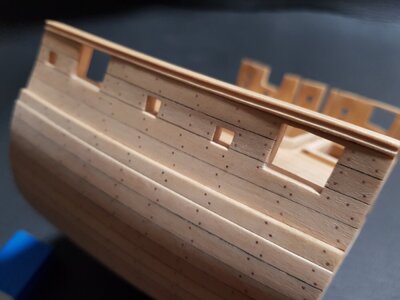
There is mistake in instruction. For the outer plank use 3C-11 instead of 3C-12. The 3C-12 are the planksheer.
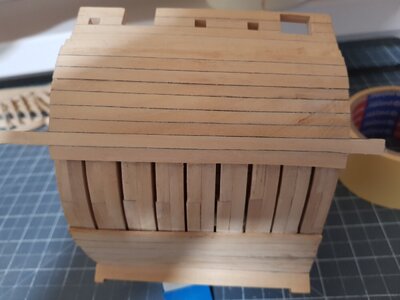
I started to install the planks from top and from bottom. Later I figuret out, that there will be a gap.

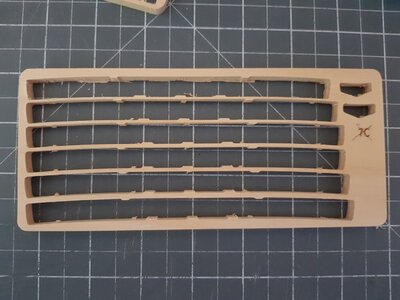
As I look in the box, there are several replacement boards, see sheet 7A.
The middle parts that remained after removing the beams are perfect. They need small cleaning.

There is mistake in instruction. For the outer plank use 3C-11 instead of 3C-12. The 3C-12 are the planksheer.
I started to install the planks from top and from bottom. Later I figuret out, that there will be a gap.

As I look in the box, there are several replacement boards, see sheet 7A.
The middle parts that remained after removing the beams are perfect. They need small cleaning.


Last edited:
Oh - you are already making the outer planking !!!
Many Thanks for giving the hint with the planking - after smooth sanding your caulking will look very good - also with "black pencil" made?
Many Thanks for giving the hint with the planking - after smooth sanding your caulking will look very good - also with "black pencil" made?
My friend, that is very good and accurate work - Bravo
I hope to get 50% of your accieved quality on my planking ......
I hope to get 50% of your accieved quality on my planking ......


