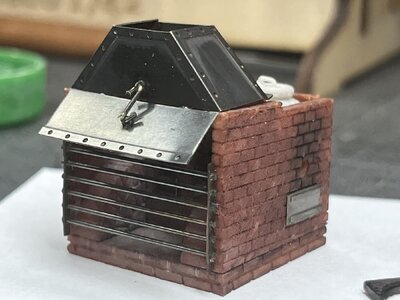
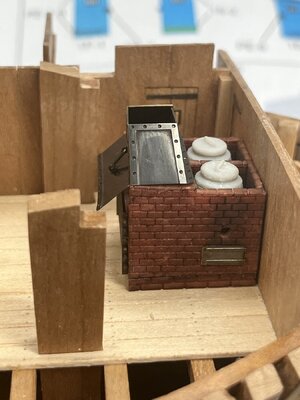
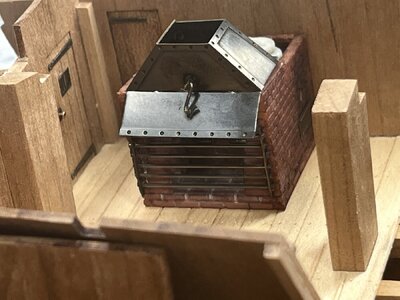
HMS GRANADO - full hull - POF kit by CAF in 1:48 - by Uwe

Hallo,
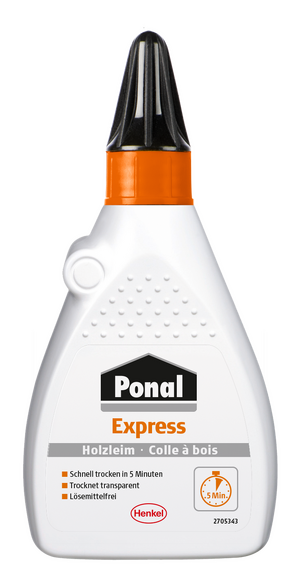
I am using this waterbased wood glue Ponal Express because of several reasons
1) good quality glue and available here (Austria and Germany) in every hardwareshop - one bottle with (I think 400 or 500 ml) for appr. 5 Euros - enough for one year of intensive glueing
2) strong bound / strength after some minutes
3) hardened more or less invisible
4) with some water you can every time re-open the glue-point
60782f5303fd3.png

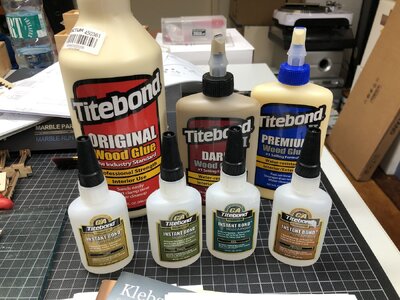
Only on some special tasks I use the superglue special for wood produced by Tidebond - the smaller bottles in the photo
the wood glue from Tidebond I tried, but I am not absolutely happy with the results
IMG-6633.jpg

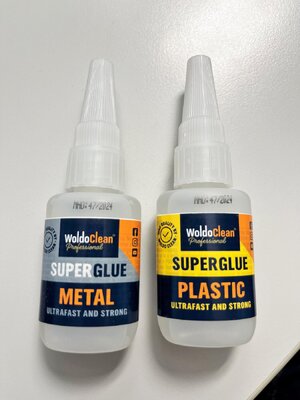
for plastic and metal parts I am using some times these glues Woldoclean (tipp by another member here)
IMG_2167.jpg
 
Many Thanks to all of your kind comments and all the likes received

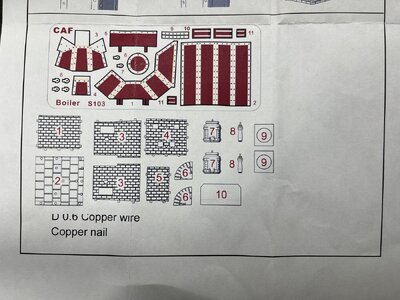
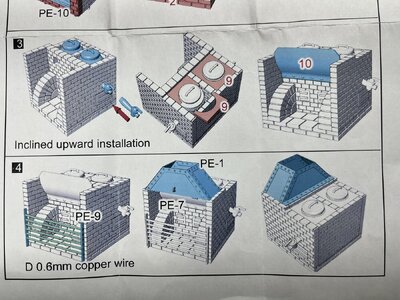
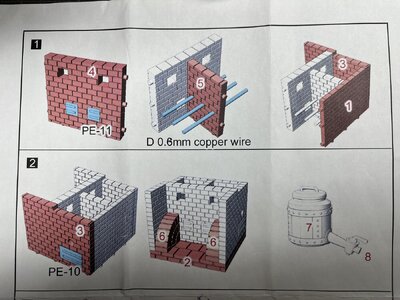
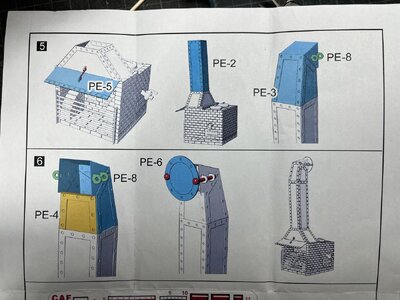
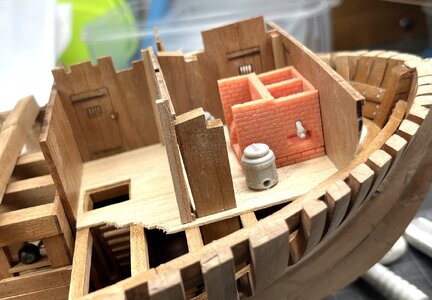
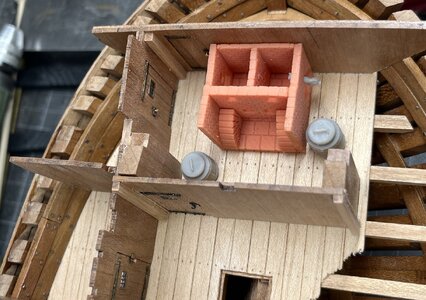
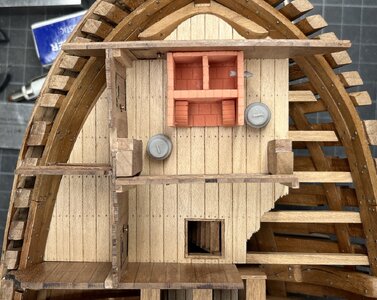
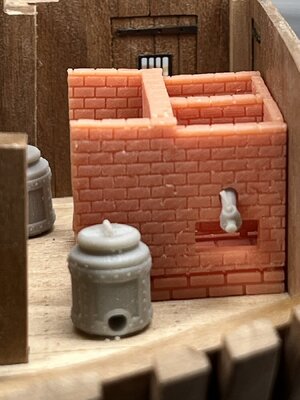
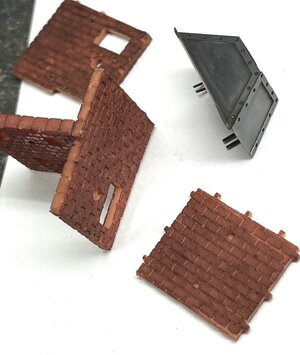
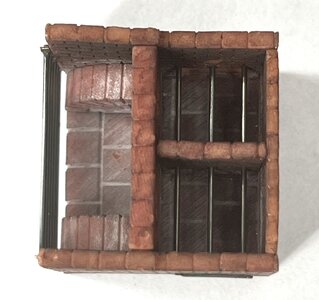
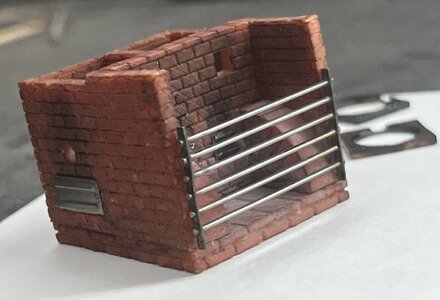
I started with the oven which is included in the kit - included are one very good photoetch-sheet and also some plastic wall elements

IMG_4410.jpg IMG_4407.jpg

IMG_4408.jpg IMG_4409.jpg

The upper part of the chimney I made already, because this will be installed at the upper part of the model

I first dryfit of the wall elements

IMG_4403.jpg

IMG_4404.jpg

IMG_4405.jpg

IMG_4406.jpg

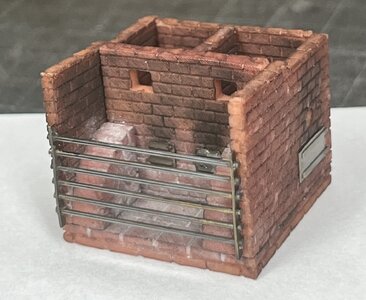
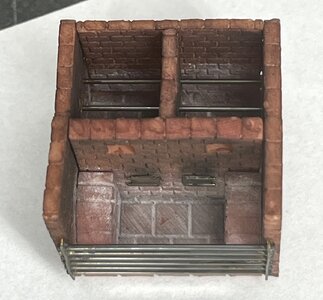
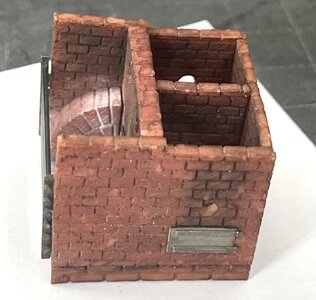
I started with some colouring of the wall elements - never did such weathering before - so I am not sure, what will be the outcome

IMG_4411.jpg

It is starting to look a little bit like bricks

Many Thanks for your interest .... to be continued ....
 
Bonjour, quelle technique avez vous employé pour vieillir le four ?

Hello, what technique did you use to age the oven?
 
Last edited by a moderator:
{Deleted} Sorry, after more research, I found your (Ewe's) clear answer. I didn't see a way to delete the post entirely.
 
Last edited:
Witaj
Piec wygląda bardzo realistycznie ,jestem ciekaw ile bochenków chleba upiekłeś Uwe . Super to zrobiłeś. Pozdrawiam Mirek

Hello
The oven looks very realistic, I wonder how many loaves of bread you baked Uwe. You did it great. Regards, Mirek
 
Last edited by a moderator:
Many Thanks to @dockattner , @Jimsky , @HughLo , @shota70 , @Don Case , @pianoforte , @Herman , @GrantTyler , @Cathber , @Signet , @Mirek , @BradNSW , @GaryA and @pingu57 for the kind words and your interest and everybody else pushing the like-button

Thanks for sharing the photos...now you have to share the secret processes you used to achieve these superb effects!!
no real secrets - to be honest -> I used what I had and it worked somehow
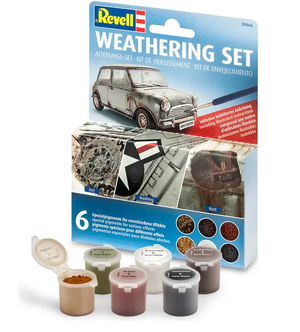
The basic "red or occre colour were the ecoline colours - and the weathering was done with a set from Revell with six different pigment powders
Screenshot 2024-04-22 155422.png
The colours included are Mud Green, Dark Brown, Rust Red, Sand Yellow, Deep Black and Snow White - so everythinmg necessary to produce a dirty and used oven
 
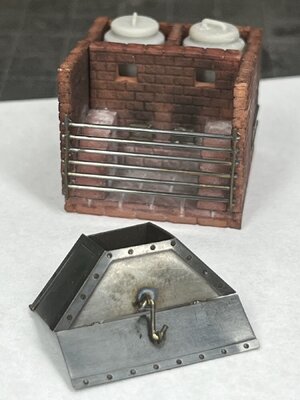
also the top of the blackened smoke chimney was done .... the final installation will be done at the end - now only the two pots have to painted with copper colour

IMG_4426.jpg

IMG_4422.jpg

IMG_4427.jpg

IMG_4428.jpg

Many Thanks for your interest .... to be continued .....
 
also the top of the blackened smoke chimney was done .... the final installation will be done at the end - now only the two pots have to painted with copper colour

View attachment 443277

View attachment 443276

View attachment 443278

View attachment 443279

Many Thanks for your interest .... to be continued .....
Such beautiful work! I believe the stove's hood and stack are made of brass; what finish did you use to get the metal/pewter finish? It works SO well here.
 
Back
Top