• "LUCZORAMA SHIPWRECK SCAVENGER HUNT GIVEAWAY RAFFLE"
    Luczorama is proud to launch a 4-week scavenger hunt giveaway packed with creativity, laughs, and nautical nonsense. Explore historic ships, solve easy clues, and have some fun with fellow builders. Complete weekly missions to earn raffle entries — the more you join in, the better your chance to win a Fram model ship by OcCre!
    **VIEW RULES HERE**

HMS Jalouse - Caldercraft by Ted

The finish of an anchor on a period ship, especially from the Age of Sail, was both functional and, at times, subtly aesthetic. Anchors were forged from wrought iron. Unpainted anchors would appear dark gray to black, with a slightly rough, hammered texture due to the forging process. Over time, they would naturally develop a protective oxide layer (black rust) that helped prevent deeper corrosion. This gave them a matte, almost soot-black appearance.
For my anchors, if they are originally made from brass, I use a BrassBlak to blacken and dry brush with graphite powder. For wood and 3D printed anchors, a mix of matte black with subtle dry brushing in gunmetal or iron gray gives a realistic iron look. A bit of brown or red ochre can hint at slight rusting, especially near seams or joints.

I think yours looks OK, but it is hard to verify colors as each monitor is calibrated differently.
Thank you. I'll give them a little dry brushing but am basically satisfied as they are
 
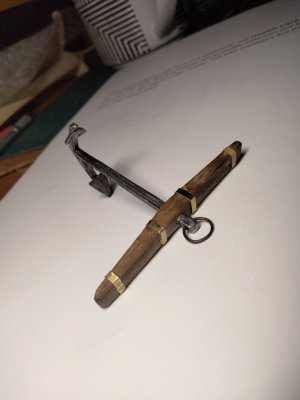
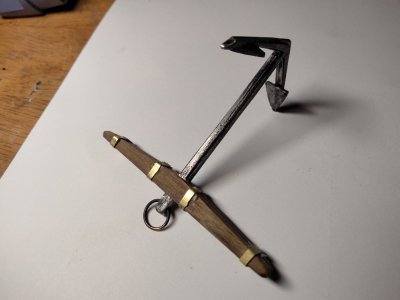
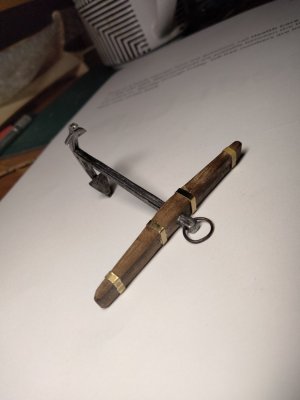
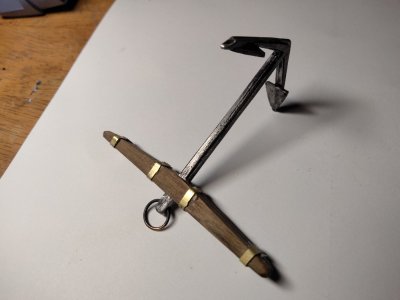
Two anchors are finished. As stated before I dry brushed the metal with flat black and stained the wood with Minwax golden pecan.
I know the brass strips are supposed to be iron oxide, and I had Intended to brass black them; however my wife is a woman who likes shiny things and has requested they remain as they are.
I have some .2mm brass strips coming from Amazon and will finish the other two anchors when it arrives.
Next are the ships boats.
BTW I think the anchors are nice and am pleased with them.
IMG20250524072524.jpgIMG20250524072506.jpg
 
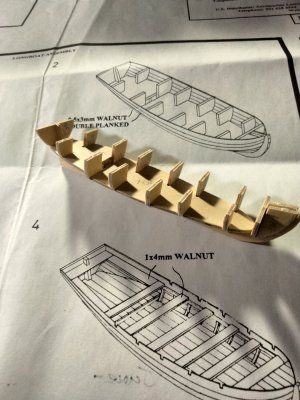
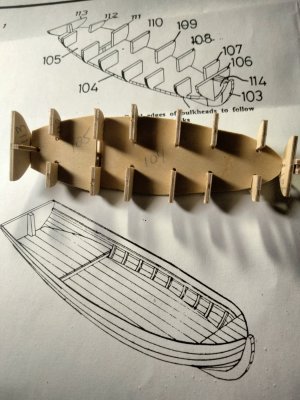
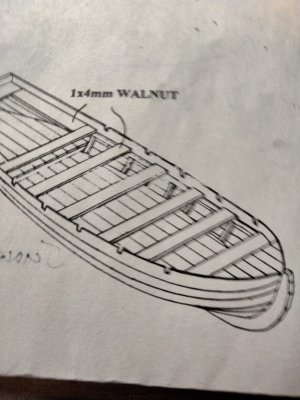
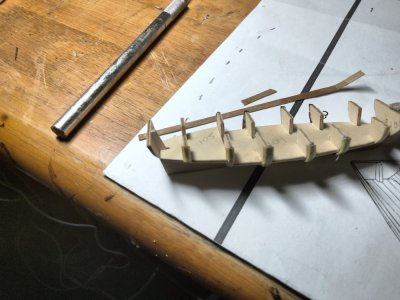
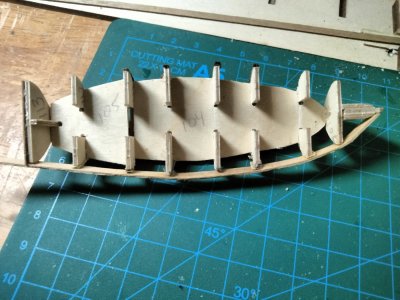
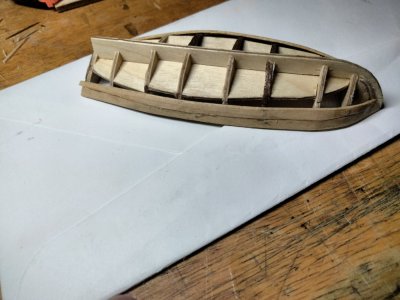
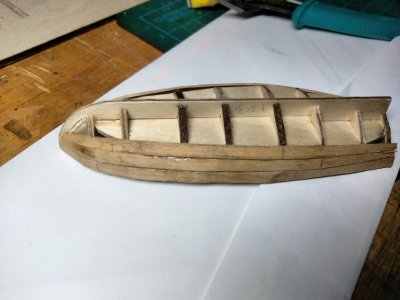
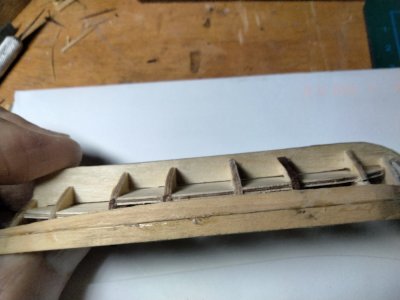
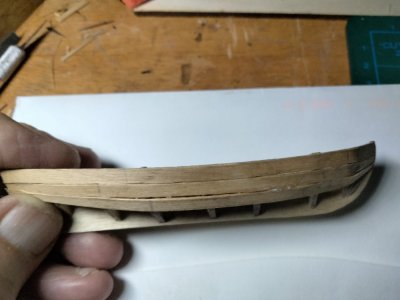
The plans sat to use 1x3mm walnut to double plank the hull of the boat. Then tear out the bulkheads above the floor level. They specifically unit to use pins.
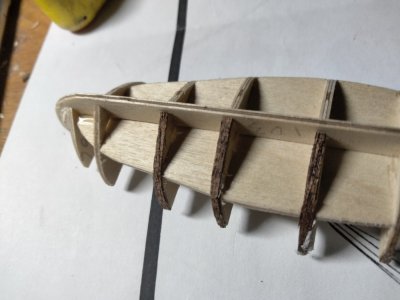
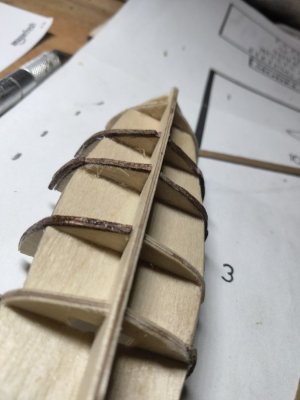
How do I keep the glue used to hold the planks in place from damaging the planks? They will only be 1mm thick when doubled. The images are top second photo is image 1. Bottom second photo is image 4. Top first photo is image 2, bottom is image 4.IMG20250525181745.jpgIMG20250525181728.jpg
 
The plans sat to use 1x3mm walnut to double plank the hull of the boat. Then tear out the bulkheads above the floor level. They specifically unit to use pins.
How do I keep the glue used to hold the planks in place from damaging the planks? They will only be 1mm thick when doubled. The images are top second photo is image 1. Bottom second photo is image 4. Top first photo is image 2, bottom is image 4.View attachment 521845View attachment 521846

I would probably cover the edges of the formers with thin strips of masking tape and don't specifically glue the planks to the formers, but only to the stem, keel, transom and each other, holding them in place, as you said, with pins (not through the planks, but along side them.) Any glue squeeze-out onto the masking tape will come right away. Pre-bending the strips as much as possible will help to keep them in place with less tendency to spring away.
 
I would probably cover the edges of the formers with thin strips of masking tape and don't specifically glue the planks to the formers, but only to the stem, keel, transom and each other, holding them in place, as you said, with pins (not through the planks, but along side them.) Any glue squeeze-out onto the masking tape will come right away. Pre-bending the strips as much as possible will help to keep them in place with less tendency to spring away.
Thanks, that seems workable.
 
Looking at the plan view of the deck it has a strange indentation, on both sides, at the third bulkhead. This indentation doesn't show on the isometric drawings.
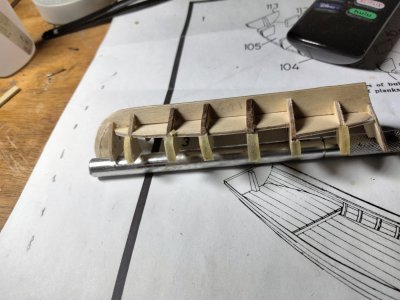
I'm going shim out the bulkheads to correct the fairing of the hull.
In many ways this'll is my most difficult build but I have been well prepared by the
Bluenose and the training I received on this site.

IMG20250526133637.jpg

IMG20250526133647.jpgIMG20250526134217.jpg
 
Shimming out the bulkheads.
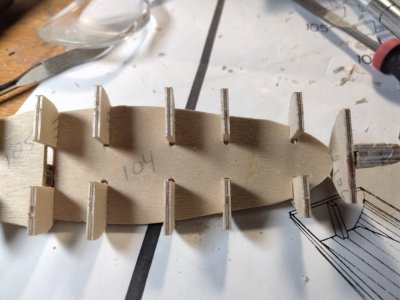
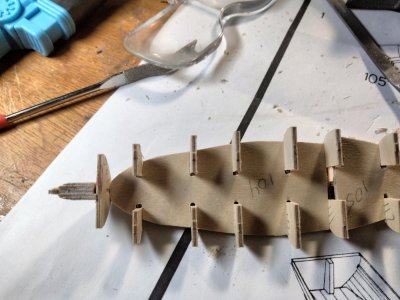
The plans said to plan.on two weeks of evenings to build the two boats. I can see why. All the bulkheads were installed squarely and to the false deck perfectly but the sides of the bulkhead formers are not symmetrical. It's nice practice but fiddly being so small.IMG20250526161029.jpg
 
I went back and added some bottom rail to the doors of the cabin. It looks more like a real door.
Finished the capstain.
I've been trying to use Humbrol cleas satin varnish but have been getting blushing when it dries. I remember having this problem in my youth on my models airplanes. That was in Texas with high humidity. I now live in the San Fernando valley of the Los Angeles basin. It's a desert! I'm a little confused on preventing the blushing.View attachment 521261View attachment 521262
I do not know if it would help, but perhaps using some sanding sealer before the paint would prevent the blushing?
Rob
 
If that doesn't work try heavy coat of wax on the edge of frames, also have the bulkhead frames been scored horizontally to all them to snap cleanly when ready.

Just a thought.
Whoa, that piece of advice came just in time. That hadn't occurred to me. I'll do that before I proceed. I've been dreading the bulkhead removal but with your trick it shouldn't be tool bad.
I tried gluing the first plank at the bow without pre bending the planks and the masking tape didn't hold it. I went the plank and put on a couple of clamps to hold it on place until it dried. Of course it broke the plank.
This little saw from Amazon will fit nicely between the bulkheads to score them.IMG20250528160402.jpg17484739073812656517918280101935.jpg
 
Back
Top