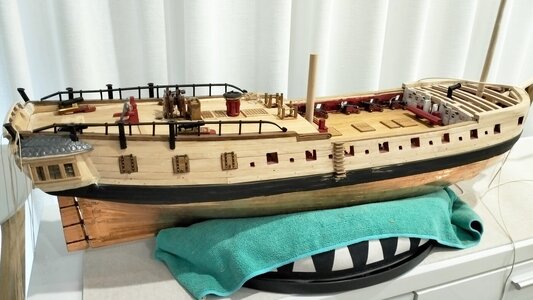
HMS Medea (28) (1778) 1/48 scratch build

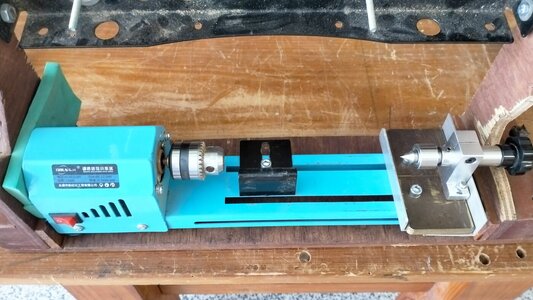
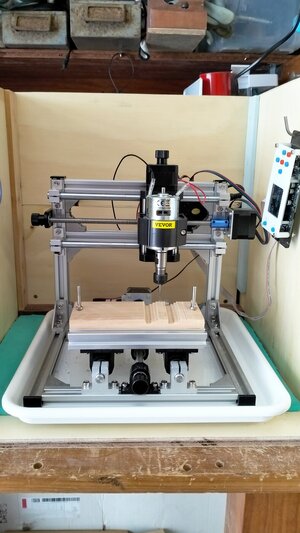
My very supportive wife bought me this CNC engraver/router for Xmas. It arrived early and I assembled it and have played with it for almost a month now.
IMG20240104143330.jpg

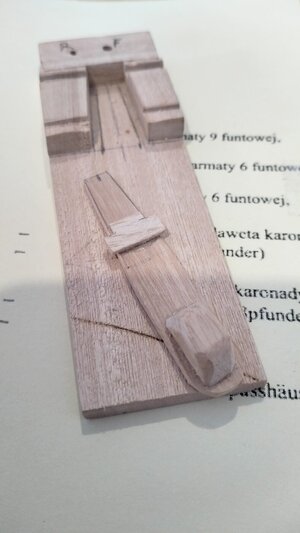
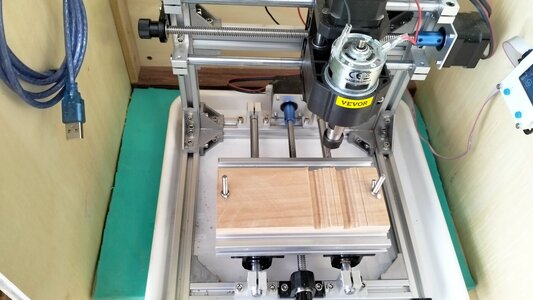
It's a big learning curve but I can manage to drive it manually so I went ahead and cut out the trucks for the 9pdr cannons for the waist of the ship.
IMG20240104143407.jpg

It's a basic machine but more sturdy than the Dremel drill press I used for the first set of trucks many months ago.
Once I learn more about G coding I might be able to carve the stern and stem decorations but at the moment I'm happy with just using the remote control for straight cuts.
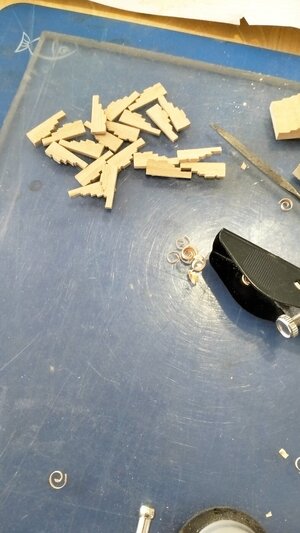
IMG20240105090647.jpg
I've since been working on the 9pdr guns to complete the gun deck in the waist.
 
A bit more catch-up with the build.
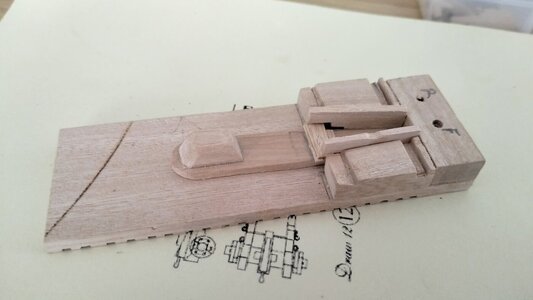
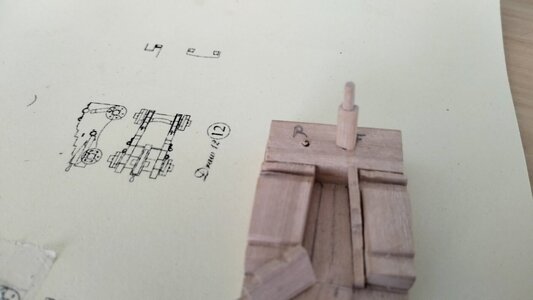
I made this aid months ago on a pattern I saw here on SOS. I've modified it since to help do the job with more precision.
IMG20240108121157.jpg

It works either way to hold the trucks upright or inverted, depending on what I am fitting.

IMG20240111121020.jpg

The two holes are to size the front and rear axles.
IMG20240111120037.jpg

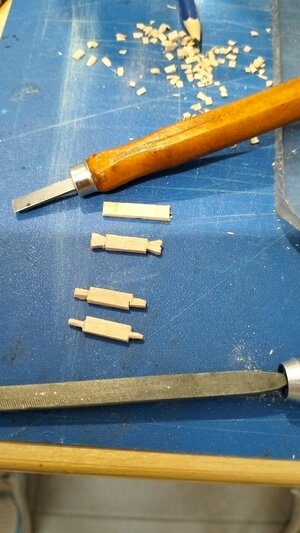
The axles are made by hand with chisel and file.

IMG20240107173312.jpg

Next, the front wheels...
 
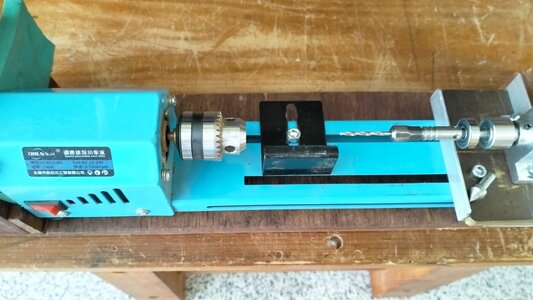
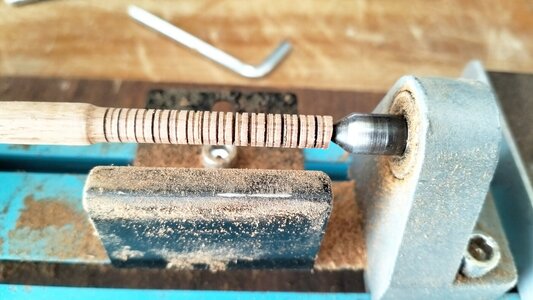
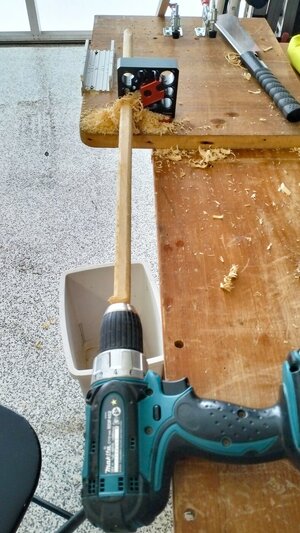
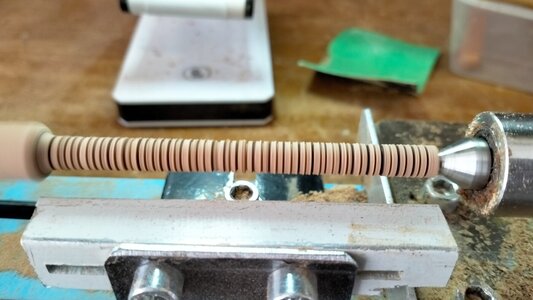
My cheap little lathe does an acceptable job turning the wheels but drilling out the centres was always problematic. I could not get the parts perfectly vertical in the drill press and wasted time and timber trying.

IMG20240111115252.jpg

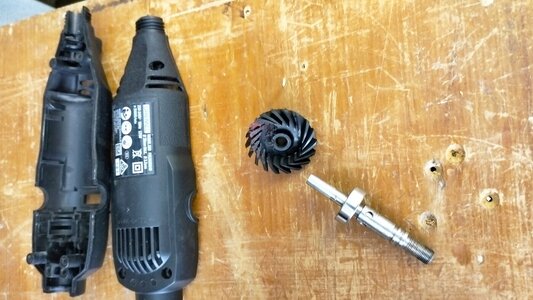
After turning the workshop upside down trying to find a suitable chuck for the tail piece I settled on an old burnt out Dremel which I had "kept for parts".

IMG20240111115306.jpg

After cutting away the nylon cog I filed and sanded 0.4mm off the end diameter and inserted it into the tail piece where the live centre had been. A standard Dremel collet could then be used and it drilled dead centre through the stock. I had to lock the old Dremel part to stop it spinning but that was easy and I'm happy that I could solve the problem.

IMG20240111115452.jpg

Once again, needs must.

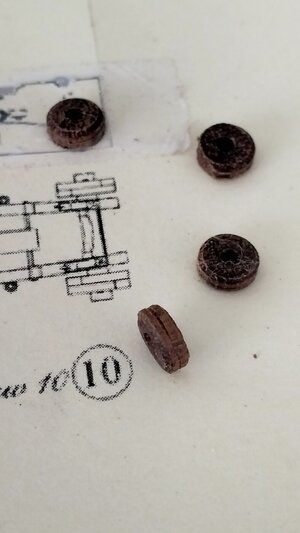
These wheels haven't been sanded yet. They are Black Wattle, once again from our old farm.

IMG20240111115909.jpg

The build log is up to date now and I have to go back and finish all the cannons and install them before I can continue with the build.
 
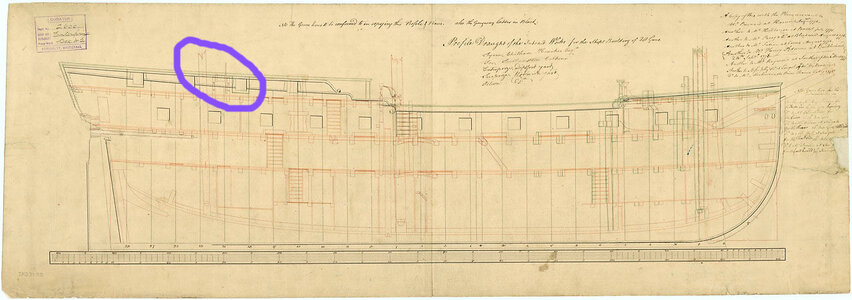
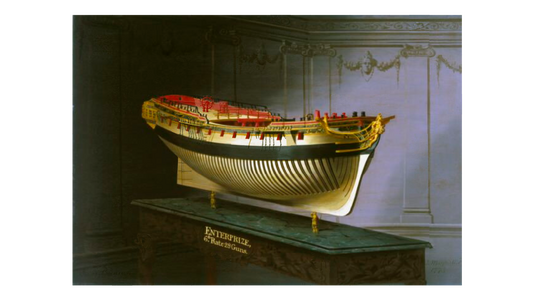
A very interesting video came up today https://shipsofscale.com/sosforums/...ip-archaeologist-youtube-channel.11881/page-4 regarding ship's wheels which caused me to go back over the NMM plans for my Medea scratch build and the photo of a contemporary painting of the sister ship Enterprise.

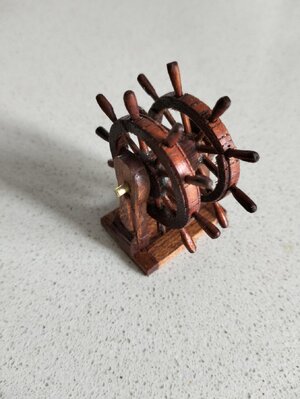
After having made 7 attempts before getting my double wheel right, I find that, indeed, Medea and the Enterprise class ships only had single wheels. I think we all got sucked in by the CAF model and other kits which provided double wheels.

Single_wheel.jpg
canvas.png
IMG20230102140121.jpg
So now I have to make the hard decision - will I replace the double wheel (above) with a single one for accuracy or leave the double one because it was one of the most difficult parts of the model so far to build? (I know the answer.....I will take another hundred photos of the double one and then remove the rear wheel and spokes). :( Cautiouso_O
 
My cheap little lathe does an acceptable job turning the wheels but drilling out the centres was always problematic. I could not get the parts perfectly vertical in the drill press and wasted time and timber trying.

View attachment 420629

After turning the workshop upside down trying to find a suitable chuck for the tail piece I settled on an old burnt out Dremel which I had "kept for parts".

View attachment 420631

After cutting away the nylon cog I filed and sanded 0.4mm off the end diameter and inserted it into the tail piece where the live centre had been. A standard Dremel collet could then be used and it drilled dead centre through the stock. I had to lock the old Dremel part to stop it spinning but that was easy and I'm happy that I could solve the problem.

View attachment 420634

Once again, needs must.

These wheels haven't been sanded yet. They are Black Wattle, once again from our old farm.

View attachment 420636

The build log is up to date now and I have to go back and finish all the cannons and install them before I can continue with the build.
Engineoous solution, Ian. As you may know, I came from the USSR, at that time, finding a tool for a given solution was like mining gold. To acquire a mechanical tool was a dream. Therefore we (scale models) make our tools from all possible electric devices. Your solution reminds me of that time.
 
A very interesting video came up today https://shipsofscale.com/sosforums/...ip-archaeologist-youtube-channel.11881/page-4 regarding ship's wheels which caused me to go back over the NMM plans for my Medea scratch build and the photo of a contemporary painting of the sister ship Enterprise.

After having made 7 attempts before getting my double wheel right, I find that, indeed, Medea and the Enterprise class ships only had single wheels. I think we all got sucked in by the CAF model and other kits which provided double wheels.

View attachment 428866
View attachment 428867
View attachment 428868
So now I have to make the hard decision - will I replace the double wheel (above) with a single one for accuracy or leave the double one because it was one of the most difficult parts of the model so far to build? (I know the answer.....I will take another hundred photos of the double one and then remove the rear wheel and spokes). :( Cautiouso_O
I like the double wheel, it looks excellent
 
Very ingenious build. I love the use of the odd material ie: keys. She bracket pins etc
Do you like using the CNC? Tell us about it?
 
Engineoous solution, Ian. As you may know, I came from the USSR, at that time, finding a tool for a given solution was like mining gold. To acquire a mechanical tool was a dream. Therefore we (scale models) make our tools from all possible electric devices. Your solution reminds me of that time.
Having a small farm with small income for 40 years made innovation a part of everyday life for me. It was so hard to get rid of so many bits and pieces when we had to downsize in 2019 but I still only have room for one car in a two car garage!! ;)
The USSR must have been a difficult place to live from what I have read.
 
Very ingenious build. I love the use of the odd material ie: keys. She bracket pins etc
Do you like using the CNC? Tell us about it?
I haven't done much with it yet. It is probably under powered but I'm sure as I develop more skill it will be very useful. At the moment I'm making rope and lashing guns to the bulwarks....Slow painful work with my clumsy hands...
 
Having a small farm with small income for 40 years made innovation a part of everyday life for me. It was so hard to get rid of so many bits and pieces when we had to downsize in 2019 but I still only have room for one car in a two car garage!! ;)
The USSR must have been a difficult place to live from what I have read.
Some people had a very wealthy life, they were rich. But the majority (working class) were average to poor and lived from one paycheck to the next, with a car (even a garage) as the lifetime dream. BTW, you cannot own a garage if you don't possess the car. ;)
 
A very interesting video came up today https://shipsofscale.com/sosforums/...ip-archaeologist-youtube-channel.11881/page-4 regarding ship's wheels which caused me to go back over the NMM plans for my Medea scratch build and the photo of a contemporary painting of the sister ship Enterprise.

After having made 7 attempts before getting my double wheel right, I find that, indeed, Medea and the Enterprise class ships only had single wheels. I think we all got sucked in by the CAF model and other kits which provided double wheels.

View attachment 428866
View attachment 428867
View attachment 428868
So now I have to make the hard decision - will I replace the double wheel (above) with a single one for accuracy or leave the double one because it was one of the most difficult parts of the model so far to build? (I know the answer.....I will take another hundred photos of the double one and then remove the rear wheel and spokes). :( Cautiouso_O
How I understand you!
My "shipmodeler's nightmare" (in the form of my husband who is a ship archeologist) very often forces me to make such difficult decisions. Of course, all decisions are in favor of historical accuracy))))
 
I've been like a dog with fleas lately, jumping from one thing to another.

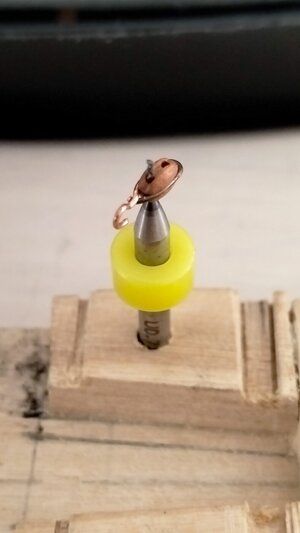
I made up a set of 4mm blocks for the guns early in February. I found a broken .7mm drill bit handy to hold them while I fashioned the wire hooks.
IMG20240119152832.jpg

I've started lashing the guns to the sides after I made a quantity of .4mm rope. I find this very fiddly work and had to take time out regularly.
I'm not happy with my first attempts so will replace them when I get better at it.

IMG20240220124758.jpg

I also spent time on the mini lathe completing the wheels for the cannons.

img20240131102953-jpg.431593
IMG20240131090846.jpg


More to come...
 
Last edited:
Next was shaping some timber for an experiment in making dead eyes. I know I can purchase them but I have tried to make at least one or a few of each component of this scratch build to find out if I can actually do it.
IMG20240130143846.jpg
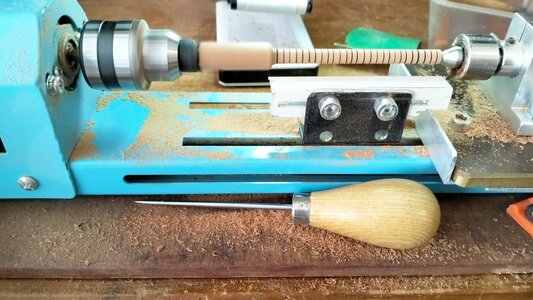
I find this gadget very efficient in reducing stock to size, before finishing with the lathe.
IMG20240213142314.jpg

I made cutters out of Stanley box cutter blades, an old needle file, tried a range of my miniature lathe chisels and finally found the most effective was an awl. Who would have thought that?

IMG20240213141958.jpg

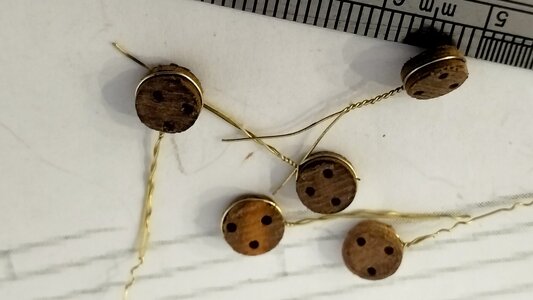
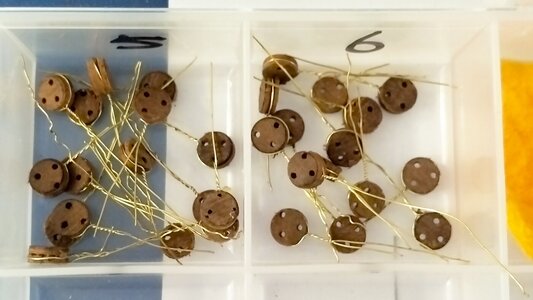
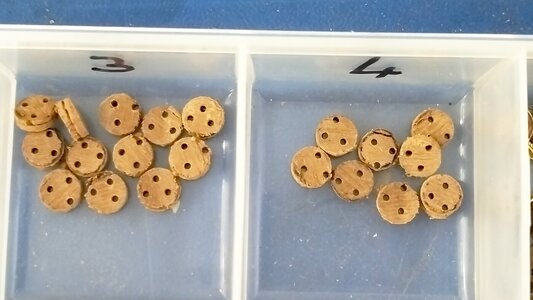
I've made about a hundred 1/4" dead eyes so far and might complete the whole lot for the ship. I tried three different timbers turning the end grain but with little success. The end result was I did them long grain and as they will be painted black I'm going to accept that. The brass wire came off a couple of whisky bottles - (I sure enjoyed collecting and saving that!)
IMG20240301140122.jpg

IMG20240301140153.jpgIMG20240301140157.jpg

With a bit of a cleanup I think they will be acceptable.

The tool I made up worked well so I will make another smaller one for the next batch.

IMG20240301152526.jpg

IMG20240301152543.jpg

More soon .....
 
Nice progress here Ian! I'm super impressed by your efforts at making some of the bits and baubles - I'm afraid I just buy stuff like that (cheating :rolleyes:).
Thanks Paul. I enjoy the challenges but my results will never be as clean and precise as yours. (Sometimes my fingers seem to remember that they used to do blacksmithing and I get very clumsy). Yours, on the other hand, are trained for fine precision and it shows up in your build every day.
We are constructing from two different perspectives and I would never knock a kit build with purchased parts. The skill sets are still the same, in my opinion.
 
The skill sets are still the same, in my opinion.
I think you're right about that. But I also believe hand-skills can be learned. If I have a secret sauce its that I can be really patient as long as I enjoy what I'm doing. But if you show me a part that needs more treenails I'll take a pass ROTF...
 
Back
Top