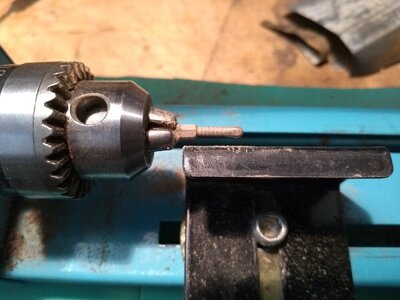
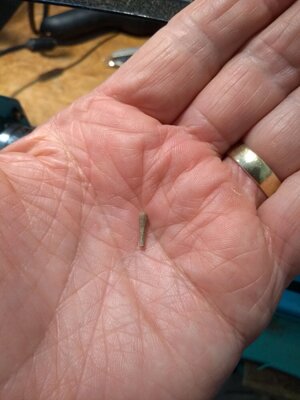
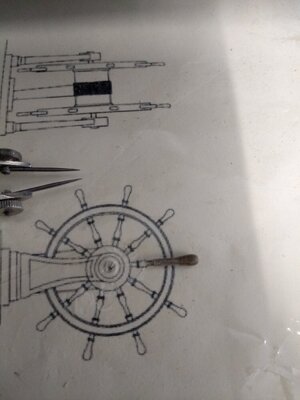
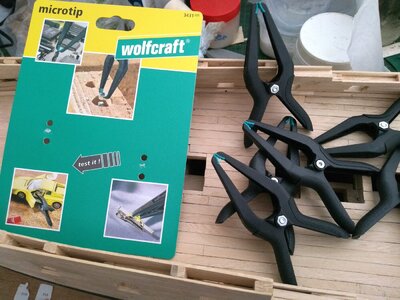
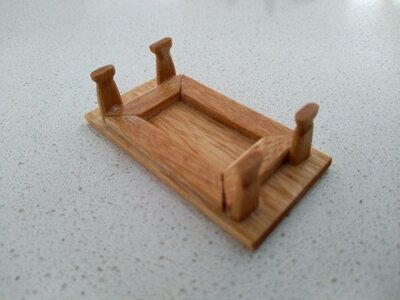
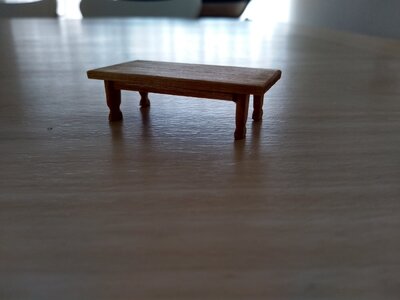
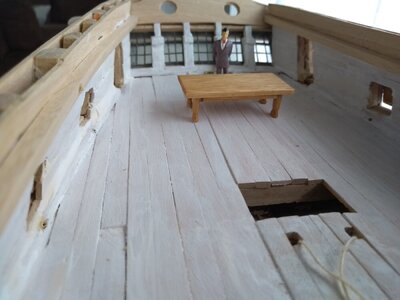
To me, this is what the scratch-build is all about! Get an idea, use the tools, materials you have, and...enjoy! Very good, Ian! I am following your build all along and really like the way you are working. 
-

Win a Free Custom Engraved Brass Coin!!!
As a way to introduce our brass coins to the community, we will raffle off a free coin during the month of August. Follow link ABOVE for instructions for entering.
-

PRE-ORDER SHIPS IN SCALE TODAY!
The beloved Ships in Scale Magazine is back and charting a new course for 2026!
Discover new skills, new techniques, and new inspirations in every issue.
NOTE THAT OUR FIRST ISSUE WILL BE JAN/FEB 2026
You are using an out of date browser. It may not display this or other websites correctly.
You should upgrade or use an alternative browser.
You should upgrade or use an alternative browser.
HMS Medea (28) (1778) 1/48 scratch build
- Thread starter Masters Mate
- Start date
- Watchers 44
Thank you Jim. It is encouragement from you and my other faithful followers that keeps me trying to get better. I have always loved to innovate and I keep discovering tools and methods I have used for something else in the past can be applied to model ship building.To me, this is what the scratch-build is all about! Get an idea, use the tools, materials you have, and...enjoy! Very good, Ian! I am following your build all along and really like the way you are working.
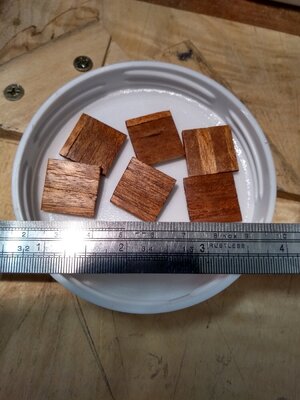
Six required gunport lids now completed.
Dry fitted. They are made from Queensland Maple (not a true maple. From the orange family - thanks Dave Stevens in post https://shipsofscale.com/sosforums/...-use-in-model-building.2047/page-5#post-37607
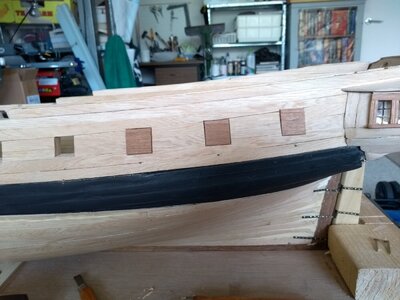
Fine sanded and finished with Super Fine steel wool (0000) and linseed oil. The lids are 3 1/2 horizontal planks high.
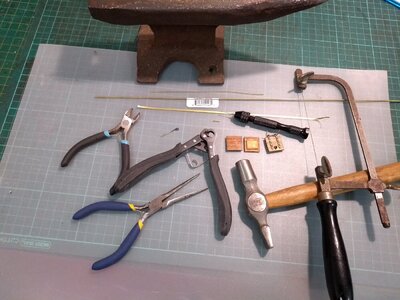
These are the components to finish them off.
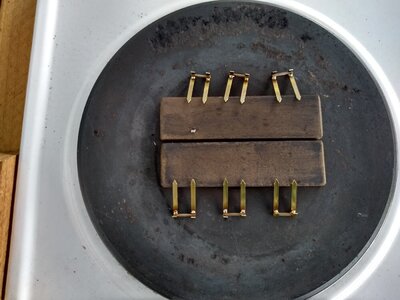
Brass tube hinges soldered to straps (on the hotplate again. It has proved to be a very successful method for soldering small parts which want to move about).
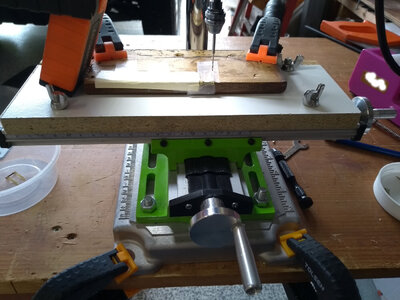
Straps drilled out with 0.7mm bit. Held down with 3M Magic Tape. We use this tape for many things in Bookbinding - even to hold brass letters together for gilding. It withstands temperatures up to at least 110 C without damage.
Lids complete.
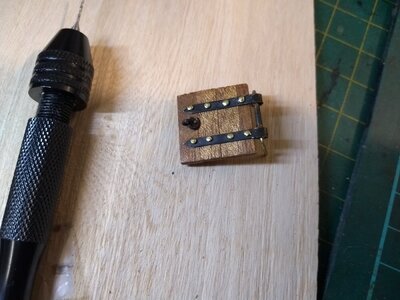
Dry fitted. They are made from Queensland Maple (not a true maple. From the orange family - thanks Dave Stevens in post https://shipsofscale.com/sosforums/...-use-in-model-building.2047/page-5#post-37607

Fine sanded and finished with Super Fine steel wool (0000) and linseed oil. The lids are 3 1/2 horizontal planks high.

These are the components to finish them off.

Brass tube hinges soldered to straps (on the hotplate again. It has proved to be a very successful method for soldering small parts which want to move about).

Straps drilled out with 0.7mm bit. Held down with 3M Magic Tape. We use this tape for many things in Bookbinding - even to hold brass letters together for gilding. It withstands temperatures up to at least 110 C without damage.

Lids complete.

Smart way of soldering on the hot plate.
Thanks Maaten,Smart way of soldering on the hot plate.
It certainly works for me on these small pieces.
well done - many thanks for sharing your way
VERY impressive workSix required gunport lids now completed.
Dry fitted. They are made from Queensland Maple (not a true maple. From the orange family - thanks Dave Stevens in post https://shipsofscale.com/sosforums/...-use-in-model-building.2047/page-5#post-37607
View attachment 286198
Fine sanded and finished with Super Fine steel wool (0000) and linseed oil. The lids are 3 1/2 horizontal planks high.
View attachment 286199
These are the components to finish them off.
View attachment 286201
Brass tube hinges soldered to straps (on the hotplate again. It has proved to be a very successful method for soldering small parts which want to move about).
View attachment 286202
Straps drilled out with 0.7mm bit. Held down with 3M Magic Tape. We use this tape for many things in Bookbinding - even to hold brass letters together for gilding. It withstands temperatures up to at least 110 C without damage.
View attachment 286205
Lids complete.
View attachment 286204
Some more little updates. I really want to get onto the quarterdeck but there are a lot of fiddly bits to complete first.
Firstly I needed more jacaranda so I took another log to the community workshop and cut off what I needed in the short term.
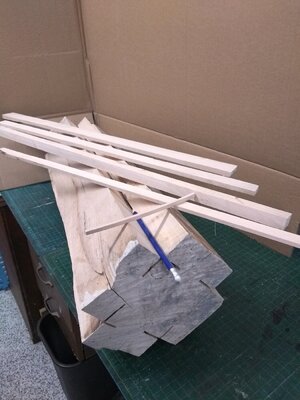
I roughed out the quarterdeck beams while I was there.
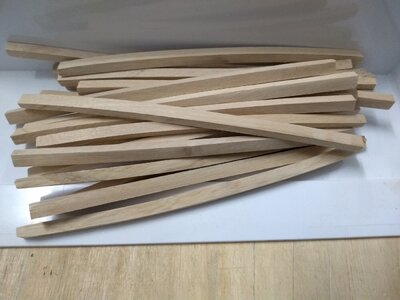
more...
Firstly I needed more jacaranda so I took another log to the community workshop and cut off what I needed in the short term.

I roughed out the quarterdeck beams while I was there.

more...
Another tip from a learner. I've worn my back out picking up (or searching for) tiny pieces that escape from my small bench. A neighbour was disposing of an old refrigerator and I grabbed the door 'bins'.
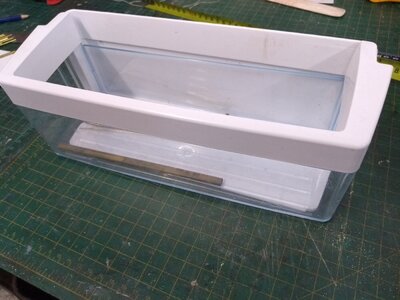 One half of each of three bins does for storage and the other parts I use as a barrier around my work area.
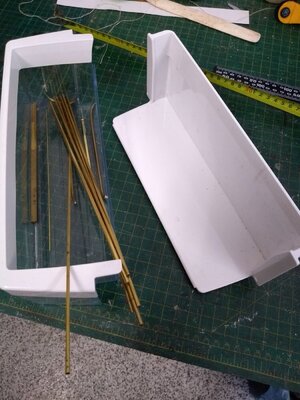
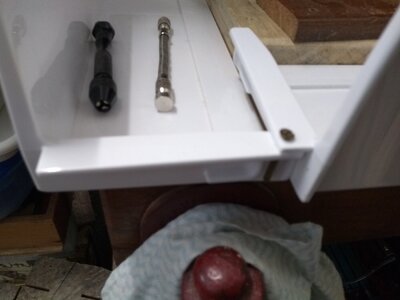
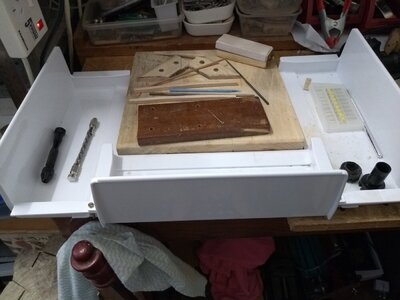
 One half of each of three bins does for storage and the other parts I use as a barrier around my work area.


This is really cool tip. Many thanks, Ian.
Thanks Jim. Anything that speeds up this build is worth it. I get frustrated at times that there is little progress, but then providing all my own timber and materials takes extra time.This is really cool tip. Many thanks, Ian.
Slowly making some headway. I've almost finished the bulkhead in the main cabin. Family came for dinner last night so of course I had to set it all up to show off.
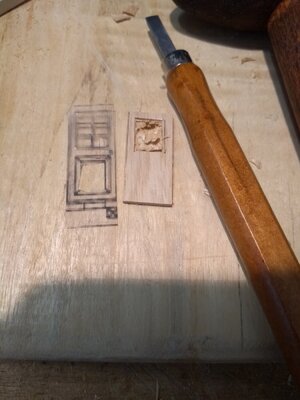
For these detailed parts I laser print the plans onto overhead projector sheets and I can then prick out the corners of the details, then remove the printout and rule in the lines.
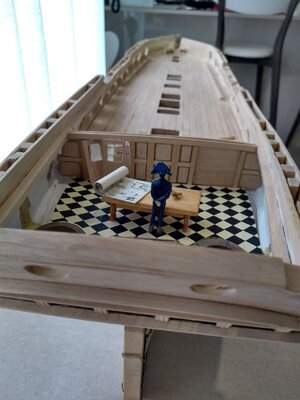
All dry fitted. I have to re-print the floor mat and finish the doors yet.
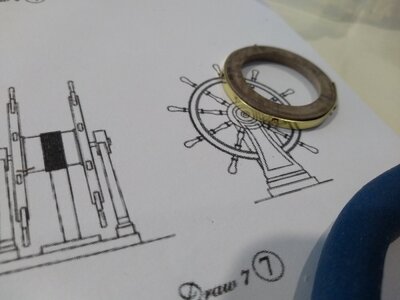
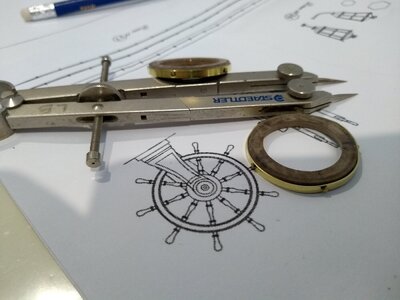
The two round objects holding the floor mat down inside the stern are the ship's wheel rims. I forgot to put up the images earlier after I added the brass rims.
For those who may have heard about the massive flooding here in Southeast Queensland, we recorded just over one metre of rainfall in 72 hours here on the northern Sunshine Coast. This was an unprecedented rainfall event and damage to infrastructure is immense. Several lives lost and the rainfall has now continued to the Gold Coast and into Northern New South Wales.
Our new villa is quite safe but our old farm has been inundated with extensive damage.

For these detailed parts I laser print the plans onto overhead projector sheets and I can then prick out the corners of the details, then remove the printout and rule in the lines.


All dry fitted. I have to re-print the floor mat and finish the doors yet.
The two round objects holding the floor mat down inside the stern are the ship's wheel rims. I forgot to put up the images earlier after I added the brass rims.


For those who may have heard about the massive flooding here in Southeast Queensland, we recorded just over one metre of rainfall in 72 hours here on the northern Sunshine Coast. This was an unprecedented rainfall event and damage to infrastructure is immense. Several lives lost and the rainfall has now continued to the Gold Coast and into Northern New South Wales.
Our new villa is quite safe but our old farm has been inundated with extensive damage.
Hello Ian,
great update with the model.
Please send some of your rain down here to Victoria. Its been really dry down here.
great update with the model.
Please send some of your rain down here to Victoria. Its been really dry down here.
Thanks BrianHello Ian,
great update with the model.
Please send some of your rain down here to Victoria. Its been really dry down here.
You don't want this rain, believe me. Hopefully by the time it gets to you it will only be a heavy drenching. Bright sunshine here now and of course the humidity is taxing. All that rain trying to evaporate again.....Still helicopters and emergency vehicles about as people get sorted out. The cleanup will take weeks.
Closing off the main cabin now. There will be a removable section of quarterdeck above a small area so I open it up for viewing if needed. Maybe also to install chairs.
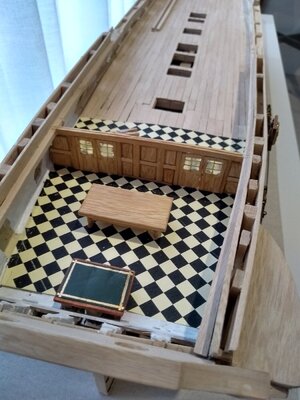
I treated the bulkhead with linseed oil but now I think it spoils it. It should have been painted off-white.
I flattened the heads of .7mm brass nails to simulate door handles. Not very visible in the images.
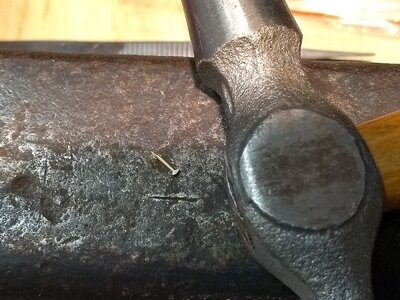
Over the next few days I'll be working on the beams and carlings for the quarterdeck. Can't wait!!

I treated the bulkhead with linseed oil but now I think it spoils it. It should have been painted off-white.
I flattened the heads of .7mm brass nails to simulate door handles. Not very visible in the images.

Over the next few days I'll be working on the beams and carlings for the quarterdeck. Can't wait!!
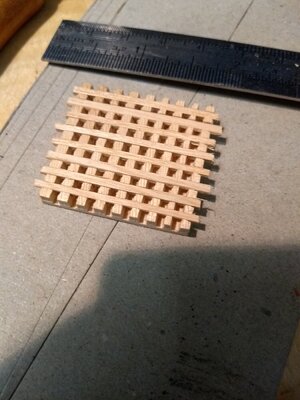
So many interruptions and false starts. I had to change my mind about the beams and carlings until I finished more of the gun deck which will be covered. Many different attempts to make the gratings but now that I have a set of 1/16" down cut milling bits I have finally completed my first grating.
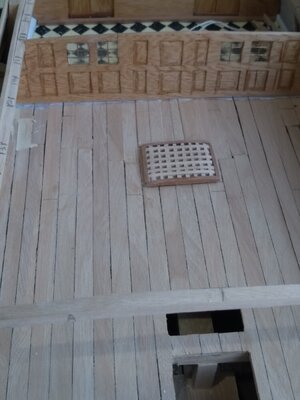
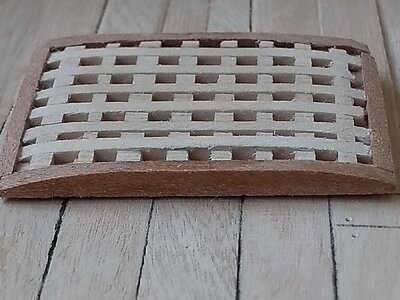
Far from perfect but I can see that it will just be a matter of practice and being able to adapt my basic milling machinery - Dremel mounted in a Dremel drill press with a cheap imported Compound X Y table.
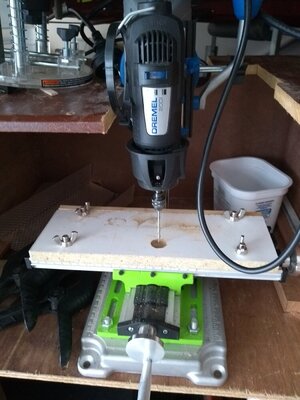
Seeing these images on my big screen, I note that I need to do some cleanup with steel wool. Which brings me to my latest learner's tip. Avoid using fine (0000 grade) steel wool on a spinning piece on the lathe
It did what it was designed to do and engaged with the fine wood fibres, then exploded. My clothes were riddled with fine metal fibres but fortuanetly I had my safety glasses on and no lasting damage..... I'm still finding fibres all over the workshop and I'm not looking forward to emptying my shop vac when the time comes.


Far from perfect but I can see that it will just be a matter of practice and being able to adapt my basic milling machinery - Dremel mounted in a Dremel drill press with a cheap imported Compound X Y table.

Seeing these images on my big screen, I note that I need to do some cleanup with steel wool. Which brings me to my latest learner's tip. Avoid using fine (0000 grade) steel wool on a spinning piece on the lathe
It did what it was designed to do and engaged with the fine wood fibres, then exploded. My clothes were riddled with fine metal fibres but fortuanetly I had my safety glasses on and no lasting damage..... I'm still finding fibres all over the workshop and I'm not looking forward to emptying my shop vac when the time comes.
My second grating. An improvement but still can do better.
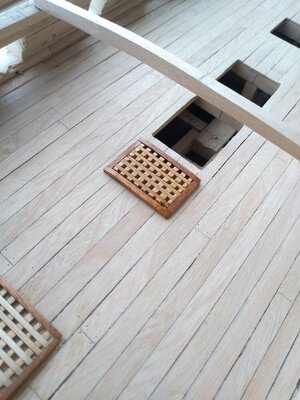
After viewing Jim's excellent tutorial https://shipsofscale.com/sosforums/threads/making-the-gratings-using-proxxon-mf70.9643/ I decided to make a simple template to mark my spacing for each row. I don't know about the Proxxon but my cheap X-Y winds off in mm and as my spacing is 1/16" or 1.57mm, it is too hard to calculate each revolution of the wheel.
Just a piece of plastic with a groove cut in the centre if the 1/16" mark (Measured from the centre of the previous groove)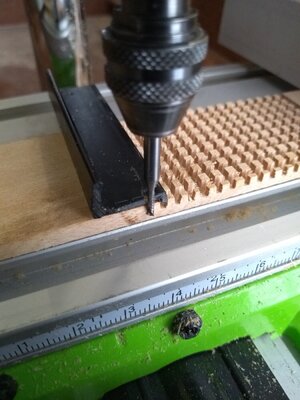 .
.
I cut a decent length so I could get 3 more gratings from one job.
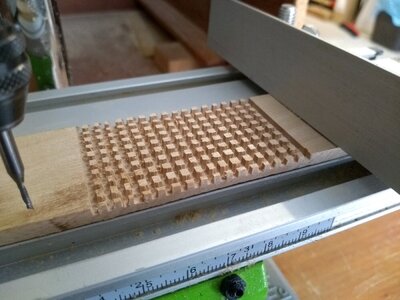
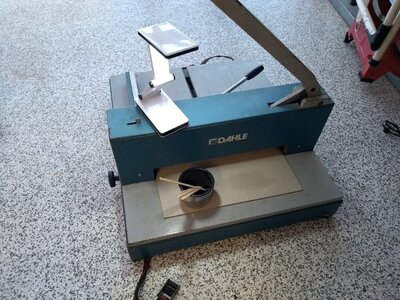
I'm forever grateful for having been a bookbinder as I have all sorts of interesting equipment I can use for ship modelling. My guillotine did a fine job of cutting the 1/16" strips.
Before sanding and finishing.
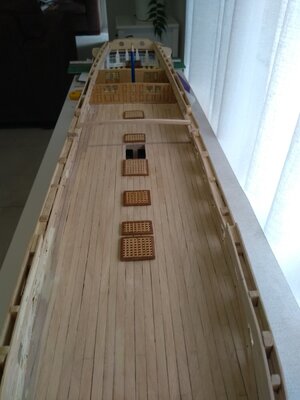
All gun deck gratings done.

After viewing Jim's excellent tutorial https://shipsofscale.com/sosforums/threads/making-the-gratings-using-proxxon-mf70.9643/ I decided to make a simple template to mark my spacing for each row. I don't know about the Proxxon but my cheap X-Y winds off in mm and as my spacing is 1/16" or 1.57mm, it is too hard to calculate each revolution of the wheel.
Just a piece of plastic with a groove cut in the centre if the 1/16" mark (Measured from the centre of the previous groove)
 .
.I cut a decent length so I could get 3 more gratings from one job.

I'm forever grateful for having been a bookbinder as I have all sorts of interesting equipment I can use for ship modelling. My guillotine did a fine job of cutting the 1/16" strips.

Before sanding and finishing.

All gun deck gratings done.


