Happy Birthday, Ian! Wishing you all the best, you got one 1 year wiser!!!! 

 |
As a way to introduce our brass coins to the community, we will raffle off a free coin during the month of August. Follow link ABOVE for instructions for entering. |
 |
 |
The beloved Ships in Scale Magazine is back and charting a new course for 2026! Discover new skills, new techniques, and new inspirations in every issue. NOTE THAT OUR FIRST ISSUE WILL BE JAN/FEB 2026 |
 |


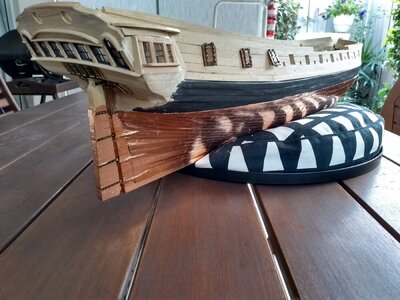
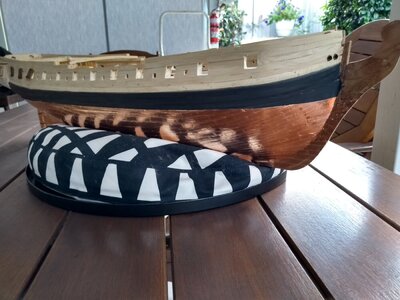
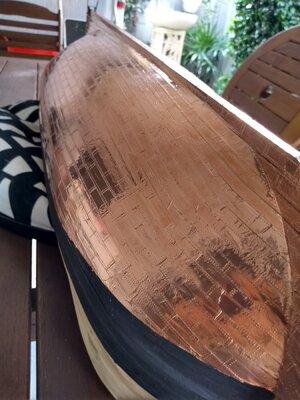
Thanks Uwe and everyone who also wished me a Happy Birthday. It was good, but now Covid has found me. At least now I feel a bit better (day 3) it has at least given me time at home to finish the copper work on Medea. Images to follow.Hallo @Masters Mate
we wish you all the BEST and a HAPPY BIRTHDAY
How is your work on your Medea going? Any updates for us?

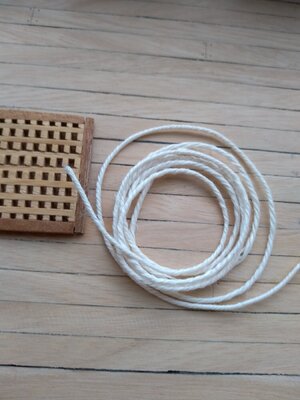
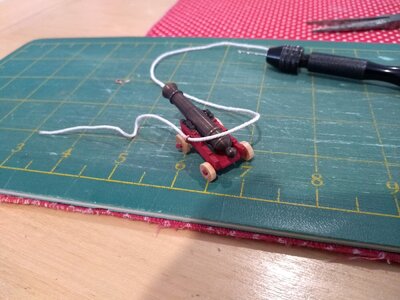
Ian,After many delays I finally got my home made rope walk working to a certain point and this is my first rope. Three strand linen. It needs to be a bit tighter but I still have many adjustments to make to be able to control the speed of the machine.
View attachment 338332
View attachment 338333
My main aim is get these six guns lashed in so I can get on with the quarterdeck and before I forget where the quarterdeck goes...... It has been a saga of delays which has frustrated me.
I will put up some of the images of my rope walk next. Be prepared to be shocked...
JanosIan,
You will have much fun making some ropes for your models. If I may comment on those beaching ropes on your guns I would colour them a bit as plain white looks a bit unnatural. I am using MINIWAX fruit wood stain for that. And the standing rigging ropes are stained with MINIWAX Jacobian stain to represent the tarred outlook. And, as you said, you have to experience with different aspects of rope making to provide even more authentic appearance. I hope you don't take my comments offensive, they did not mean to be that!
Your copper plating looks very good. I am trying to avoid copper plating because I am not sure I can do it properly. As a number of other things...
Janos
Thanks StephanNice that you started to make your own rope.

If there are more questions, just asked. I'm glad to helpThanks Stephan
I have just gone back to your excellent post about your rope walk https://shipsofscale.com/sosforums/threads/make-your-rope-on-a-rope-walk.9094/ and will now make some more adjustments. So many good ideas to collate from so many people but I think my rope walk is mostly based on yours.
 . This is the mess I have developed so far as a 'rope 'walk'. As soon as I started trying to use it I began changing things. I guess that's what Research and Development means. At least SOS is the place to be for that.
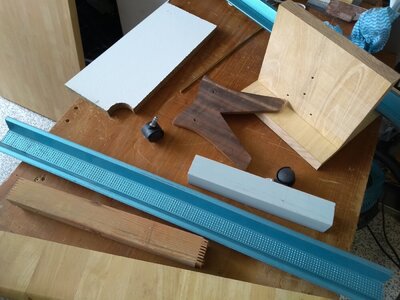
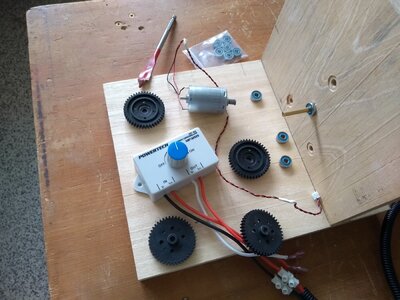
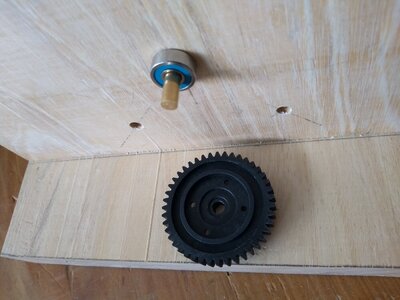
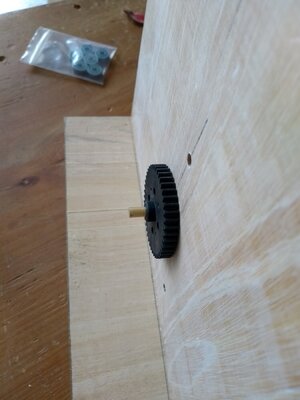
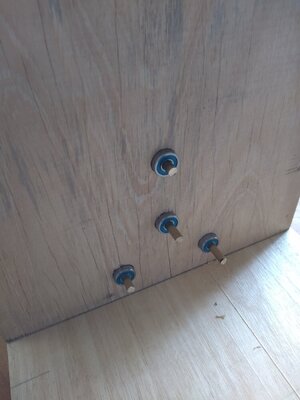
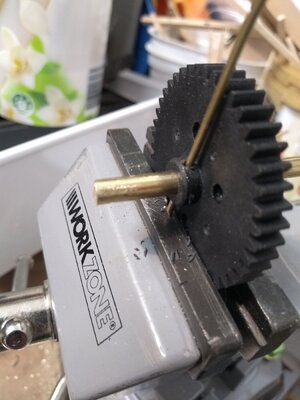
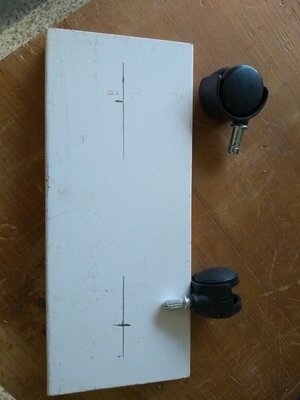
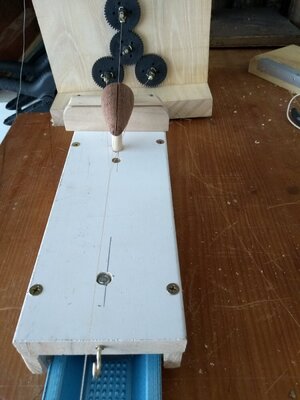
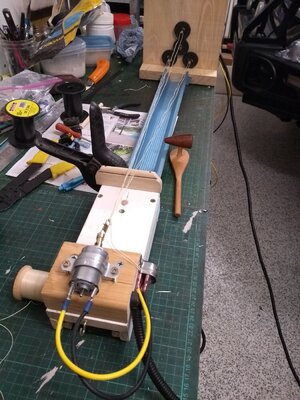
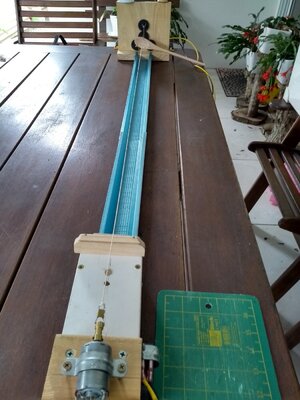
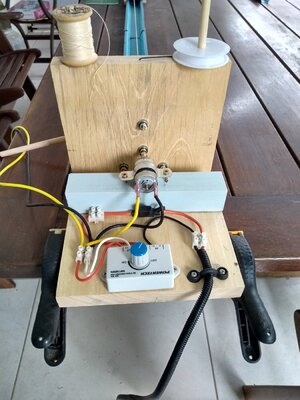
 . I scrapped the blue steel track, put the caster wheels on all four corners of the trolley and added an aluminium guide for it to track along the gap between the boards on my outdoor table. That gives me a working length of about 1 1/2 metres which is fine at the moment.
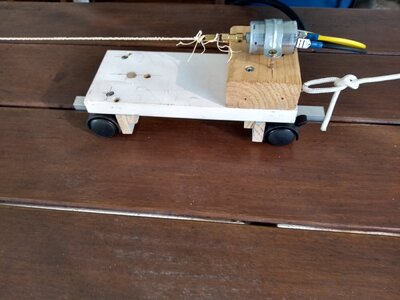
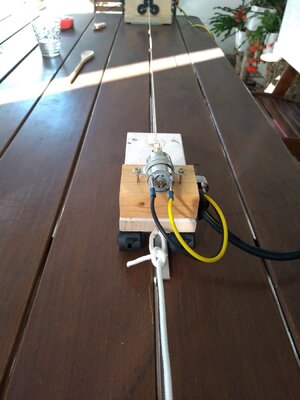
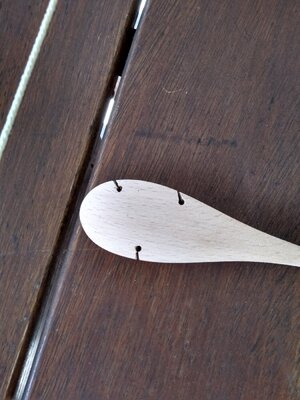
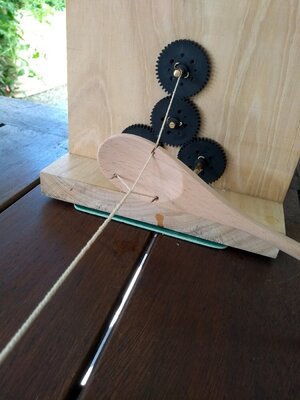
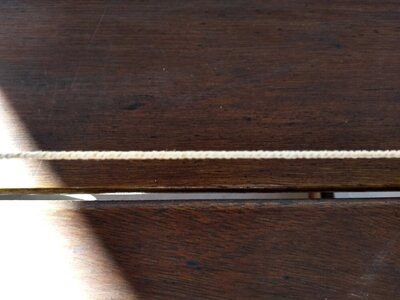
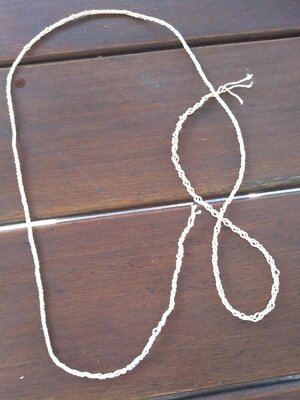

Thanks StephanYou have to experience a little bit. First make sure all 3 strands are equal in lenght.
Then you start the rope walk (don't turn on the trolley motor, keep that still with the spoon in place) wait till the trolley moves to the ropewalk about 10 to 15% of the starting length of the strands (1,5 meter makes about 15 to 20 cm) then start the trolley and let the rope push the spoon to the ropewalk (this is a handli g you have to feel by doing it often). The 10 - 15% and the speed of the spoon you move, even the weight on the trolley are adjustments you have to experience to get a good result. 15% and more weight gives a stiffer rope, less a more flexible. I once tried cotton yarn, bit difficult to say what went wrong exactly but the moving of the spoon must be at one speed to get a good result over the lenght.
Ohla Batchvarov @shipphotographer.com have a beautifull movie where she shows how to do it.
Succes

YesShould they both run together??
Thank you Ohla. That makes more sense now. I will keep trying to improve.Here, I made an updated more detailed video:
You are right. There is a lot to learn. Thank you.Greetings. I also recently started rope knitting. I think you knit the basic cables in the same direction, it must be the opposite. I had the same problem. Ondras
View attachment 338925
