- Joined
- Dec 25, 2021
- Messages
- 129
- Points
- 213

haha
In China, people use 401 because it is very cheap, about $0.4 per bottle
In China, people use 401 because it is very cheap, about $0.4 per bottle
 |
As a way to introduce our brass coins to the community, we will raffle off a free coin during the month of August. Follow link ABOVE for instructions for entering. |
 |
 |
The beloved Ships in Scale Magazine is back and charting a new course for 2026! Discover new skills, new techniques, and new inspirations in every issue. NOTE THAT OUR FIRST ISSUE WILL BE JAN/FEB 2026 |
 |


So, that's a bonus then!haha
In China, people use 401 because it is very cheap, about $0.4 per bottle

I share your teeth gritting…..Hello, Grant. You are so right when you say that there is plenty of "ugly" that precedes the final product (in my case, at least, that is very much what takes place!) I know that this ship (and build) will only come alive when the final layer of planking is started, but until then ... it's a case of gritting the teeth!

I share your teeth gritting…..
Hello, Grant. You are so right when you say that there is plenty of "ugly" that precedes the final product (in my case, at least, that is very much what takes place!) I know that this ship (and build) will only come alive when the final layer of planking is started, but until then ... it's a case of gritting the teeth!
I don't know if the question has already been made , but are there no modelbuilding clubs in China my friend, if there are, you might ask a question on their forum??Hi Jack. The kit does look like it's going together well (so far) and what surprises me is how good the instructions have been so far. It is written in good English, and the illustrations have been clear and easy to follow. For now, I am using 401 - a Chinese CA glue which works very well (I still don't like the stuff, though!) For the serious planking (the wales and below the wales) I am considering using a CA glue/gel/epoxy which gives me a little wiggle room before it sets completely. Here, I will have to see though what is available in China.

Oh yes, Johan, you are right. I did not know the fancy name of what my building is called, but now I know!The modeling proces inherently contains the so-called Pilgerschritt method: one step forward and two steps backwards (or was it the other way around? I forgot...) The teeth gritting comes with the territory.
 I made such good progress today, and now in the final straight of the day's work, not two - but probably three or four steps backwards!
Peter, my friend, I don't know about clubs as such, but most model manufacturing companies have their own forums where you can ask questions. I am very fortunate in that I can simply ask Wuxi (from Modelship Dockyard). I will do that when I get to that point of the build.I don't know if the question has already been made , but are there no modelbuilding clubs in China my friend, if there are, you might ask a question on their forum??

This sounds scarily familiar...and now in the final straight of the day's work, not two - but probably three or four steps backwards!

Thank you very much for the kind words, my friend. I have no issue with the resin parts per se, my only gripe is that it necessitates the use of CA glue which is something I dislike intensely. And tonight, that bit me hard. Progress is good - I am happy with that. I think that in some areas the resin parts definitely allow for faster progress, while in other areas (subjectively) it feels like there is more work involved. What i true though, is that there is far less room for error!I was quite a few days behind but just read through a number of pages to catch up. It’s really interesting to see the combination of resin and wood parts come together, especially that view of the hull form from right ahead and the stern shot. You are moving along at an impressive pace, I like what I see.

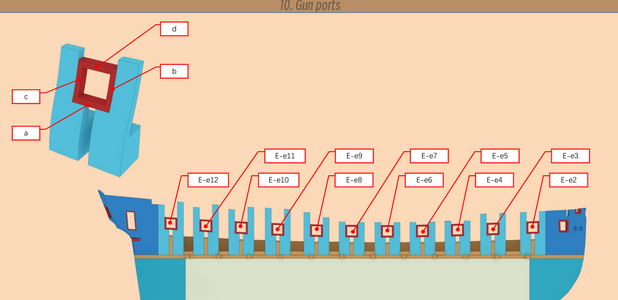
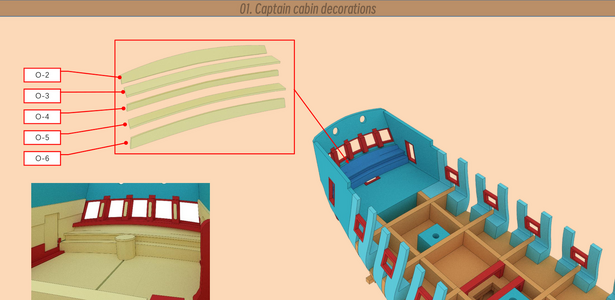
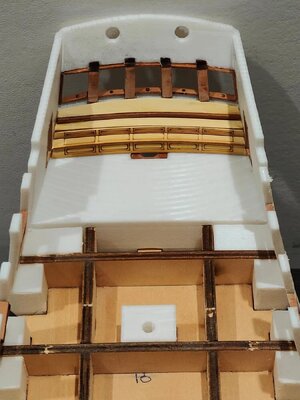
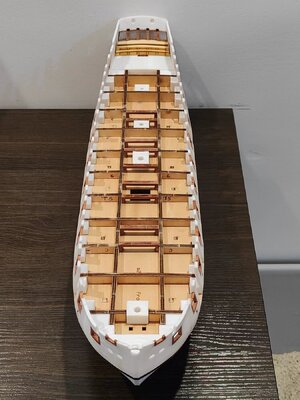
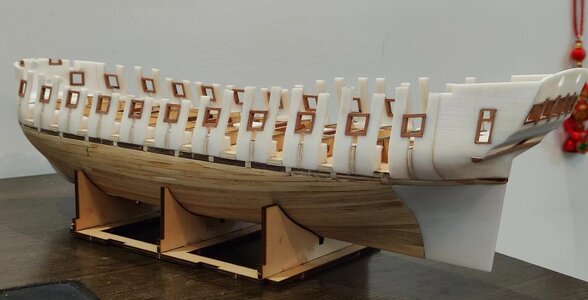
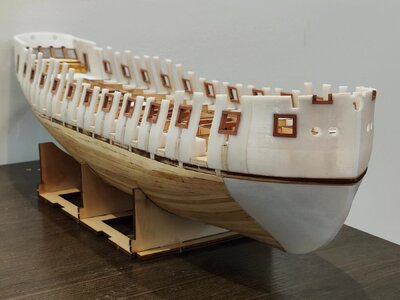

Yes, my friend. This was a lot of filing and sanding and dust - at one stage it made me think of when I had to sand the boxed hull of the WB. In any case, it's all done and "dusted"!That is quite a bit of hand labor. The transition between the different build materials looks very smooth.
Jan


Absolutely correct, Peter. According to the instructions, it is now the fitting of the deck and the inner planking of the bulwarks that are up next. I have sanded the first two or three planks of the hull as they transition to the resin parts, but the rest will be done later.That has been quite a job my friend, and now you also have to sand the rest of the hull if i understood you correctly??

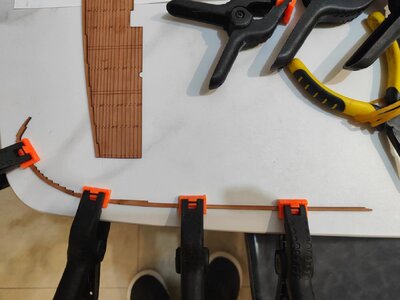
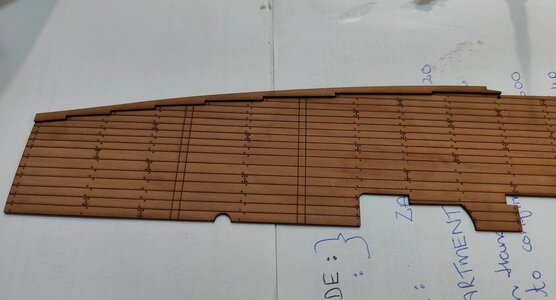
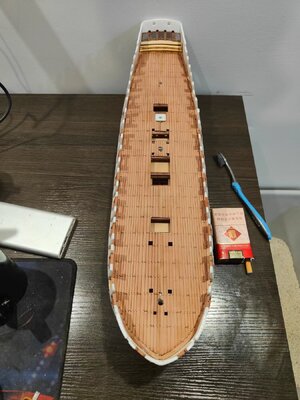
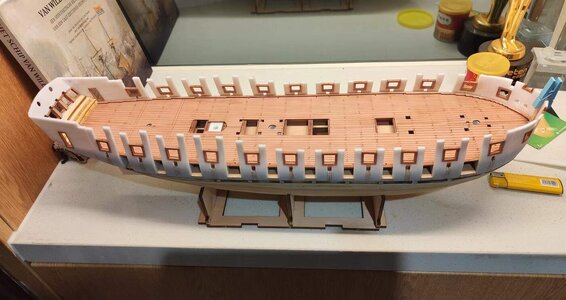
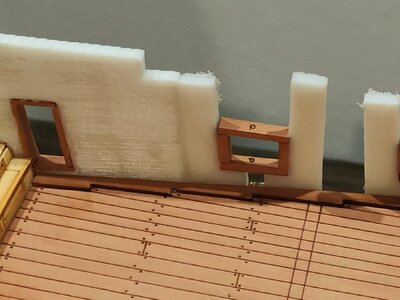
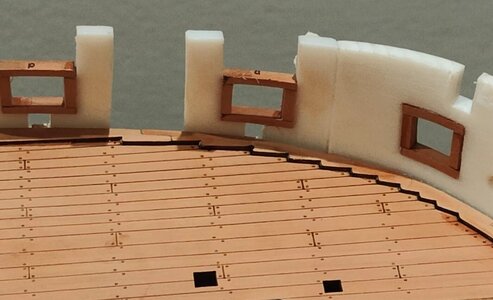
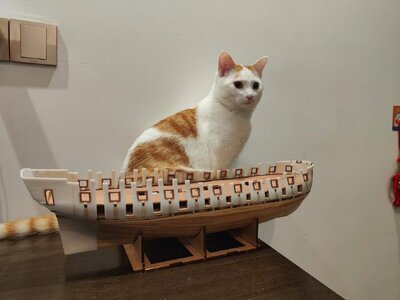

Hi Jan. There is no ridge between the decks, it is only where the deck butts up against the ribs and the captain's bench that the Starboard deck half sits that 1mm higher. To me it's frustrating, because after the Port side deck installation, I actually thought that a perfect deck fitment was on the cards. Alas ...If Didi approves then it must be a quality job. Looks to me to be one of those “almost but maybe quite not” endeavors that drive you up the wall. However only you and some of us on SOS will ever know about that 1mm “ridge”. From my side of the world that deck looks absolutely terrific.
Jan
