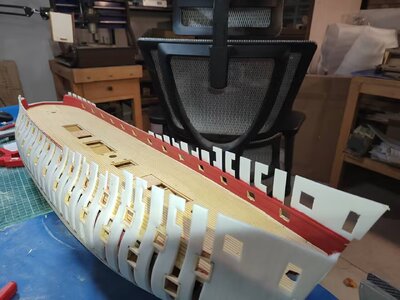
Okiedokie friends
I will now try to explain at the hand of the discussions I had with Wuxi, what sins I have committed.
The first problem that Wuxi identified was that I first glued to the waterways to the deck - according to him, I should have installed the two deck halves first and then the waterways. That would have allowed me to custom - sand/shape the outer edge of each of the individual pieces that make up the waterways, separately ensuring the best possible fit. No problem with that, but then I would suggest a change to the instructions which first list the installation of the waterways and then the deck. Look at the numbering of the two pics below which follow each other directly in the instruction manual.
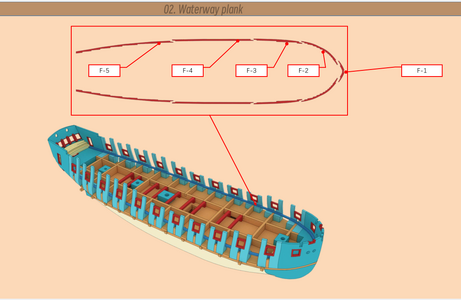
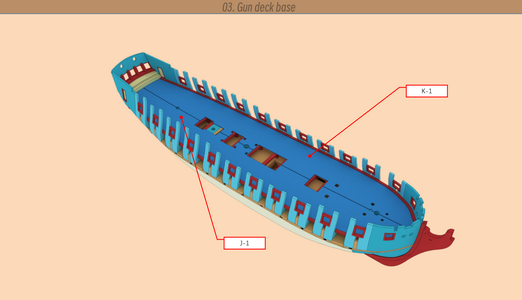
This is the exact sequence in which the waterways are shown to be done first and then the deck. If it is supposed to be the other way around, these two pages need to be switched.
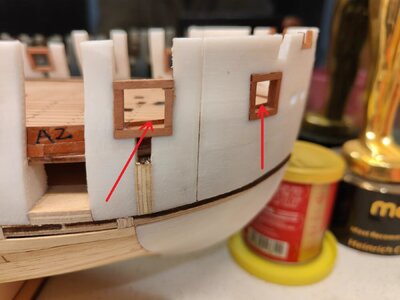
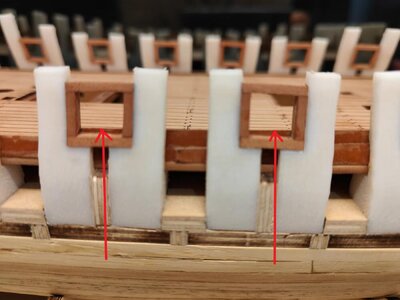
The second point that Wuxi pointed out is that the inner planking lies at an inward-sloping angle.
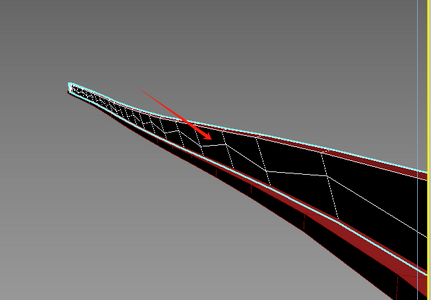

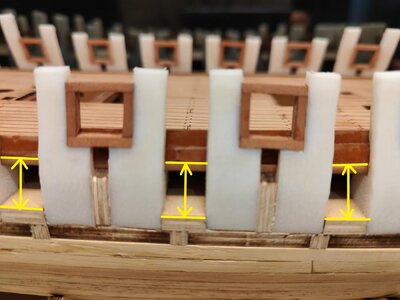
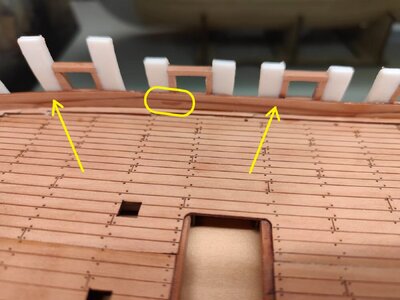
You can clearly see the angle at which the inner planking is mounted (especially if you look closely at the base of the inner planking on the right hand-side picture.
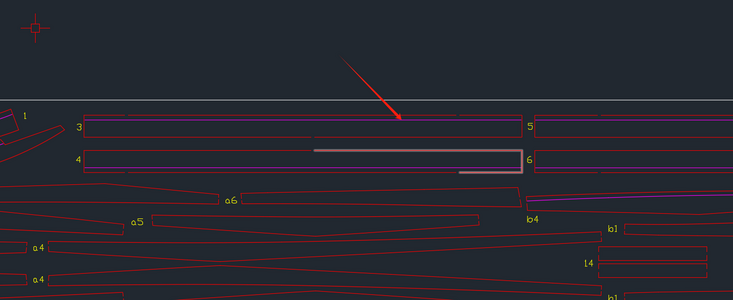
To ensure that, the appropriate inner planks are all inscribed with a bevel- or sanding line which indicates by how much the planking needs to be beveled.
All good so far, but to my mind I had done exactly that. After all, it makes perfect sense that an unbeveled or insufficiently beveled plank will sit "higher" on the waterways than one which is sloping inwards at an angle. Had I not done this, or had I done it insufficiently, this could have been a big reason for my inner planking coming out too high. But, yikes, I thought I had that down pat.

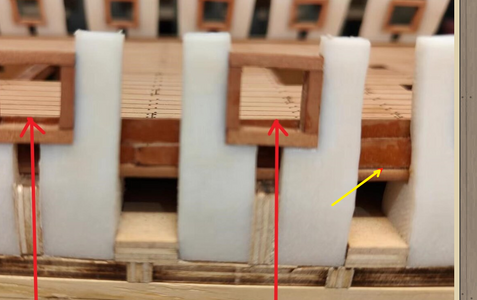
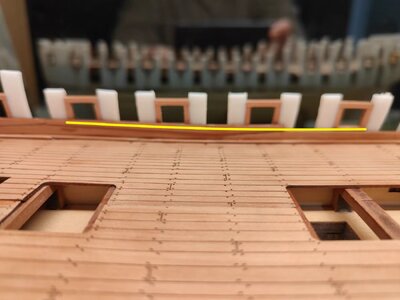
Photographs, however, do not lie and as pointed out by Wuxi (check out the yellow arrow) there is a significant between the inner planking and the deck which tells me I screwed up the beveling. Guilty as charged!
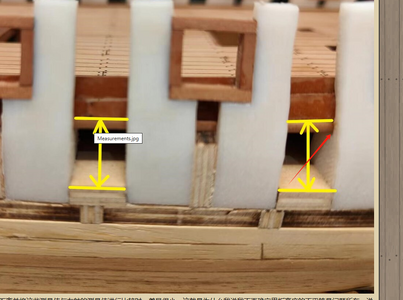
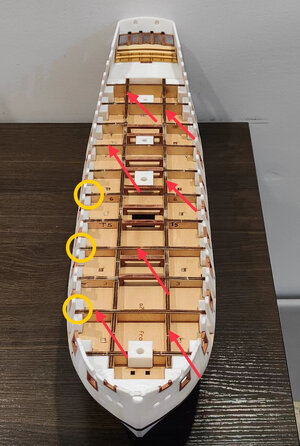
And to rub salt in the wounds, the fine red arrow points to where the deck _ and subsequently the waterways as well, are not sitting flat on top of the resin base. Again, guilty as charged.
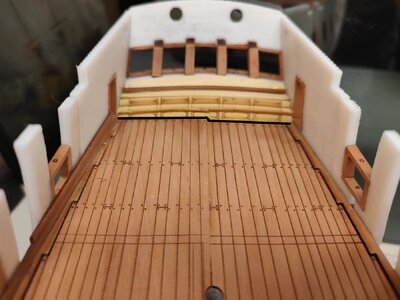
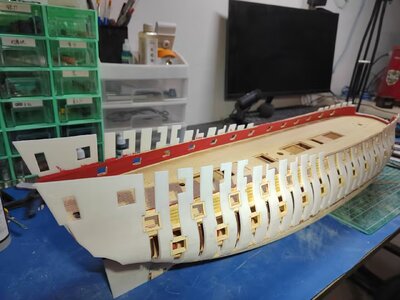
How it should look if all is done well.
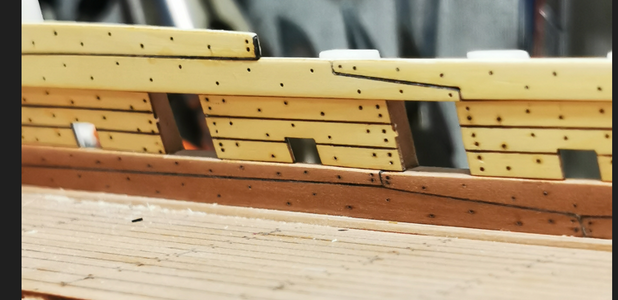
As you can see the required level of accuracy is extremely high. If the builder does his part (which clearly, I haven't) the kit will reward you substantially. This is a case where just crossing your "T's" is not enough; you have to a ruler when doing so!
In summary though, the problems I have experienced were all self-inflicted and is a more a case of a culmination of many factors rather than one glaring boo-boo. It is going to require a considerable number of Hail Mary's to correct though!
Many thanks to
@wuxiaomeng Wuxi and
@Modelship Dockyard Victor for taking the time to explain everything to me and hopefully point me in the right direction.


