HMS Revenge 1577 by Amati , Victory Models

Joined
Feb 8, 2021
Messages
416
Points
278

Location
Victoria Australia
....some hints from my experience

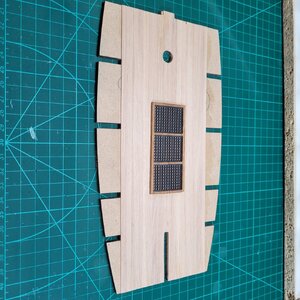
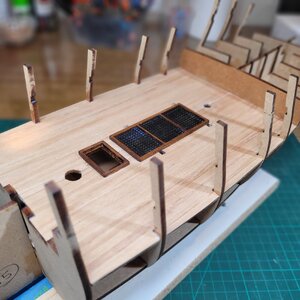
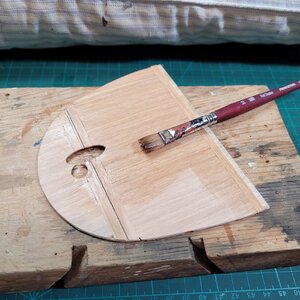
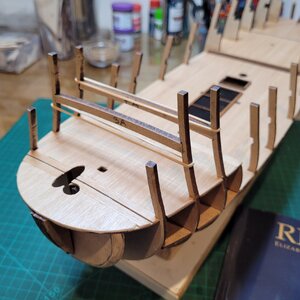
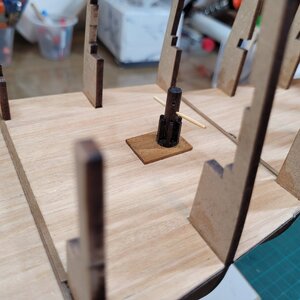
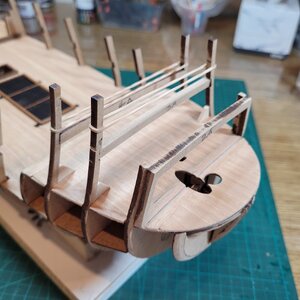
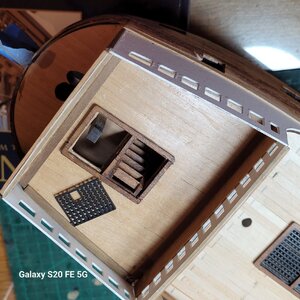
1. When fitting part 222 grating to part 50 forecastle deck, you need to use the one example of 222 which has a rectangular hole cut in it. The allows the samson post inside the forecastle to be reached for rigging. No way of knowing unless you happen to notice on the complete plan view towards the end of the book. First photo shows this.
20240425_175606.jpg


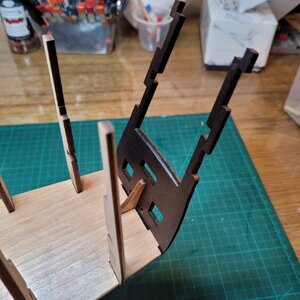
2. The aft edges of parts 21 need about 3mm of thickness added to meet the topsides nicely.
 
Last edited:
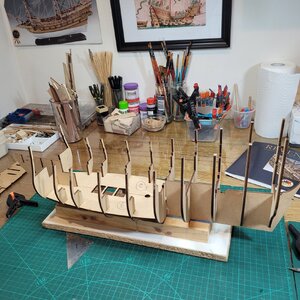
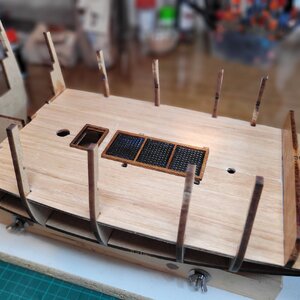
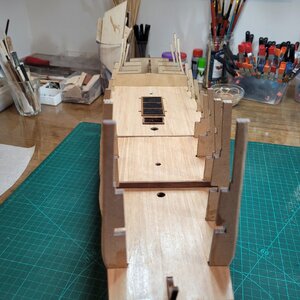
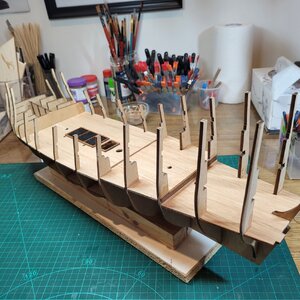
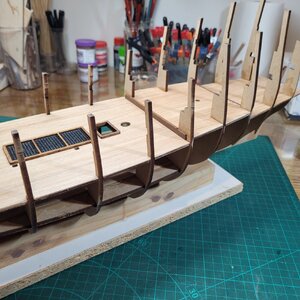
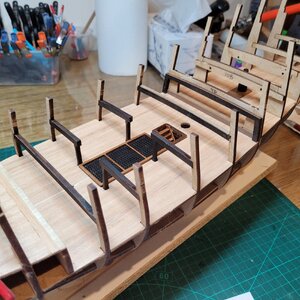
planking the lower deck with hatches set in. They are completely invisible when the upper decks go on so a bit pointless in a way but I guess you know that it is there

20240129_093809.jpg


20240127_130922.jpg


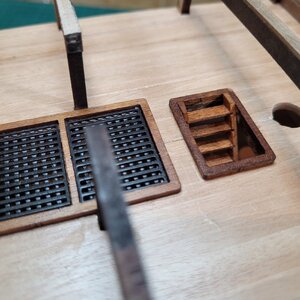
See above the square hatch places cut out. This is a PITA and completly unnecessary..actually makes it harder. You place neatly fitting grates into the squares which you cannot see through anyway and which fit very neatly...so leaving the planking inside the holes to layer with a thin coat of glue for the grate is not only easier, it works better. I cut these ones out..but not the next ones.
 
Last edited:
Great - you jumped already in the next project - I will follow your log and look forward
 
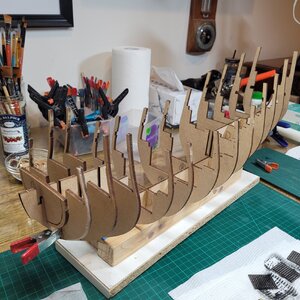
Have prepared and installed the foredeck. Note for others following...the foredeck is a challenge to bend into place. It is not that you will break the ply foredeck, it is the stress you put on the tops of bulkheads 3 and 4 both of which I fractured...but have repaired by spacing them with 3A and 4A and rubber bands with Weldbond at their break points. The install problem is avoidable once you work out the problem... there is a recess each side inside bulkhead tops 3 and 4 to accpet 3A and 4A further down the track. The deck gets stuck on the lower edge of these slots when you are installing it and once you realise this and ease it over the edge you are home free. Too late for me alas..!

20240131_135843.jpg20240131_155811.jpg
 
Hi John. It is good to see you embark on the Revenge. I really like the lines of this ship and I will follow along with big interest.
 
Most of the main deck framing done and trued up. It comes out pretty close..just a small 1mm packing strip on the aftmost beam to make it flat. Ladder also done... if ever they hold a ladder building contest leave me out.

No more progress or reports for three weeks as I am going on a driving tour around Tasmania, haven't been for many years and it is just a magic place. Just not that many people and probably a bit like what the mainland was like 100 years ago. Great wine and food.

20240202_155919.jpg20240202_153858.jpg
 
Thanks for the contact Jim...will go and bookmark your log to keep track of it.
John
 
Last edited:
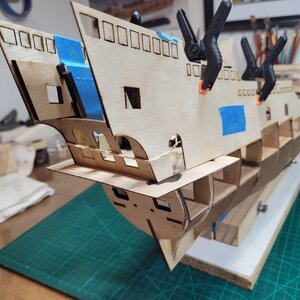
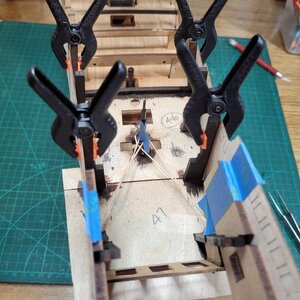
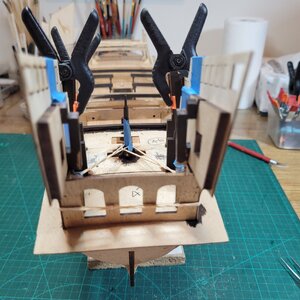
Have been building and planking the stern platforms. Slight differences betwen the instructions and the parts here and I had to pack out the trailing edge of transom brackets ( part 21) about 3mm to get the rear wall (part 118) to sit flush with the corners. Not a significant thing but you get used to the parts fitting pretty much perfectly.

20240204_092550.jpg20240204_092313.jpg20240204_092259.jpg20240204_100057.jpg


TIP...... Add about 3mm of thickness to the trailing edge of both parts 21 and the side panels (50 and 51) will meet stern window panel ( 118 ) neatly. They overlap a little out of the box.
 
Last edited:
Back
Top