-

Win a Free Custom Engraved Brass Coin!!!
As a way to introduce our brass coins to the community, we will raffle off a free coin during the month of August. Follow link ABOVE for instructions for entering.
-

PRE-ORDER SHIPS IN SCALE TODAY!
The beloved Ships in Scale Magazine is back and charting a new course for 2026!
Discover new skills, new techniques, and new inspirations in every issue.
NOTE THAT OUR FIRST ISSUE WILL BE JAN/FEB 2026
You are using an out of date browser. It may not display this or other websites correctly.
You should upgrade or use an alternative browser.
You should upgrade or use an alternative browser.
HMS Royal Caroline kit ZHL 1/30 (Following the Maarten's RC)
- Thread starter Alex T
- Start date
- Watchers 25
-
- Tags
- royal caroline zhl
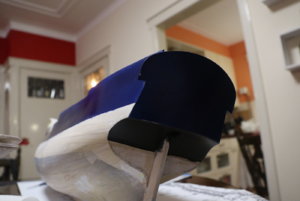
Time to find the place for the wales (2 black trips).
The original drawings and this model are quite different, so it is impossible to define the wales height with the drawing, as the video suggests. I decided to start from the ports, and go 3 strips down, so that I will have exactly the 3 strips between wales and ports.
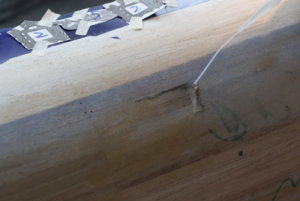
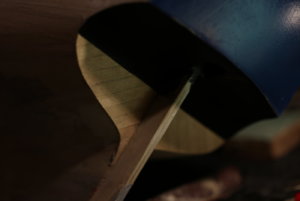
But I also referred to the drawings as a supportive reference. For this purpose I installed the ship vertically, and made a final check/adjustment with the waterline tool (you see it on the picture behind the ship, with a yellow pencil): you see three stris under the hook on the left side. Looks like the keel is not vertical, ahaha.
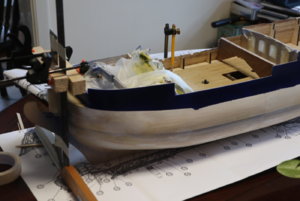
Here is the marking of the port (up and down marks). I used it then to mark the wale line on the outer part of the hull.
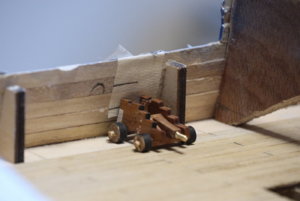
Now, I am going to bent the 3mm thick wood... brrrrrrr
The original drawings and this model are quite different, so it is impossible to define the wales height with the drawing, as the video suggests. I decided to start from the ports, and go 3 strips down, so that I will have exactly the 3 strips between wales and ports.
But I also referred to the drawings as a supportive reference. For this purpose I installed the ship vertically, and made a final check/adjustment with the waterline tool (you see it on the picture behind the ship, with a yellow pencil): you see three stris under the hook on the left side. Looks like the keel is not vertical, ahaha.

Here is the marking of the port (up and down marks). I used it then to mark the wale line on the outer part of the hull.

Now, I am going to bent the 3mm thick wood... brrrrrrr
Wale planking:
The wale levels measurements were explained above, in post #163.
I used template to connect these points.
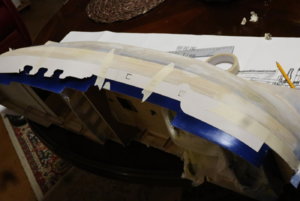
The planks are 3mm thick which meant a lot of bending efforts:
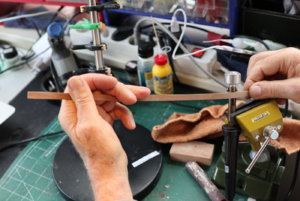
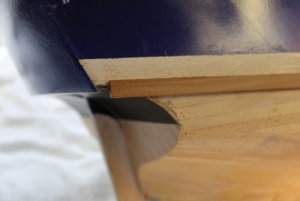
Another interesting issue: These two planks have to be black, but the plank between them is NOT painted.
So, we have decided to glue the 2 wale planks WITHOUT the plank in the middle, which required some gymnastics, depicted below:
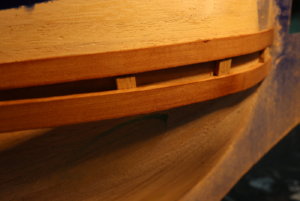
OK, here it is, fully assembled:

BTW because the ship is 29 mm longer, we did not have enough planks for the whole length. But I hope it is enough, and the stern carvings will fill in the gap.
Now ready to paint:

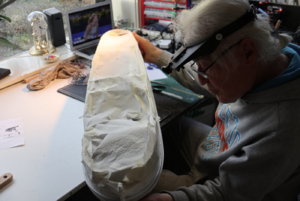
After several layers of primer it goes through the tough inspection:
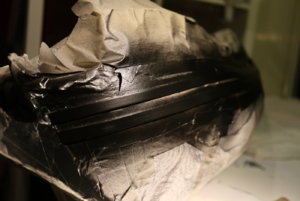
OK, now it is painted. I chose the semi-matt black, as it has to match the future waxed hull...
The wale levels measurements were explained above, in post #163.
I used template to connect these points.

The planks are 3mm thick which meant a lot of bending efforts:

Another interesting issue: These two planks have to be black, but the plank between them is NOT painted.
So, we have decided to glue the 2 wale planks WITHOUT the plank in the middle, which required some gymnastics, depicted below:

OK, here it is, fully assembled:

BTW because the ship is 29 mm longer, we did not have enough planks for the whole length. But I hope it is enough, and the stern carvings will fill in the gap.

Now ready to paint:

After several layers of primer it goes through the tough inspection:

OK, now it is painted. I chose the semi-matt black, as it has to match the future waxed hull...

Last edited:
a reflection on "the forum structure use":
For the reason of completeness I tend to update the old records instead of writing new ones. So, when I return to a certain element (like wales above, which will be continued until the wales get black color) in my production, I add pictures and comments to the same record in the past, so that later on readers can see the complete "wales production". It makes it easy for further readers but it is confusing for the current followers who cannot enjoy the on-line translation any more.
An option is to write short messages like "I have updated the record #303", but it will be no fun either.
Any comments?
Hi Alex,
A good idea if you really want to make your log a manual for others. Personally I write my blog in first instance for myself to have a chronoligical reference for my build. That sometimes means that I am jumping from A to D via F and back to B, why because I just build what I think is nice to do next and what fits the status of the build. I think John is doing that also.
A good idea if you really want to make your log a manual for others. Personally I write my blog in first instance for myself to have a chronoligical reference for my build. That sometimes means that I am jumping from A to D via F and back to B, why because I just build what I think is nice to do next and what fits the status of the build. I think John is doing that also.
Actually, I have all these purposes in mind... A kind of informational greed.Personally I write my blog in first instance for myself to have a chronoligical reference for my build.
Or, probably it was inspired by the fact that I had to make a table of content both for you and John, and sometimes it drives me crazy to find stuff in your blogs...
OK, we are ready for 2nd planking...
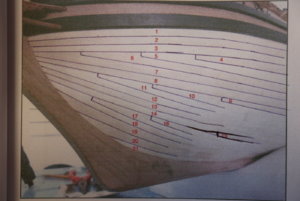
The issue is to control the form of planks.
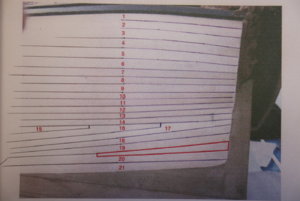
The Chinese manual suggests a very clear pattern, which I found quite ok.
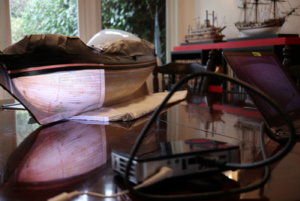
Here is how I am going to implement it:
- I highlighted the pattern on the picture on the manual with a pen
- I made a photo from the manual
- I projected it on the hull
- I used a pen to draw the pattern on the hull
Update:
It does not work in reality: it is almost impossible to glue the planks in the bow section according to this pattern! So, I consulted with Maarten and I have to agree with his opinion: the planks should go in natural way.
Here is the photo from Maarten, and his pattern does reflect the reality, and I can certainly go this way:
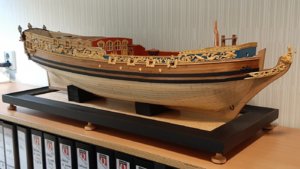
It is a shame that the manufacturer spent so much efforts on explaining the undoable pattern, and I spent my efforts on applying it to my ship hull.
The issue is to control the form of planks.
The Chinese manual suggests a very clear pattern, which I found quite ok.
Here is how I am going to implement it:
- I highlighted the pattern on the picture on the manual with a pen
- I made a photo from the manual
- I projected it on the hull
- I used a pen to draw the pattern on the hull


Update:
It does not work in reality: it is almost impossible to glue the planks in the bow section according to this pattern! So, I consulted with Maarten and I have to agree with his opinion: the planks should go in natural way.
Here is the photo from Maarten, and his pattern does reflect the reality, and I can certainly go this way:

It is a shame that the manufacturer spent so much efforts on explaining the undoable pattern, and I spent my efforts on applying it to my ship hull.
Last edited:
It is either Maarten's way or NO way!! 
I see that he has done his research very well. I appreciate it and I follow it.It is either Maarten's way or NO way!!
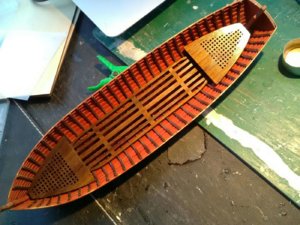
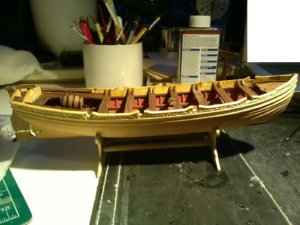
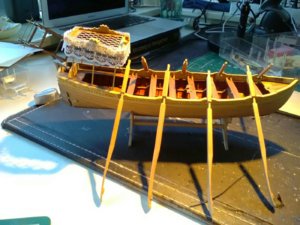
I think the boat is ready (I am far away from home yet). The carvings are to be painted (black+gold) yet
View attachment 134717
View attachment 134876
G'day Alex , I do not think the net is supposed to be attached the way you have shown, it should be hanging from the carvings not covering them,
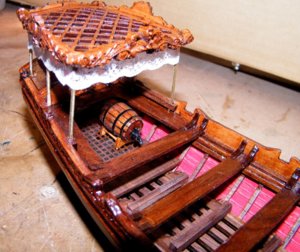
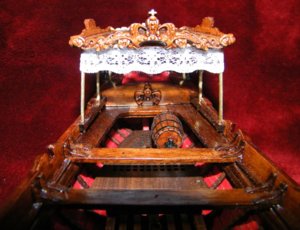
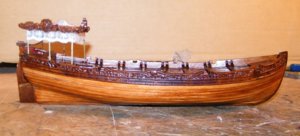
I still have to try and improve mine by adding the side curtains, hope this helps,
best regards John,
Sorry, John, it looks that it was not finished yet: I was on the biz trip, and my father enjoyed himself at home and I did not pay attention to this detail. When I came home, it looked better:G'day Alex , I do not think the net is supposed to be attached the way you have shown, it should be hanging from the carvings not covering them,
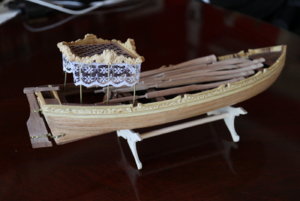
I still do not like these polls which hold the roof. I think we should make them with wood...
And, of course, I need to paint it with my chosen scheme: black+gold...
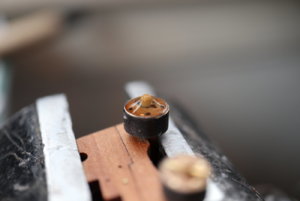
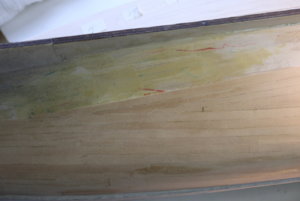
Hmmm... I cannot make "clean" wood nails. The paint gets inside them and leaves black dots in the middle of the circle. I thought it was because I used ink, and switched to soft pen, like Maarten. But it also left dots. Probably I have to change the toothpicks.
Some nails at the bottom are brown: I painted them before the final insertion, but it seems too difficult.
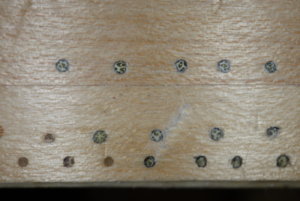
Some nails at the bottom are brown: I painted them before the final insertion, but it seems too difficult.

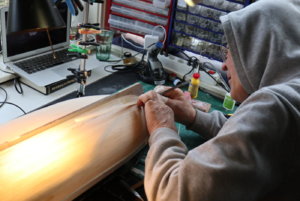
The second planking is looking very good - very good job by your father !!
The treenails (I guess you mean for the hull planking) - british ships were using only wooden treenails, the french used iron and wooden nails by appr. 50 : 50.
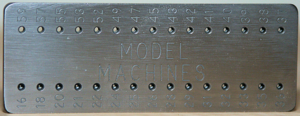
Maybe you should not use wooden tooth sticks for this nailing - maybe you should try with a drawplate to make the treenails only slightly darker than the planking - often the same timber is working very well (because the front end of timber strips is slightly darker


