HMS Royal Caroline kit ZHL 1/30 (Following the Maarten's RC)

View attachment 129369
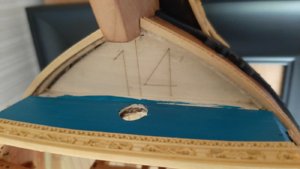
I will start with the Fore decorations, this is the AOTS plan,

View attachment 129370
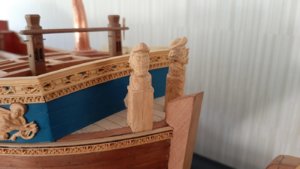
and these are the carvings on the model, not a lot of difference length wise, so I would not change anything here,
the main difference is in the height, I did not have the Royal Caroline book at the time and I just went with what the
kit showed, Maarten on the other hand did some alterations and closed the gap between the height of the carvings,
which make it look a lot better, I'm not sure what he did now, it could be in his build log, see pic below, hope you do
not mind me using your photo Maarten,


View attachment 129371
.
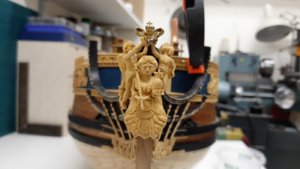
I used the main wale as the major reference point and dont use the info provided in the kit manuals. But the kit drawings are they aots drawings so you can use these.
From the main wale I added three layers of planks along the whole length of the ship whereas in the kit the planks are reduced to two at the now and stern. At the bow section I slightly tapered the planks to get a horizontal line at the bow where the two top wales meet. From a front view at the vessel the wales always should meet in a horizontal line. You can see this in the picture below.
20200113_213428.jpg
Then the top wale was fitted and this should now cross the gun port carving at the right height, you can use this as a good reference as these are related to the main deck height to which again the position of the wale is related to.
At least I increased the height of the small deck before the fore castle to match the position of the top wale.
20190712_172550.jpg
20190713_180000.jpg
Next I added the carvings on top of the top wale determining the top of your ships hull.
These alterations are growing during the build process, I actually never use the manuals and pictures provided. I only use the drawings and from that I solve all isdues coming up diring the actual building process. In shipmodelling you always have to think multiple steps ahead, what will be the effect of changing something further in the process, with you lengthening of the hull you will most probably also face some issues during the build, but you will solve these and that is the fun of the process of a complicated bashed build.
Sometimes bashing is more difficult then scratch building as you counter problems you will not have with a fully planned scratch build.
 
Anyone knows whether these lamps from the RC kit are for =3v (which means that the resistor is already included) or it's a bare LED which requires a resister?

IMG_0814.JPG
 
Issue: my copper burnishing liquid does not provide stable results, and this black substance is getting off easily, when I touch it.
I reviewed the Maarten's blog (page 32) but I did not find any comments on stability of the result.
I tried to cover it with the transparent finish spray.
Any better ideas?
IMG_0821.JPG
 
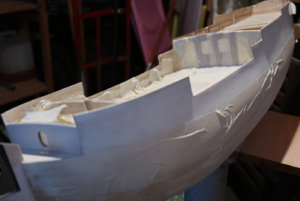
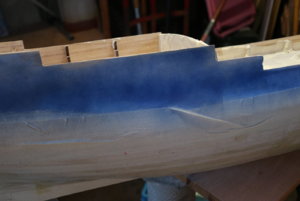
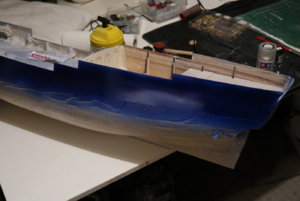
We are getting to the first blue/black painting...
IMG_0816.JPGIMG_0822.JPG
IMG_0839.JPG
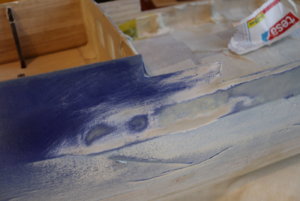
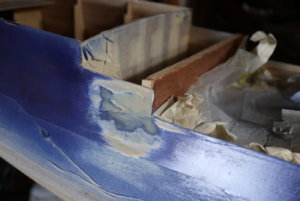
sometimes something went wrong, and we had to restart the polishing/priming again and again...
IMG_0841.JPG
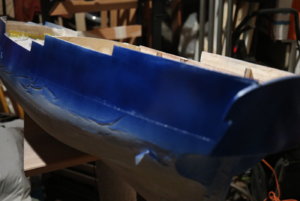
Now it looks better, and it seems that one or two layers more and we get there
IMG_0854.JPG

OK, finished:
IMG_0858.JPG
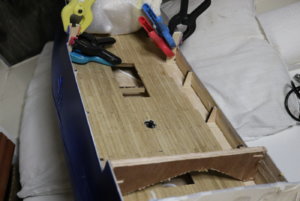
...and then we got an accident: we broke a part of the hull, because it has very weak structure. OK, we installed new enforcement frames and started the painting from the scratch. I love it.
IMG_0866.JPG
IMG_0868.JPG
 
Last edited:
Issue: my copper burnishing liquid does not provide stable results, and this black substance is getting off easily, when I touch it.
I reviewed the Maarten's blog (page 32) but I did not find any comments on stability of the result.
I tried to cover it with the transparent finish spray.
Any better ideas?
View attachment 133052
Hi Alex, first degrease with acetone.
 
first degrease with acetone.
oh, yes, of course. It was in the manual. But it does not help. Could it be that I have a wrong chemical? I doubt because the reaction seems to be quite simple, so all suppliers probably deliver the same stuff. Hmmm... OK. The transparent finish paint helps...
 
oh, yes, of course. It was in the manual. But it does not help. Could it be that I have a wrong chemical? I doubt because the reaction seems to be quite simple, so all suppliers probably deliver the same stuff. Hmmm... OK. The transparent finish paint helps...
Try to sand the parts before burnishing them and leave in the fluid a little longer. Flush them afterwards with water and leave them to dry on air.
If it stil doesn t work I should try another brand.
 
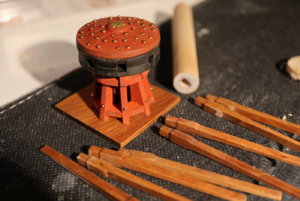
The Capstan.
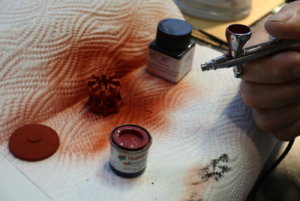
Color scheme: I followed the Maarten's approach: red+black. For red I used the mix I made 10 years ago for the HMS FLY, from Enamel paints (red+brown). For black first time in my life I used the ink.
I decided to use airbrush + no primer, to make the wood articulate itself through the paint.
IMG_0846.JPG
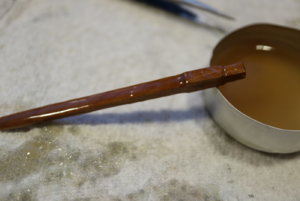
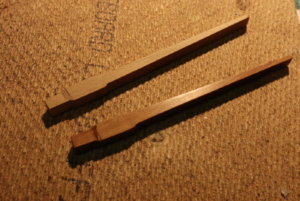
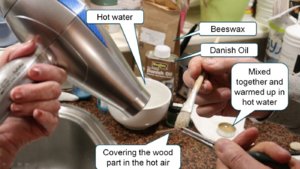
The sticks I left unpainted, just articulated them with wax. Actually, after many experiments and reads from the SOS, I decided to use beeswax+Danish Oil.
wood.JPG
IMG_0847.JPG
And it was ok. Here is the processed and raw stick:
IMG_0849.JPG
In my case the Capstan has to trigger the lights, so the central shaft had to be adapted to the switch rotating part. We used the epoxy which took the right shape in the right direction of the gravitational field. Don't ask how I control the gravitation.
IMG_0844.JPG
So, here it is, almost ready:

IMG_0857.JPG
 
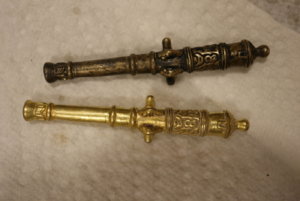
Playing with burnishing. Still learning...
IMG_0853.JPG
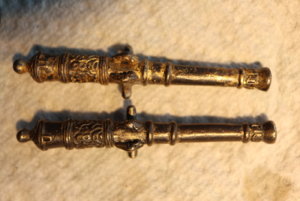
The first result does not impress: as you see, the cannon does not look nice.
IMG_0856.JPG
Then I applied the burnishing twice to the same cannon, and here you see the result: the bottom one is double burnished and it looks more uniform:
IMG_0882.JPG
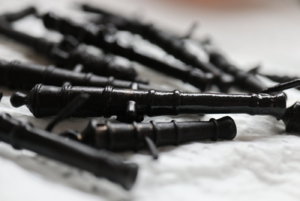
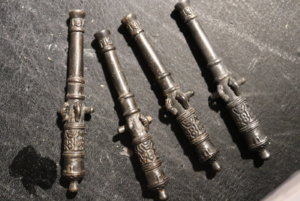
OK, then I decided it's time to sink them all, twice:
IMG_0884.JPG
And after doing it two times, I got a better result!
IMG_0886.JPG
 
Last edited:
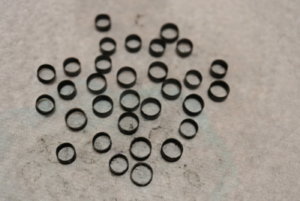
G'day Alex, are those the metal pieces for going on the cannon wheels, I think if you check them out that they did not use them on the ships as the metal would dig into the wooden decks, they used to put them on the cannon that went on Castle battlements to protect the wheels against the stone paving, ( floors ) ,
best regards john,
 
G'day Alex, are those the metal pieces for going on the cannon wheels, I think if you check them out that they did not use them on the ships as the metal would dig into the wooden decks, they used to put them on the cannon that went on Castle battlements to protect the wheels against the stone paving, ( floors ) ,
ahahahaha!
Good point, John. I tend to agree.
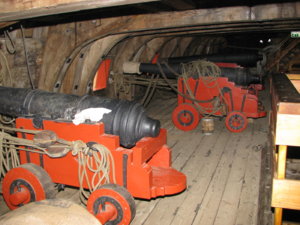
At the same time, the only reference I have at hand is the Batavia ship from 1600 which is not far away from me. So, I checked it out, see the picture below...
IMG_4869.jpg
 
I am trying to finalize the list of parts for the cannons.
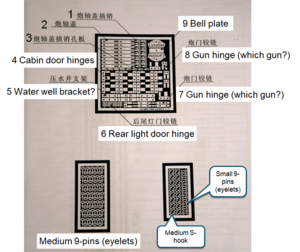
Here is the list specifically for guns.
I still have couple of questions:
1. I need your help in giving the right English names to parts #1, #2, #3, #5, #7 and #8 on the picture below. It will help to finalize the Parts list.
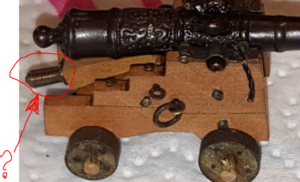
2. I am not sure where to take the handles, depicted on the second picture below.

Thank you!
1581708516291.png
1581709269564.png
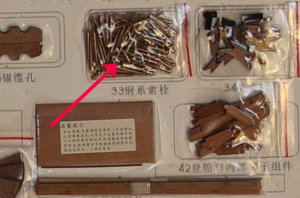
@Maarten , does it go from the same pack of copper pins, used for the bitts etc? (see the photo below)
IMG_0220.JPG
 
Last edited:
Yes just wooden wheel's,
Dear John,
You are right! Sorry, I was in a hurry and misinterpreted the picture!
Oh, it will be a shame to remove the iron rings... ahaha
You know, I am going to make an audio guide for this ship (in the end of the day, the storytelling is my current business), so that people could listen the story and then I will specifically indicate what is wrongly represented on the model. In a way, mistakes make a good cause for a good story!
 
Last edited:
Back
Top