HMS Royal Caroline kit ZHL 1/30

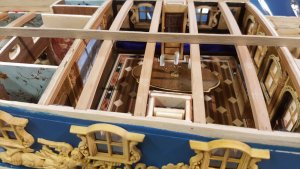
First task today was levelling the deck beams so the deck planks can be properly fit in a later stage.
20181124_155209.jpg
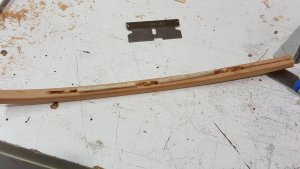
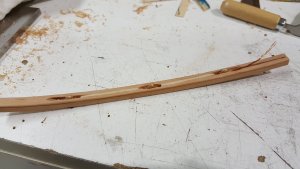
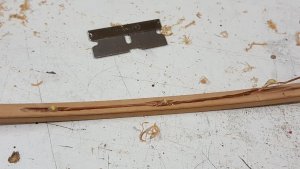
In one of the cabin beams I fit additional LEDs. For this I cut a space in the beam to fit three LEDs and the spaces between I fill again with wood.
20181124_143322.jpg
20181124_144212.jpg
20181124_144456.jpg
All the wiring for the lighting is completely hidden in the structure so nothing is visible.

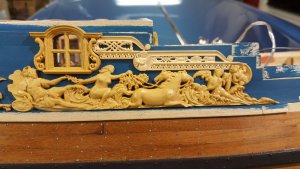
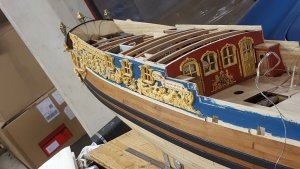
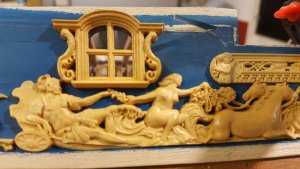
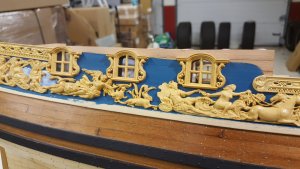
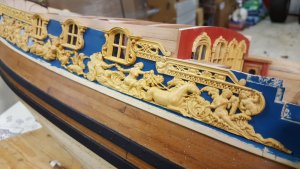
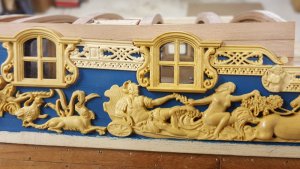
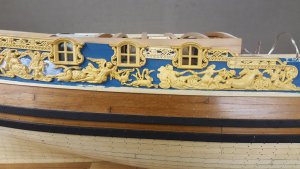
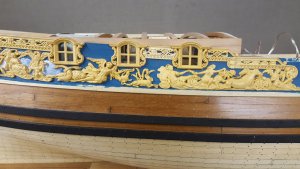
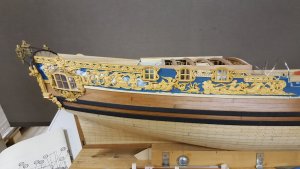
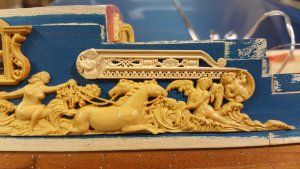
Now the side along the great cabin can be trimmed, followed by trimming and dry fitting of the carvings. First these had to be sanded to approx. half its original thickness. Followed by trimming the fit to the other carvings.
20181124_182947.jpg
20181124_190146.jpg
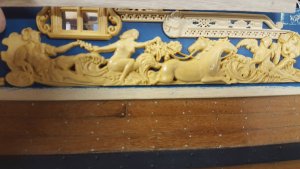
It is most important to get the carvings properly alligned, mis allignment is directly visible and damaging the beautiful lines of the hull.
20181124_190640.jpg
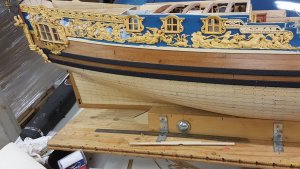
This line also has to follow the line of the upper wale and properly create a flow with the already fitted carvings on the stern.
20181124_190328.jpg
20181124_190443.jpg
 
Great job, as always!!! You set a high bar with this build!

This is the most understated statement of the year!
The bar for this build is unreachable to us, meer immortals.

G'day Maarten
What can I say about your build that everyone has mentioned already?
Brilliant Craftsmanship doesn't do it justice.
Regarding the the roof beams, I was going to make them all like a square sections,when in at that stage, so there would be 6 sections per row.
I don't recall the correct nautical terms, but you should put in 5 joists between the beams.
I hope you understand what in talking about.
keep up you high standards mate.
 
The bar for this build is unreachable to us, meer immortals.
@Peglegreg There still a bit more than a month, till the end of the year... :)

“Craftsmanship isn't like water in an earthen pot, to be taken out by the dipperful until it's empty. No, the more drawn out the more remains.” Lloyd Alexander, Taran Wanderer

Havegrateweekenda!
 
Great work, Maarten! I am green of envy seeing those details on your Caroline. Until now I thought mine is not that bad but now I have a second thought on that. OK, mine is just 1:50, but still...
Keep up the good work!
Janos
 
I should say it is really a great kit. Certainly the best kit I have ever seen in real life.

Maarten, as you recommend Mike to rename his build log a 'scratch' because of heavy modifications, I am confident with your skills and attention to details you will no longer need a kit, no matter if the kit will be the best ever! Ok
 
Baby steps, yesterday evening I waxed the parts above. After this I dry fitted the parts to take the shape onto the side and remove the blue coloured planking and replace with bare planking.
20181126_195734_001.jpg
New planking fitted.
20181126_210735.jpg
20181126_211826.jpg
Now two additional carvings to be fitted. Finishing one carving is taking 1,5 hrs by first sanding down to half the thickness, then open up all tigny spaces. Then the tedious task of the fitting of the carvings with cutting and grinding them on both sides to create a perfect fit.
20181126_220930.jpg
20181126_221158.jpg
20181126_221158.jpg
And now another one, o yes and we also have a PS side.:-)
 
Back
Top