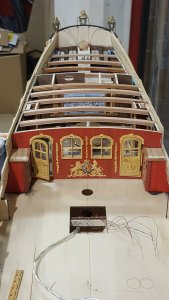
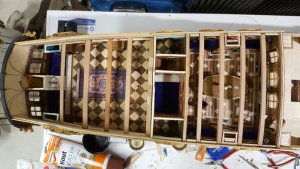
HMS Royal Caroline kit ZHL 1/30

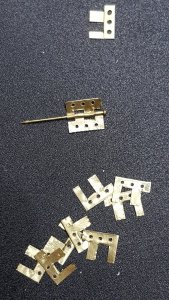
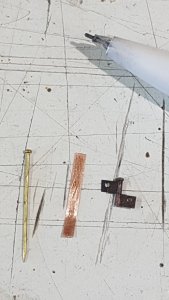
This evening I made new hinges as I previously did for the inner doors. As mentioned the hinges supplied with the kit brake on an etsched line along the hinge as can be seen below by the pencil point.
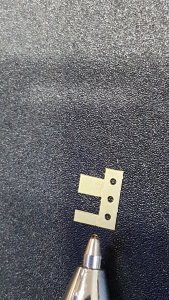
20181112_125545.jpg
The steps of creating the new hinges I show below in pictures.
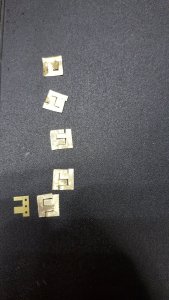
20181112_134231.jpg
20181112_165817.jpg
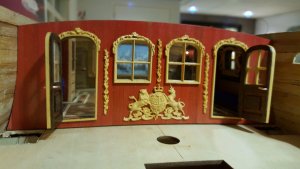
After fitting these first to the door and then fitting it to the bulkhead finally i have some outside doors.
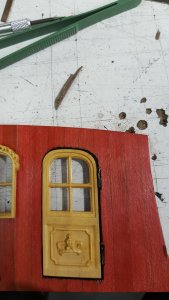
20181112_201831.jpg
Now it is time to fit the outside carvings around the hinges.
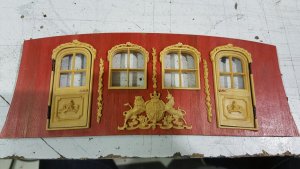
20181112_215459.jpg
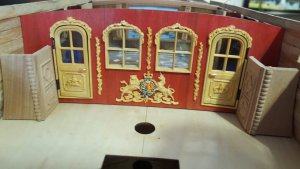
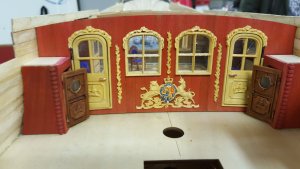
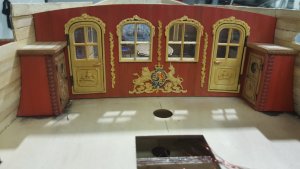
Dry fitting the bulkhead in place with doors open and closed. I also fitting the door handles.
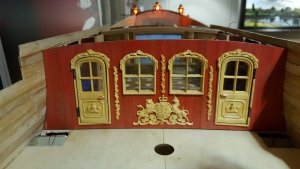
20181112_212358.jpg
20181112_212644.jpg
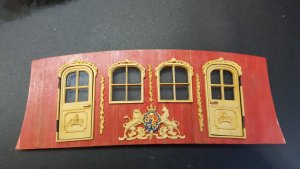
Before final fitting I will paint the royal coat of arms in apropriate colour as on the stern.
 
This all went well, except for damaging my window glass which I now need to replace.
G'day Maarten
This proves to me that you are human after all. I was thinking ar one stage, you were a class above mere mortals.
I'm sort of glad that you have decided to join the human race mate.
Hopethingsworkout
Greg
 
Time for the staircases.
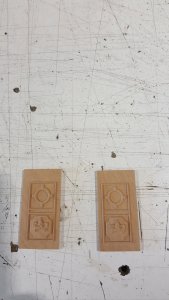
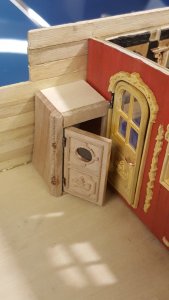
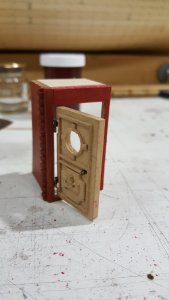
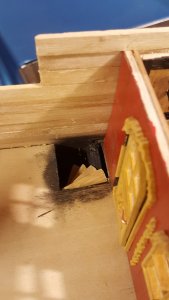
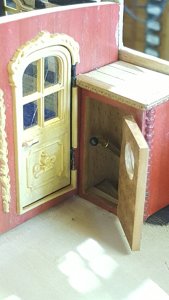
In the kit these do not open up, but I am changing this. So first I cut out the door from the panels below, one ps and one sb.
20181116_135155.jpg
Then again I need hinges, smaller then the ones for the other doors.
20181116_144104.jpg
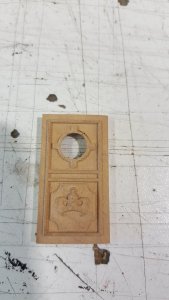
Next step is to open up tge window frame in the door.
20181116_151844.jpg
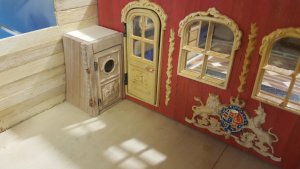
Glue the panels together and fit the hinges and door. In the window frame I made a small perspex window.
20181116_155155.jpg
20181116_155247.jpg
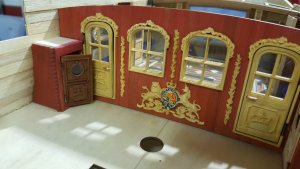
Fitting it in place followed by painting it.
20181116_194802.jpg
Then varnishing the doors.
20181116_195615.jpg
20181116_200135.jpg
Now the deck has to be put on top, thats next time.
 
Finally it is time to fix the bulkhead, followed by making the staircases to the lower deck. These staircases are not part of the kit. The stair I made from wood of the first planking of which still plenty is remaining.
20181119_213217.jpg
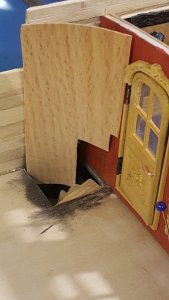
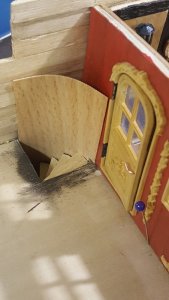
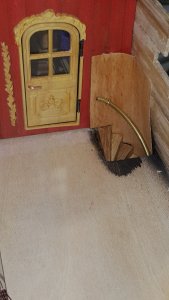
The stairs is a round staircase and the staircase ot self I made from beech wood veneer which I can nicely shape around the stairs.
20181122_203618.jpg
20181122_204141.jpg
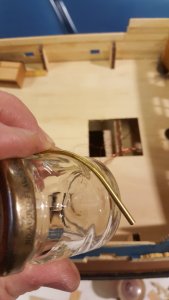
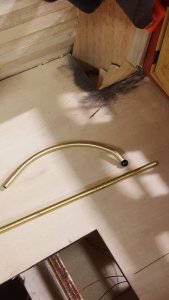
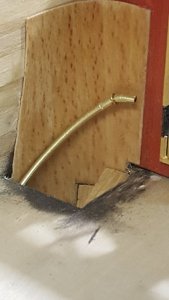
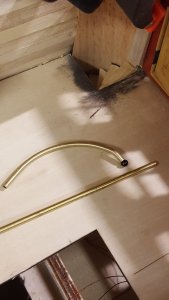
The veneer is glued into place forming a nice curvature. Along the side a banister of brass pipe is fitted. I bend the curvature of this brass pipe banister along a small jar with an equal curavature.
20181122_213200.jpg
20181122_210308.jpg
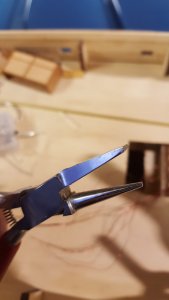
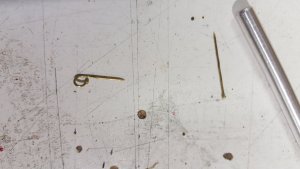
To fix the banister I make some eye bolds from long brass nails with a single rond nose plier.
20181122_211028.jpg
20181122_211042.jpg
These are fitted around the banister and fitted to the wall as a whole. One SB and one PS side.
20181122_214419.jpg
20181122_215426.jpg
I also finished the deck housing for the staircases. I decided to fit the same planks as on the bulkhead to get the same appearance, as the pear wood varnished directly with my red coloured varnish created a darker colour.
Further the deck is fitted on top and the pear carvings fitted along the top.
20181122_220721.jpg
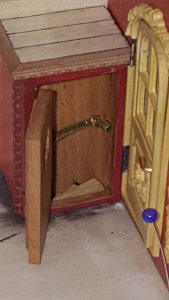
Opening the staircase door you now look into the staircase down to the crew compartments.
20181122_214524.jpg
Thats it for now. Next will be finishing the bedroom and preparing the deck beams.
 

Attachments

  • 20181122_210308.jpg
    20181122_210308.jpg
    137.2 KB · Views: 12
@Maarten You keep wondering me with your skills and creativity. Excellent stairs to crew compartment! If you don't mind, I would suggest you cover the handhold hole with a headpin or even melt a brass piece to a ball. :cool:
Gents,

Many thx for your replies.
The head pin I already prepared, you can see this on picture 5 from top, I was still thinking about fitting it, but you convinced me, I will.:-)
 
Today I had some time and first added a head pin to the end of the rail.
20181123_133859.jpg

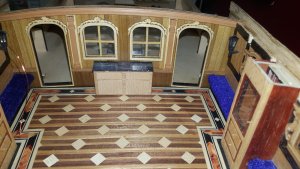
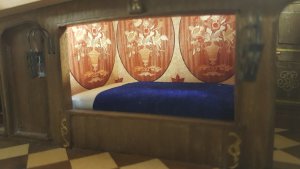
After that enormous task it was finally time to finish the kings bedroom. For this I made a wood inlay look on the walls and below is the finall result.
20181123_143040_001.jpg

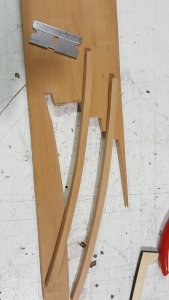
Then time for the deck beams of the great cabin. As I completely rebiuld the cabins I make my own beams from pear wood. I cut these from 8 mm pear and sand them down to 6 mm according the drawings from the AotS book. On the sides of the beams I carved a rounded edge.
20181123_164422.jpg
20181123_173621.jpg
20181123_174002.jpg
Now I have to sort out the rest of the deck beam construction as these are not mentioned in the AotS book. Secondly I have to create the knees for the deck beams.
 
Back
Top