HMS Royal Caroline kit ZHL 1/30

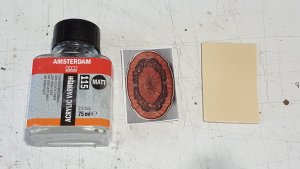
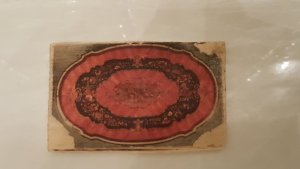
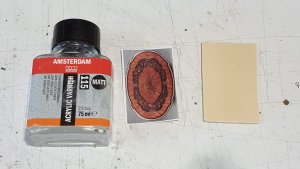
Due to travelling last week I didn't had a lot of time to build, but waiting in airports provide you with plenty time to google and I came across a nice technique to transfer laser printed pictures to wood. This offers endless possibilities for ship model building and therefore today I ran a small test.

The process is rather simple.

First look at internet what you want to print.
Then print this in the correct size on regular paper on a laser printer.
Select the wood where you want the image on.
Sand the wood with a fine course and then apply a layer of mod podge, this is a combination of glue and acrylic varnish. As I didn't had mod podge I used plain acrylic varnish.


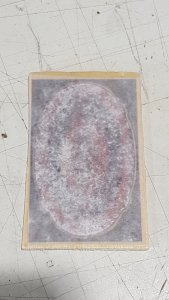
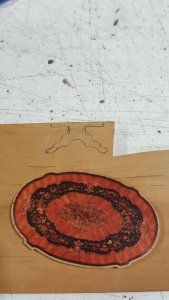
Put the paper with the image side on the varnish and firmly press it so the varnish is spreading equally and absorbed in the paper.80202
 
Last edited by a moderator:
80203

Put the paper with the image side on the varnish and firmly press it so the varnish is spreading equally and absorbed in the paper.
80204

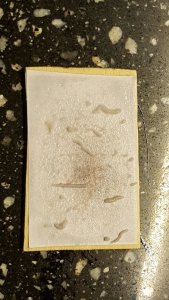
After drying you put water on the paper and let it absorp. As the paper is saturated with water you can slowly rub of the paper and the laser printed image remains on the wood. Do this very carefull as the image is rather delicate.
80205

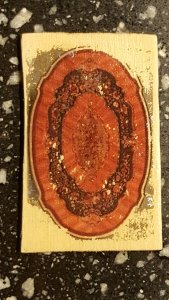
When the paper is removed this is the result.
80206
This is still a test and with removing the paper I damaged some spots in the image. Today I got a small bottle of mod podge and give it a second try to get it perfect. But the results sofar are very promissing.
Offcourse the picture needs protection by two layers of varnish and then the image can be sawn and further finished.

This technique can be used for furniture but also for all other internal decoration.
 
Today a third try and it worked.
I prepared the simple plywood with a decend layer of acryllic varnish and put the picture on top of it. Left it to dry for 2,5 hrs and wetted the paper afterwards with a sponge and very carefully rubbed the paper away.
This is the result before applying the layers of top coat of gloss acryllic varnish.
80508
Adding the top coat will enrich the colour and contrast. I will do that tomorrow and try to transfer it to a suitable table for the kings bedroom.
 
This is a brilliant idea Maarten
Thank you do much for sharing this fantastic trick with us!
It's a pitty, that you have done your interiors in the king's an main cabin. This would make your work a lot quicker.
But, my RC is still waiting for this treatment. My brain is going a thousand miles per hour, thinking of what I could do.
 
By the way, where did you found this treatment?
On YouTube re: diarama on trains and what to do by Luke Towen? Sounds like it was a Luke's touch, to me
Hi Greg,

It was a site of diy family photos on wood and I thought this I can use otherwise.

I still have to do furniture, so thinking about a table, cabinet etc.
 
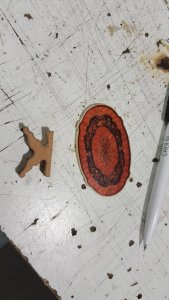
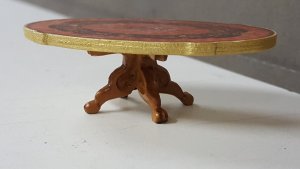
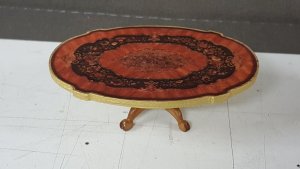
After transferring the image on the wood I twice gave it a layer of acrylic varnish before cutting it on my scroll saw. As a base for the table I create a table stand from pear in the same trend as the other table in the center cabin.
81356
81357
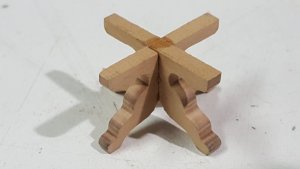
After cutting out the table stand I cut it into two identical halves.
81358
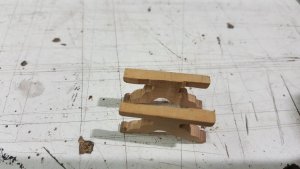
These two are cross fitted to create the table stand.
81359
To give it a more elegant georgian look I carved and polished it finishing with oil.
81364
81365
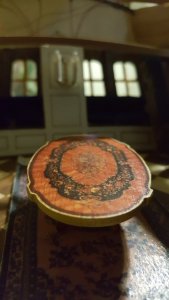
And dry fitting it in its place in the kings bedroom.
81368
Now we have a nice scale marquetery inlay wooden table in just a few steps. In this way you can create any furniture piece of your choice.
 
Time for the sofa.
As a model I selected a georgian sofa from 1772 which I found in an online auction house.
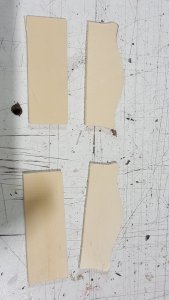
The basis is plywood, as I make two sofas, two bottoms and two backs
20190312_163717.jpg
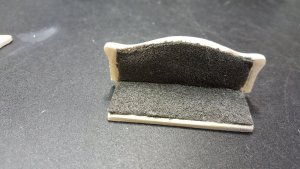
On top of the plywood I added some foam to create the cushions.
20190313_115431.jpg
I will cover it with a type of silk cloth fixed with double sided carpet tape.
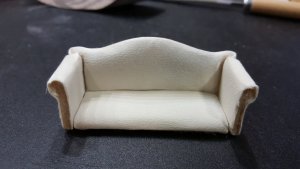
The sides of the sofa are also made from plywood, again covered with cloth.
20190314_132707.jpg.
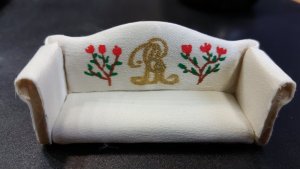
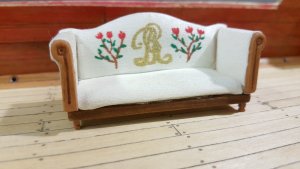
On the cloth I will add the george II monogram and embroided flowers which are also shown on the cabins wallcoverings. The decorations I do with very fine 0.7 mm paint markers.
20190314_152546.jpg
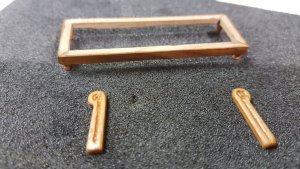
Now time to add wood, the sides of the sofa I cover with pear wood. I also build a bottom frame with pear wood strips.
20190315_153102.jpg
Fitting all together and this is the result.
20190315_160642.jpg
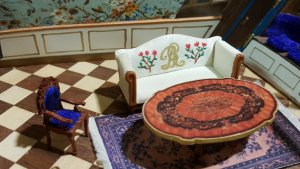
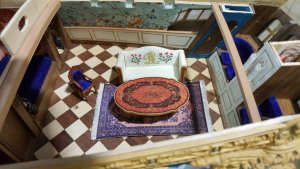
Finally dry fitting the first sofa in place.
20190315_160449.jpg
20190315_160542.jpg
First sofa finished a second will follow.
 
I am sure we all know how talented you are when it comes to building ship models, but building the furniture, a miniture furniture - this is something new. Very nice and stylish. King would be happy for sure. But wait...when did you build the chair?
 
Back
Top