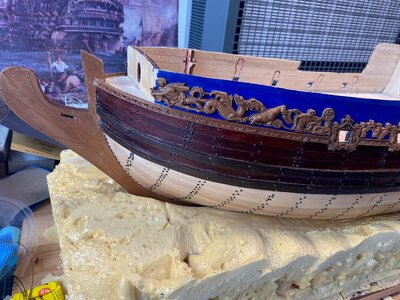
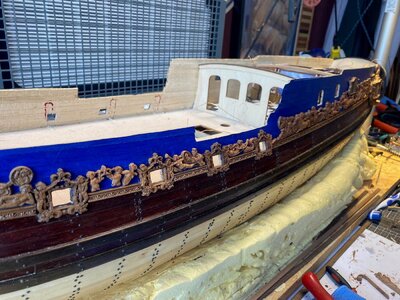
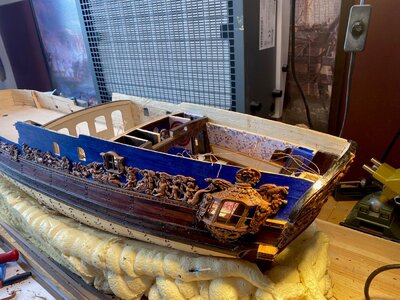
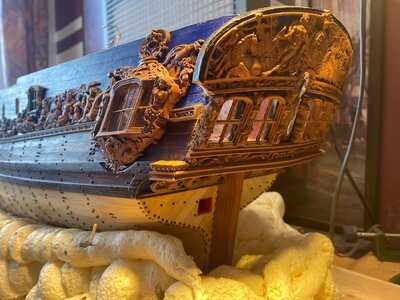
Last week I had some time to spent on my build so this week wil post some updates.
After the bellfry I started on the PS railing, made of pear and colored with black ecoline ink finished with oil.
View attachment 161377
View attachment 161379
After the flat railing pieces are fitted all the curved railing pieces are added and sanded and filed to fit perfectly.
View attachment 161383
View attachment 161381
Then they are colored with ink and fitted in place.
After the glue is dry I file and sand the in place to get a smooth fit ad finish.
View attachment 161382
The original the top is again colored with ink followed by a layer of oil to seal it, but first aditional parts to the railing are added. Some bollards to the forward railing.
As with a lot of parts in this kit these consist of two halves which are too thick, so again a lot of sanding needed. Left original right sanded to half diameter.
View attachment 161384
All glued together and I wil press these between two blocks of wood to let them dry. I added some paper to get an even pressure on all of them.
View attachment 161385
View attachment 161386
Plain wood color would be to boring so I colored the inside with black ecoline.
View attachment 161387
As the glue is drying I worked on the chain wale.
In the kit it is a flat lasered part of pear wood. I tapered it.
View attachment 161391
View attachment 161393
In the mean time the glue was dry and all the bollarts are finished.
Next is the cat head (penterbalk in Dutch), this beam was used to move the anchor to the chain wale for storage. In the model two are supplied but as far as I know only one was on board which could be used on the SB or PS side. So I use only one.
It is fitted in a clamp on the railing and at its end in a iron ring on deck.
View attachment 161394
View attachment 161395
To move the beam ropes were fitted on the side with knots for grip.
View attachment 161405
At last I added the iron ribbons around it.
View attachment 161406
Next time the lower railing.


