- Joined
- Jul 9, 2018
- Messages
- 128
- Points
- 133

back in business 
 |
As a way to introduce our brass coins to the community, we will raffle off a free coin during the month of August. Follow link ABOVE for instructions for entering. |
 |
 |
The beloved Ships in Scale Magazine is back and charting a new course for 2026! Discover new skills, new techniques, and new inspirations in every issue. NOTE THAT OUR FIRST ISSUE WILL BE JAN/FEB 2026 |
 |

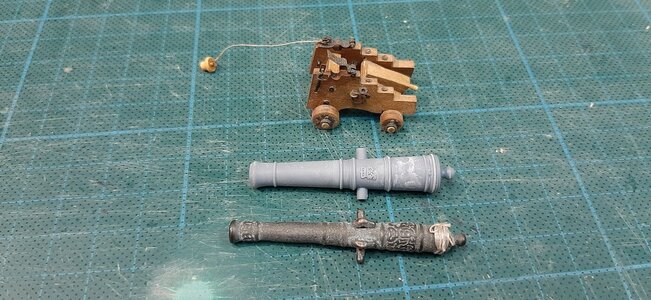
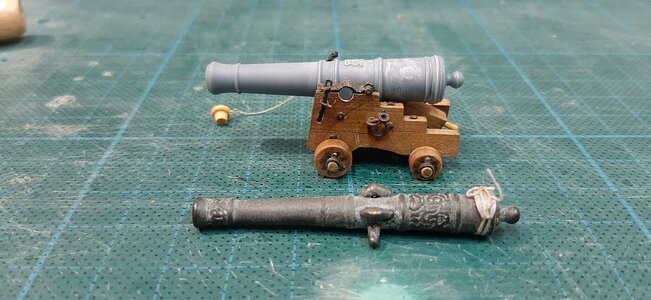
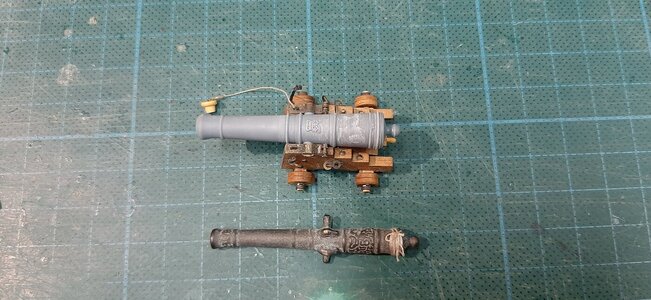
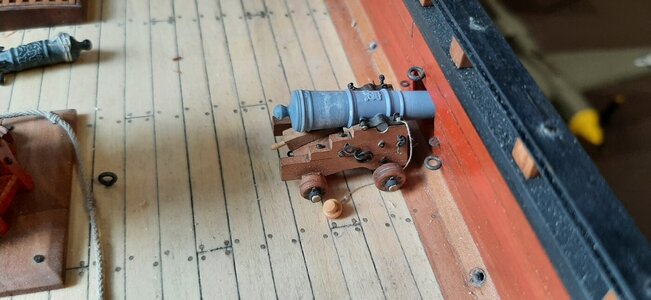
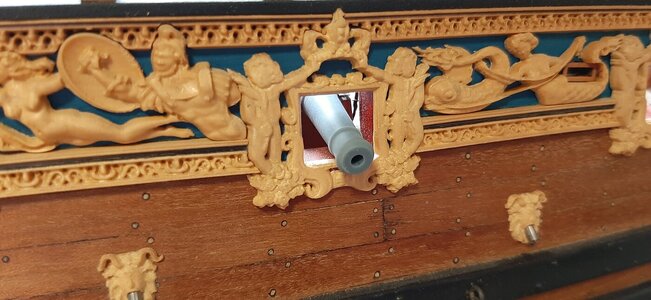
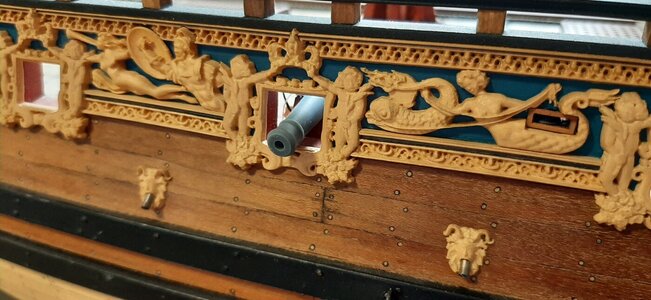

@Jimsky - carriages will be available alsoI like those new barrels from Kris, and they fit into the country of origin and period the ship was built. But what barrels without the cartridges? I think they look good, becse of the nice carriages you have built!
Hi Uwe,Looking really good.
Nevertheless I think, that the carriages are too small for the new muzzles - looking slightly oversized or better undersized
Especially looking from the top view the muzzle has not enough free space
Hi John,G'day Maarten, it's great to see you back at the RC, looking forward to more,
Best regards John,
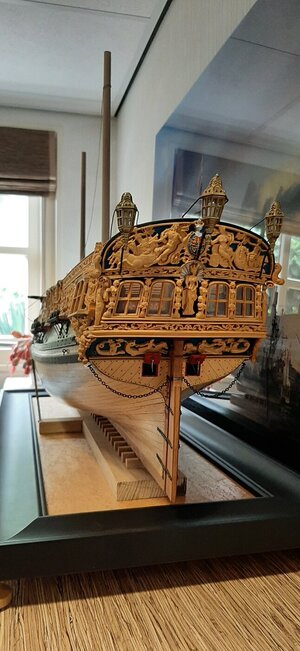
Nice touch with the Silver Armor Helmet Maarten!!!!Finally it is time to fit the carvings to the stern. This to protect my very delicate glass windows.
View attachment 42612
First I glued in the top part followed by the lower part. The lower part is rather thick so you really need to shape it correctly before fitting so it nicely follows the shape of the rounded stern. I did this with lots of steam and a soldering iron, ofcourse this all before I waxed and polished them with bees wax.
View attachment 42613I glue with Uhu hart a clear glue for modelling. To tighten everything I used next to a lot of clamps two pieces of solid copper electricity wire which I wrapped around and put to tension by twisting the wires ends.
View attachment 42614
Next step is the lantern. In the lantern I build a large candle with a candlelight mini LED.
View attachment 42615
The red coated copper wires are the arms of the lantern and directly the wiring to the LED. These I shaped to fit within the lantern. As a candle simulation I used white heat shrink.
View attachment 42617
The lower arm of the lantern I pre shaped and I drilled a hole in the base of the lantern to solder it in.
View attachment 42618
In the lantern I fitted clear plastic glass for the windows before glueing it together with hot melt glue. In the top of the lantern I drilled out the holes in the small chimney
View attachment 42619
The arms of the lantern are painted matt black, the rest will remain gold.
View attachment 42620
Now it is time for the top roll on top of the carvings. This one I also shaped with steam and a soldering iron.
View attachment 42621View attachment 42622before glueing it I painted it black and glued and clamped it in place.
This is the end result.
View attachment 42623View attachment 42624View attachment 42625View attachment 42626
G'day Maarten, yes I will have to get back to her and get her finished, and I've also got the RC Boxwood version that I got off Greg, too much to do and not enough time,Hi John,
I think one or rwo months more before I really start again with the RC.
Hopefully you also?
Haha being a model builder time is allways an issue.G'day Maarten, yes I will have to get back to her and get her finished, and I've also got the RC Boxwood version that I got off Greg, too much to do and not enough time,
Best regards John,
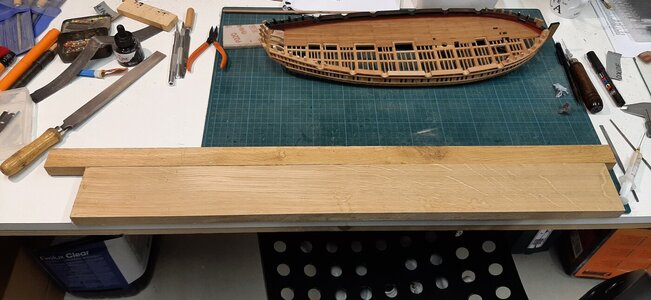
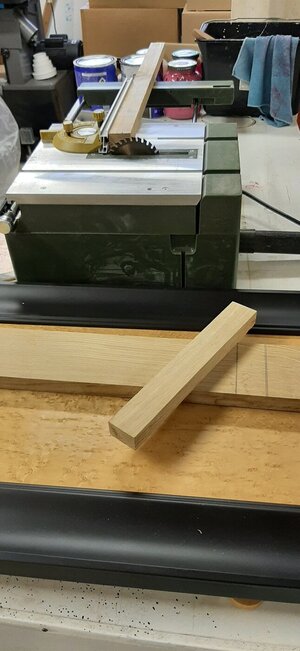
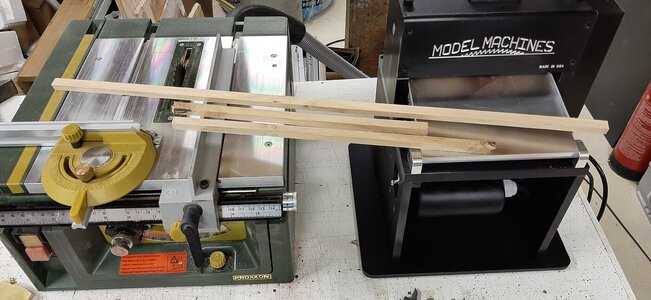
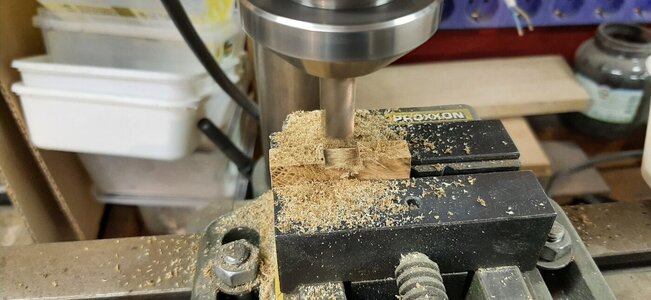
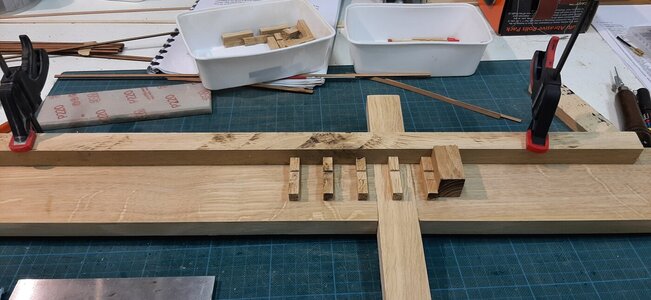
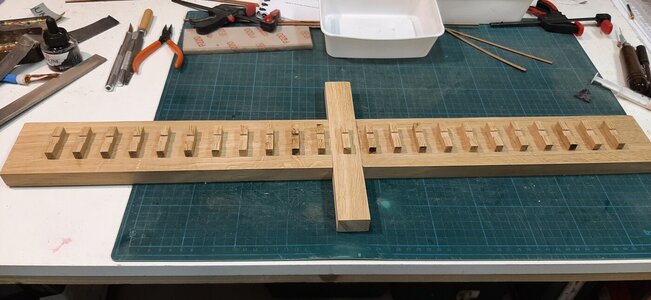
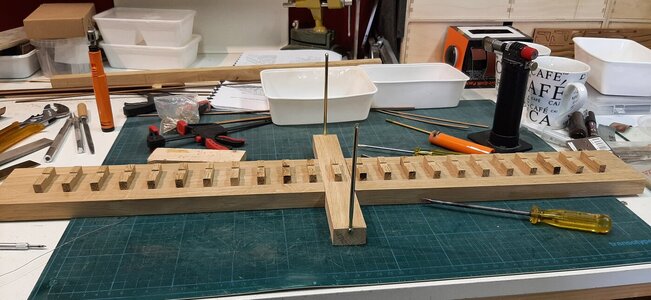
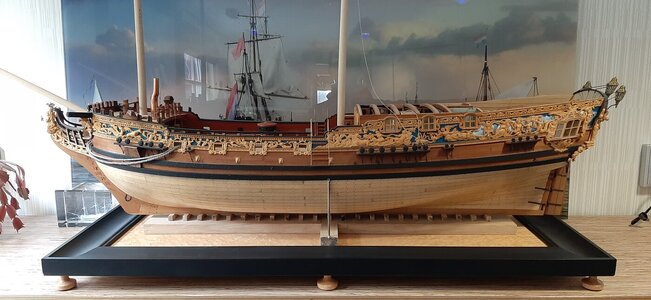
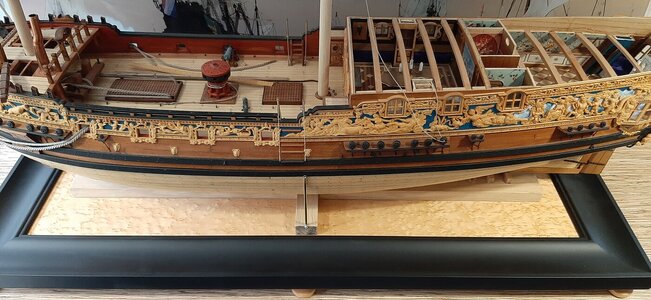
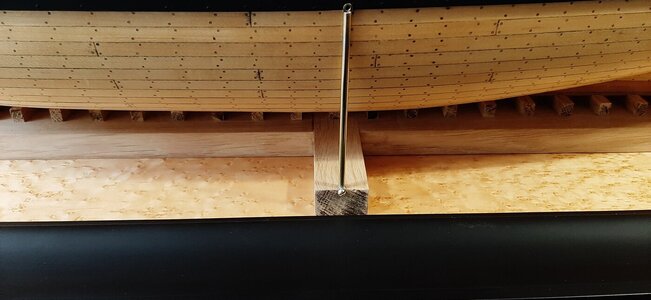
Hi Nigel,Very nice barrels and a very nice stand in the making Maarten.
Looking at the carriages, not only are they cheeks too snug to the barrel, the taper between them is too shallow.I feel this needs altering to suit the more pronounced taper of the new barrels.
Kind Regards
Nigel
