Good morning Maarten. I can’t repeat what went through my mind when I saw this stand- suffice to say “That is so uniquely amazing”. Cheers GrantHi Pter, great seeing you tomorrow.
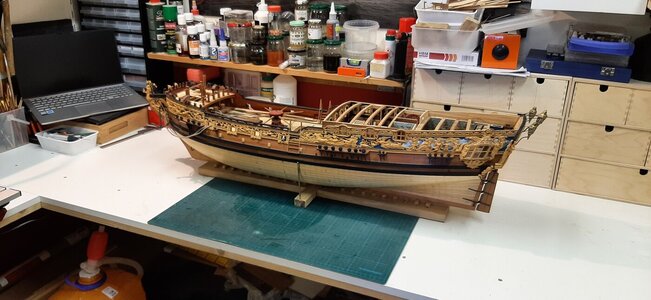
The stand is now finished for the show allthough still some lacquering is needed and the name badge, but that is for later.
To keep the ship horizontal I made two studs of brass which support the wales from below and fitted with some small brass screws.
View attachment 328827
Fitted them to the base plate.
View attachment 328828
View attachment 328829
Dry fitting the ship. The ship will be attached to the base with some large screws into the keel.
View attachment 328830
View attachment 328831
View attachment 328832
And the brass support studs.
View attachment 328833
-

Win a Free Custom Engraved Brass Coin!!!
As a way to introduce our brass coins to the community, we will raffle off a free coin during the month of August. Follow link ABOVE for instructions for entering.
-

PRE-ORDER SHIPS IN SCALE TODAY!
The beloved Ships in Scale Magazine is back and charting a new course for 2026!
Discover new skills, new techniques, and new inspirations in every issue.
NOTE THAT OUR FIRST ISSUE WILL BE JAN/FEB 2026
You are using an out of date browser. It may not display this or other websites correctly.
You should upgrade or use an alternative browser.
You should upgrade or use an alternative browser.
HMS Royal Caroline kit ZHL 1/30
- Thread starter Maarten
- Start date
- Watchers 112
-
- Tags
- royal caroline zhl
Maarten you are a Craftsman Extraordinaire, your RC is the greatest RC, absolutely immaculate,
Best regards John,
Best regards John,
Looking very very good, especialy for a "fast made" stand 
Thx gents for all the comments, I see I have to get started again on my RC 
I think I will use this stand as finall version with some minor upgrades.
I think I will use this stand as finall version with some minor upgrades.
did the kit come with english instructions for the manuel
hello. i was wondering if you have instruction manual in english for this ship? i would be willing to pay for them. if not do you know any body that has them? thanks terry
Hello Maarten,
Do you have any idea where/what Part#30 (2 of them total) goes or where it is supposed to be used????? I am wondering if it was initially supposed to be used on the Carvings (Part 30Z & 30Y) in their initial prototype kit release ??? Obviously Parts 30Z & 30Y already have the item on the Carvings.
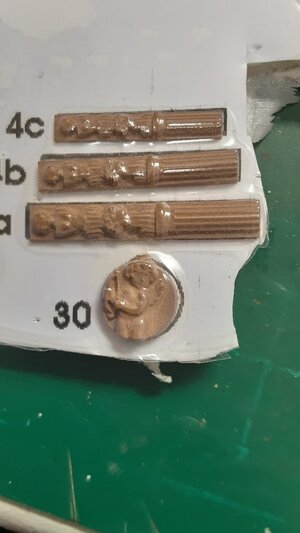
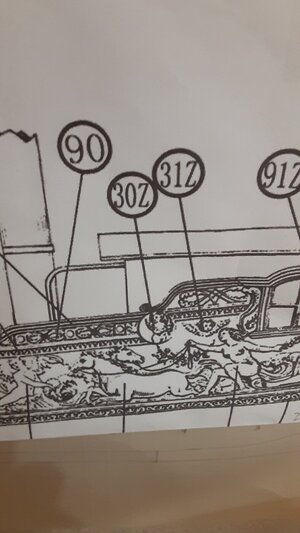
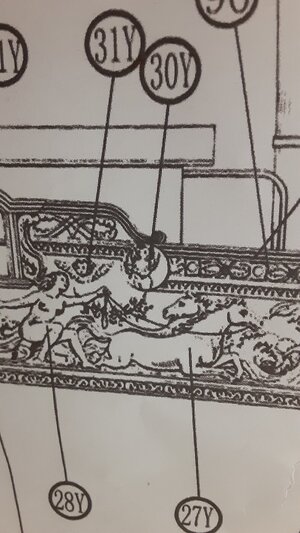
Do you have any idea where/what Part#30 (2 of them total) goes or where it is supposed to be used????? I am wondering if it was initially supposed to be used on the Carvings (Part 30Z & 30Y) in their initial prototype kit release ??? Obviously Parts 30Z & 30Y already have the item on the Carvings.


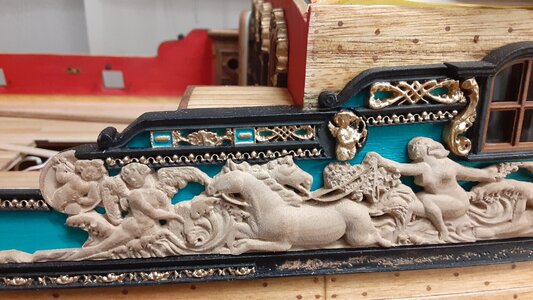
I also did not use them and agree with you these were intentionally used as item 30y and z.
You can use them as additional decoration medaillons for the great cabin.
You can use them as additional decoration medaillons for the great cabin.
Dear Maarten, this link is broken. Do you have those parquetry examples as files, probably?As promissed herewith the link to the parquetery examples I used to print for the flooring.
You can create amazing parquet floors with these.
http://www.victonparkett.com/palace_parquet.html
Hi Alex,
I have found a new site selling these.
 www.craftsupplies.nl
 www.craftsupplies.nl
I have found a new site selling these.
Marquetry Strips / Biezen - Craftsupplies.nl
Inleglijsten, marquetrie strips voor decoratie van b.v. schalen, meubels, inlegwerk, doosjes of ander draaiwerk.
Marquetrie strips / Biezen / inleglijst 0,9mm-1,2mm. - Craftsupplies.nl
Inleglijst/Marquetrie strips 0,9mm-1,2mm.
Yes after finishing Alert and cleaning up my work bench my RC is back in the workshop.
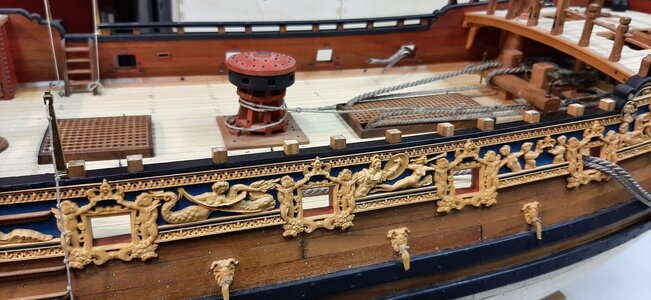
The first task is to fit the SB railing, the PS side I already did some 2 years ago.
First I started with fitting and finishing the frame tops. I has sawn these already while making the PS side so they are exactly te same size.
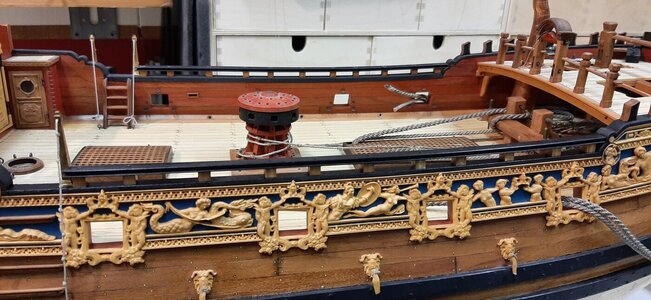
On top the railing is fitted, this pear wood strip is coloured with black Ecoline and sealed with Clou. In between and at the end sanded with fine steel wool.
Next is the SB bullwark sheave.

The first task is to fit the SB railing, the PS side I already did some 2 years ago.
First I started with fitting and finishing the frame tops. I has sawn these already while making the PS side so they are exactly te same size.

On top the railing is fitted, this pear wood strip is coloured with black Ecoline and sealed with Clou. In between and at the end sanded with fine steel wool.

Next is the SB bullwark sheave.
- Joined
- Jul 9, 2018
- Messages
- 128
- Points
- 133

superb......!!!
G'day Maarten, great to see you back working on The Royal Caroline, looking forward to more of your fabulous work,
best regards John ,
best regards John ,
Nice to see her back on the desk. She's worth finishing, Maarten. I have cleaned my chair and placed it back for watching.Yes after finishing Alert and cleaning up my work bench my RC is back in the workshop.
View attachment 360063
The first task is to fit the SB railing, the PS side I already did some 2 years ago.
First I started with fitting and finishing the frame tops. I has sawn these already while making the PS side so they are exactly te same size.
View attachment 360064
On top the railing is fitted, this pear wood strip is coloured with black Ecoline and sealed with Clou. In between and at the end sanded with fine steel wool.
View attachment 360065
Next is the SB bullwark sheave.
Regards, Peter
This was one of my favorite builds to follow, so good to see you back on track! 
Thx gents for all your support, highly appreciated. Hopefully you have some time , this as I will finish the hull and then start on my new Fluyt build. During next winter I will start rigging her.
To keep you entertained just a tiny update.
In the SB bullwark the sheave for the fore course is fitted.
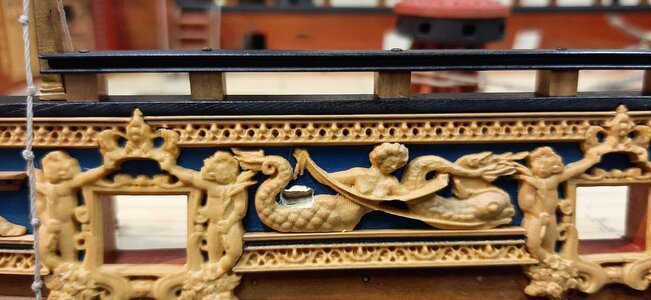
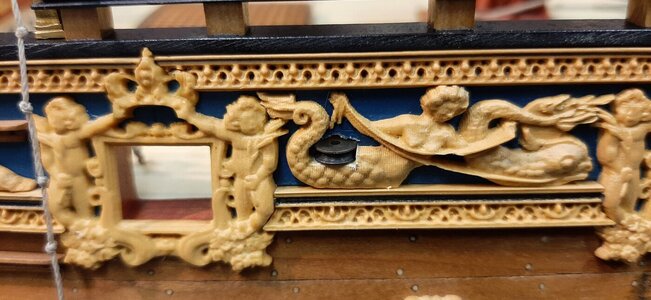
For this I have to cut a slot in the bullwark to fit the sheave at the spot of this mermaid.
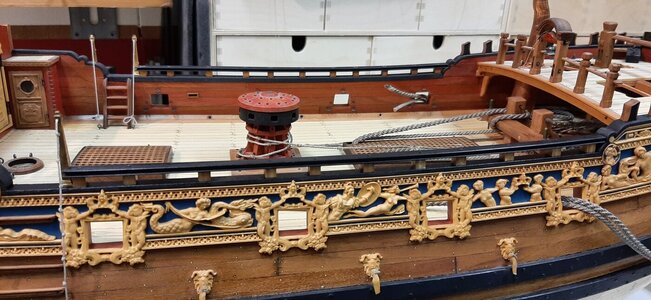
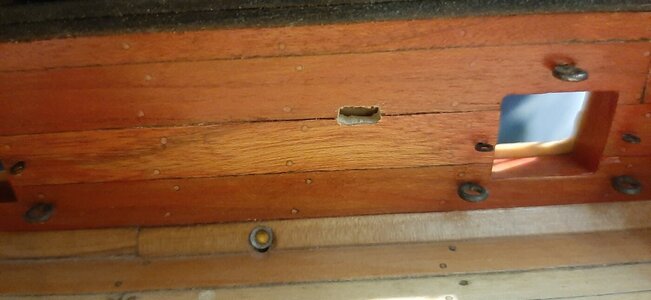
First I drilled two holes which I filed into shape with a very small square diamond file.
Step by step untill the sheave fits.
Seen from the inside.
The sheave is fitted with a brass axle for which I chisseled two tiny slots.
The sheave and axle fit in exactly after I painted the inside with darp brown ink.
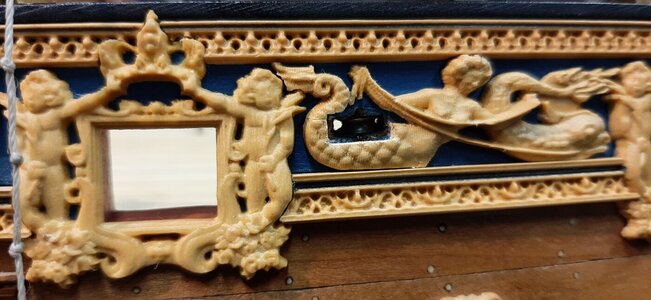
To finish it the in and outside holes are covered with a small frame.
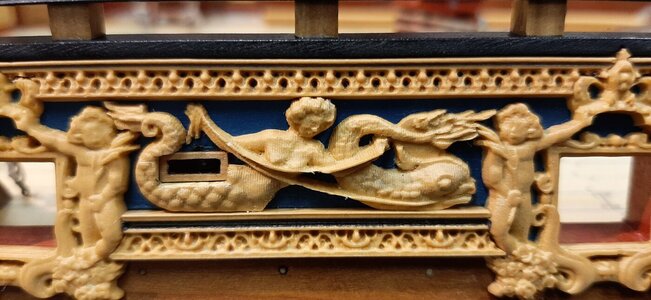
Now the SB bullwark is finished for now.
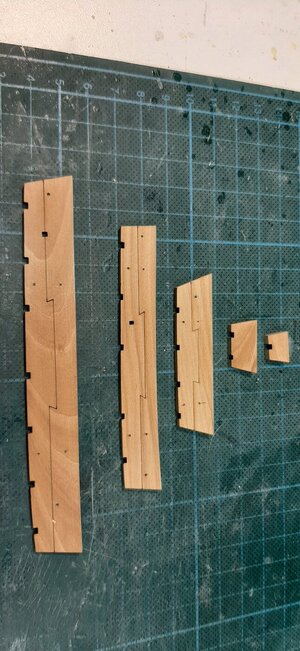
Next is working on the SB chain wales.
I already started to sand these to a tapered.
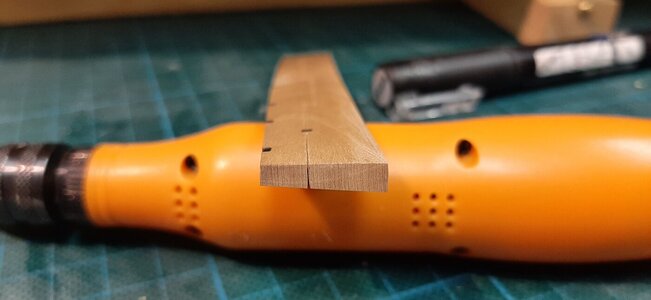
On the top is a lasered cut simulating the individual parts of which the chain wales are build.
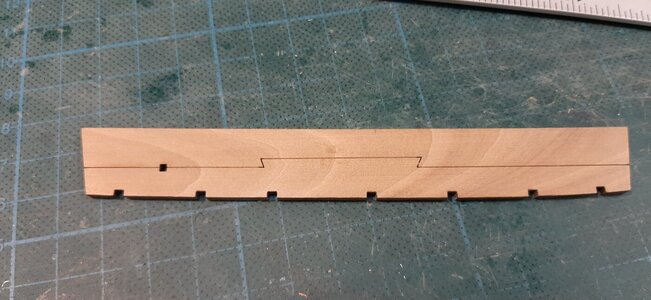
I have copied this to the bottom as these are individual parts and these joints are also seen at the bottom. These I carved with a sharp scalpel knive.
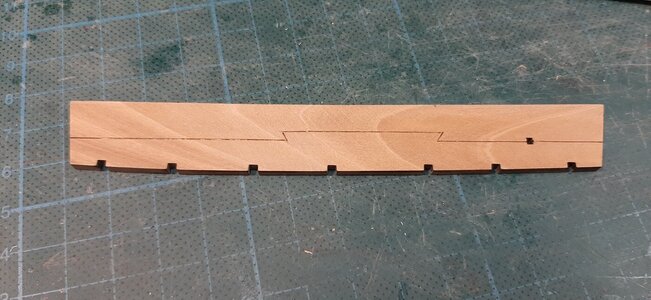
And the carving also shows on the side

These are all the chain wales.
Hopefully on Friday I can finish these so I can start on the cabins on Saturday.
To keep you entertained just a tiny update.
In the SB bullwark the sheave for the fore course is fitted.
For this I have to cut a slot in the bullwark to fit the sheave at the spot of this mermaid.

First I drilled two holes which I filed into shape with a very small square diamond file.

Step by step untill the sheave fits.

Seen from the inside.

The sheave is fitted with a brass axle for which I chisseled two tiny slots.
The sheave and axle fit in exactly after I painted the inside with darp brown ink.

To finish it the in and outside holes are covered with a small frame.

Now the SB bullwark is finished for now.
Next is working on the SB chain wales.
I already started to sand these to a tapered.

On the top is a lasered cut simulating the individual parts of which the chain wales are build.

I have copied this to the bottom as these are individual parts and these joints are also seen at the bottom. These I carved with a sharp scalpel knive.

And the carving also shows on the side

These are all the chain wales.
Hopefully on Friday I can finish these so I can start on the cabins on Saturday.


