HMS Royal Caroline kit ZHL 1/30

Dear Maarten. It is so great to see the #1 build on SOS resume her rightful position on the log. On the one hand, I can't wait for you to finish the RC so that you can start on the Fluyt, but on the other, I just cannot get enough of what you are doing with the RC. Since day one of me joining SOS, this has been my all-time favorite build, and nothing has changed.
 
Hi Vic @yancovitch just a while more, have to finish my Alert :).
Btw love your new project of Soleil Royal.

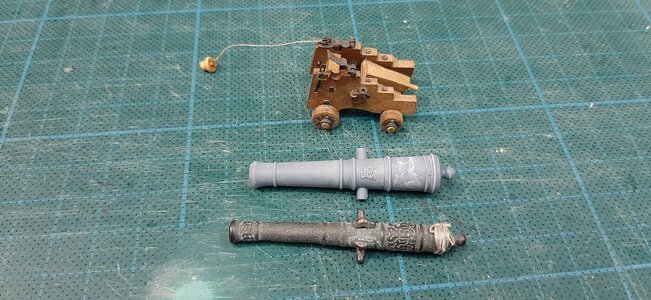
But today I received a nice package from Chris @SZKUTNIK with my new gun barrels for my RC.

See below what a difference.
View attachment 323881

I had to do some slight modifications to my gun carriage but am very happy with the result. Huge improvement compared with the period incorrect kit provided barrels.
View attachment 323882
View attachment 323883

I still have tobpaint the gun barrels and finetune the carriage but that is for later.

See below dry fitting on board.
View attachment 323884
View attachment 323885
View attachment 323886

Totally happy with these Chris saved me hours of work to make my own on the lathe.
Hello Maarten,
I to am considering changing out the gun barrels. After I completed building all 8 of them and dry fitting them on the deck, I concur that the quality of the barrels are not to my standards. I just hate to redo what already took me so much time to complete. One would think you would get better quality and non warped barrels considering how expensive this kit is.
Hi Rick,

The kit gunbarrel are not period correct and are French or Dutch. So good decision. Kris can make some great and correct gunbarrels.
 
On the side of the hull I have set out the ribs of the vessel according to the drawings. On these ribs I have drilled the small 0,8 mm holes for fitting the wooden pins. The wooden pins are glued in place and after drying cutted with a fine side cutter plier. After that the tops of the pins were filed with a fine file followed by sanding. When finished I will put the hull in oil or in bee wax, don't know yet what will create the best look and feel.

Hedgehogging the hull.
Setting out the top whale, for this purpose dry fitting of the boxwood ornaments.
Fitting the planking above the main whales.
Below a detailed view of the drilled holes, the cocktail sticks fitted and cut, and right below filed and sanded.
Next time I will share the pictures of adding the planking above the top whale and the color selection for the ornament background.

Dear Martaan, Dean62 pointed me to your RC build. I'm really enjoying it! I particularly admire the tree-nailing! Perhaps I should read the whole log because you may have answered this question already. If so, please forgive me for wasting your time. I have the Panart RC. The keel is plywood. I have been puzzling over how to deal with the visibility of the plywood seen head on. Painting has been suggested. Nigel Brook built/bashed this kit and removed the entire stem and keel after planking and replaced it with solid pearwood. It looks from the pictures that the ZHL keel is also plywood. Given what you're doing, I suspect you may have a solution other than painting. Please share your thoughts.

Blessings. Peace. Gratitude.
Chuck
 
Yes finally finished the tree nailing on my RC, 6.000 wooden cocktail pins have been added to the hull and the last can be seen in the picture below. Now it is time for some progress and I have started the addition of the cherry wood layer to the keel. The caulking between the keel parts is simulated in the model by adding additional laser burned lines in the cherry feneer. These laser lines I have additionaly coloured with a common black pencil. The caulking between the edges of the keel parts has been simulated by colouring the edges with a black marker. To finish the hull I have decided not to use any varnish but to rub the hull with bee wax and polish to a nice vinish. The effect of the wax is realy beautiful putting the focus on the grain of the wood with a satin gloss. After bee waxing the hull I have to repaint the whales as the turpentine in the bee wax is dissolving the black paint on the nails of the whales.
In the coming weeks I hope to start with the cabins as I plan some days of around the Christmas days.

Above a real tree nails from an anchor from the 17th or 18th century. The anchor is in our garden and was fished from the bottom of the North Sea 18 years ago, it is in perfect condition and shows the treenailing used to attach the achor stock. The tree nail is a wooden pen with a smaller tapered wooden pen in the middle. This anchor is about 2,5 mtrs and is 650 kg weight. It could be the size of Royal Carolines anchors. Sorry it is litted for Christmas at the moment.

A large part has to be removed from the keel veneer, I do this by first rougly cut of the major part and then using my grinder stone.

The aft part of the keel veneer has to be cut in less then half as I have changed the stern of the vessel.

In the model kit the lower part of the keel on the aft is also covered by veneer, this is incorrect and should be covered with planks, so I changed this in the model. There is sufficient of planks available in the kit to do this and gives to my opinion a better look and feel.

Finally the hull is polished with clear bee wax to get a nice finish.

The top whale in the pictures is a temporary one, this will be replaced by the carved whale in the near future.
Now I have to polish the rest of the hull with bee wax, repaint the whales and then start with the cabins. See you next time.

Aha! This is what I was asking about. As an apprentice builder I would really appreciate a detailed explanation of all of the steps you took. PLEASE!!!
 
Chuck, be sure to note the scale differences in these two kits (your Panart vs ZHL).
Paul, thank you! Actually, given the differences in scale and manufacturer I might never have looked at a 1:30 scale ZHL build log. That would have been an error, I think. In this case Maarten has solved the problem of the plywood keel. I just want detailed instructions on how to do it ;) . Anyway, I thought you were driving the PCH with Mrs. Paul:p!
 
Chuck,

Indeed veneer is the solution. You can easily glue this to the sides and top of the keel.
You can cut it with standard scissors and glue it with pva.
To simulate caulking between the keel parts you can colour the edges of the veneer parts with a dark brown or black waterproof marker.
Before glueing the top sides I pull a sharp knife along the edges to get a razor sharp fit between the veneer on the side and top of the multiplex. After sanding it is then nearly invisible from solid wood.

Hope it helps.
 
Back to the build.
Work on the scuppers still had to be done on the SB side.
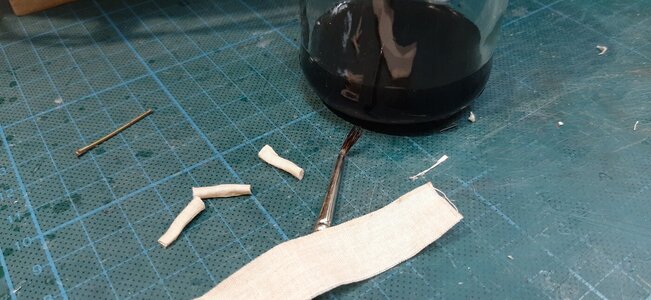
For these I use some very fine cloth. Rolled and glued with ca.
20230314_193946.jpg

The colouring is done with some bitumen dilluted in turpentine.
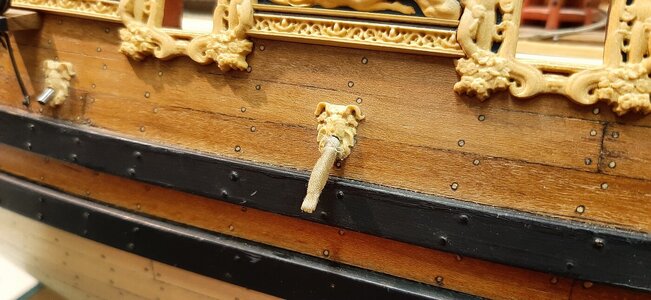
Fitted to the scupper
20230314_193959.jpg

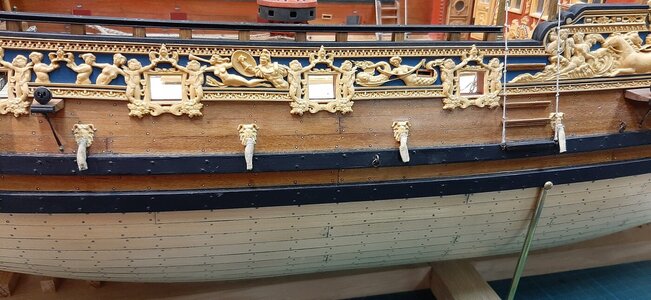
All fitted in place and shaped with some ca droplets.
20230315_193015.jpg

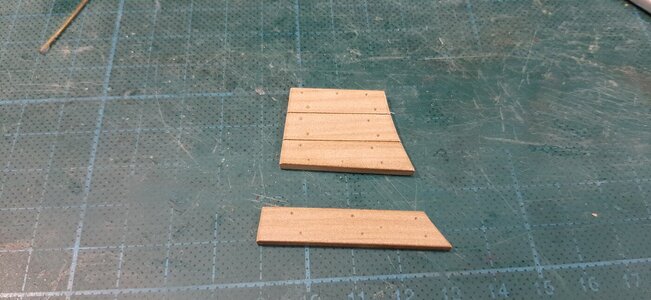
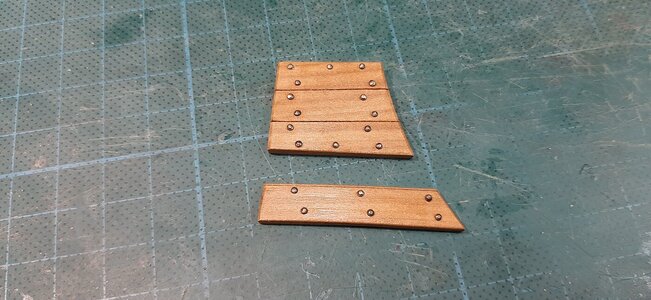
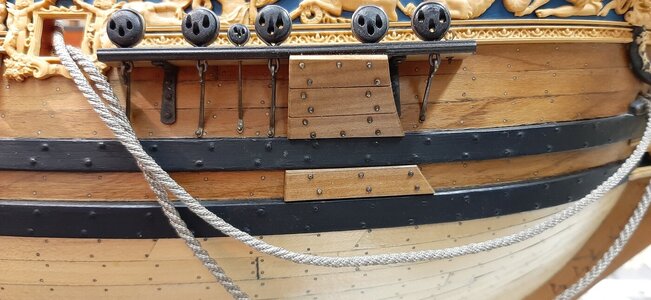
Next is the anchor hull protection.
20230315_193024.jpg

Bolts fitted and with a layer of Clou.
20230315_201818.jpg

And fitted to the hull
20230315_202411.jpg

Next the great cabin will be finished so the deck construction can be closed
 
Chuck,

Indeed veneer is the solution. You can easily glue this to the sides and top of the keel.
You can cut it with standard scissors and glue it with pva.
To simulate caulking between the keel parts you can colour the edges of the veneer parts with a dark brown or black waterproof marker.
Before glueing the top sides I pull a sharp knife along the edges to get a razor sharp fit between the veneer on the side and top of the multiplex. After sanding it is then nearly invisible from solid wood.

Hope it helps.
Maarten, thank you for the guidance!
 
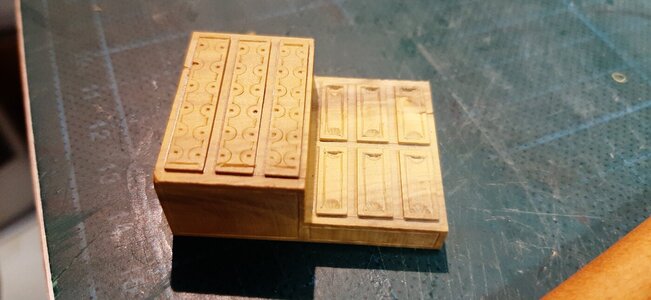
As the SB and PS side are now at the same stage I started with finishing the rear cabin.
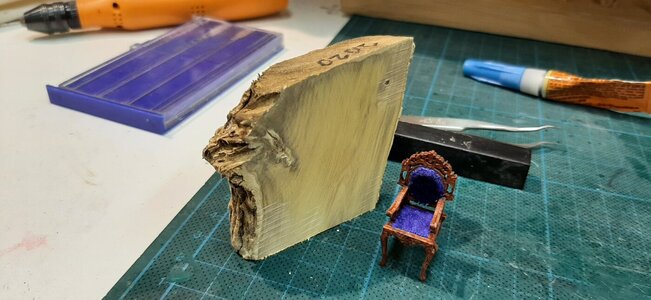
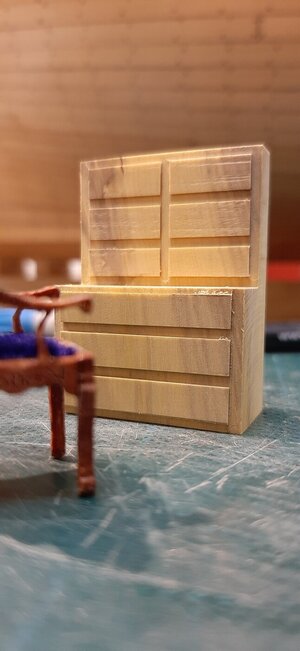
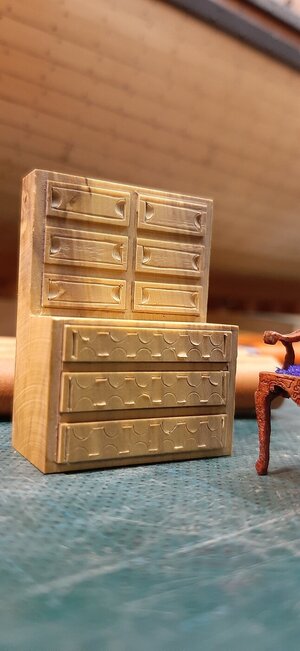
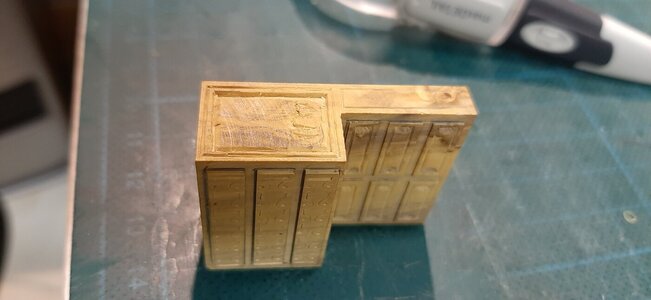
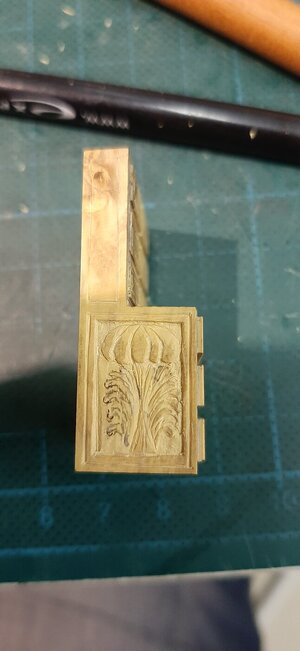
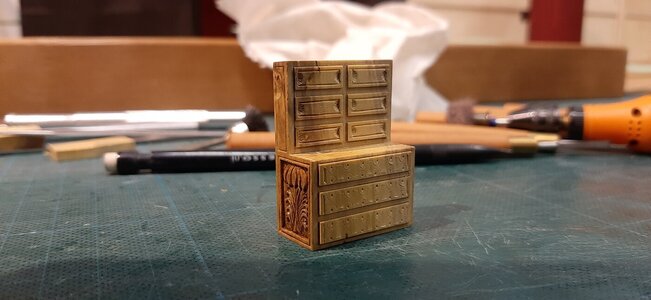
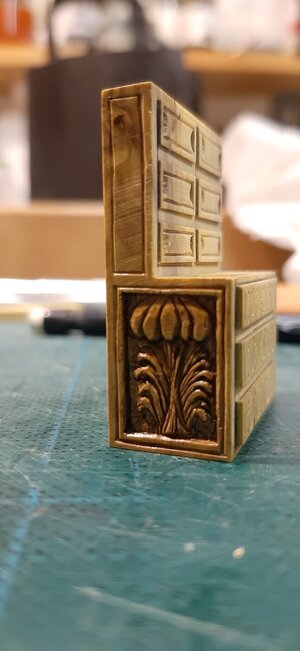
For this I am working on a writing cabinet for the King which I make out of a solid piece of boxwood from my own garden.
20230316_195655.jpg

After sawing the course shape followed with the mill carving the drawers in the front.
20230316_204944.jpg

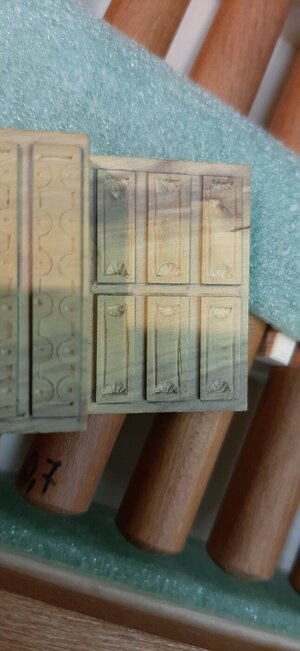
Roughly cut and carved the drawer decoration outlines.
20230316_214120.jpg
20230320_195851.jpg

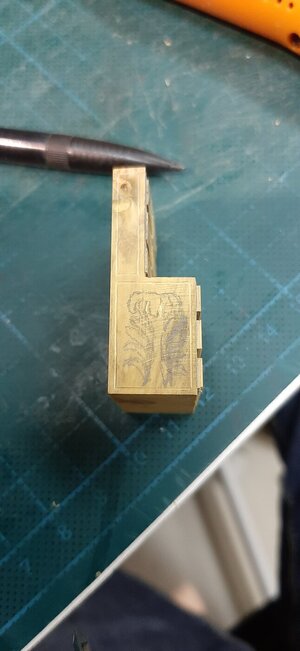
On the sides carving an acanthus leave.
20230320_202542.jpg
20230322_191629.jpg
20230322_202856.jpg

Adding some bitumen to check the carving contrast.
20230419_205335.jpg
20230419_205409.jpg

The start is there still a lot of fine tuning to do.

20230322_191648.jpg
 
Back
Top