HMS Royal Caroline kit ZHL 1/30

Maarten

Staff member
Forum Moderator
Joined
Sep 10, 2017
Messages
3,911
Points
678

Location
The Netherlands
In April I bought this kit from ZHL for its beautiful carvings and extremely detailed hull and rigging. The model I am building is the version including masting and rigging with carvings in box wood. There are several version out there which vary in 3 different wood sets for the carved part being pear with minor color deviations, pear selected to color and the boxwood version and version with and without masts and rigging.

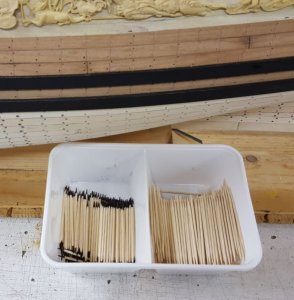
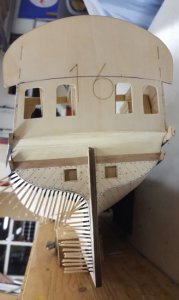
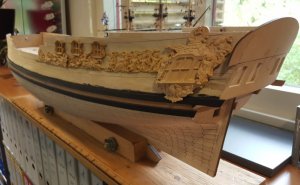
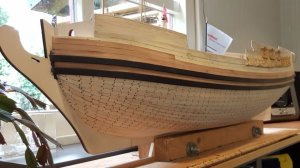
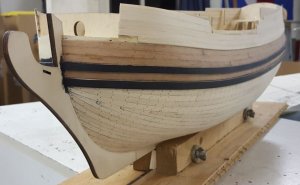
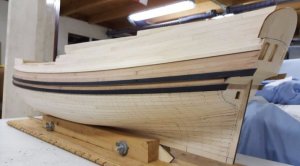
I started the build in June and already made some medorations to the kit model. I have added the stern cabin to the model which will be decorated like the state room in the middle of the vessel. Secondly I have changed the shape of the stern as the stern in the model is completely flat and to far to the front (This accoring to the drawings which come from the book Anatomy of the Ship). And at the moment I am tree nailing the hull by drilling +/- 6000 0,8 mm holes and adding blackened beechwood cocktail pins. See below already some pictures during the process.

During the coming days I will add more photo's from the progress over the recent months.

Hope the log will be an interesting topic providing you with new ideas as well as myself for creating a very nice model which is certainly possible with this excellent kit as a basis.
 
And the pictures will follow this week as I have to rezise them all, still learning how to upload.http://shipsofscale.com/sosforums/posting.php?mode=reply&f=52&t=1548#
 
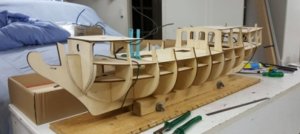
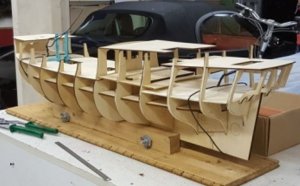
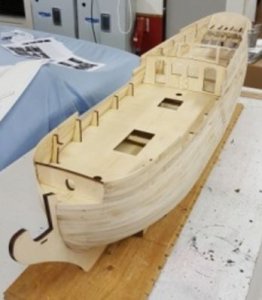
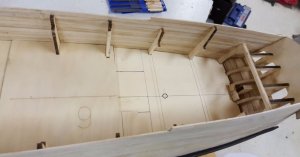
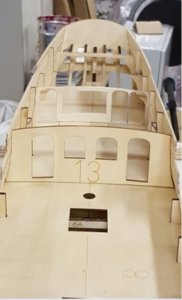
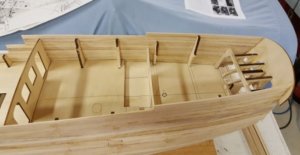
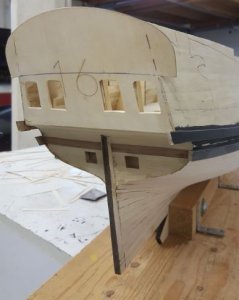
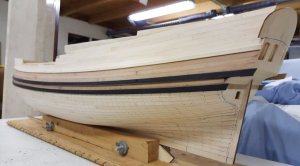
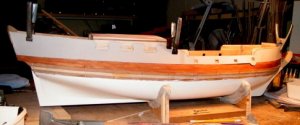
These photo's show the new layout of the hull with the stern cabin structure opened for building the inside cabin.
The ribs in the rear are opened to make space for the rear cabin, the rear cabin floor is added. Changes are made according the drawings that came with the model and are from the book anatomy of the ship.

Hull 1.JPGHull 2.JPGHull 3.JPGRear castle changes.JPGHull 4.JPGRear Cabin.JPG
 
Hi Zoly, more then welcome.

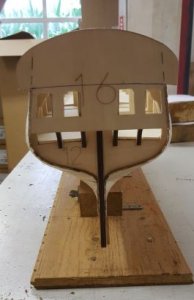
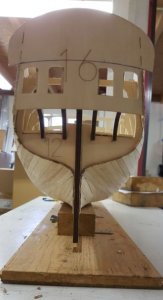
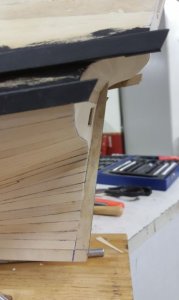
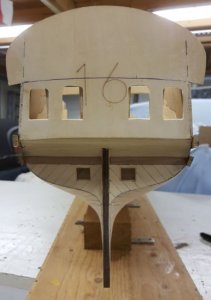
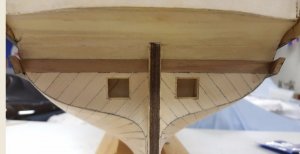
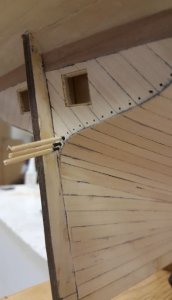
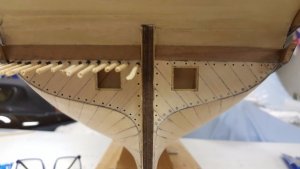
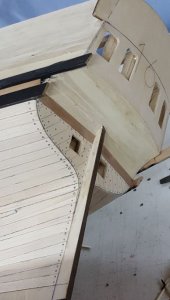
The stern of the kit is changed according to the drawings, I have added some extra ribs to the lower stern adding 6 mm close to the stern post and 2 mm on the outside edges. This is creating a stern which is slightly bollow. These ribs were planked horizontally with the first layer of planks and with and diagonal with the second layer of planks. All planking is blackened on one outside edge to create the look of the hemp and tar which was used to watertighten the ship.

After adding the additional ribs they clearly their effect in the pictures below. I have also added the gun port in the stern.
The next time I will upload the pictures of tree nailing the hull with some 5 to 6000 beechwood cocktail sticks, on which I am currently still working.

Stern.JPGStern 2.JPGStern changes.JPGModified stern side view.JPGStern planked.JPGStern planked detail.JPG
 
Last edited by a moderator:
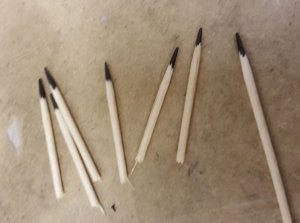
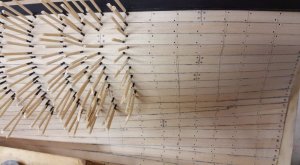
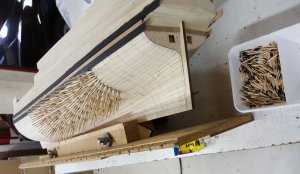
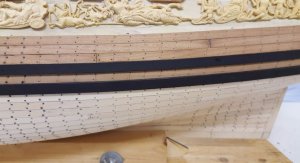
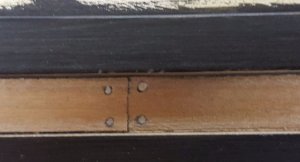
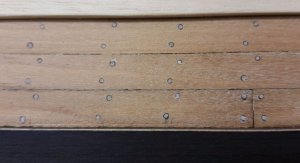
This part is showing the tree nailing of the hull on the port side of the vessel. For the tree nails I have used beech wood cocktail sticks, don't use bamboo for this. The tip of the stick I have blackened with a black marker to create the illusion of hemp and tar as with the planking of the hull. For the tree nails I have drilled holes of 0,8 mm, to size this would be 16 mm which seems a proper size to me.
Tree nails overview.JPGTree nails.JPGStern tree nails 1.JPGStern tree nails 2.JPGStern tree nails 3.JPGStern tree nails 4.JPG
 
Last edited by a moderator:
On the side of the hull I have set out the ribs of the vessel according to the drawings. On these ribs I have drilled the small 0,8 mm holes for fitting the wooden pins. The wooden pins are glued in place and after drying cutted with a fine side cutter plier. After that the tops of the pins were filed with a fine file followed by sanding. When finished I will put the hull in oil or in bee wax, don't know yet what will create the best look and feel.
Hedgehogging the hull.
Setting out the top whale, for this purpose dry fitting of the boxwood ornaments.
Fitting the planking above the main whales.
Below a detailed view of the drilled holes, the cocktail sticks fitted and cut, and right below filed and sanded.
Next time I will share the pictures of adding the planking above the top whale and the color selection for the ornament background.

Tree nailing stadia.JPGHedgehogging the hull.JPGSetting out the top whale.JPGTree nails not sanded.JPGTree nail detail 2.JPGTree nailing Port Side.JPGTree nail bow.JPGTree nail detail.JPGTree nail detail 3.JPG
 
Last edited by a moderator:
First class work so far Maarten.
I notice the kit has a different type of timber for the keel,stem and stern post which is disappointing. I will be interested to see how you approach this issue.

Neptune on this forum who's also building this model decided to paint his hull because of this, as it just doesn't look correct in my opinion having a two tone hull.
 
G'day Marrten, your off to a good start, I'm enjoying seeing another RC build, Am I right in thinking that you single planked the hull like myself. The tree nailing looks like a labour of love, but it is very effective, and looks really great. They gave me Pear Veneer in my kit to go along the keel and up round the bowsprit, so I imagine they gave you Boxwood for the same,
I had a few problems fitting in the carvings along the ships side and had to use builders license to trim some to fit, there are a few issues with some things, like the Forecastle deck is slightly higher on the kit than it is on the one in the book, but overall is a fantastic kit and I am really enjoying building it, I look forward to your future posts, enjoy,

best regards John.
 
Good day John, Brian,

My kit has the same darker color veneer for the sides of the keel bow and stern. On the hull is the lighter color veneer planks which is the second layer. The rudder again is the dark color pear. Historically on a lot of vessels they used a second layer of cheaper wood on top of the oak hull to protect against poleworm (paalworm in Dutch). In between the second layer and the oak a layer of sail cloth was added. On top of the second layer a Sulphur containing yellowish paint was added as anti fouling. This was at least the practice on Dutch VOC ships.
I think I take the approuch it is this layer in a lighter color and maybe up to the waterline I will double the darker color veneer also with a lighter color veneer depending on the finall look.
There are indeed some faults in the design but for me its part of the hobby to tackle these and solve them during the build. If you have tips please let them know.
This week I will upload some pictures about the blue paint on the side and from clouds I am painting on these which are there according to the drawings on the side behind the cabin windows.
It is definately the best kit I have ever seen, except for your Enterprize of course Brian.

Groeten Maarten.
 
Hi John,

See my texting was to quick, if you have any tips please let me know. (My mobile phone put down let them know)
 
Fantastic treenailing. I love the effect of blackening the ends. Very realistic looking. Thumbs up on this one !!!

Donnie
 
Donnie thx, I am also very happy with the effect but it is a lot of work, already working some weeks on it to do the whole hull.
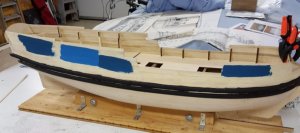
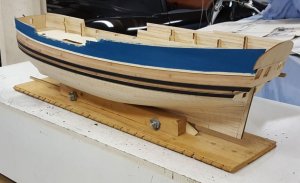
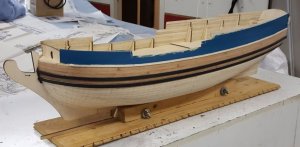
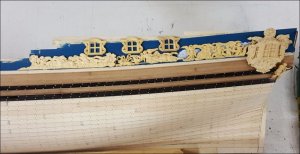
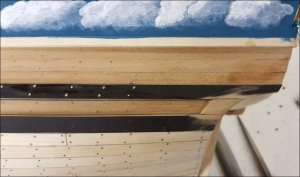
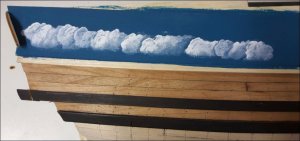
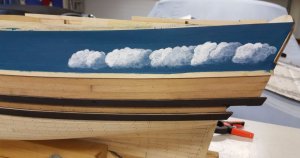
In between I am also working on the blue color above the top whale and painting clouds on this as shown on the drawings. For the Turqouise color I have selected two small samples of matt wall paints and finally ended up mixing them to get the color I wanted.

The finall color selected is the one at the bow, a mix between the the light Turqoise blue with the dark Petrol blue.

On top of the blue on the aft side according to the drawings a cloudy sky is painted, this was on 17th century Dutch vessel a common feature. I haven't seen it on a lot of models of the RC but I gave it a try.

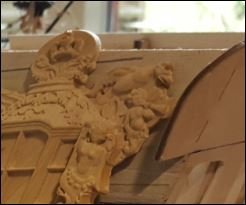
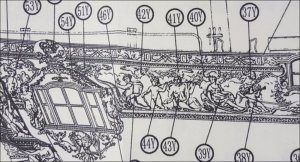
See below the part of the drawing where you can see the clouds just behind the ornaments behind the aft cabin window until the stern of the vessel. A small part of these clouds are part of the carving behind the rear cabin gallery in the model of ZHL but do not return in the rest of the carvings.

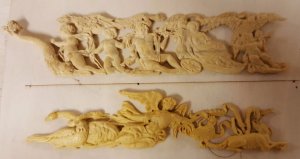
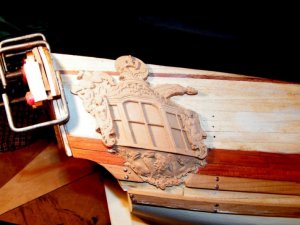
See below one ornament carving which is already worked on and the bottom one treated with clear beewax.

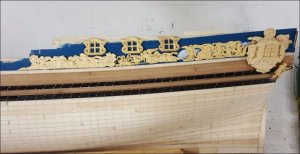
Finally a preview of the ornaments on top of the clouded sky. The ornaments are not worked on yet.
The current status is that I am working on the nails in the lower whales. I haven't burnished these as the whales will be repainted black.

Color samples blue.JPGHull blue bow AFT.JPGHull blue bow.JPGClouds SB.JPGClouds hull.JPGSB side drawing.JPGClouds as part of rear gallery carving.JPGBoxwood carvings.JPGPS clouds and decoration fit.JPGNails in whales.JPG
 
Last edited by a moderator:
G'day Maarten, you were asking about tips, the only thing that I see is that at the stern you have three planks above the wale, in the video's and photo's it shows three planks at midships tapering down to two at the stern, I questioned this myself but after some measuring I tapered the planks down to two planks at the stern. The template they supply also shows two planks at the stern, it might be too late for you to change it now or maybe you have come up with another solution, just afraid you may run out of space for the carvings or you might have to raise the painted planking higher which it looks like from your photo's.

I dont mean this as a negative comment just trying to be helpful,

best regards John.

84.jpgPS clouds and decoration fit.jpg;;;;;;.jpg116.jpg
 
Last edited by a moderator:
Hi John,

Many thx for your comment, always welcome.
I have seen that zhl changes the the size of the planks from 3 to 2 but I think this is not correct and gives a different look and feel in the flow of the whales which are determining the layout of the vessel.
I have been dry fitting before setting out the finall whales and will fit the carvings like on the drawings of the anatomy book. In these the carvings are partly integrated in the top whale. My blue area is now bigger then it finally will be. Hope everything works out fine, we'll see.

Regs Maarten
 
Back
Top