HMS Royal Caroline kit ZHL 1/30

Again a brief update. Finally the last piece of the molding is ready. As with the previous first I cut it partly in shape followed by grinding it to fit with a cutting disc.
20181128_203759.jpg
20181128_203829.jpg
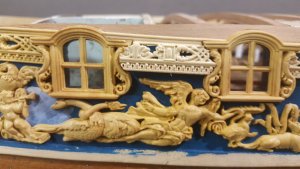
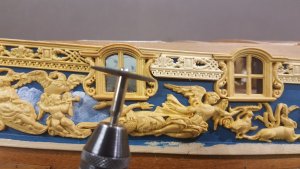
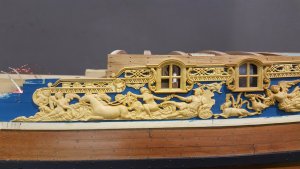
After waxing dry fitting the mouldings and I am quite happy with the line they are following along the hull.
20181128_212257.jpg
20181128_212306.jpg
20181128_212348.jpg
Now I fit the treenails in the top planking followed by cutting them, sanding and waxing, after the the mouldings can finally be fitted in place, but thats for this weekend.
20181128_213410.jpg
 
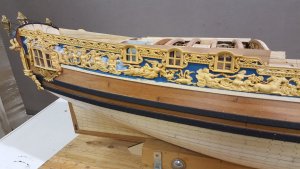
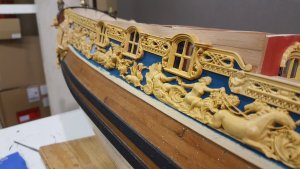
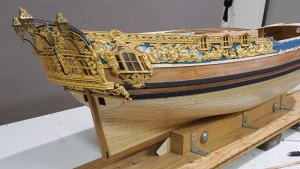
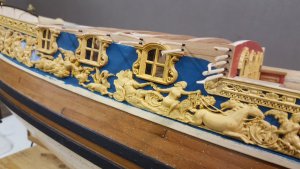
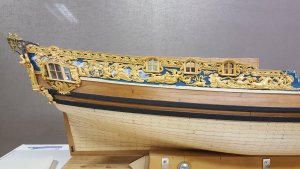
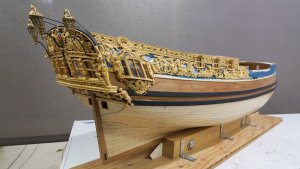
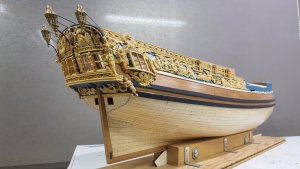
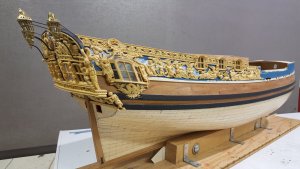
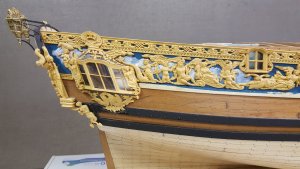
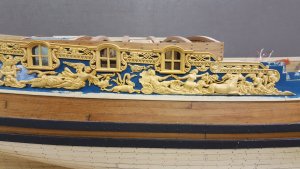
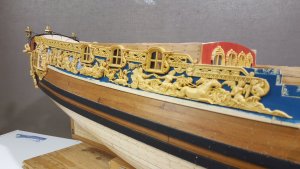
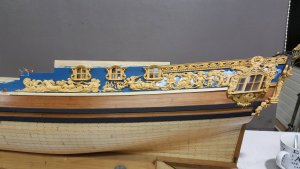
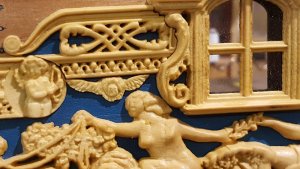
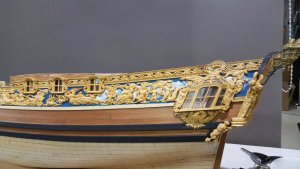
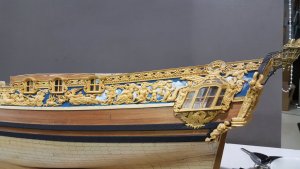
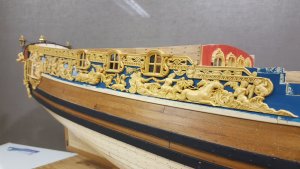
This evening I finalized the SB side up to the great cabin except for the wale which I will fit when the first gunport carving is fitted. The last items to finalize were the treenails of the great cabin planks as well as two small ornaments fittedt before the first window and between the first and second window. See below the pictures of the finall result and as mentioned without the top wale where still the temporary plank is fitted.
20181203_205811.jpg
20181203_210007.jpg
20181203_205959.jpg
20181203_205925.jpg
20181203_210057.jpg
20181203_210108.jpg
20181203_210306.jpg

And as a ship has two sides it is now time for the ps side, so most probably not a lot of posts the rest of this week.
20181203_211105.jpg
See you next time and thx for watching.
 
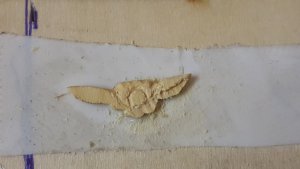
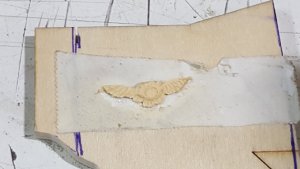
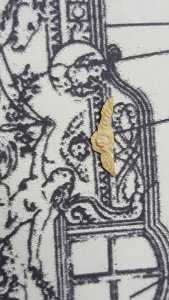
Today and some other evenings this week I worked on the PS side and finally after today both sides are finished up to the great cabin. When working on one of the last very small carvings I had a big boo boo, while thinning on my pre war belt sander it slipped my fingers and went away into thin air. I have been searching for it but it disapeared so I decided to make a new one from a small piece of scrap boxwood.
20181208_095659.jpg
20181208_100824.jpg
20181208_102956.jpg
I taped a piece of boxwood on plywood to work it with rotary tools to its finall shape and finally fitred in place.
20181208_142009.jpg

Now tge PS side is also finished.
20181208_143941.jpg
20181208_143947.jpg

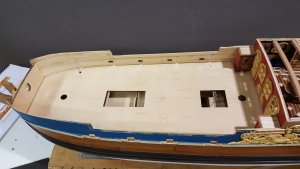
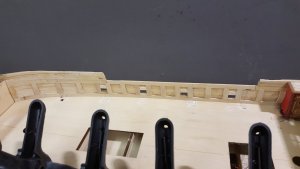
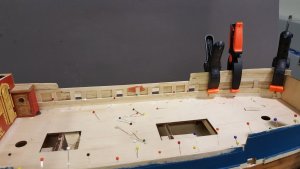
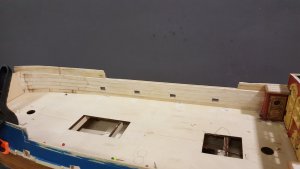
Now it is time for the deck. I cut away all the remaining frames and now first have to thicken the bulwark to proper thickness and tapering. Then the deck can be fitted, I won t use the strakes supplied with the kit which are to dark to my taste but will fit a bass wood deck. Caulking I will do with a soft grey coloured pencil and final finish with shellac. But before that we have plenty space on deck.
20181208_153107.jpg.
 
G'day Maarten
I havta echoe all the others comments.
But I'm a bit confused about your photos regarding the treenails on the grand cabin wall.
20181128_213410.jpg
Here you show us you are doing the treenails.and there are no carvings between the windows.
20181128_212306.jpg
Here are the carvings but no treenails.
Am I missing something?
 
G'day Maarten
I havta echoe all the others comments.
But I'm a bit confused about your photos regarding the treenails on the grand cabin wall.
View attachment 66978
Here you show us you are doing the treenails.and there are no carvings between the windows.
View attachment 66983
Here are the carvings but no treenails.
Am I missing something?
Hi Greg,

The lower picture is just dryfitting the carvings, after that I started the treenailing.
See here both in the finall situation.
20181203_210300.jpg
20181208_143941.jpg
 
I've only been a lurker so far but I can't take it any longer! What a beautiful model! It seems you've taken a museum quality kit and made it fit for a royal presentation. Thanks for taking us along with you and for all of your insights along the way. Your replacement carving worked really well btw. It fit right in with little to tell it was a replacement.

Ron
 
Thx gents for your nice comments. Unfortunately for the time being no carvings anymore but plain construction work.
Currently working on creating inner bulwark. I have cut away all frames and thickened the inner bulwark first by adding vertical strips which I grinded into a wedge formed shape to create the tapered bulwark shape.
20181209_131718.jpg
20181209_132818.jpg
These wedges are fitted next to the gun ports and between these at regular spaces, above and below the gun ports I also added filler pieces to enclose the preliminary gun port shape.
20181209_153937.jpg
Then the inside planks are fitted and the correct thickness and shape is nearly reached. The last layer will be veneer planks finishing the inside, but before that the gun ports will be trimmed to correct size and place and lined with veneer planks.
20181209_175250.jpg

20181209_181303.jpg
 
Last edited by a moderator:
Brilliant work!
A truly authentic bulwark, and an inspiration to any future builder. Your add on's will help me a tremendously when I'm at your stages.
Keep them coming please.
 
Last edited:
Hi Greg,

Thx again, I am not following the manuals supplied with the kit, so my building order can completely defiate from the kit version. So if you want to follow the order as mentioned in the manuals then my blog can be confusing. Guess you are also making your own plan for building it and you dont look at the Chinese paperwork either?

Hope you DYI is progressing quickly and see some work from your hands in a short period of time.
 
Back
Top