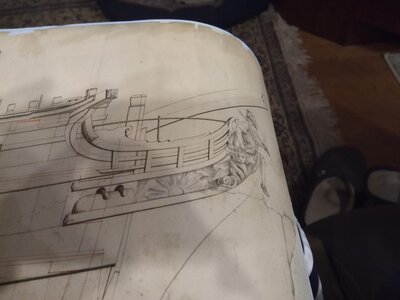
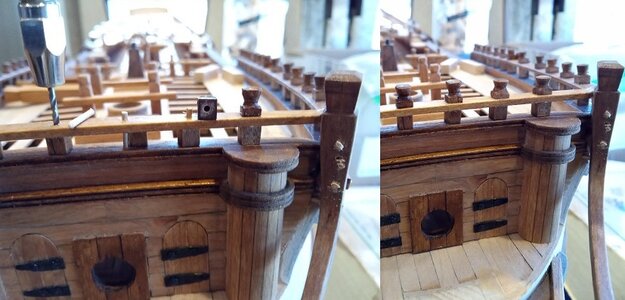
Thank you for the nice comments Brad, I still have another couple of seats to add next to the round houses,
Best regards John,
Best regards John,
 |
As a way to introduce our brass coins to the community, we will raffle off a free coin during the month of August. Follow link ABOVE for instructions for entering. |
 |
 |
The beloved Ships in Scale Magazine is back and charting a new course for 2026! Discover new skills, new techniques, and new inspirations in every issue. NOTE THAT OUR FIRST ISSUE WILL BE JAN/FEB 2026 |
 |
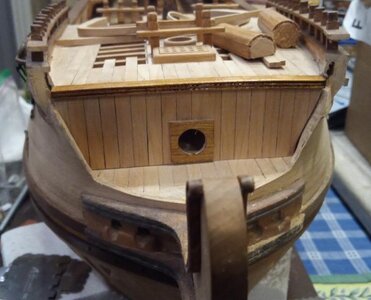
Horizontal planking would have more supports with the vertical studs. It also would be more water tight with a combination of tongue and groove type of edging and caulked as with the hull. Vertical plank grooves would have water tightness problems in my mind. RichTest fit of the forward bulkhead. Question...About 2/3 of the models have the bulkhead planks horizontal & 1/3 vertical (as I have done). Seems the models built during the period had the planks vertical. Anyone have thought? I would think the studs would be vertical and the planks laid horizontal but I can also see the studs bolted into the deck, and the planks laid vertical.
View attachment 223482
Horizontal planking would have more supports with the vertical studs. It also would be more water tight with a combination of tongue and groove type of edging and caulked as with the hull. Vertical plank grooves would have water tightness problems in my mind. Rich
Rich...makes a lot of sense. I'll keep it as is, unless I don't like the look, once I put the roundhouses in. Some real thin horizontal planking would be an easy do. From what I can tell in this photo, it seems the bulkhead planking would be vertical. Most contemporary models with HD photos, they are clearly horizontal. The second photo is contemporary build and they are clearly horizontal.Horizontal planking would have more supports with the vertical studs. It also would be more water tight with a combination of tongue and groove type of edging and caulked as with the hull. Vertical plank grooves would have water tightness problems in my mind. Rich
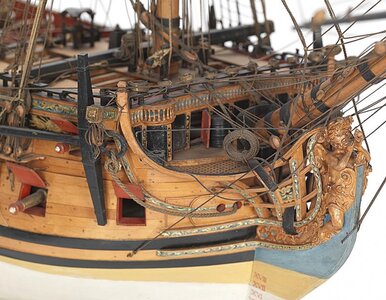

For your model I really don't have any right or wrong . . . just do it the way that you think will look best and satisfy yourself. RichRich...makes a lot of sense. I'll keep it as is, unless I don't like the look, once I put the roundhouses in. Some real thin horizontal planking would be an easy do. From what I can tell in this photo, it seems the bulkhead planking would be vertical. Most contemporary models with HD photos, they are clearly horizontal. The second photo is contemporary build and they are clearly horizontal.
View attachment 223621
View attachment 223630
We will be looking forward to seeing the change. RichUwe and Rich...you've convinced me to go with the horizontal planking. I've added the roundhouses and door frames (photo below). Now I'll add some thin veneer horizontal planks. Thanks for the advice on going horizontal.View attachment 224316
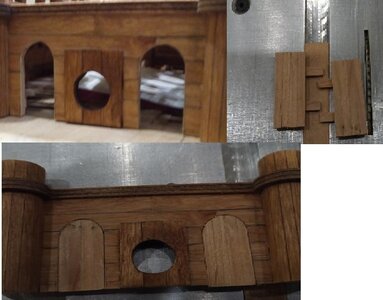

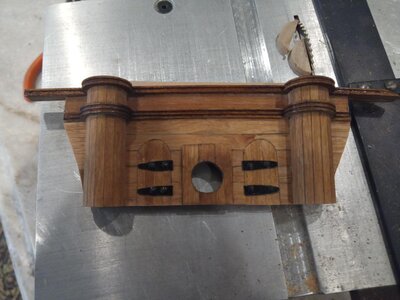
The hinges look larger than I would have thought but I wasn't there so I cannot be critical. One interesting side bit about the "round houses" . . . my brother who has done very extensive research and exchanges of historical information on ships of war, particularly English and French of the Napoleonic ear wrote about "round houses" as being the heads provided by the foc'sl for the "before the mast" crewmen. The officers had their own aft and one reserved for the captain. Are these two on your ship those for the crew? We'll keep watching your progress. and incorporation of some very nice detailing. Rich (PT-2)Thanks Chris and Uwe! Here is the bulkhead with doors and hinges being test fit. Now all that is left for the bulkhead is the top rail assembly.
Appreciate everyone's adivce, which is helping me up my modeling game immensely. Love this site!
View attachment 224502 input
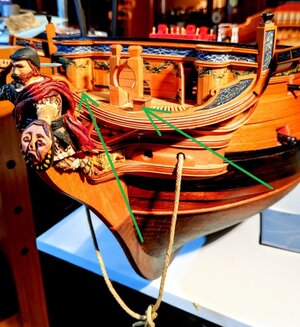
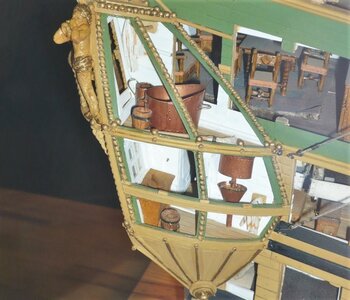
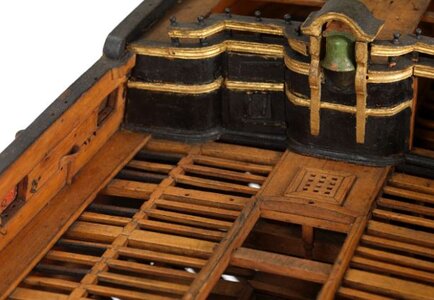

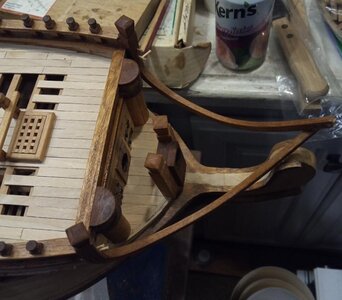
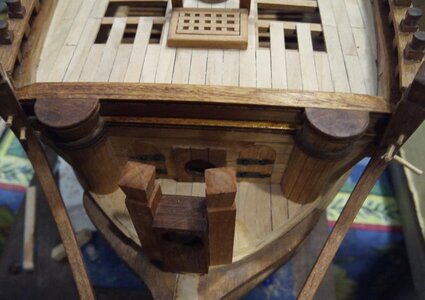
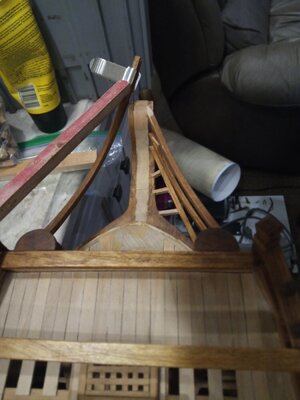
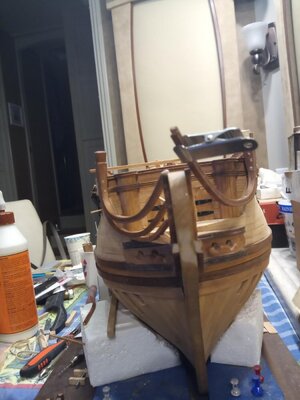
The rails can be very trying, there are not any straight lines at all, looking good,Test fit/pegged the Port Mainrail and test placed the bowsprit brace. Tomorrow, I'll fit/peg the Stbd Mainrail and then file/sand/chisel the forward bulkhead to fit and mate up with all the rails
.View attachment 225250
 It looks like