HMS Serapis - Scratch Build [COMPLETED BUILD]

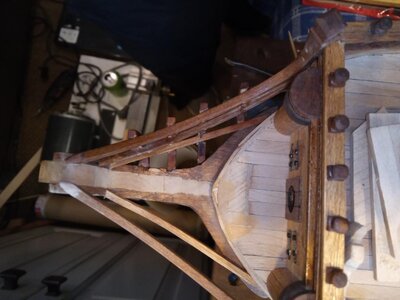
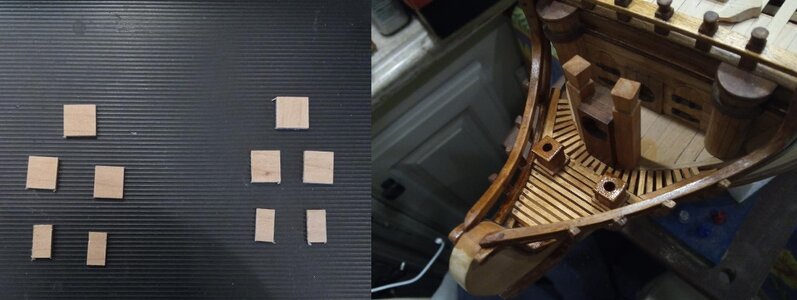
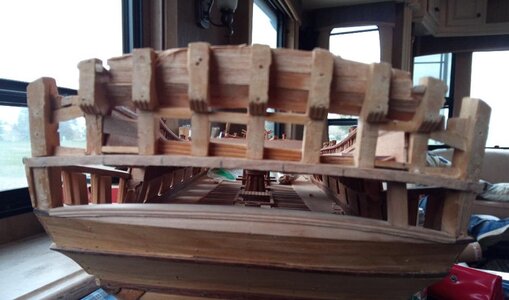
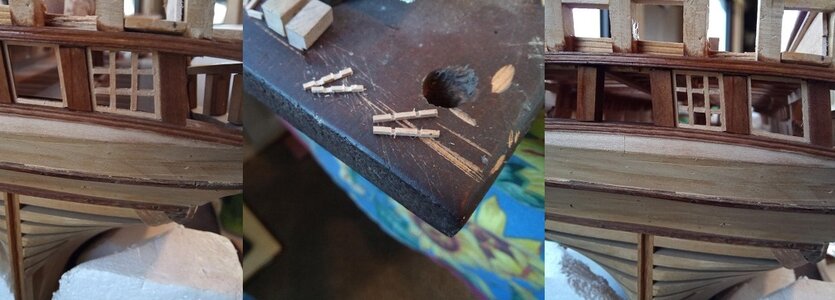
Still trying to figure out the vertical supports for the rails that go to the bow. I bought some clay at a hobby shop. It hardens when exposed to air. 1) In the Left picture: I made a mold where the 1st vertical support goes. 2) Then let it harden and sanded it to the approximate width, Middle picture. 3) Right picture shows the template I will use to file the complicated angle of the rails into the back of the vertical supports. First try I did, eyeballing it, was close but not good enough. Hope this method works better.Clay Wales sequence.jpg
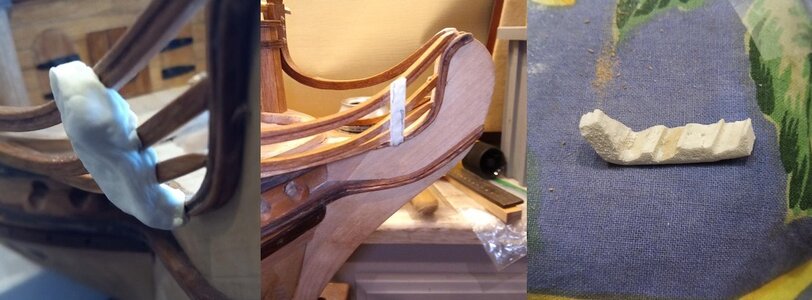
 
Still trying to figure out the vertical supports for the rails that go to the bow. I bought some clay at a hobby shop. It hardens when exposed to air. 1) In the Left picture: I made a mold where the 1st vertical support goes. 2) Then let it harden and sanded it to the approximate width, Middle picture. 3) Right picture shows the template I will use to file the complicated angle of the rails into the back of the vertical supports. First try I did, eyeballing it, was close but not good enough. Hope this method works better.View attachment 226586
Looking very good Brad, I put some cross rails on mine to support the gratings but I had two double seats of ease at the lower level below the bow sprit and I still have to install another seat each side by the round houses, just remember that the angle of the dangle is anywhere but vertical or horizontal, , have fun,
Best regards John.
 
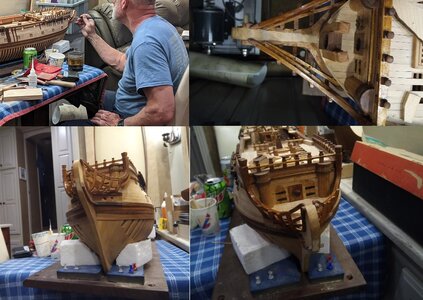
Relocated the trailer to Breckenridge, CO for some spring skiing (12" of new snow this week, so it was good). Unfortunately the skiing slowed down the Serapis build but I did manage to complete the Main Rails and their supports. Wife took a picture of me staining them. One more coat of stain and it's on to the gratings and seats of ease. Slow but steady progress!Mainrail 25 April Montage.jpg
 
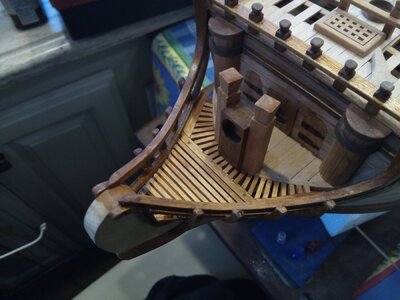
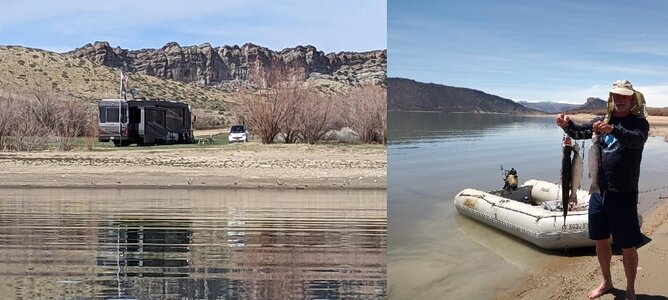
Relocated the workshop to Flaming Gorge, UT (see second photo). In between fishing and campfires, I finished the bow gratings, all I have to do is peg them all, once the glue sets (top photo). Next step, the seats of ease. Then the step I'm dreading: carving the bow decorations. I did get some nice pearwood sheets, so I'm hoping to up that aspect of my game!
1725527080720591334.jpg
30 Apr Montage.jpg
 
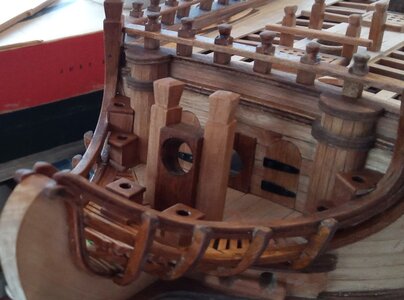
Finished the "seats of ease" outboard of the roundhouses. Lots of tricky filing to get everything to fit tight. They turned out pretty nice. Next on the list to complete are the "splash guards" (if that's the proper terminology) that go atop the main rail and provide some protection for the "seats of ease".Seats of Ease 7 May 2021.jpg
 
Hi Brad,Thanks to your reply in my Lee build-log, I found yours. Nice to see another scratch build with a 30-years build breake. :)
I am glad I am not the only one. I will follow your ‘trailer’ build with great interest.
Regards, Peter
Peter, I see you're from the Netherlands. I worked closely with your Fromandskorpset, in Scotland in the 1990s and again in Afghanistan in 2001. Top notch unit and great bunch of young men. My work with our Navy and two kids were responsible for my 20 year break on the Serapis!
 
Finished the "seats of ease" outboard of the roundhouses. Lots of tricky filing to get everything to fit tight. They turned out pretty nice. Next on the list to complete are the "splash guards" (if that's the proper terminology) that go atop the main rail and provide some protection for the "seats of ease".View attachment 231927
Must have been a unique experince having someone sitting right above you, when you try to get relief o_O
 
Must have been a unique experince having someone sitting right above you, when you try to get relief o_O
and imagine, that there were appr. 280 seamen on board of such a 44-gunner (on 100 gunners appr. 800) - with only 6 toilets (which was a lot for this time)
I can imagine, that there was a small jam, especially if the cook did not made a good job, or the food was spoiled...... Sick
 
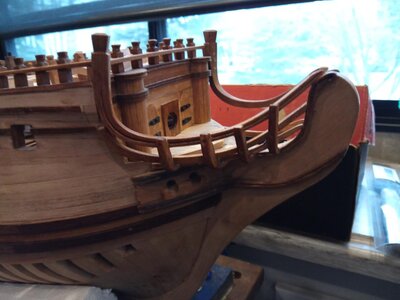
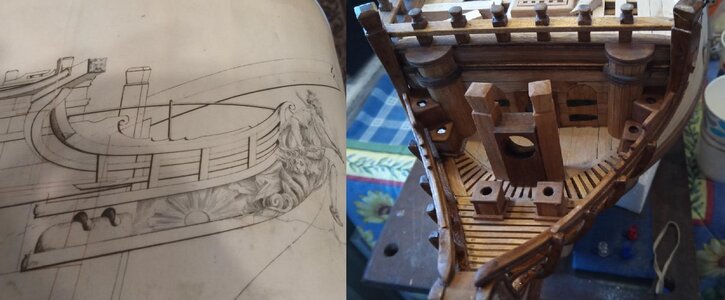
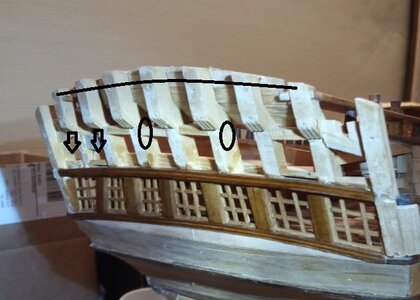
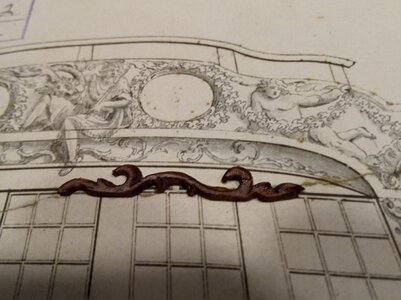
Well the bow is complete, with the exception of carving the figurehead and the metal rail (I've got a carving set and brass rod on order, which will be delivered to my daughters house, where we'll be camping, in a week). I finally glued the bowsprit support in place and fabricated the splash guards that sit atop the main rail. I've attached a photo from the plans that show the decorative splash guard and the layout of the forward rails to show what I worked from.
bow montage.jpg
 
She is looking really great Brad, I must try and do a bit more on my RW, looking forward to your figure head,

.best regards John,
 
Serapis Stern Modification Summary. 30 years ago, the only plans of Serapis from Greenwich, were the plans of Roebuck (lead ship of plans Serapis was built from). Fortunately, Uwe told me, plans of Serapis, as built, were now available. SOOO...I had to do a selective demo of the stern because Roebuck had 7 vertical stern frames and Roebuck has only 6 (see top photo of both plans). To make the repair manageable, I only cut out the vertical frames on the CAPTs window area, as the rest will be covered with planking. In the bottom photo, you can see one vertical frame, on the far right, placed in the CAPTs window, with 5 marks where the others will be placed. The only hint of the 7 frames, will be the line of pegs in the planking, which only an astute eye should notice, or so I hope. I'll post another picture when I get all 6 vertical frames placed. Stern Roebuck vs Serapis.jpgStern Repair 16 May 2021.jpg
 
Interesting research - I am looking forward to see your next working steps on the stern
 
Started framing the CAPTs stern windows...learning as I go. Left picture shows a first attempt. Cross cuts were too perpendicular and narrow, to cant/angle in the frame. Second try, I canted the cross cuts and widened them, picture in the middle. Picture on the right is what I consider passable frames for the CAPTs windows. Any recommendations are appreciated. Once they are all in, I'll stain them a lighter walnut than the stern frames and post pictures of the final CAPTs galley windows.
Capts Windows Motage.jpg
 
Capt's stern windows are framed in and stained. Things got easier and more accurate as I went along. Since the Serapis stern is much different than the Roebuck (no second row of window, a lower height and two additional cannon ports), I have to extend the stern frame "knee" down across the 7 stern frames, then trim some off the interior, so they aren't too thick, then plank, and finally, add the two additional cannon ports. Glad Uwe let me know the Serapis plans, as built, were available but it is causing some extra work:)!


Capt's windows stained.jpg
 
Capt's stern windows are framed in and stained. Things got easier and more accurate as I went along. Since the Serapis stern is much different than the Roebuck (no second row of window, a lower height and two additional cannon ports), I have to extend the stern frame "knee" down across the 7 stern frames, then trim some off the interior, so they aren't too thick, then plank, and finally, add the two additional cannon ports. Glad Uwe let me know the Serapis plans, as built, were available but it is causing some extra work:)!


View attachment 234602
....."some extra work" - but really worth to do it
 
Back
Top