HMS Serapis - Scratch Build [COMPLETED BUILD]

I am very happy, that my hint witzh the museum was helpfull and that you are happy with the quality
 
Thank you Uwe!
Studying the plan I must admit, that the Aeropiccola kit catched the stern decorations, the figurehead and the general look of Serapis pretty well.
A quick calculation compared with Roebuck decades ago gave a scale between 1/60 and 1/63. The kit itself gave no scale at all.
I was surprised between the big difference in size between 1/48 as the plans are, and the kit model. In 1/48 it is a huge ship!
Thanks for posting a picture that whets my appetite, as my plans have not yet arrived. Thanks for posting. Mine is 1:48 and it is big. Forces one to get the small details right. Still working on the deadeye chainstays on the port side. Should have some pictures of the mainmast deadeyes on port side tomorrow.
 
Finished the deadeye rails for port main mast. Finally getting a system down, so the rest should proceed much easier. I also did a test patch of the hull stain, between the quarterdeck ladder and 1st vertical rubbing strake. It looks pretty nice...makes the pegging pop out nicely.


deadeye rails.jpg
 
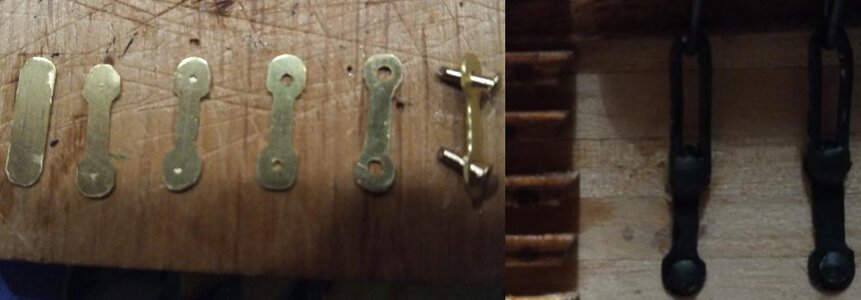
Making the deadeye anchor plates. 1) Cut a brass sheet to the width and length shown on the plans. 2) Round the corners with a file. 3) Decrease the middle area with a file. 4) Tap a pilot hole with a needle. 5) Drill with small diameter bit. 6) Punch through with the pin and then drill both sides. 7) Expand the hole with larger bits. 8) clip some brass nails. 9) Prime, paint and install.Deadeye Chainplate anchor montage.jpg
 
Tomorrow I finish the Starboard dead-eye rails and chain-plates. Tedious work! Thought I'd snap and share a picture of the ships wheel and one, looking forward at the quarterdeck bulkhead, with the rail and gratings. Being a Navy Board Model, I will leave the deck beams exposed, as they are.ships wheel.jpg
Fwd quarterdeck.jpg
 
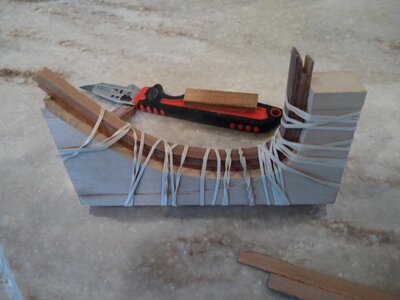
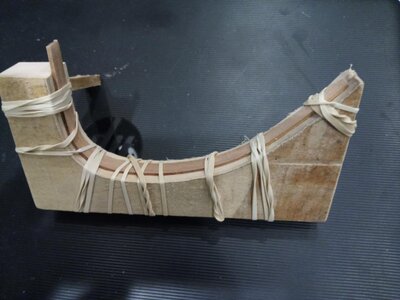
Started experimenting on how to build the Head Rails. I first tapered a beam, steamed it for an hour and tried to bend it...no way, too thick, where it makes the 90 degree bend. Now, I'm going to try to build a laminate beam to the correct contour, then taper the forward end and carve the bollard at the top. Picture is of the first strip in the jig, while it dries. I'm hoping it doesn't look to obvious that it is laminated, when done and sanded. Any recommendations on other techniques are welcome, as I try to work through the bow Head Rails.Bending Main Head Rails.jpg
 
5 Steamed Head Rail Gluelam.jpgplanks to create a "glue laminated" beam for the head rail seems to be working. I will let the 5 planks dry for 24 hours, then glue them tomorrow. Tapering a "curved" Head Rail beam, will be a bit more difficult than the way I started (tapering a straight beam) but hopefully, I'll figure it out.
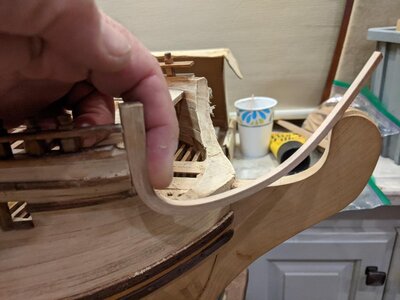
 
One laminated Main Beam is done, and tapered. Turned out pretty good. Have to file a few mm's to get the correct fit. I'm happy with the results. The lamination lines hardly show and when I do some decoration and stain it, they should hardly be apparent. Second Main Rail is in the form, drying. Will glue the laminated strips tomorrow. Next few weeks, I'll be trying to design the forward bulkhead and shape the forward hull area.Laminated Main Rails.jpg
 
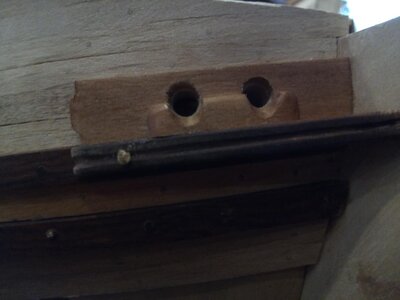
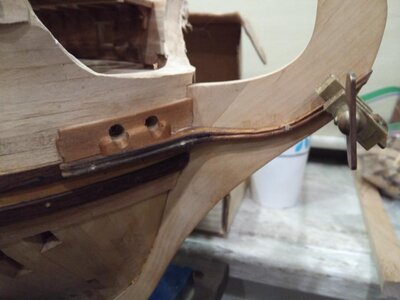
Working on the bow details. I formed the Main Rails and test fitted but decided to start from the bottom and work up. SOOO, I installed the Hawse Pipe and rubbing rail and the lowest curved rail (see photos). . I think the Hawse pipes and lower rail turned out nicely I'm still intimidated by the rest of the front end details, especially the area where the forward bulkhead meets the hull. It seems on many models/ships, the hull is cut straight down, leaving some space for the seats of ease to be placed alongside the main rail. IF ANYONE has some overhead pictures of this area, they would be much appreciated, as I work through this area.
hawse pipe.jpgHawse pipe 2.jpg
 
John,
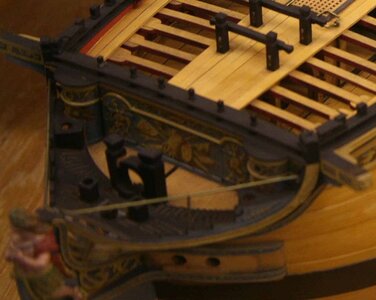
Thanks so much for the link, your work is excellent!! The seats of ease on yours are much further toward the centerline. I believe the Serapis would have another set further outboard, over the anchor hawse holes, next to the Main Beam (similar to this model). Your grating work and detailed pictures will be extremely helpful as I progress to that stage!! I feel my "seats" won't overhang enough for a "clear drop" but maybe that was a messy part of wooden ships! I'll post some pictures later of what I'm struggling with.

Bow detail.jpg
 
Back
Top