HMS Sirius 1786 Deck Cannon - Modellers Shipyard 1:20 [COMPLETED BUILD]

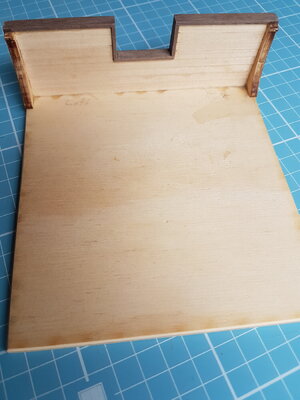
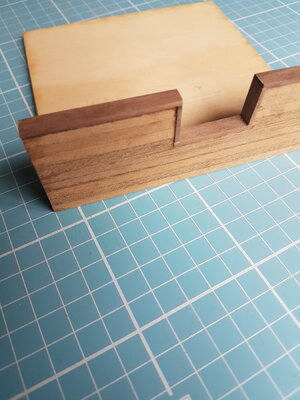
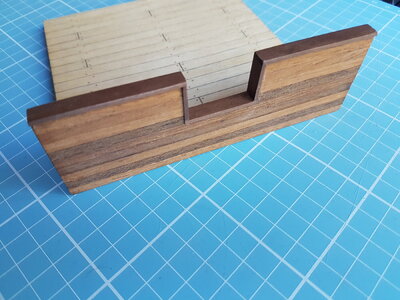
The instructions called for planking strips on the top of the bulwark, I decided as this will be a somewhat ornamental piece I would frame it with some walnut strips I had left over, I needed to open the gun port a bit so the internal dimensions would match as before with the walnut pieces attached.

By keeping it simple I am enjoying this mini build.:)

With rail (1).jpgWith rail (3).jpgWith rail (4).jpg
 
Yes - it is looking good in a good direction.
when you add the planking of the deck, the gun muzzle will also coming slightly higher....
 
Yes - it is looking good in a good direction.
when you add the planking of the deck, the gun muzzle will also coming slightly higher....
Thank you Uwek, the gun port was cut evenly all-round.

I will have more to say on the planking situation soon, some may be shocked.
 
Righto this next step is perhaps somewhat controversial for the experienced modeler but remembering this is a low key build and I wasn't prepared to spend any additional money on.

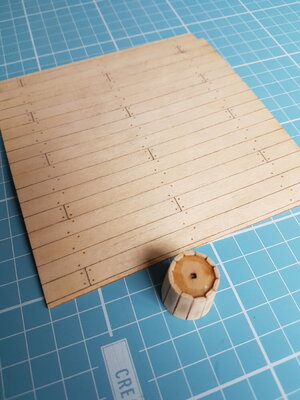
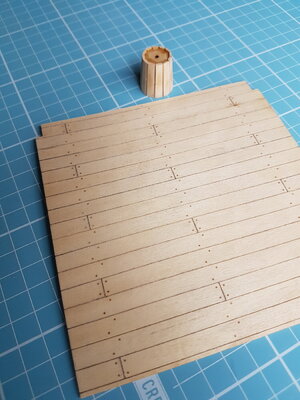
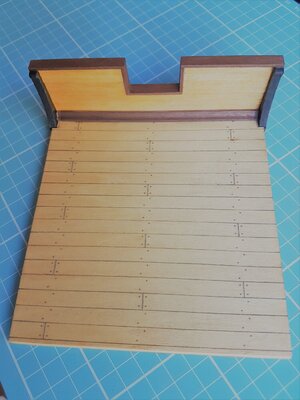
The deck supplied was a stenciled piece of plywood, my original thought was to put that aside and use planking pieces but I didn't have any of the correct size to hand so I will be using plywood piece.
To improve it somewhat I used a ruler and the back of a blade to score between the planks and used a fine pencil to give more definition, once the final finish is applied I think the result will be acceptable to me.

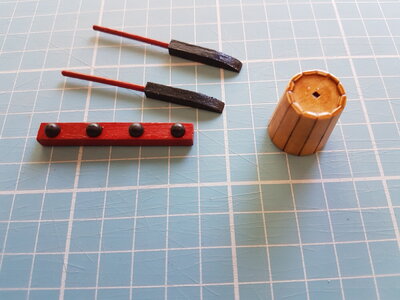
Next the trickiest part of the build so far was assembling the wooded barrel, there were 12 plywood pieces on the sheet to be assembled on a simple cross frame and the larger bottom and smaller top, and a bit of trivia according to Google a 12 sided circle is called a Dodecagon.
Getting everything to line up straight and have no gaps meant a little trial and error, the planking edges were beveled to get the outsides to join together nicely and some final sanding completed the main part of the barrel, some rope around the sides and a lid will be placed on it later.

This small build but at a larger scale I am finding is very therapeutic, not working with the tiny parts of a full ship or concerning too much with the minute details, don't worry the Revenge will be back in the boat shed soon and I will look forward to picking it up where I Ieft off.

Deck (2).jpgDeck (3).jpg
 
I am enjoying this build Richie - and more importantly - so are you. If the Revenge has to wait a while, no problem.
 
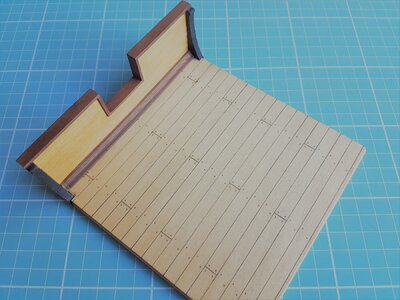
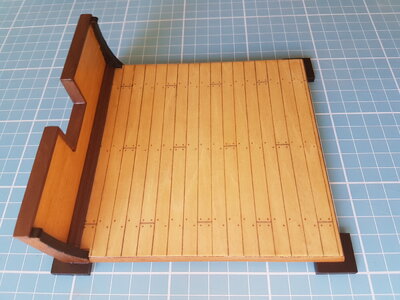
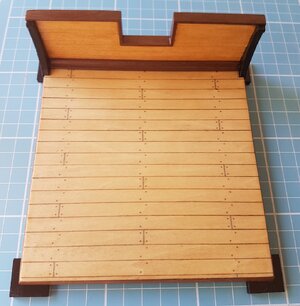
After some sanding and trimming the deck is now fitted to the base, so far so good.
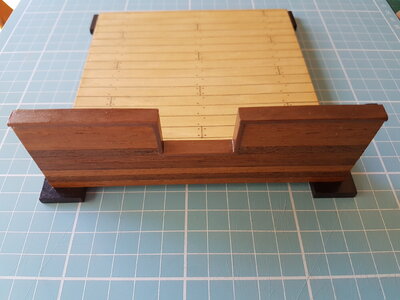
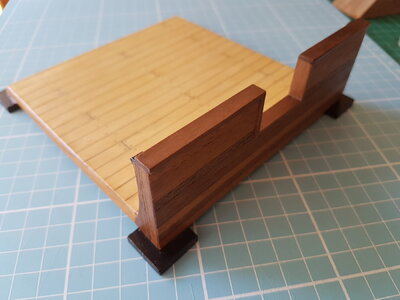
However my first glitch came when about to install the channel piece between the bulwark and deck, the plans said it was 125mm but mine was approximately 1mm short coupled with the base being approximately 2mm wider than if the correct size channel was to fit snuggly.
So what to do, it seems strange that the precut pieces were somewhat larger than they should have been, and I didn't have the ruler out measuring everything before getting to this point.
I didn't have this size or shape wood to hand and am not really geared up to make a new piece so the only thing left was to make some filler pieces at the ends with some scraps and shape it to match.
You can see my efforts on the ends and I will stain them to hopefully match in a bit better, I don't think the eye will be drawn to this once the model is completed.

z-Base (1a).jpgz-Base (2a).jpgz-Base (3).jpgz-Base (4).jpg
 
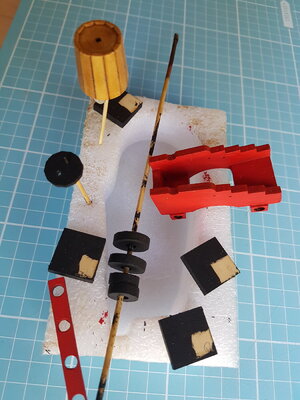
Time to start painting.

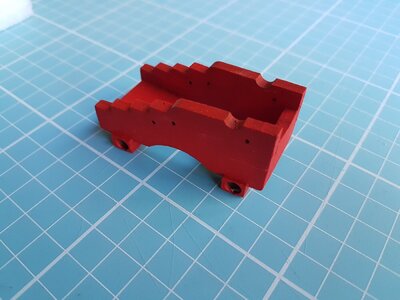
Except the carriage and barrel they were all laser cut pieces that just needed some finishing sanding.
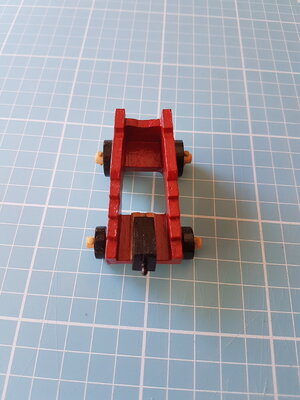
The barrel I will keep wood colour but the carriage turned out a little too fire engine red for me, I will redo it with a touch of black added to the red to dull it down.

I decided to make the wheels black for some contrast rather than red like on the real one, (modelers license:))

Painting (1).jpgPainting (5).jpg
 
After some sanding and trimming the deck is now fitted to the base, so far so good.
However my first glitch came when about to install the channel piece between the bulwark and deck, the plans said it was 125mm but mine was approximately 1mm short coupled with the base being approximately 2mm wider than if the correct size channel was to fit snuggly.
So what to do, it seems strange that the precut pieces were somewhat larger than they should have been, and I didn't have the ruler out measuring everything before getting to this point.
I didn't have this size or shape wood to hand and am not really geared up to make a new piece so the only thing left was to make some filler pieces at the ends with some scraps and shape it to match.
You can see my efforts on the ends and I will stain them to hopefully match in a bit better, I don't think the eye will be drawn to this once the model is completed.

View attachment 296588View attachment 296589View attachment 296590View attachment 296591
Nicely fixed Richie. Looking good.
 
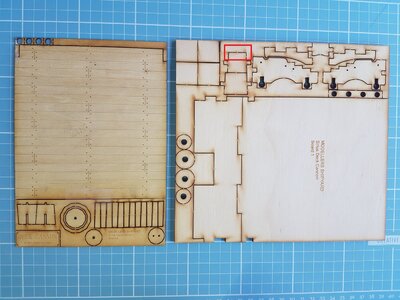
There was a small hiccup in the instructions/plans, the quoin pieces were supposed to be where the red square was but as you can see it wasn't so there must be some sort revision miss-match.

Only thing for it was too build one from scraps I had on hand, even this small part took me 2 goes and still not really sure I got it right, don't think I will turn to scratch building any time soon.

Cannon 3.jpg

As it was built from scraps I had to paint it black to hide the plywood.
Axles and wheels are now attached to the carriage.

Quoin (1).jpgQuoin (2).jpg
 
Back
Top